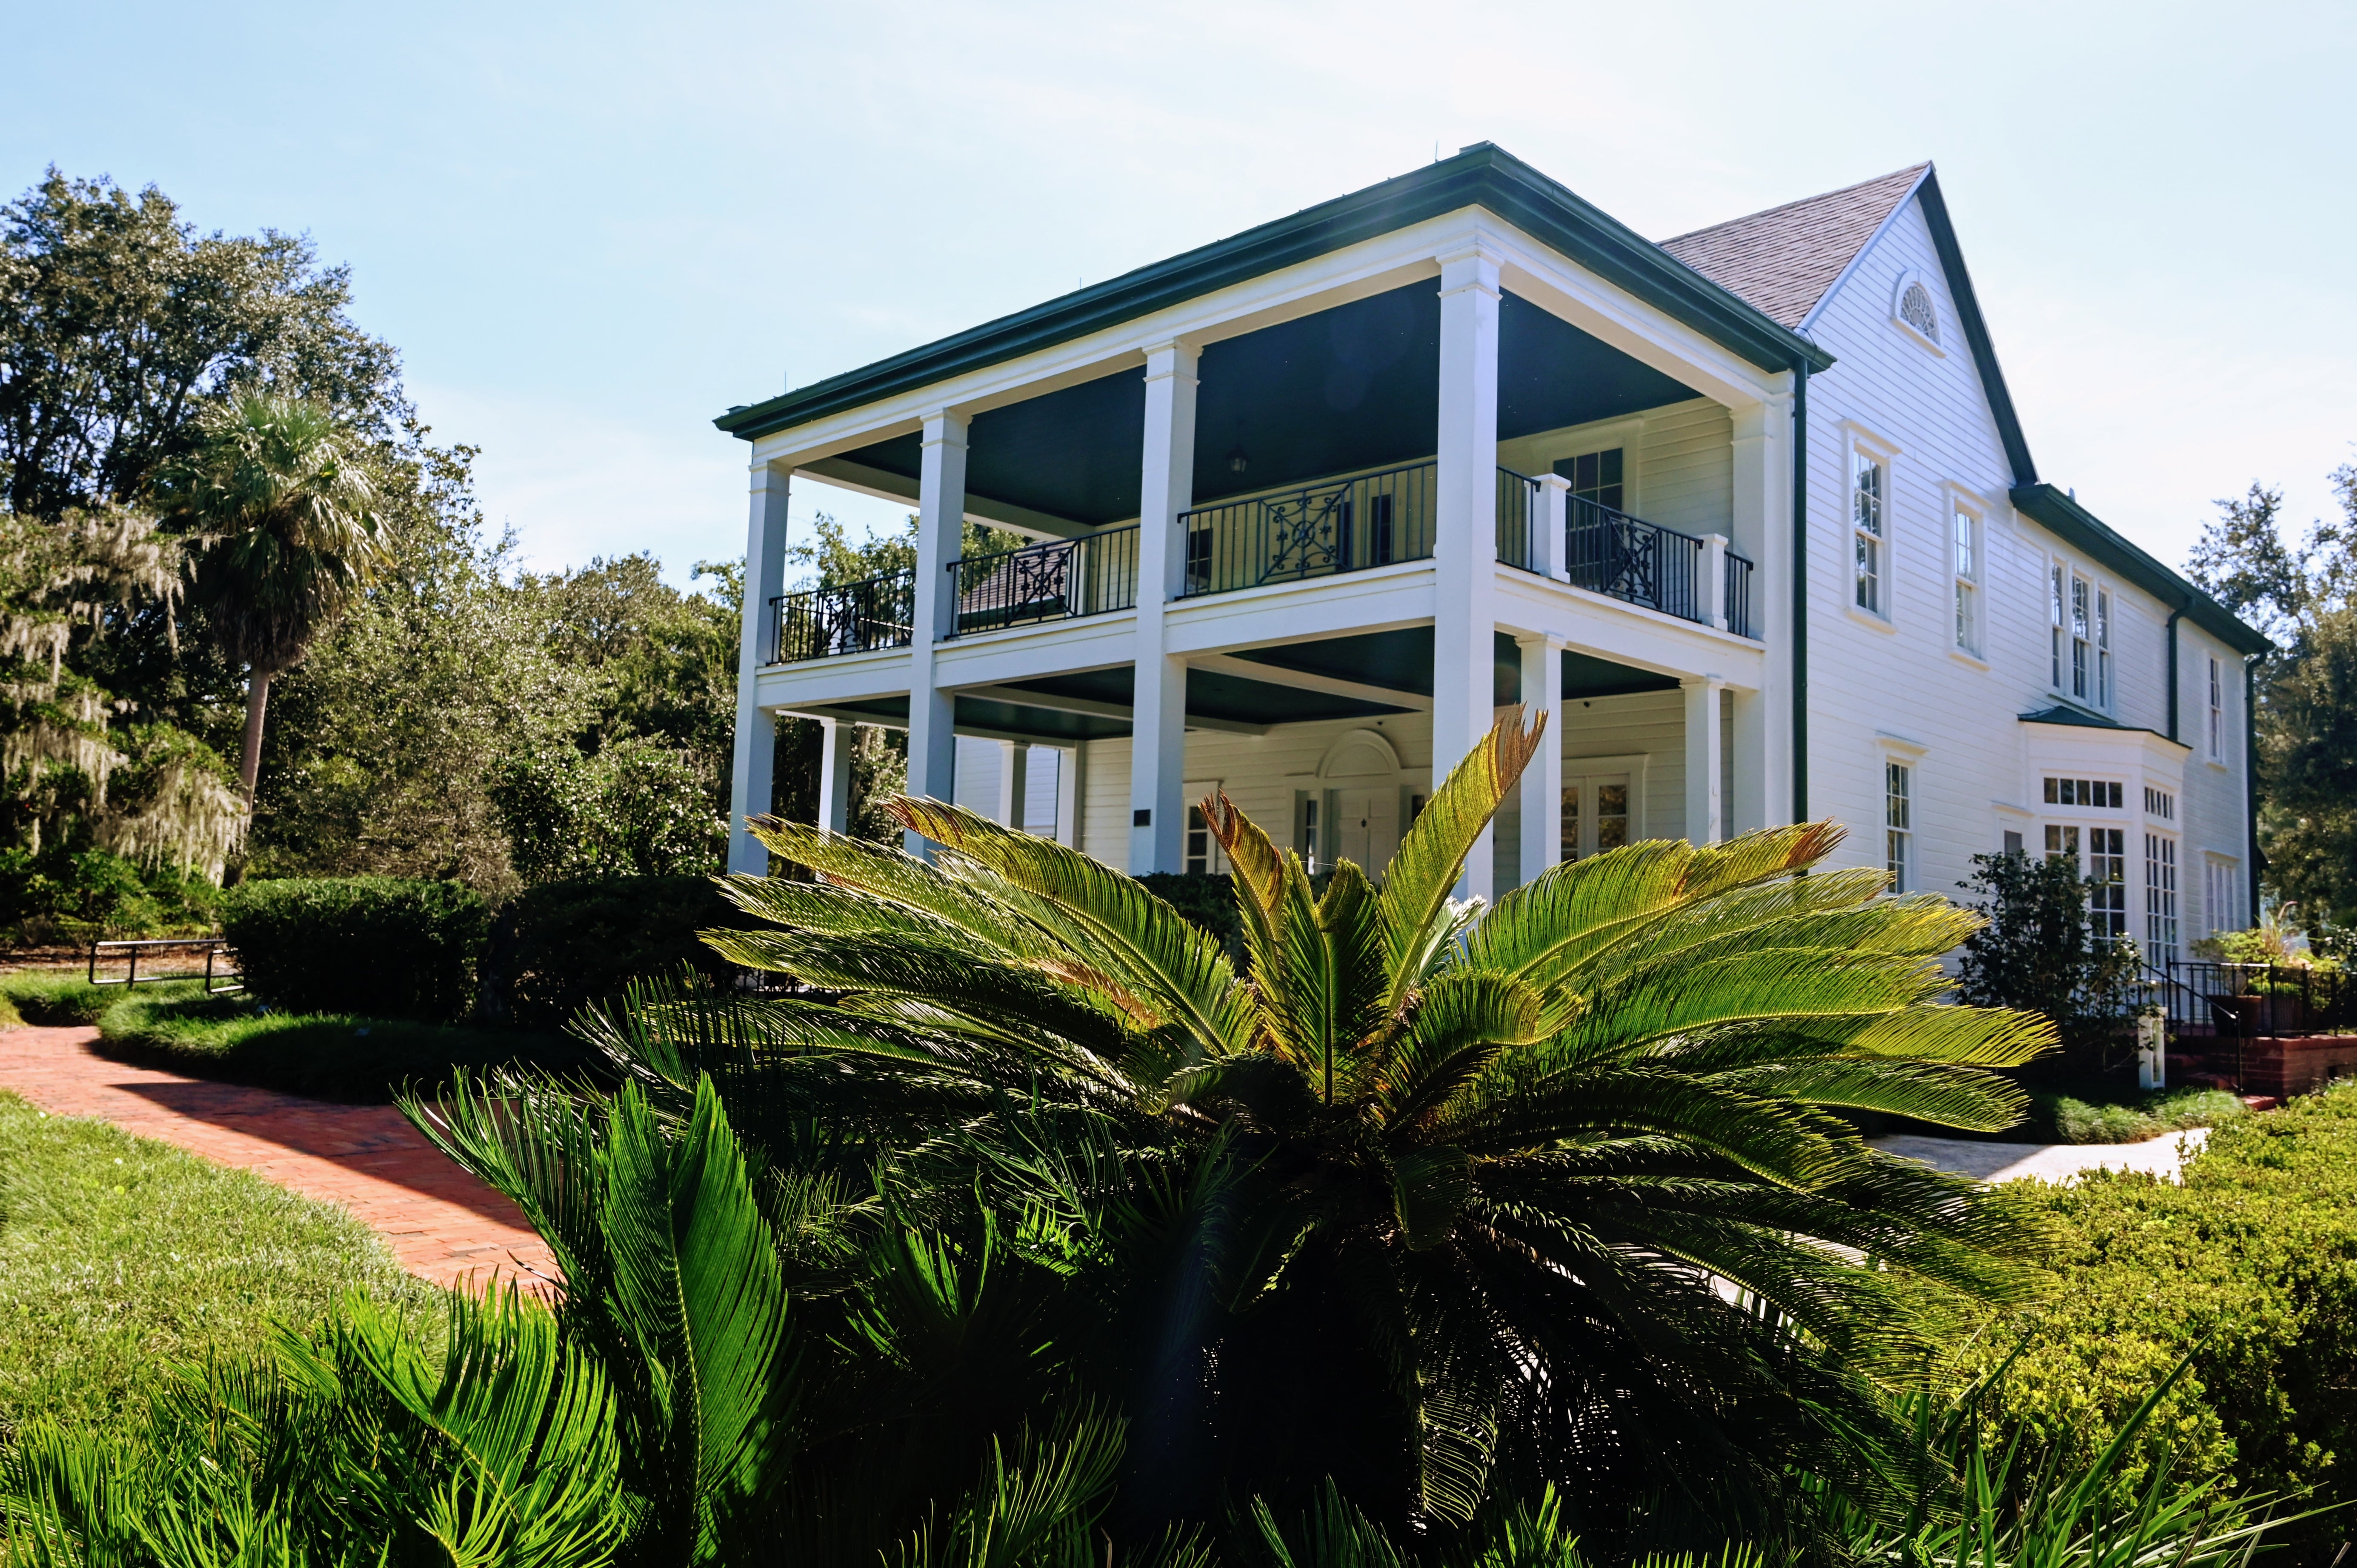
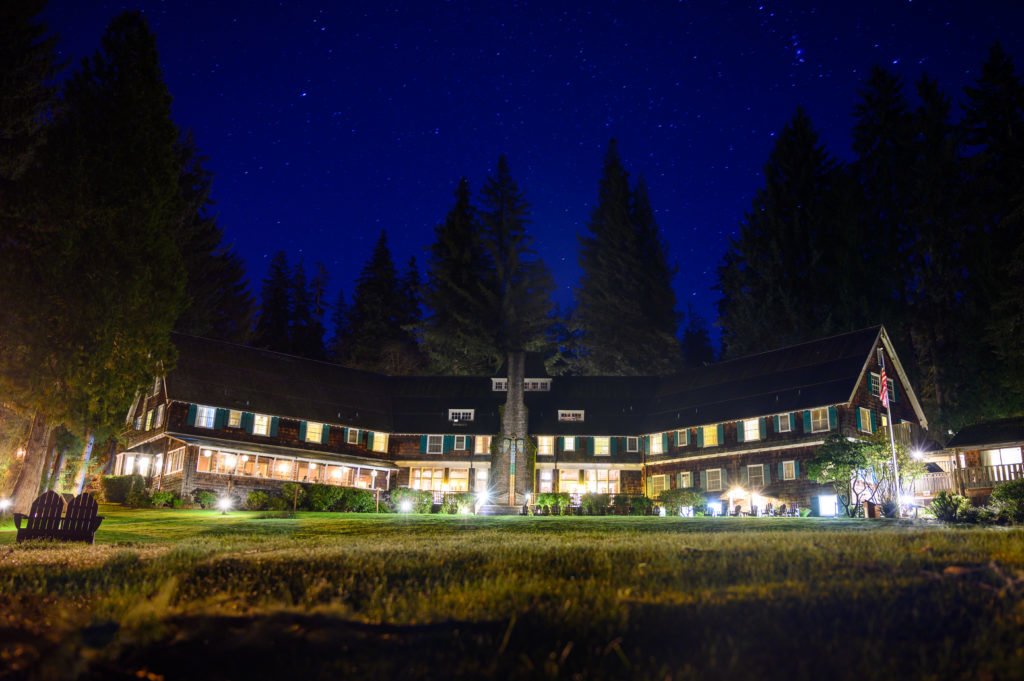
Lake Quinault Lodge feels like stepping back in time. This rustic lodge was designed in 1926 by the Seattle architect Robert Reamer, who also designed Old Faithful Inn in Yellowstone National Park. What amazes me is that it only took 53 days to complete this stunning lodge! According to the USDA Forest Service, bonfires were lit around the construction site so that crews could work around the clock to complete the lodge before the rainy season started.
Cedar shingles cover Lake Quinault Lodge as it curves to form a v-shape or half-circle. Its two-story peaked roof rises tall, surrounded by towering cedar trees, Douglas firs, and even a few California coastal redwoods. President Franklin D. Roosevelt ate lunch at the lodge’s restaurant in 1937 during his trip around the Olympic Peninsula. The restaurant is now named the Roosevelt Dining Room in his honor.
His visit to the Olympic Peninsula inspired him to make it a part of the U.S. National Park system. He also named the Olympic elk the Roosevelt elk in honor of former President Theodore Roosevelt. President Theodore Roosevelt created the Olympic National monument in 1909 to help stop the decline of the elk population.
It is no surprise that once President Franklin Roosevelt saw the natural beauty of this area that he wanted to preserve it for future generations. I am thankful he did.
Main Lodge
The rooms in the main lodge are on both the first and second floors. They have queen or king bed accommodations and some lake view rooms to choose from as well. The lodge rooms provide you with the feeling of staying at the lodge during the early 20th century. Staying in the main lodge offers easy access to the lodge amenities such as the Roosevelt Dining Room, fireplace sitting room, and pool.
Fireplace Rooms
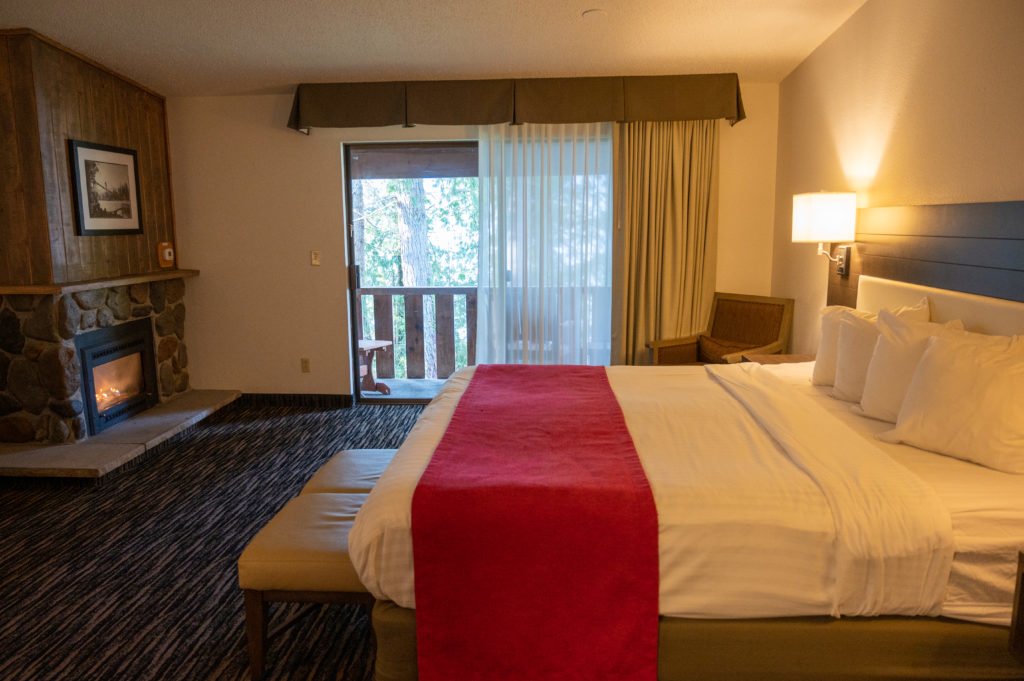
The fireplace rooms are in a separate building that is accessible through the second story of the main lodge. It is also accessed directly from the parking lot next to the main lodge. These rooms come equipped with gas fireplaces and offer lake views. Trees partially obstruct some of the lake views.
Each of the fireplace rooms includes a private balcony with a seating area. The fireplace rooms also include a mini-fridge, television (with about ten cable channels), and heated bathroom floors.
Boathouse Rooms
The boathouse is a separate two-story building located on the opposite side of the property from the fireplace rooms. It is not attached to the main lodge at all and sits a little below the main lodge and is closer to the lake.
Constructed with a wrap-around deck, guests enjoy easy access to the lawn and lake. Only some of the rooms at the boathouse offer lake views. The first-floor accommodations of the boathouse are the only rooms where pets are allowed to stay on the Lake Quinault Lodge property.
The Beverly Suite occupies the top floor of the boathouse and provides the experience of staying at your own private residence on Lake Quinault. It has two bedrooms, a sleeper sofa, a kitchen, and a living room area with a television.
Lakeside Rooms
Room Amenities:
All rooms on the Lake Quinault Lodge property offer coffee makers and bottled water. I appreciated the two bottles of water I received each day during my stay. They were perfect for taking with me in the car for my day hikes around the lake. Some of the rooms include TVs and about ten or so cable channels, but most do not have any television. The main lodge and fireside rooms also include Wi-Fi.
There is no room service, and there are no phones in the rooms. Lake Quinault Lodge is about unplugging and unwinding.
Pool & Sauna:
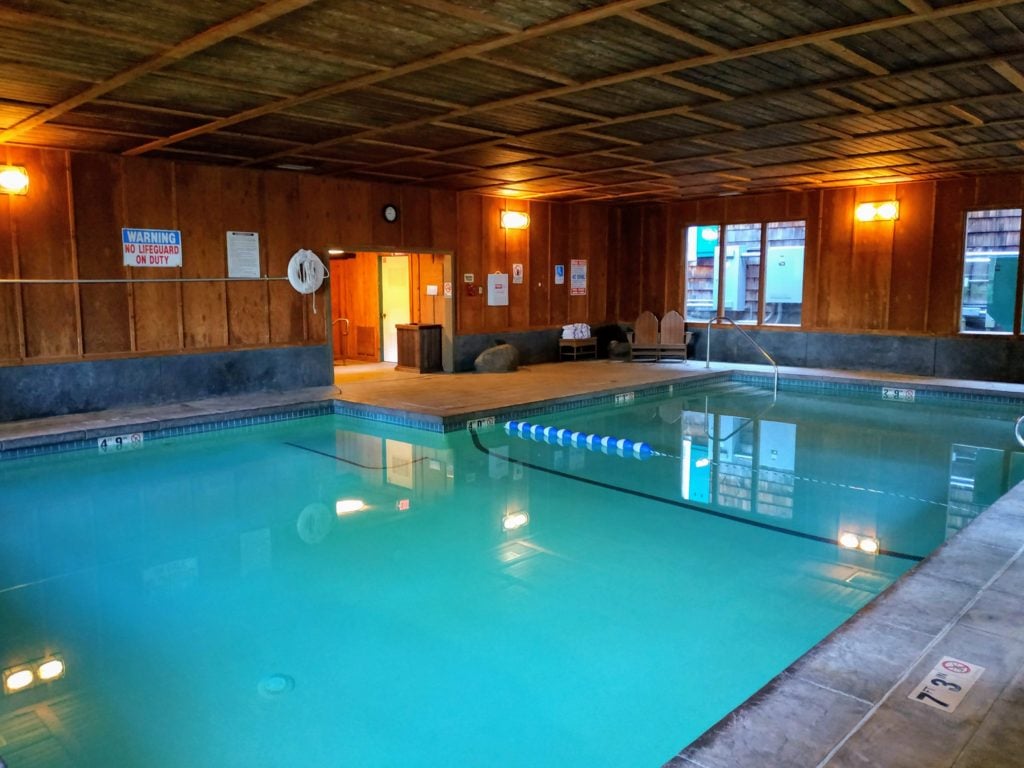
The main lodge has a pool and sauna that is available to all guests, and it’s open from 9 a.m. until 10 p.m. each day. There are changing rooms outside the pool in case you happen to come during the winter and don’t want to make the chilly walk to the pool.
Game Room:
Next to the pool and sauna is the game room. There are a couch and television in one area where parents or kids can lounge around watching a little cable television. A shuffleboard is in one corner and a ping pong table (aka tabletop tennis) and a Foosball table in another area of the game room. The game room, combined with the pool option, makes for great spaces when the weather is less than desirable outside.
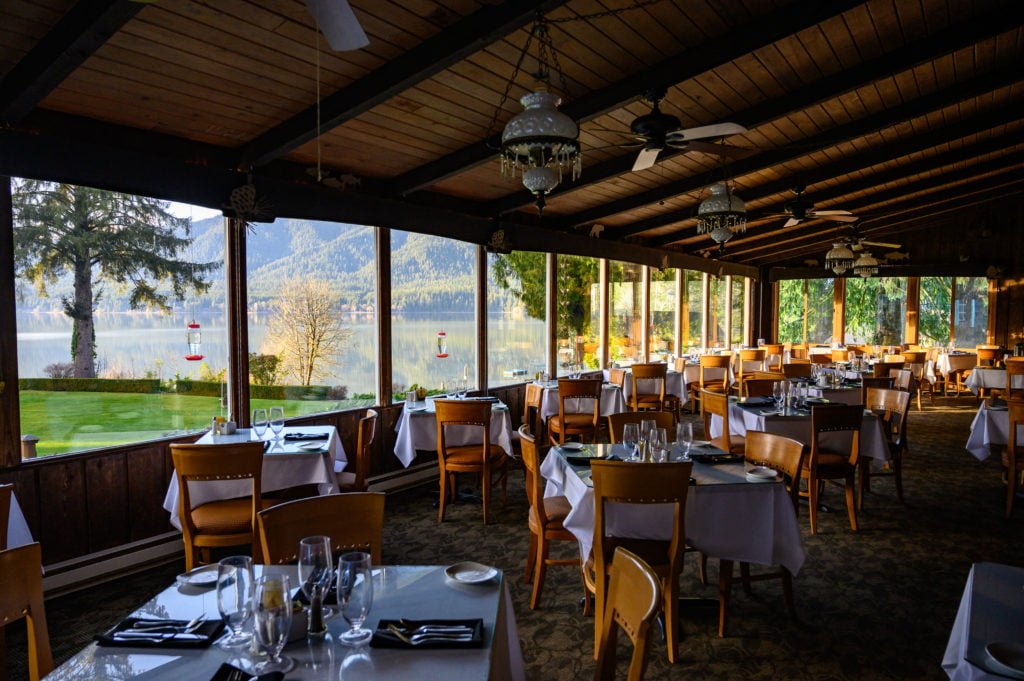
Roosevelt Dining Room
The Roosevelt Dining Room offers relaxing views of the lawn and lake. I dined here for breakfast on a rainy day, and it was so peaceful to watch the rain out the wall of windows.
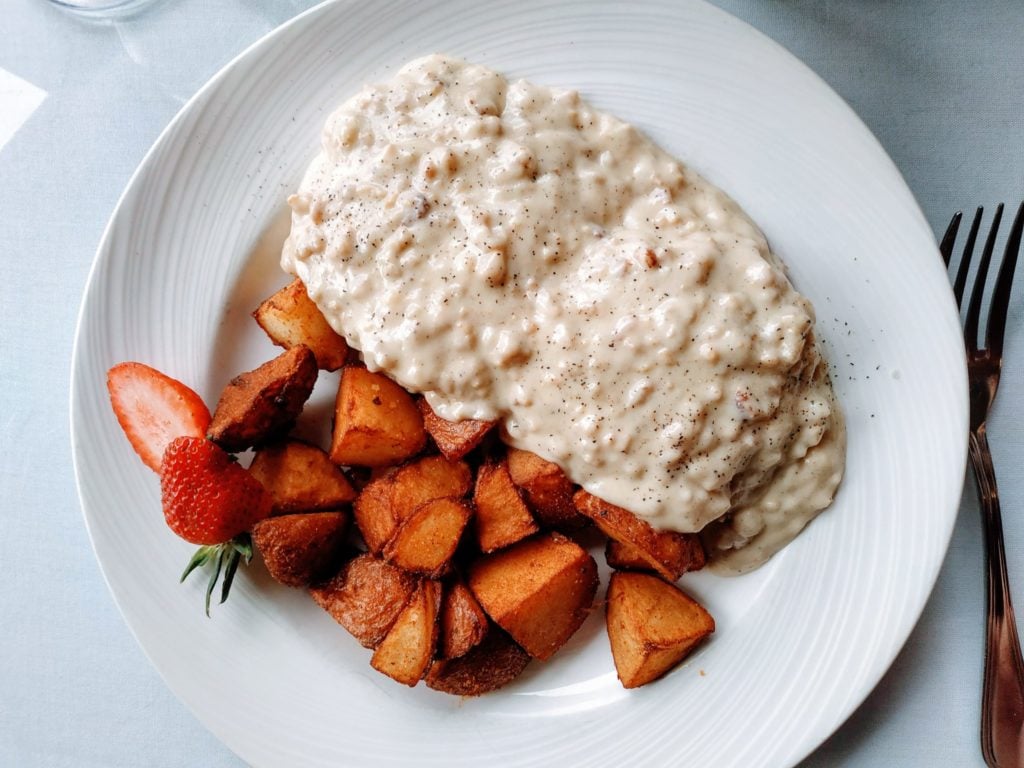
There are also hummingbird feeders set up along the windows so we could watch the hummingbirds feed while eating our breakfast. The sausage biscuits and gravy, as well as the spinach, mushroom, and goat cheese omelet, were delicious!
Dinner here is also amazing. You can watch the sunset over the lake and catch glimpses of its colors through the trees. During the busy months, make sure to make a reservation and snag a window seat when possible.
Sitting Room:
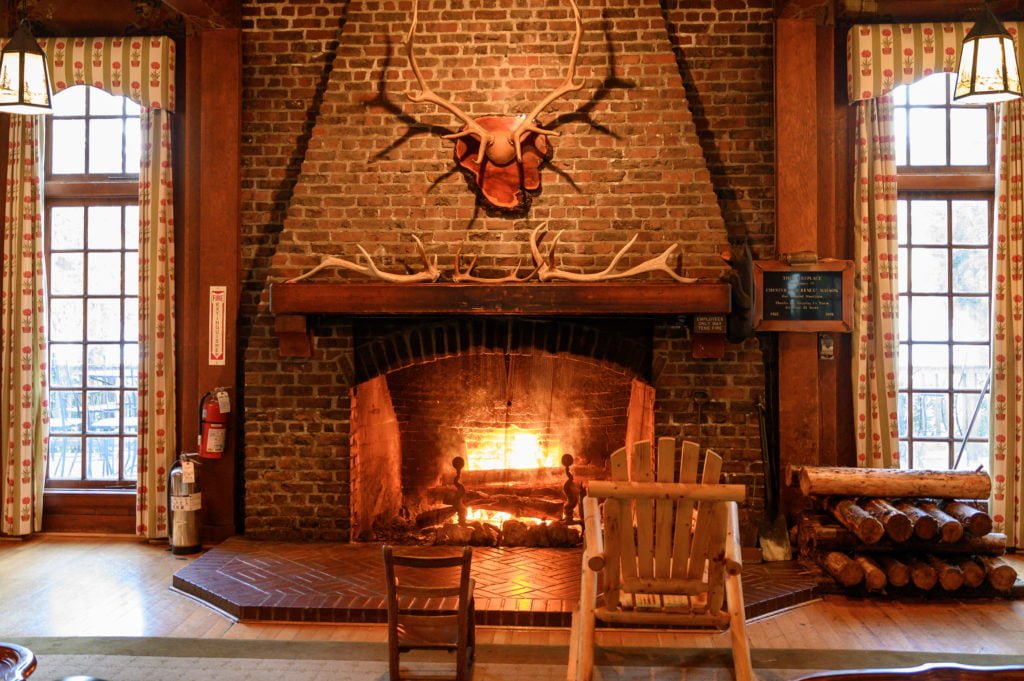
On the main floor of the lodge is a large sitting area. Gorgeous timber beams painted with Northwest designs act as supports throughout the space, and in the center of the room is a giant fireplace. It’s the perfect place to settle into one of the comfy chairs for a cozy read with your favorite book.
Glance out the large windows on either side of the fireplace and enjoy views of the sprawling lawn and lake. This will be your favorite space on a rainy day. It feels so cozy, and the lodge makes you feel as though you’ve stepped into some time portal into the early 20th century.
The sitting room also has a jumbo-sized chess set, historical photographs scatter the walls, and there are puzzle tables replete with puzzle pieces (I assume all of the pieces are there). In the mornings, you can find complimentary coffee supplied here. What a great place for your first (or perhaps second) cup of morning coffee.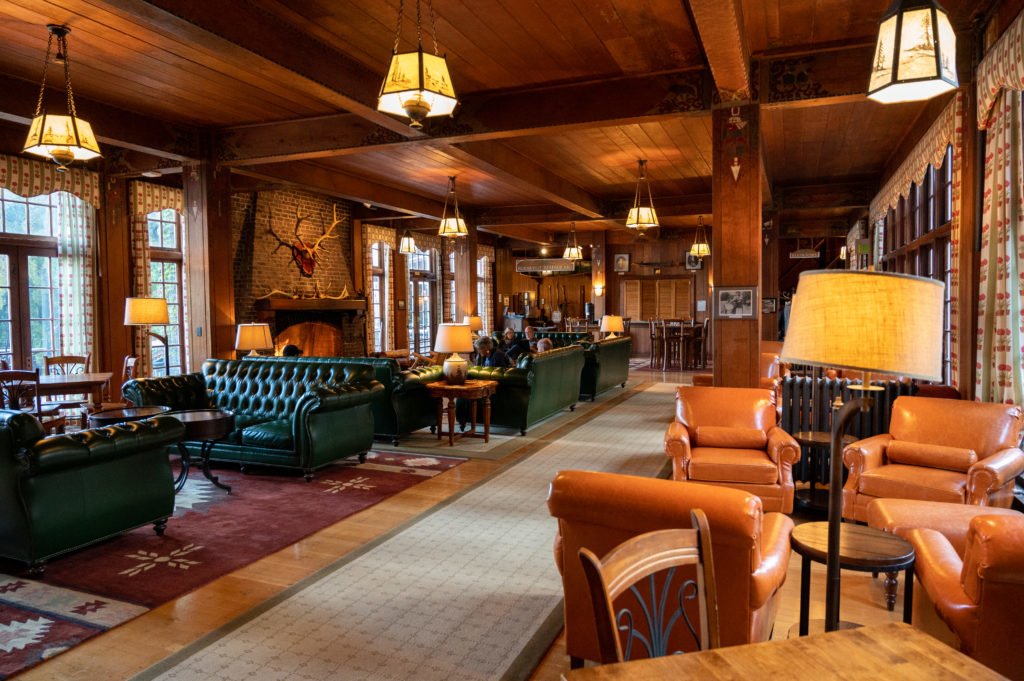
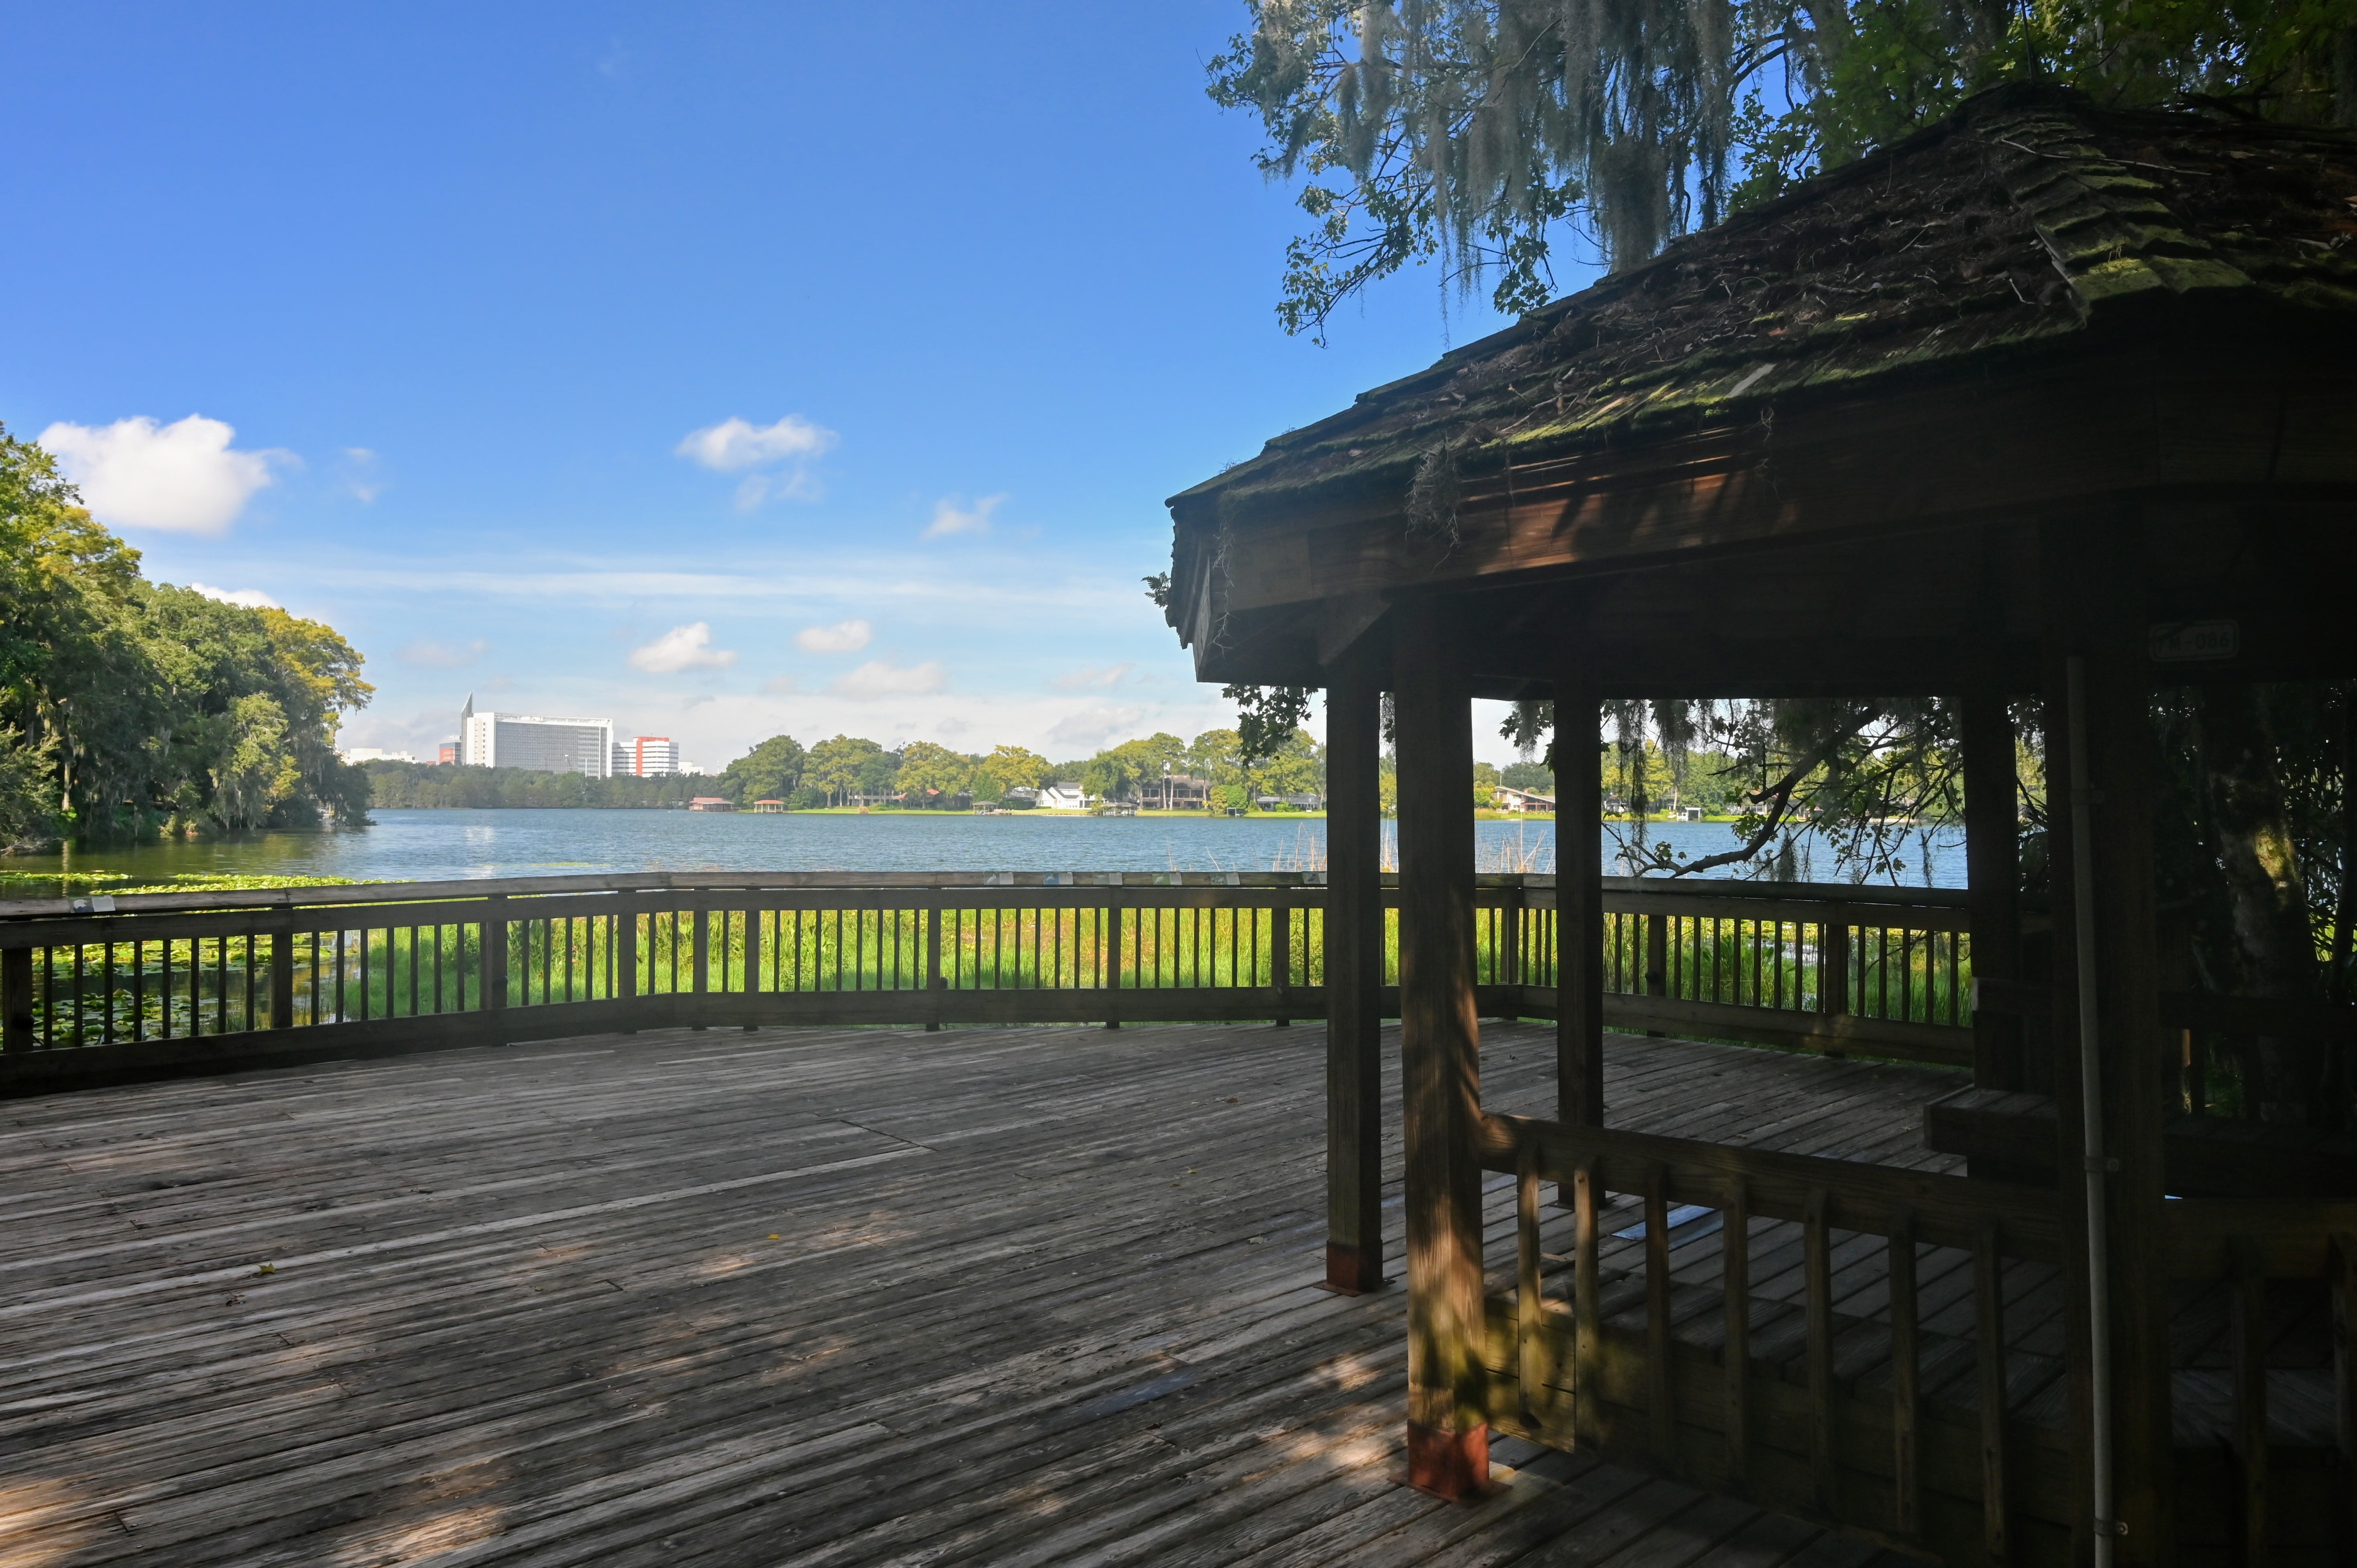
Deck and Lawn Area
When the weather is sunny, the deck off the backside of the main lodge is a beautiful place to enjoy a cup of coffee. Tables and chairs are scattered along it to create spaces to soak in the occasional bouts of sunshine. Adirondack chairs dot the lush green lawn in front of the deck area.
These chairs are my favorite type for lounging in, chatting with a friend, or reading a good book. There is also a gazebo on one side of the lawn, which lights up at night. Next to the gazebo is a horseshoe pit where you can test out your throwing skills. I admit, I’m lousy at horseshoes, but I still enjoy playing.
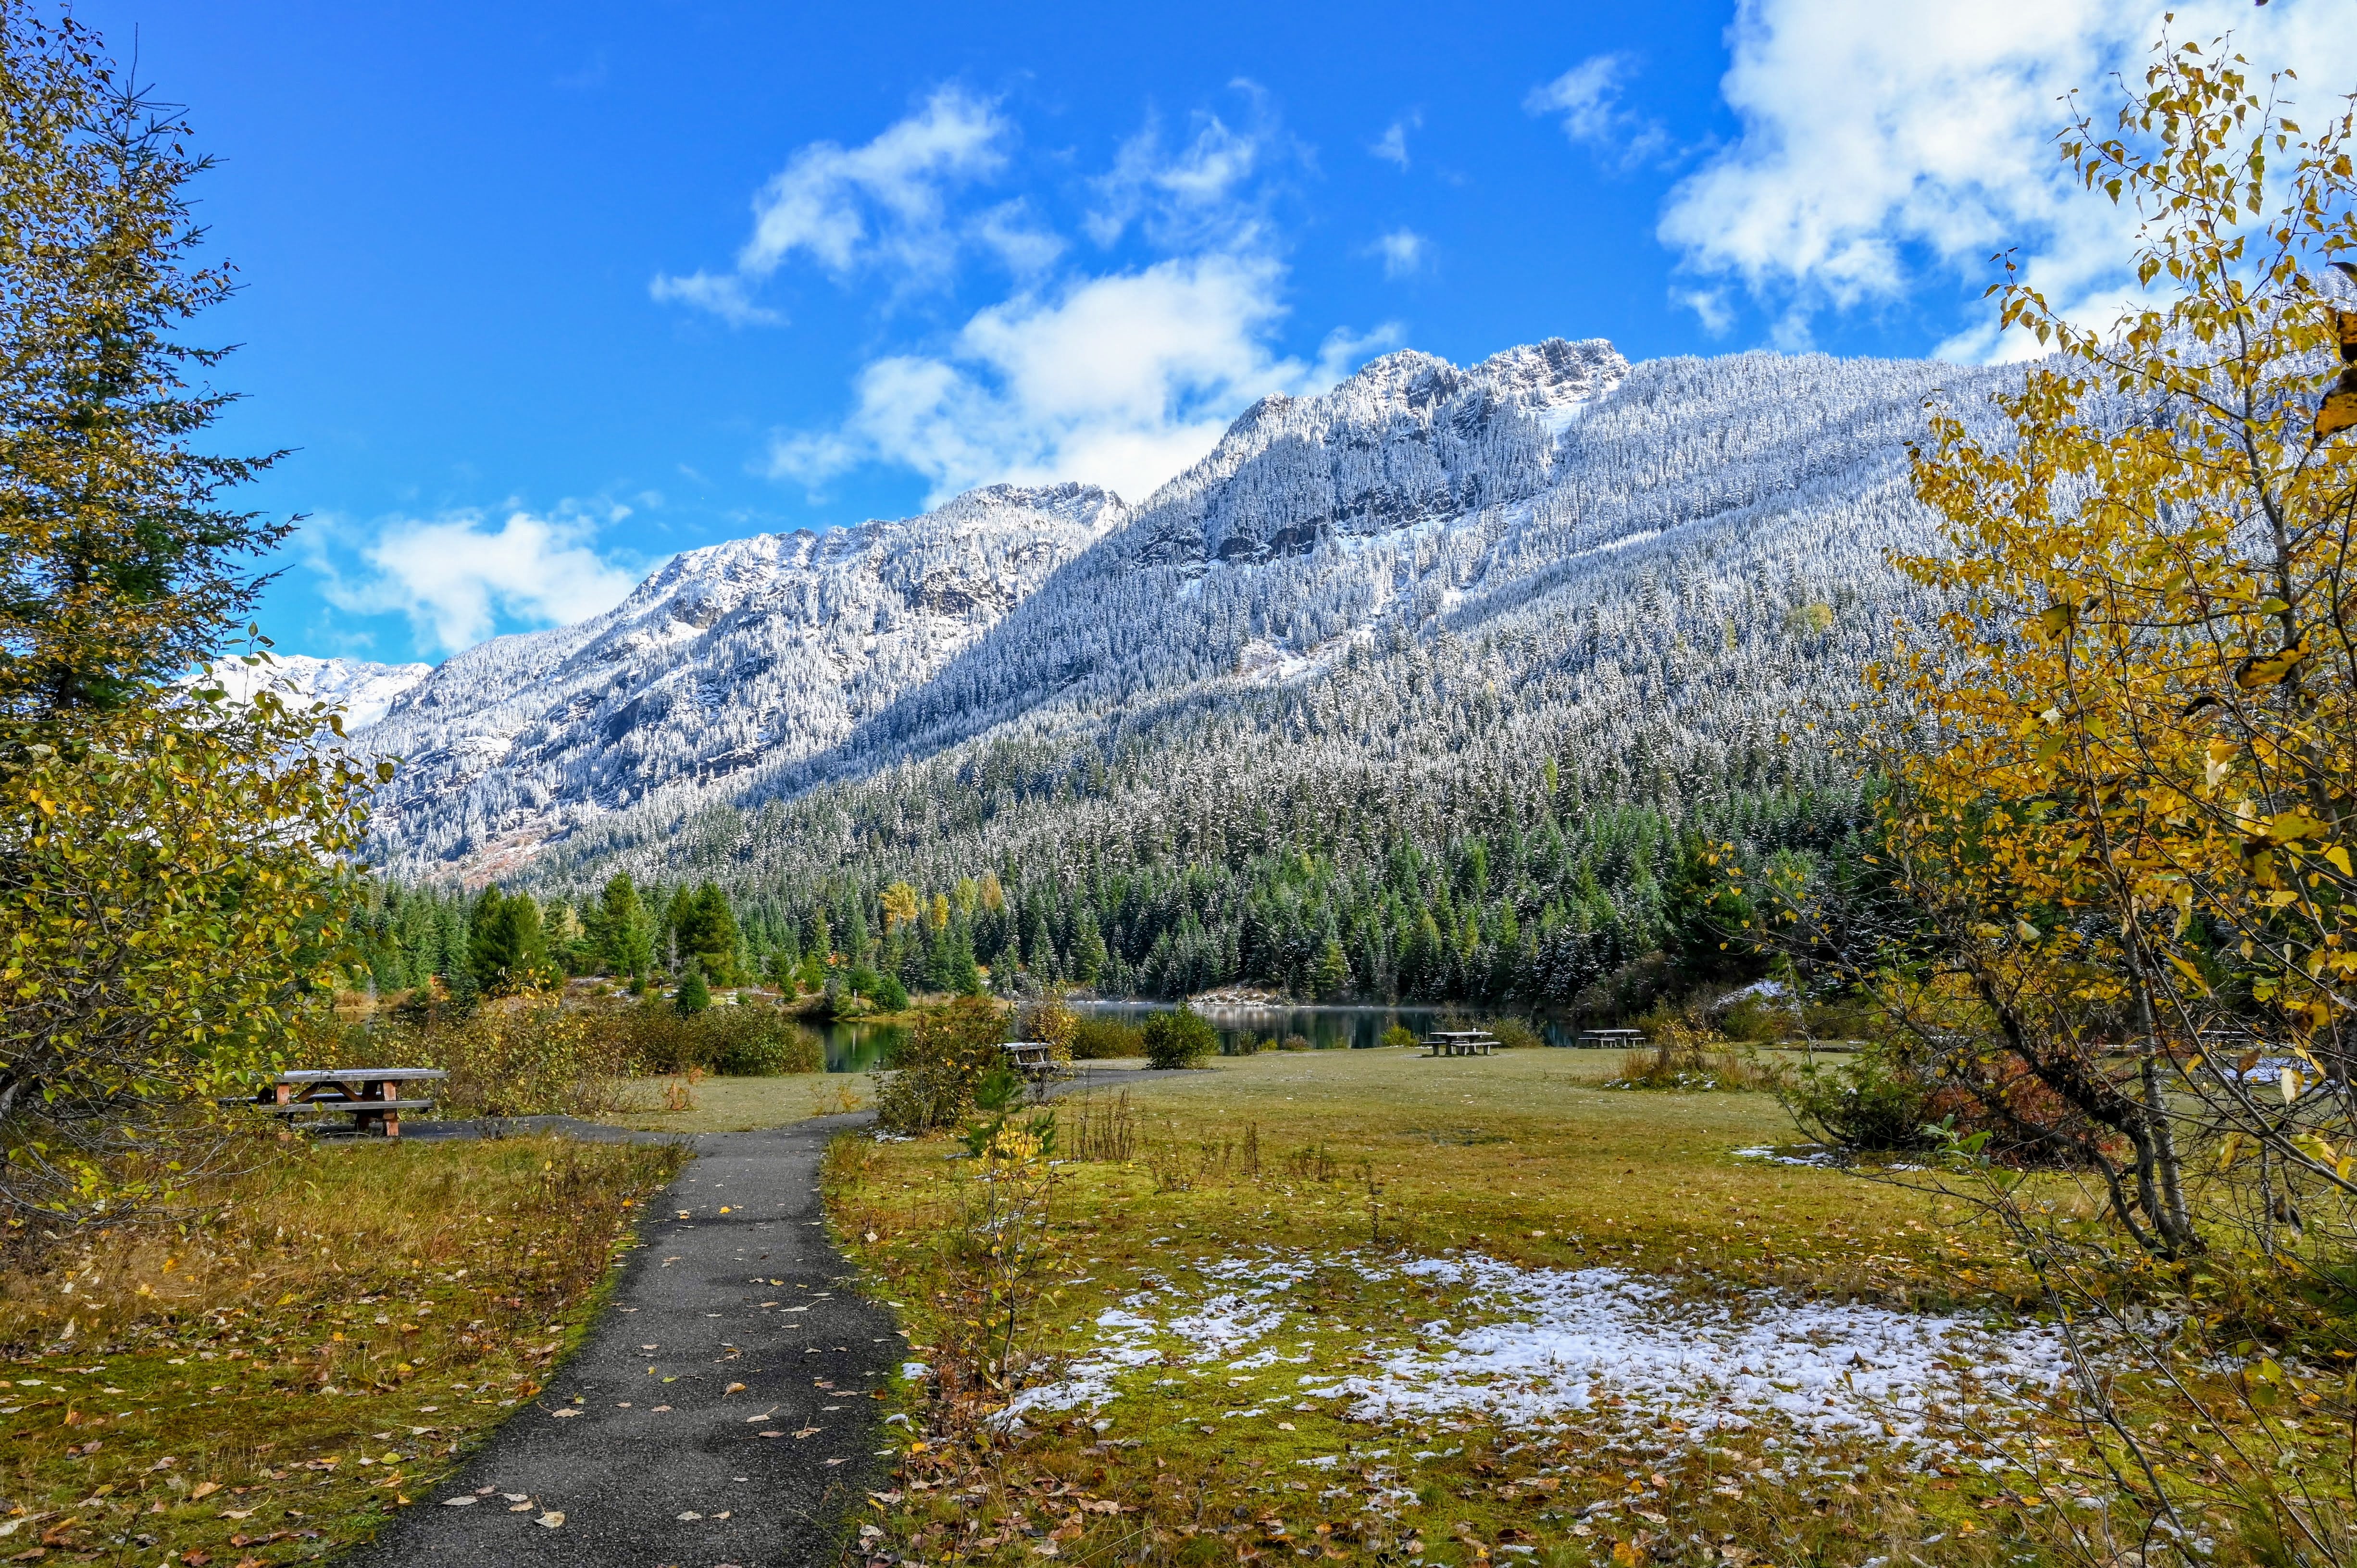
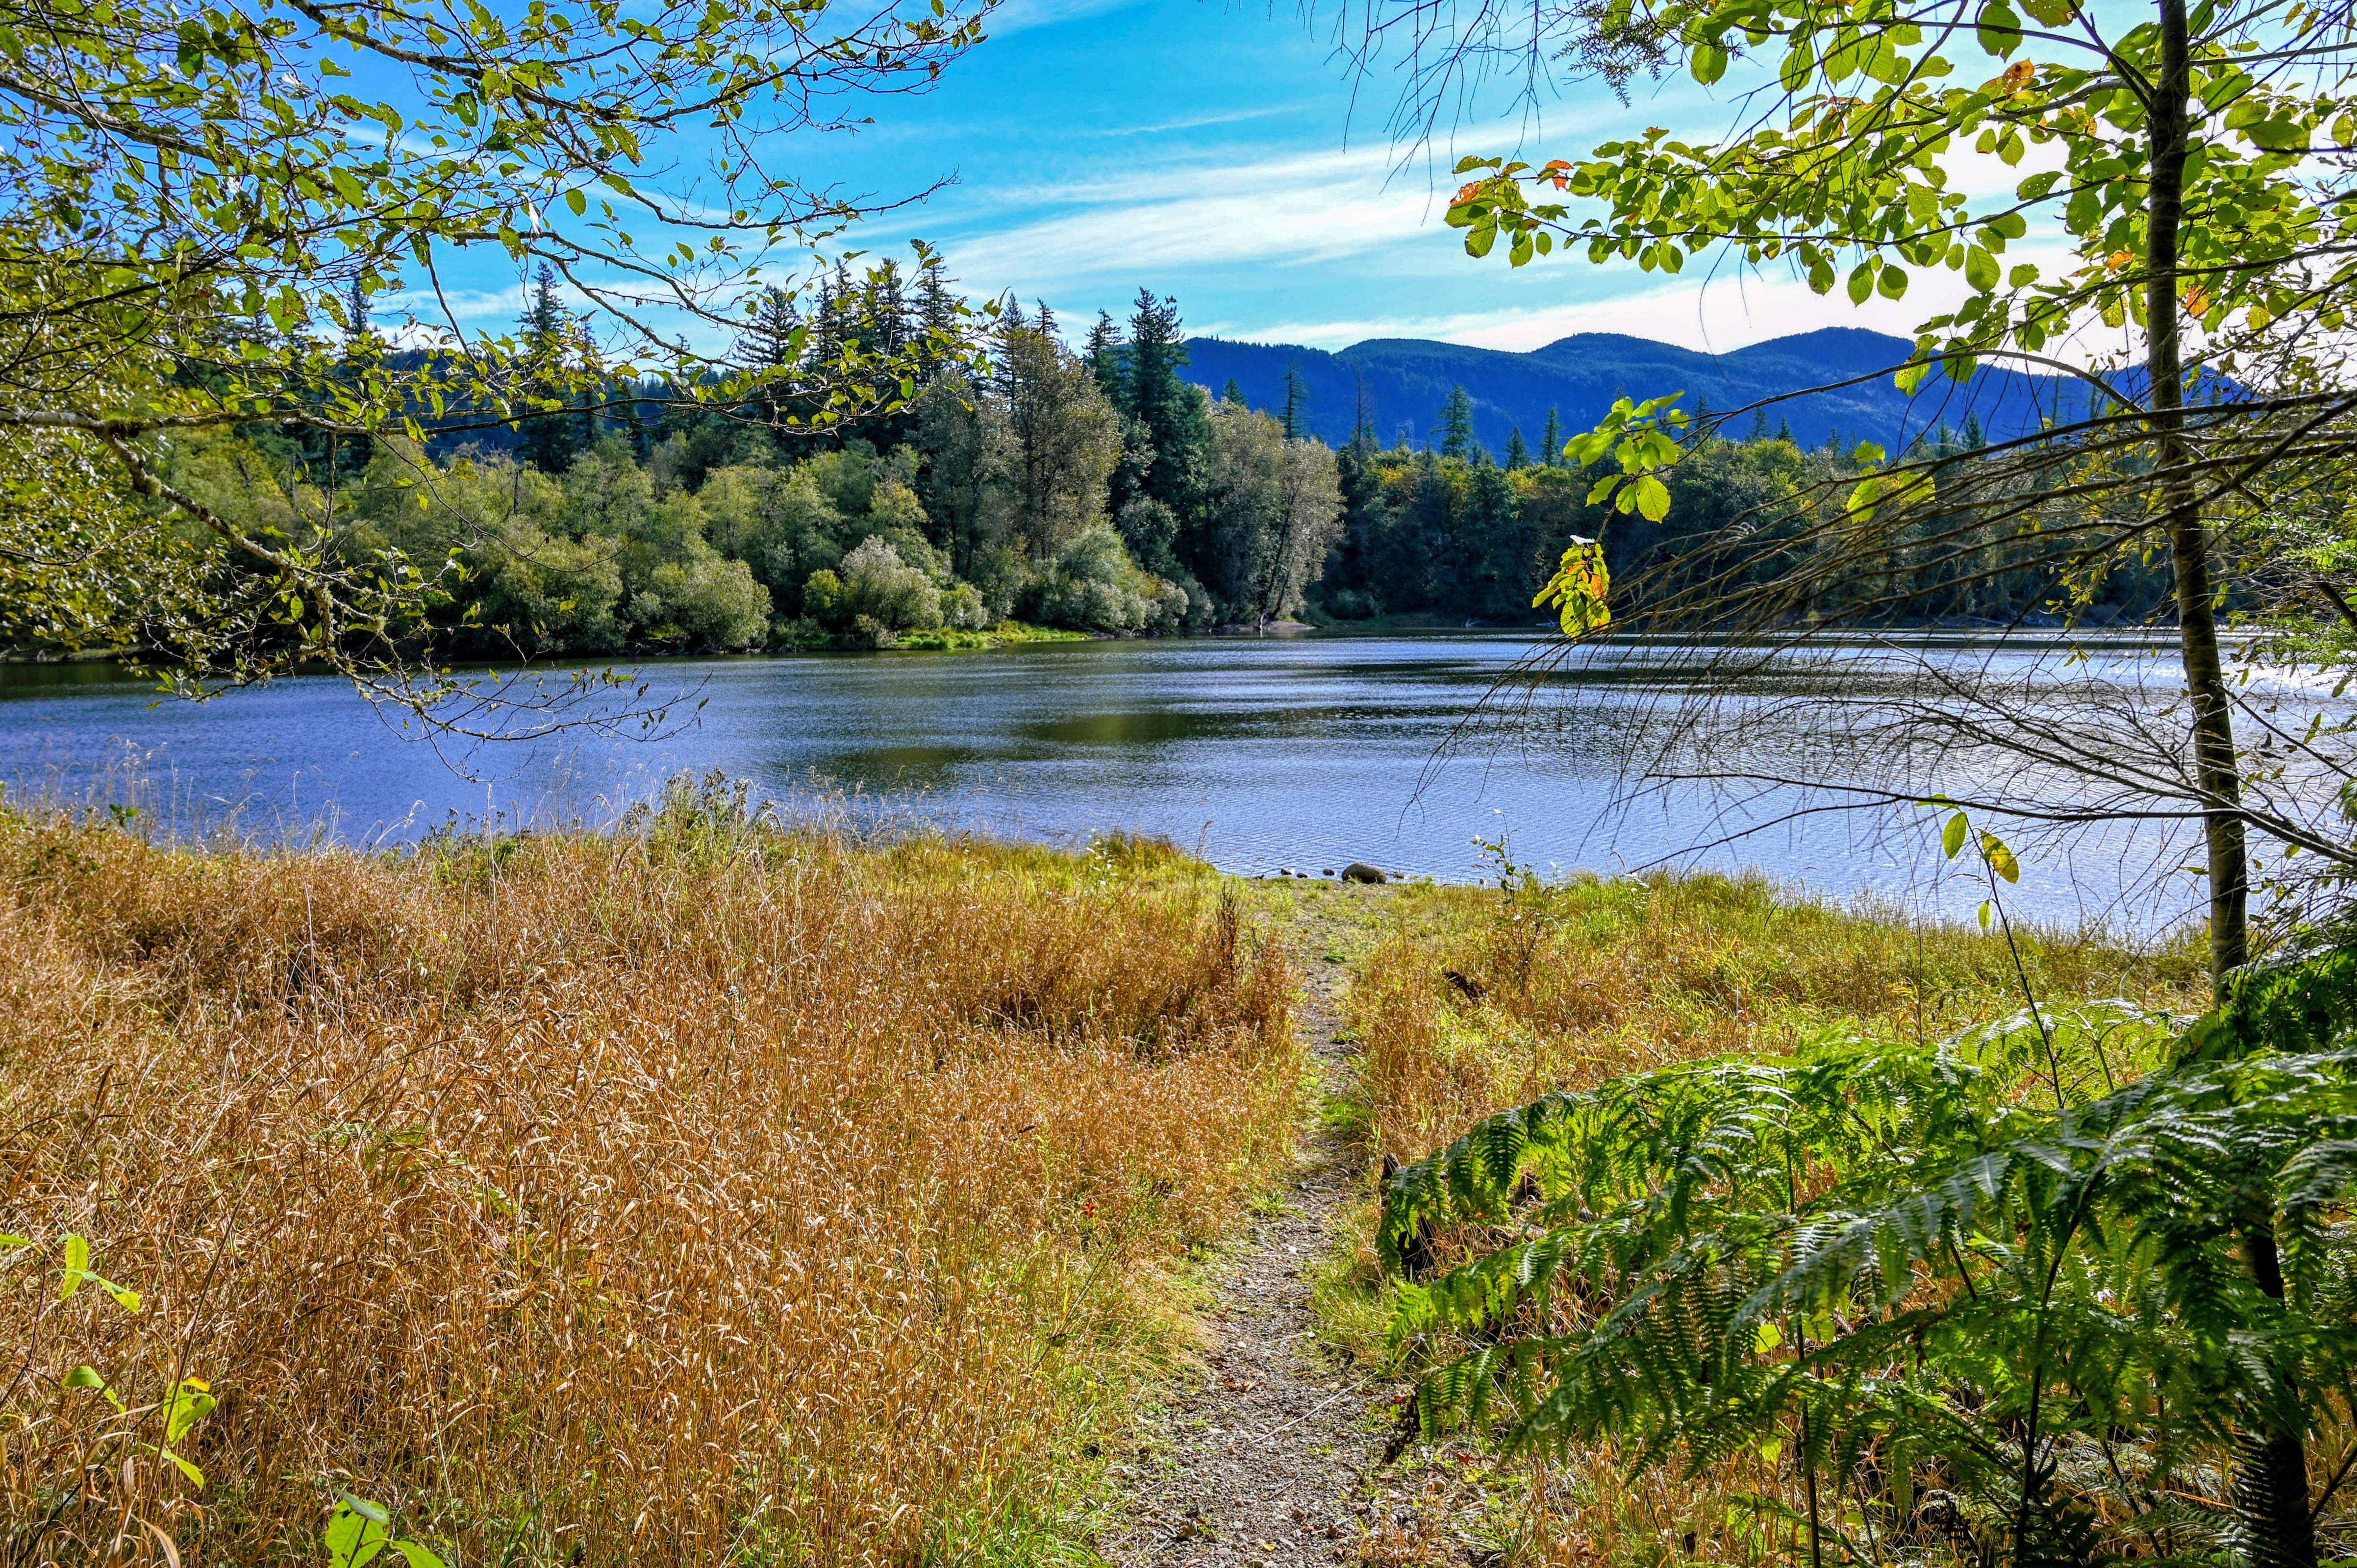
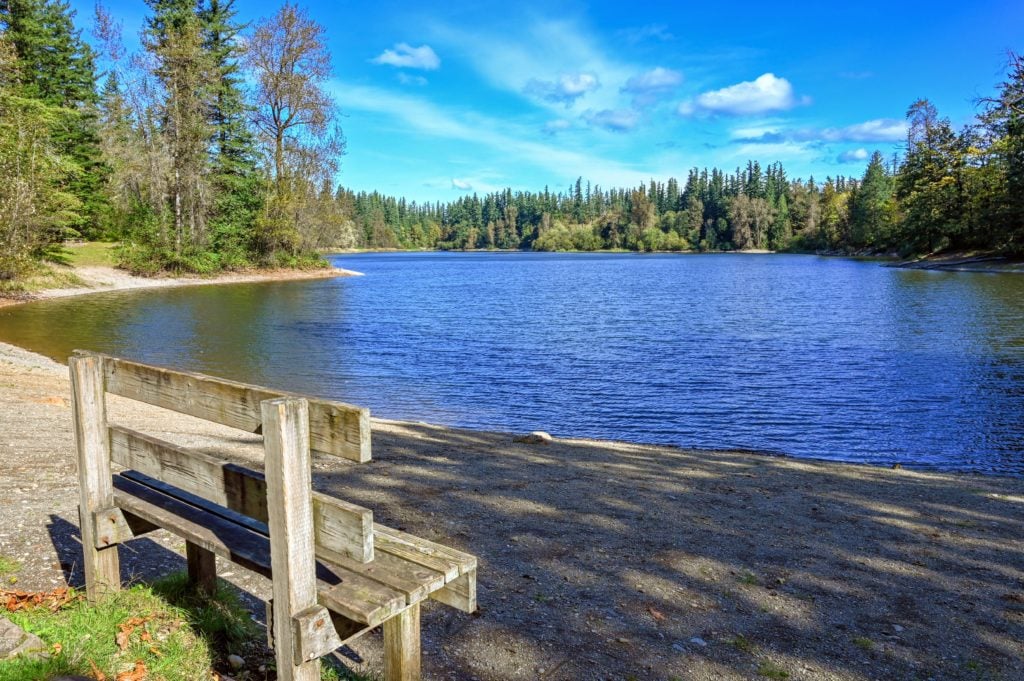
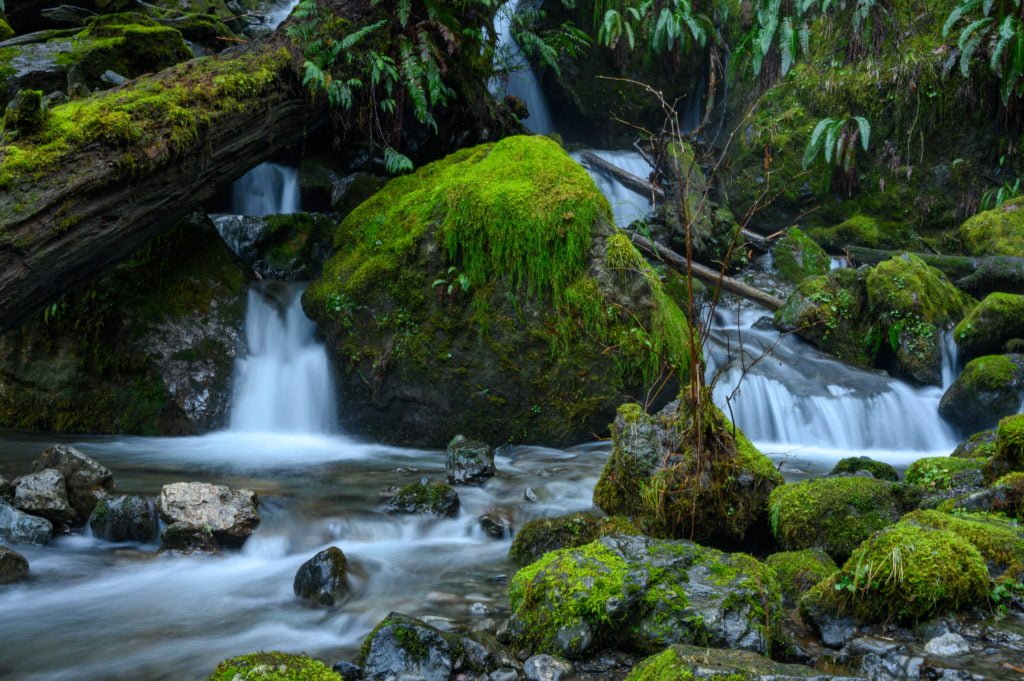
Lake Quinault
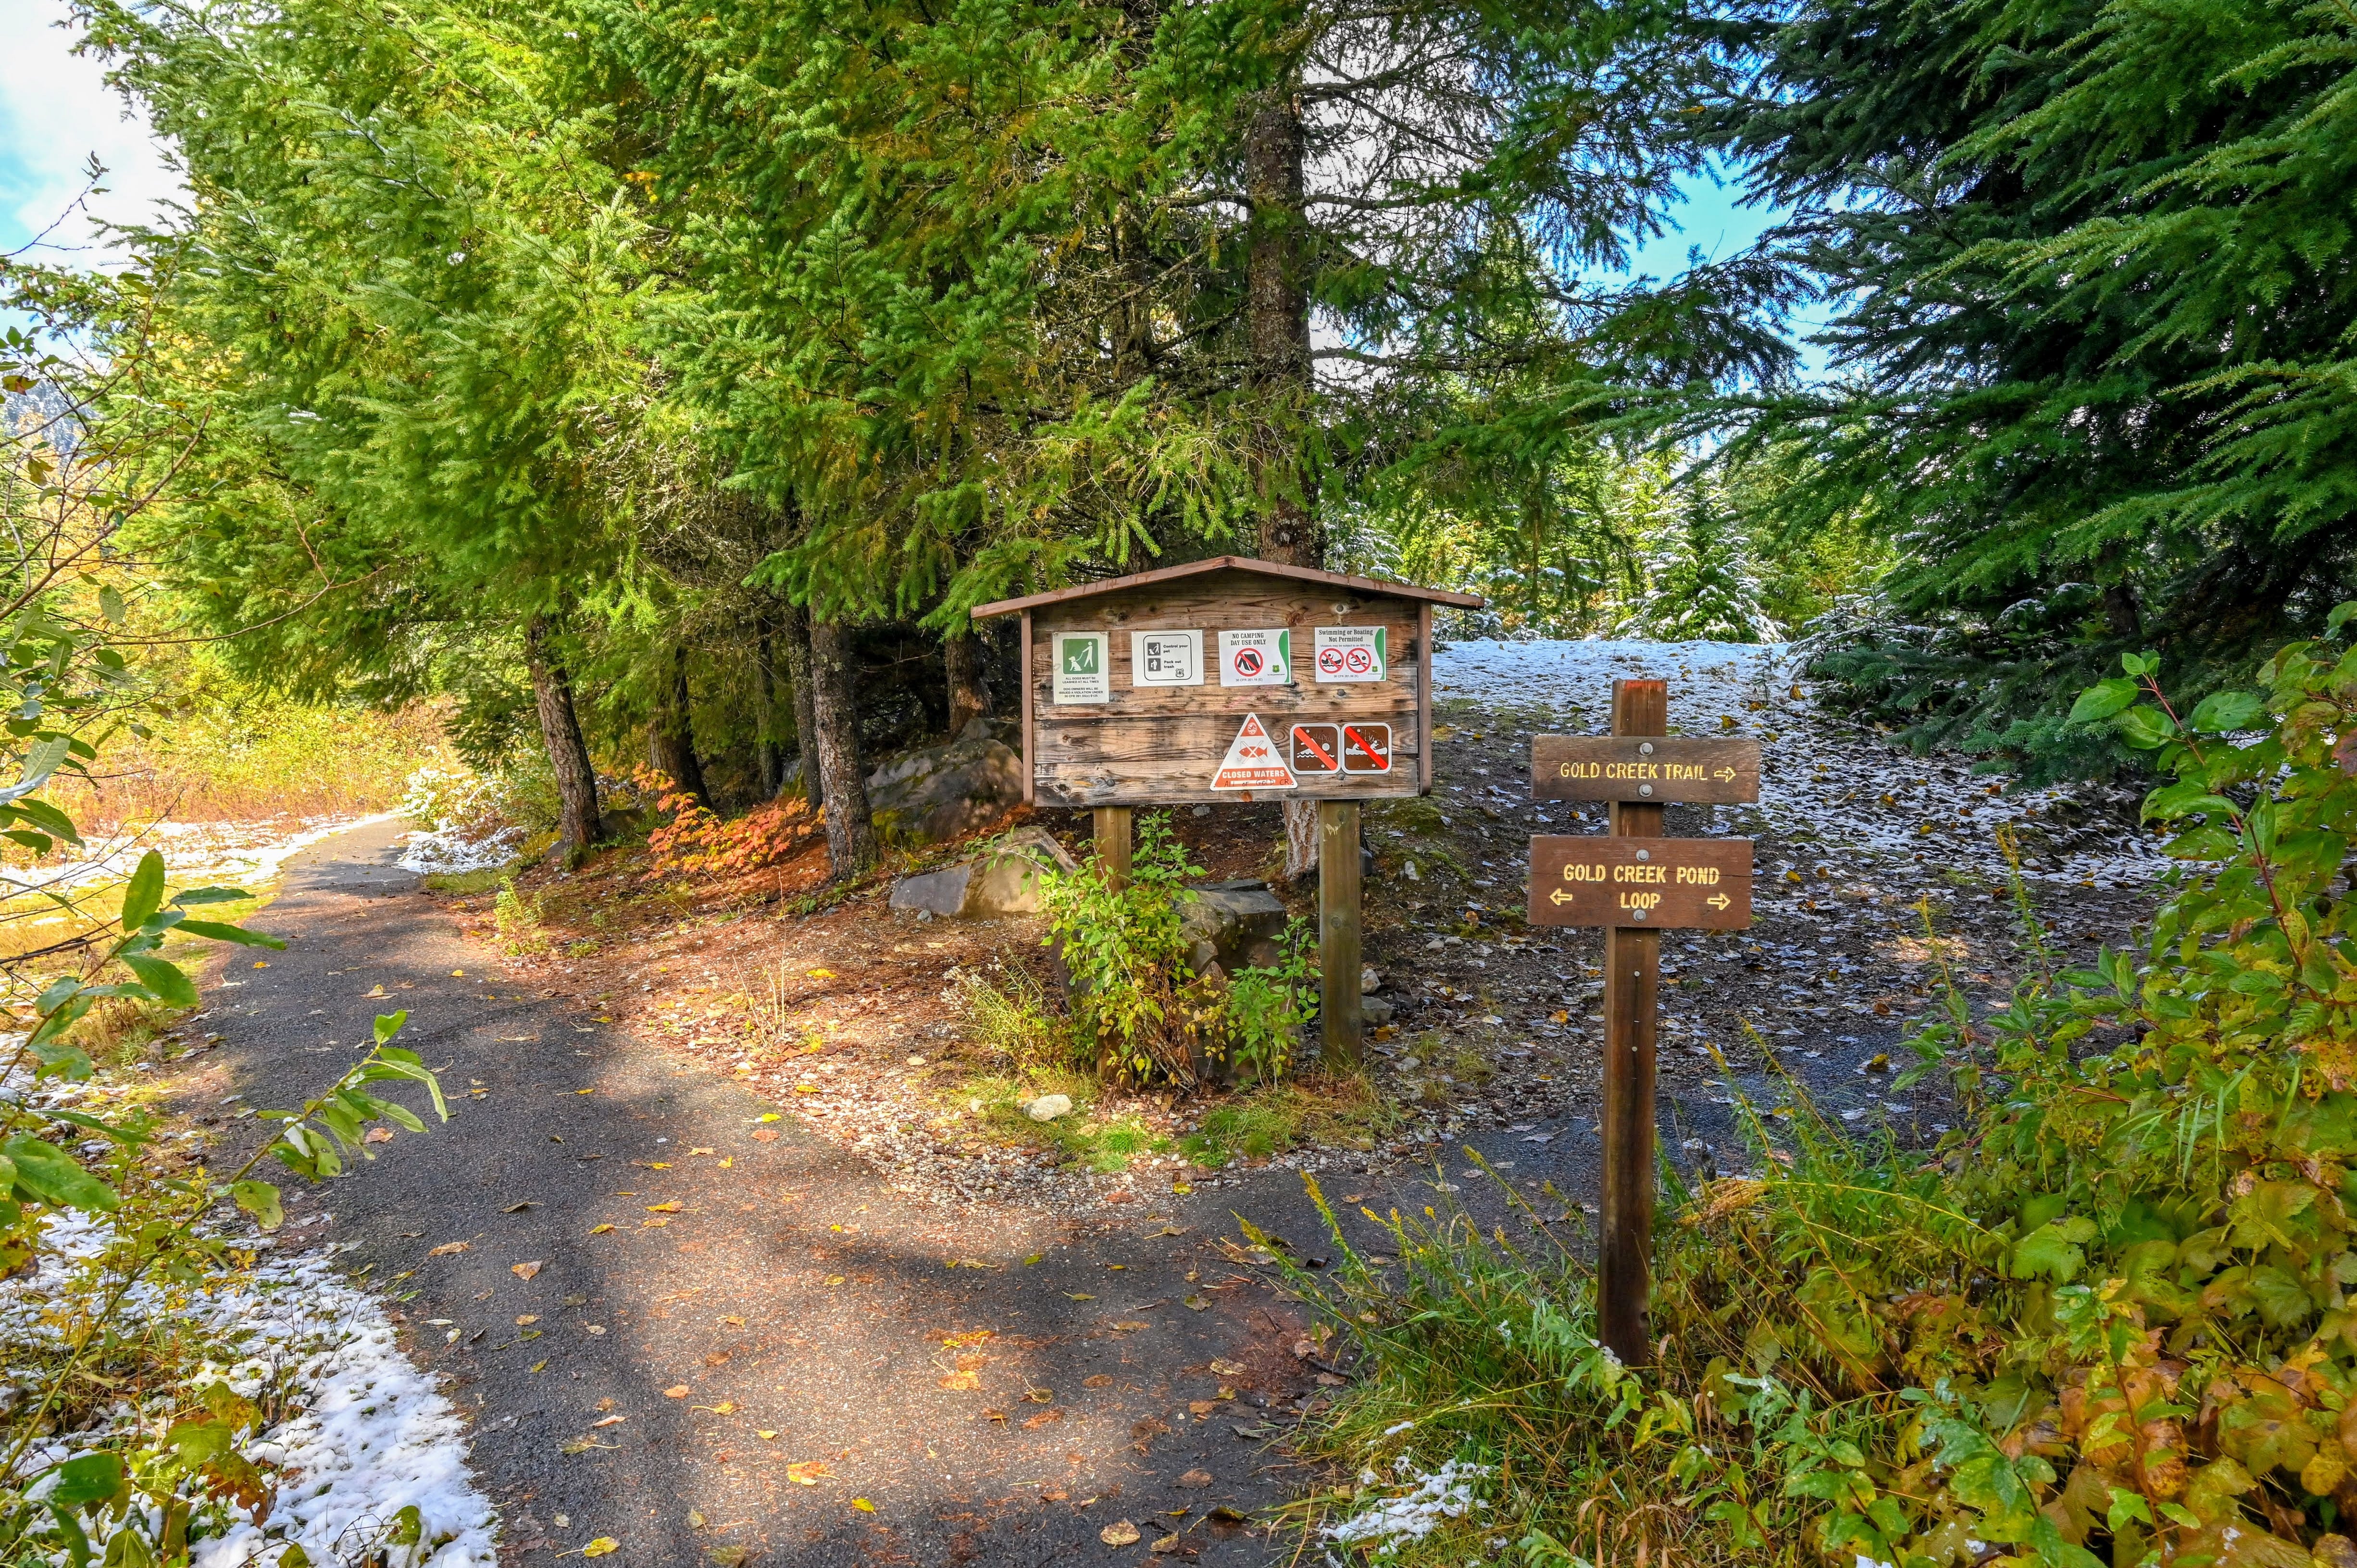
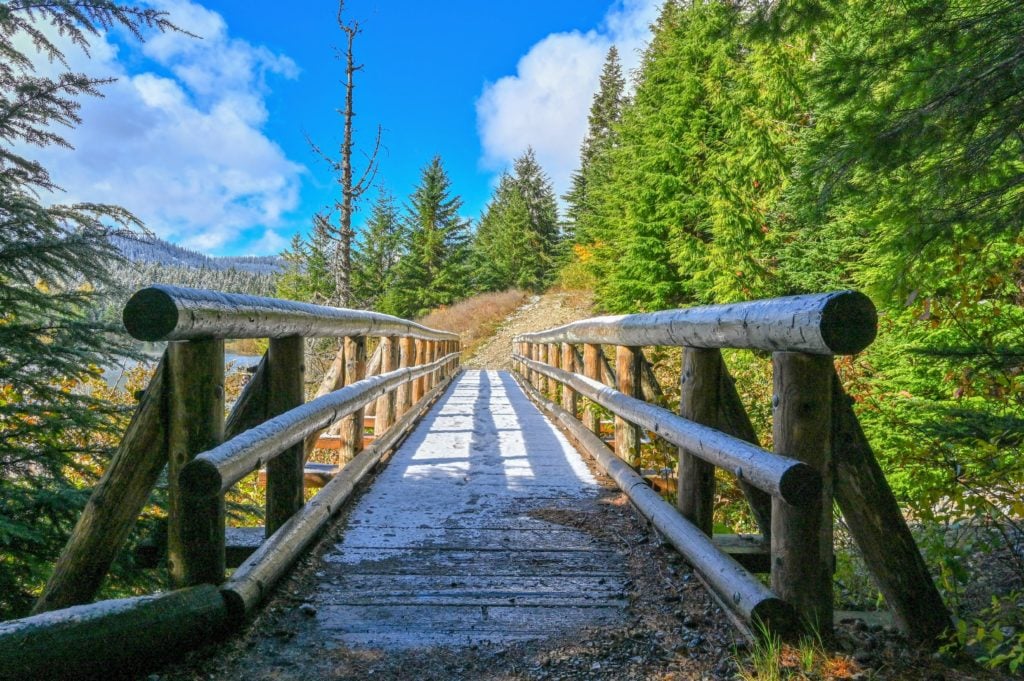
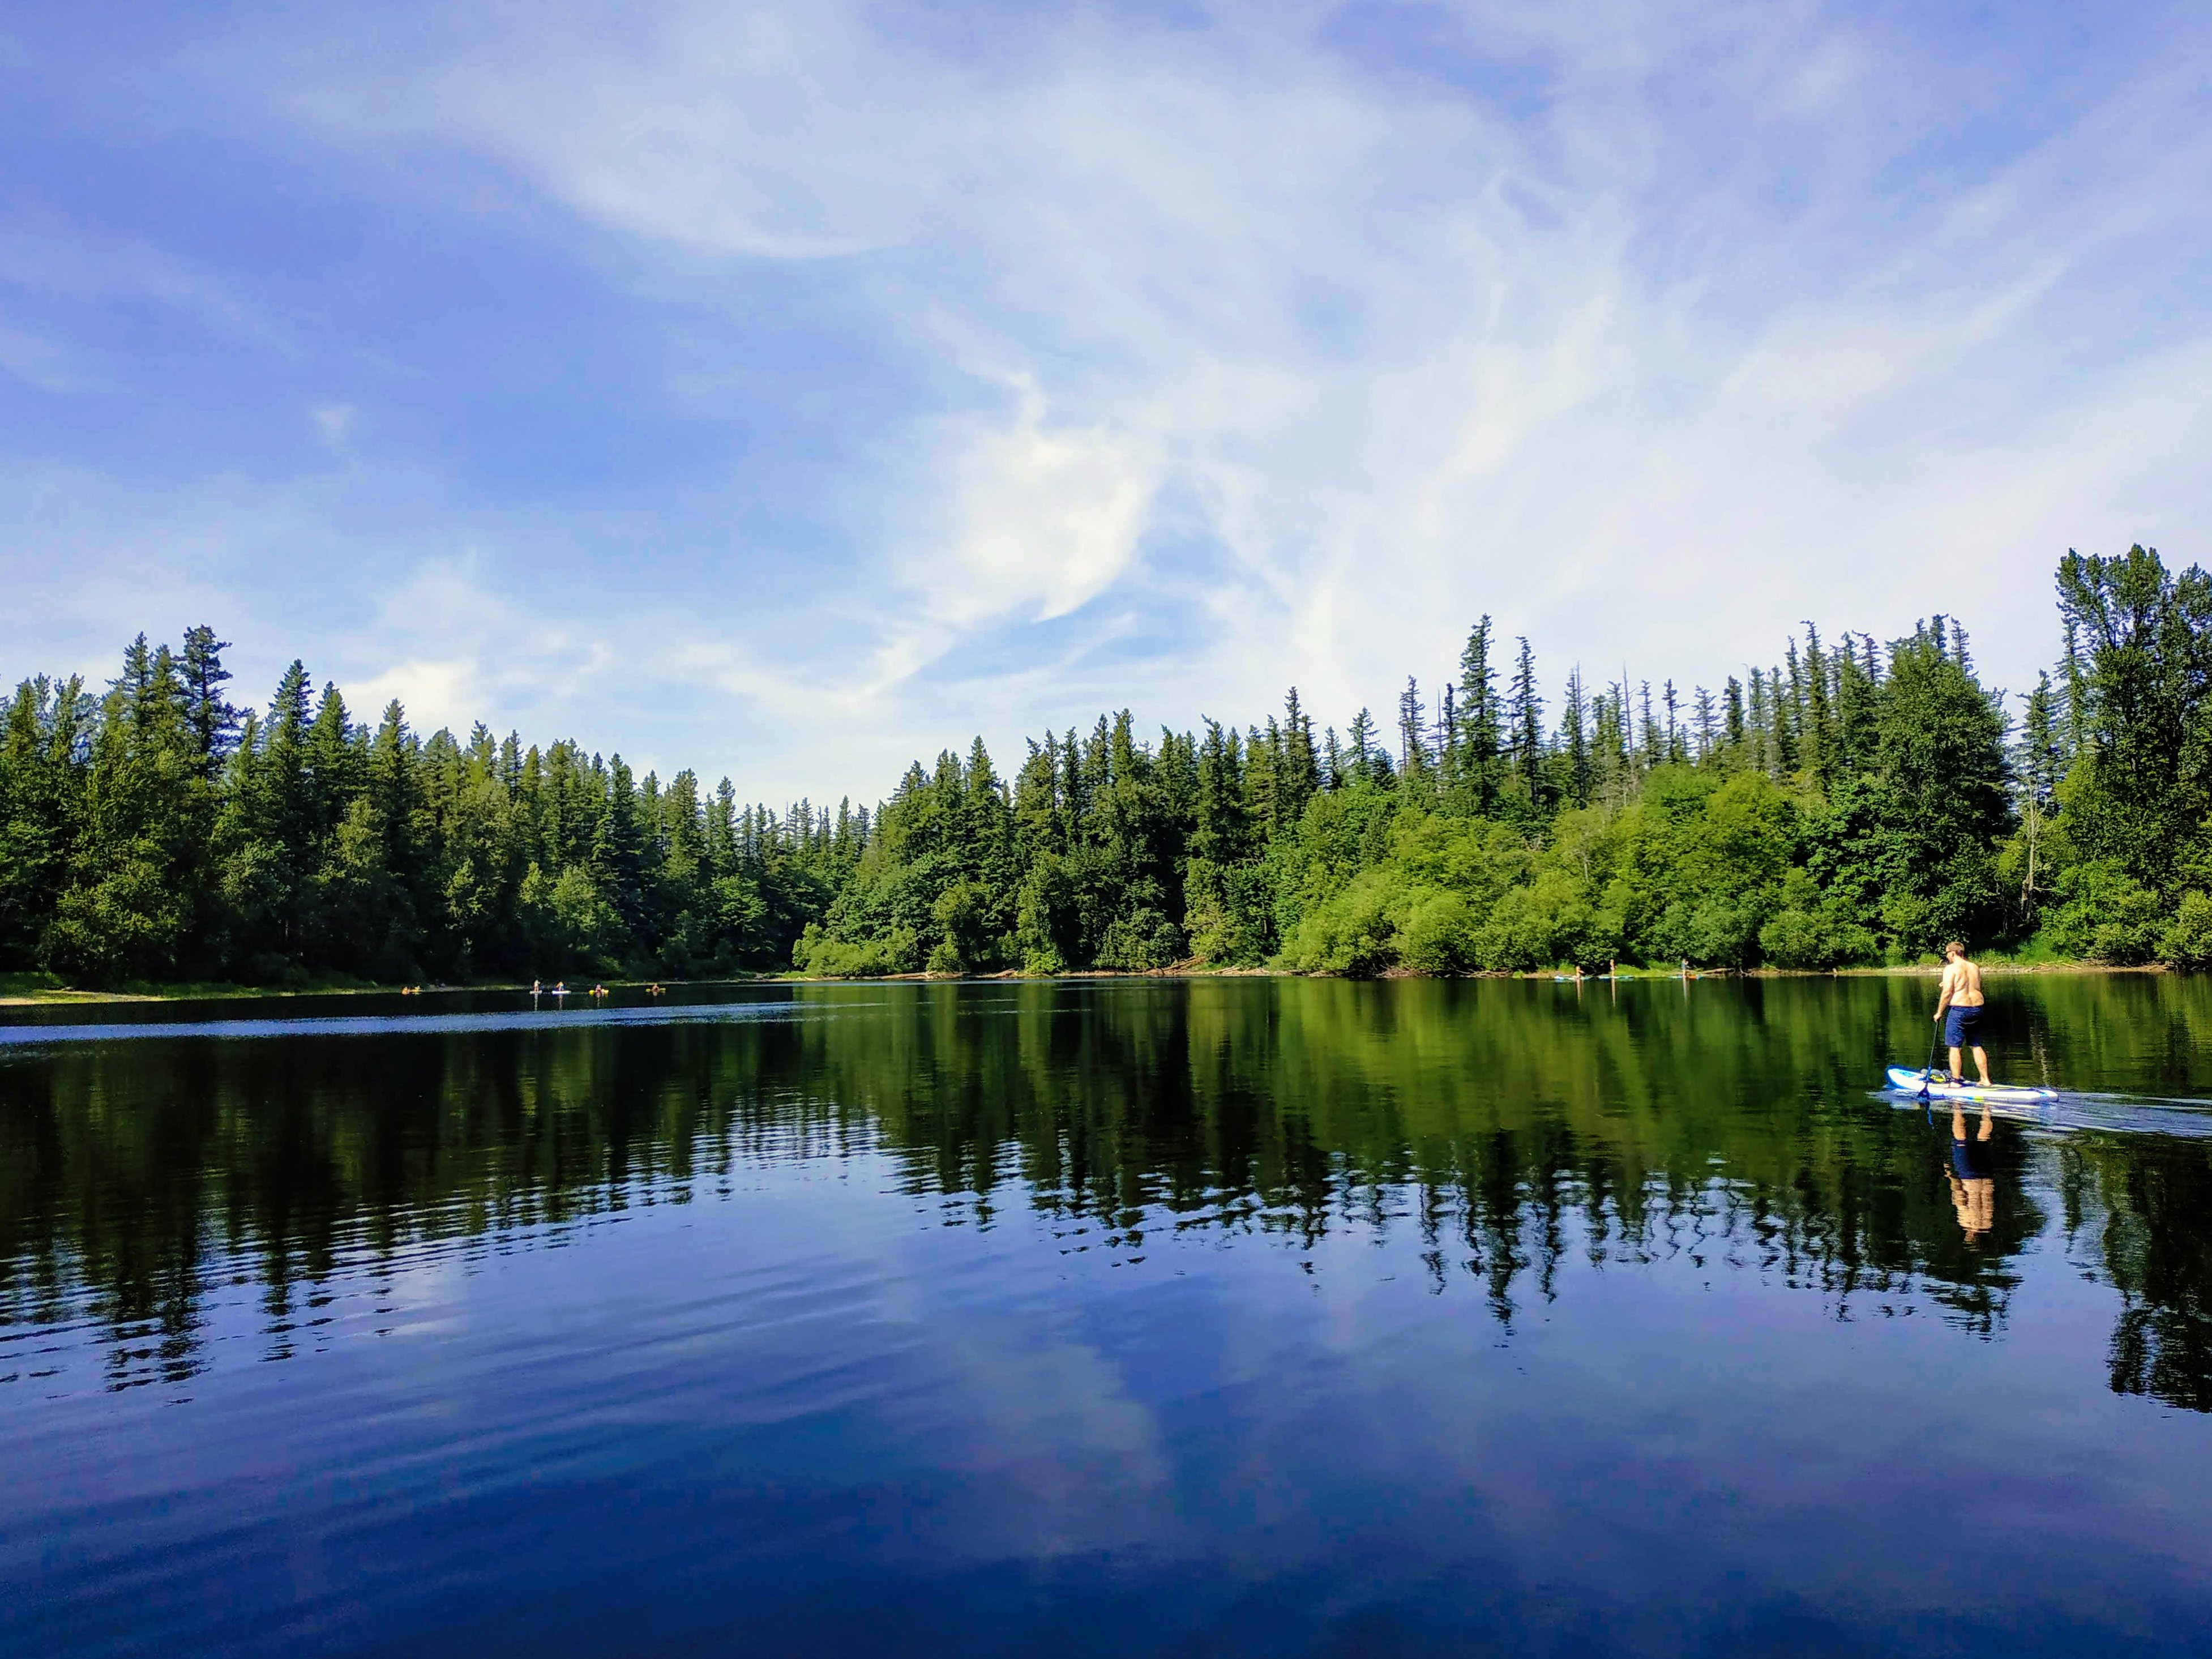
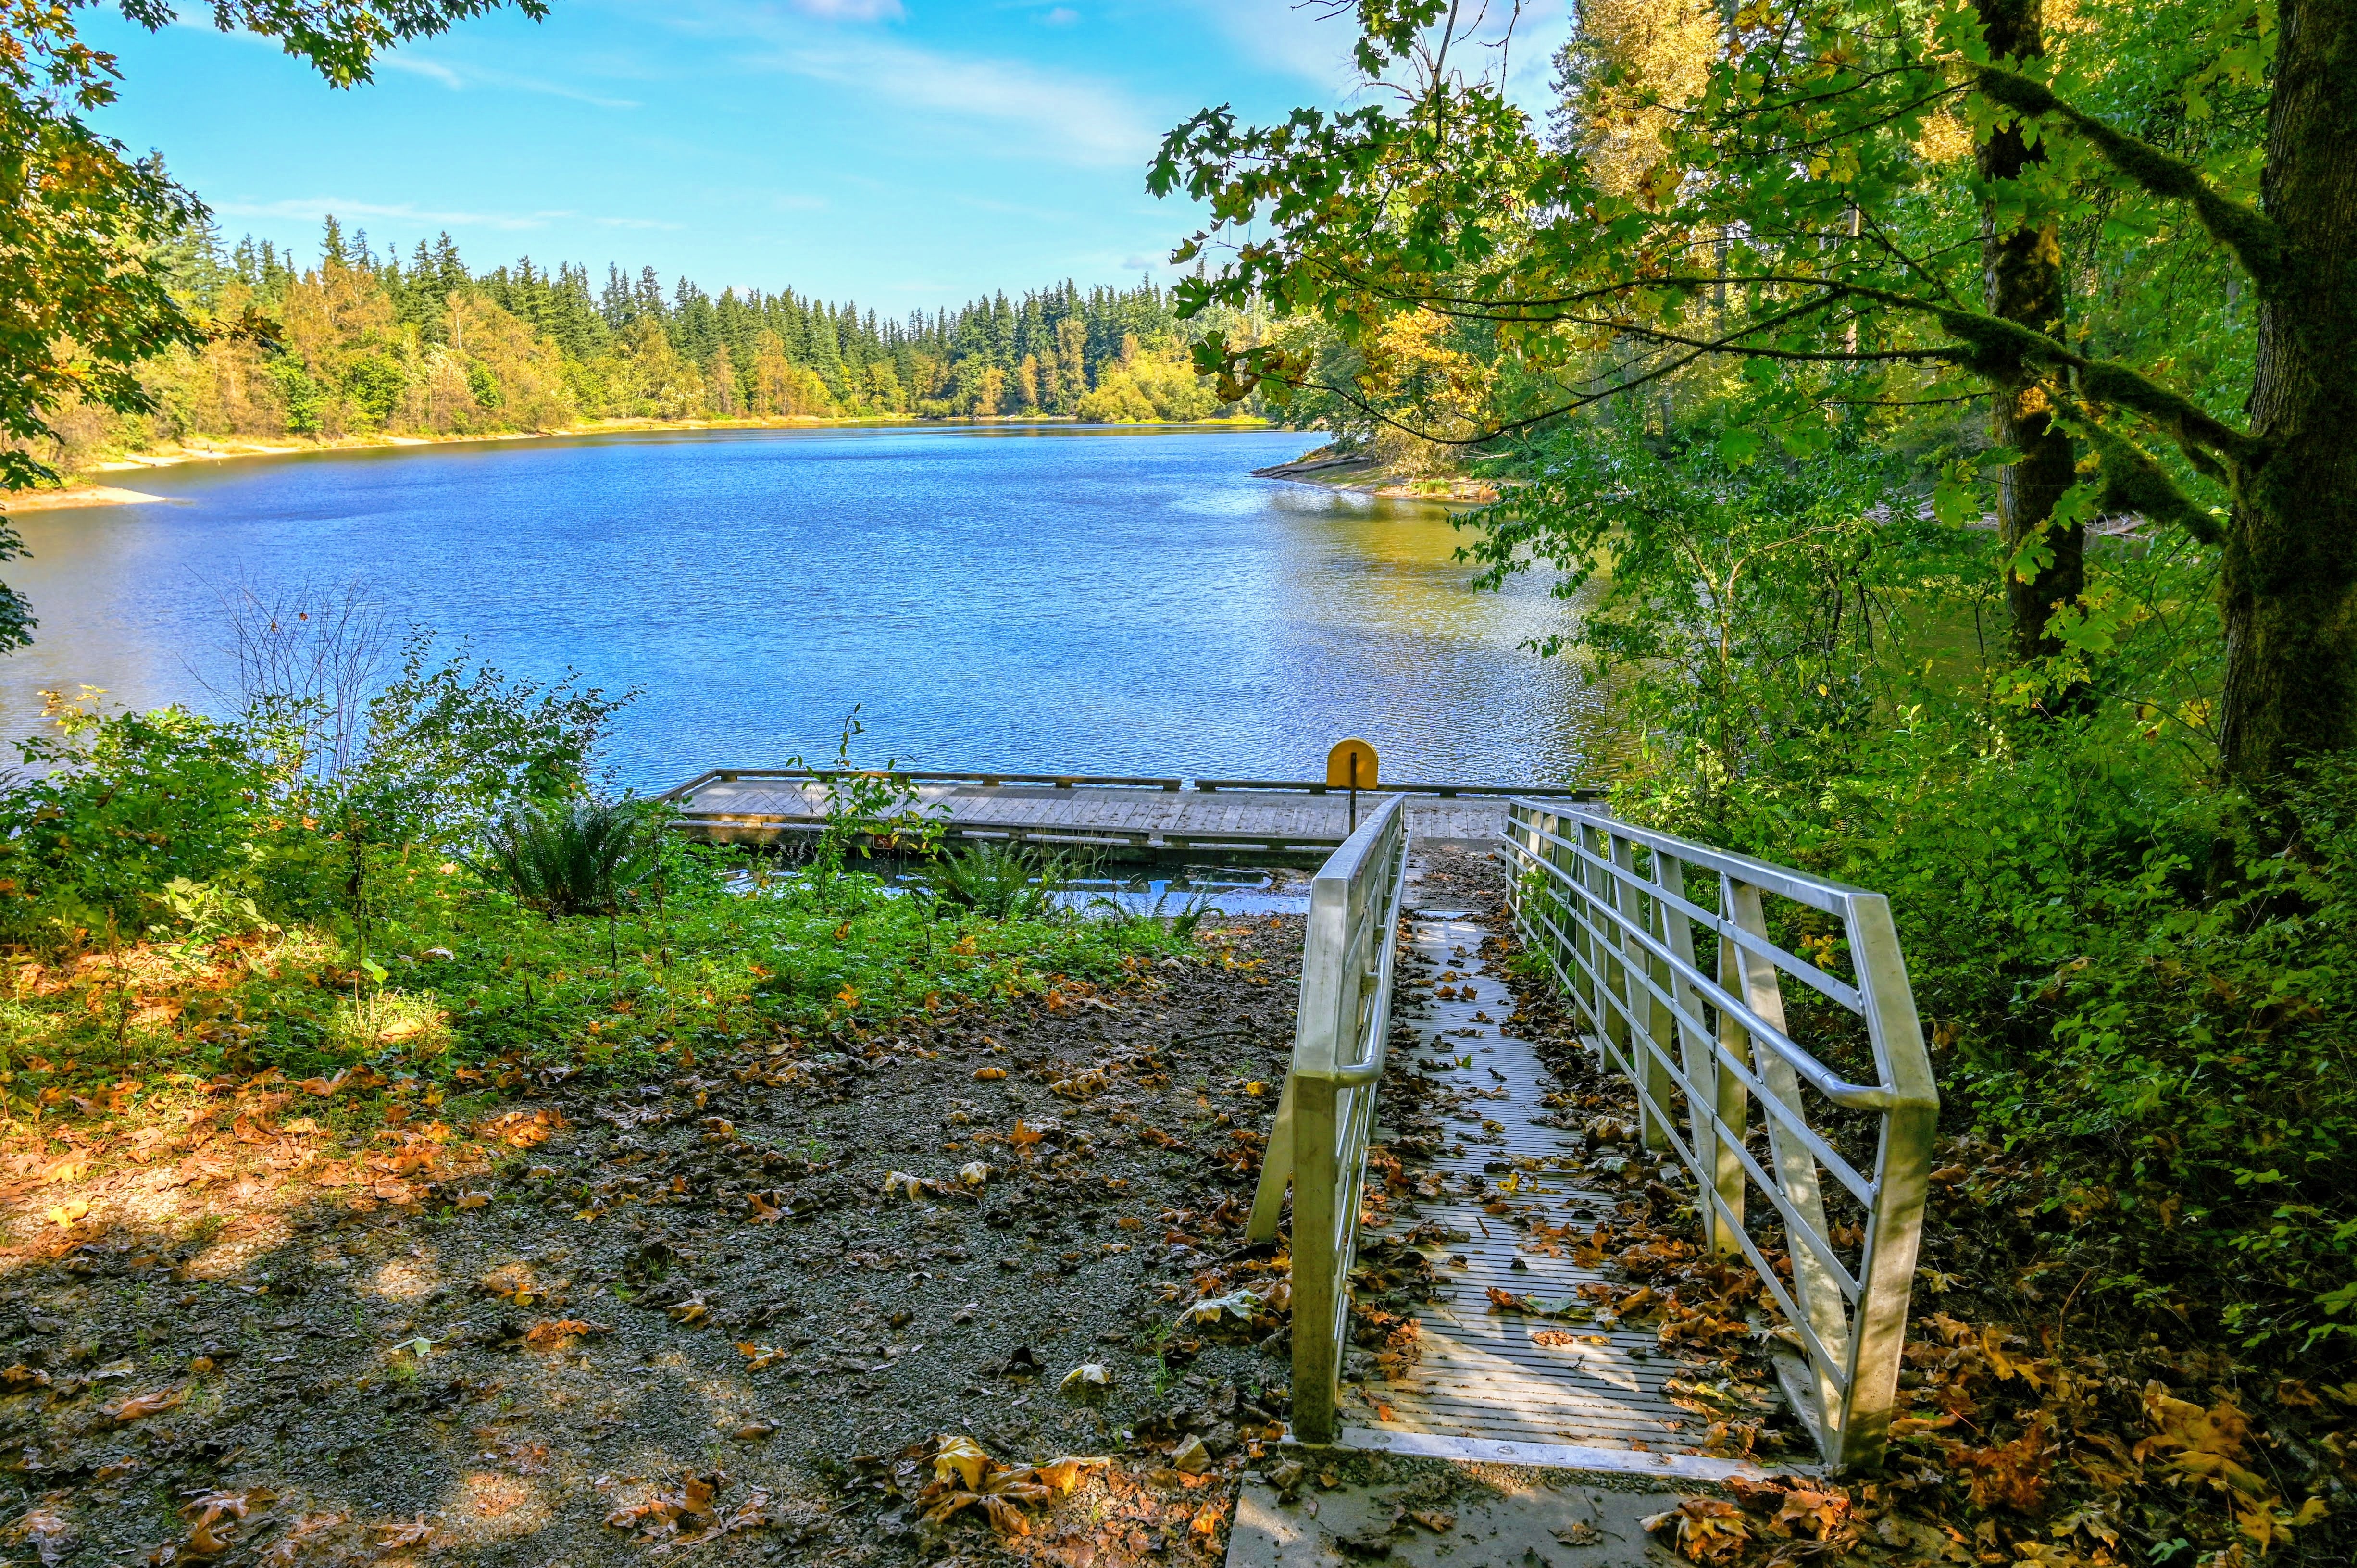
Follow the path from the lodge that leads down to Lake Quinault. This lake is 2 miles wide and around 300 feet deep. There are seating areas carved into some of the driftwood on the beach. These make perfect resting areas to watch the sunset.
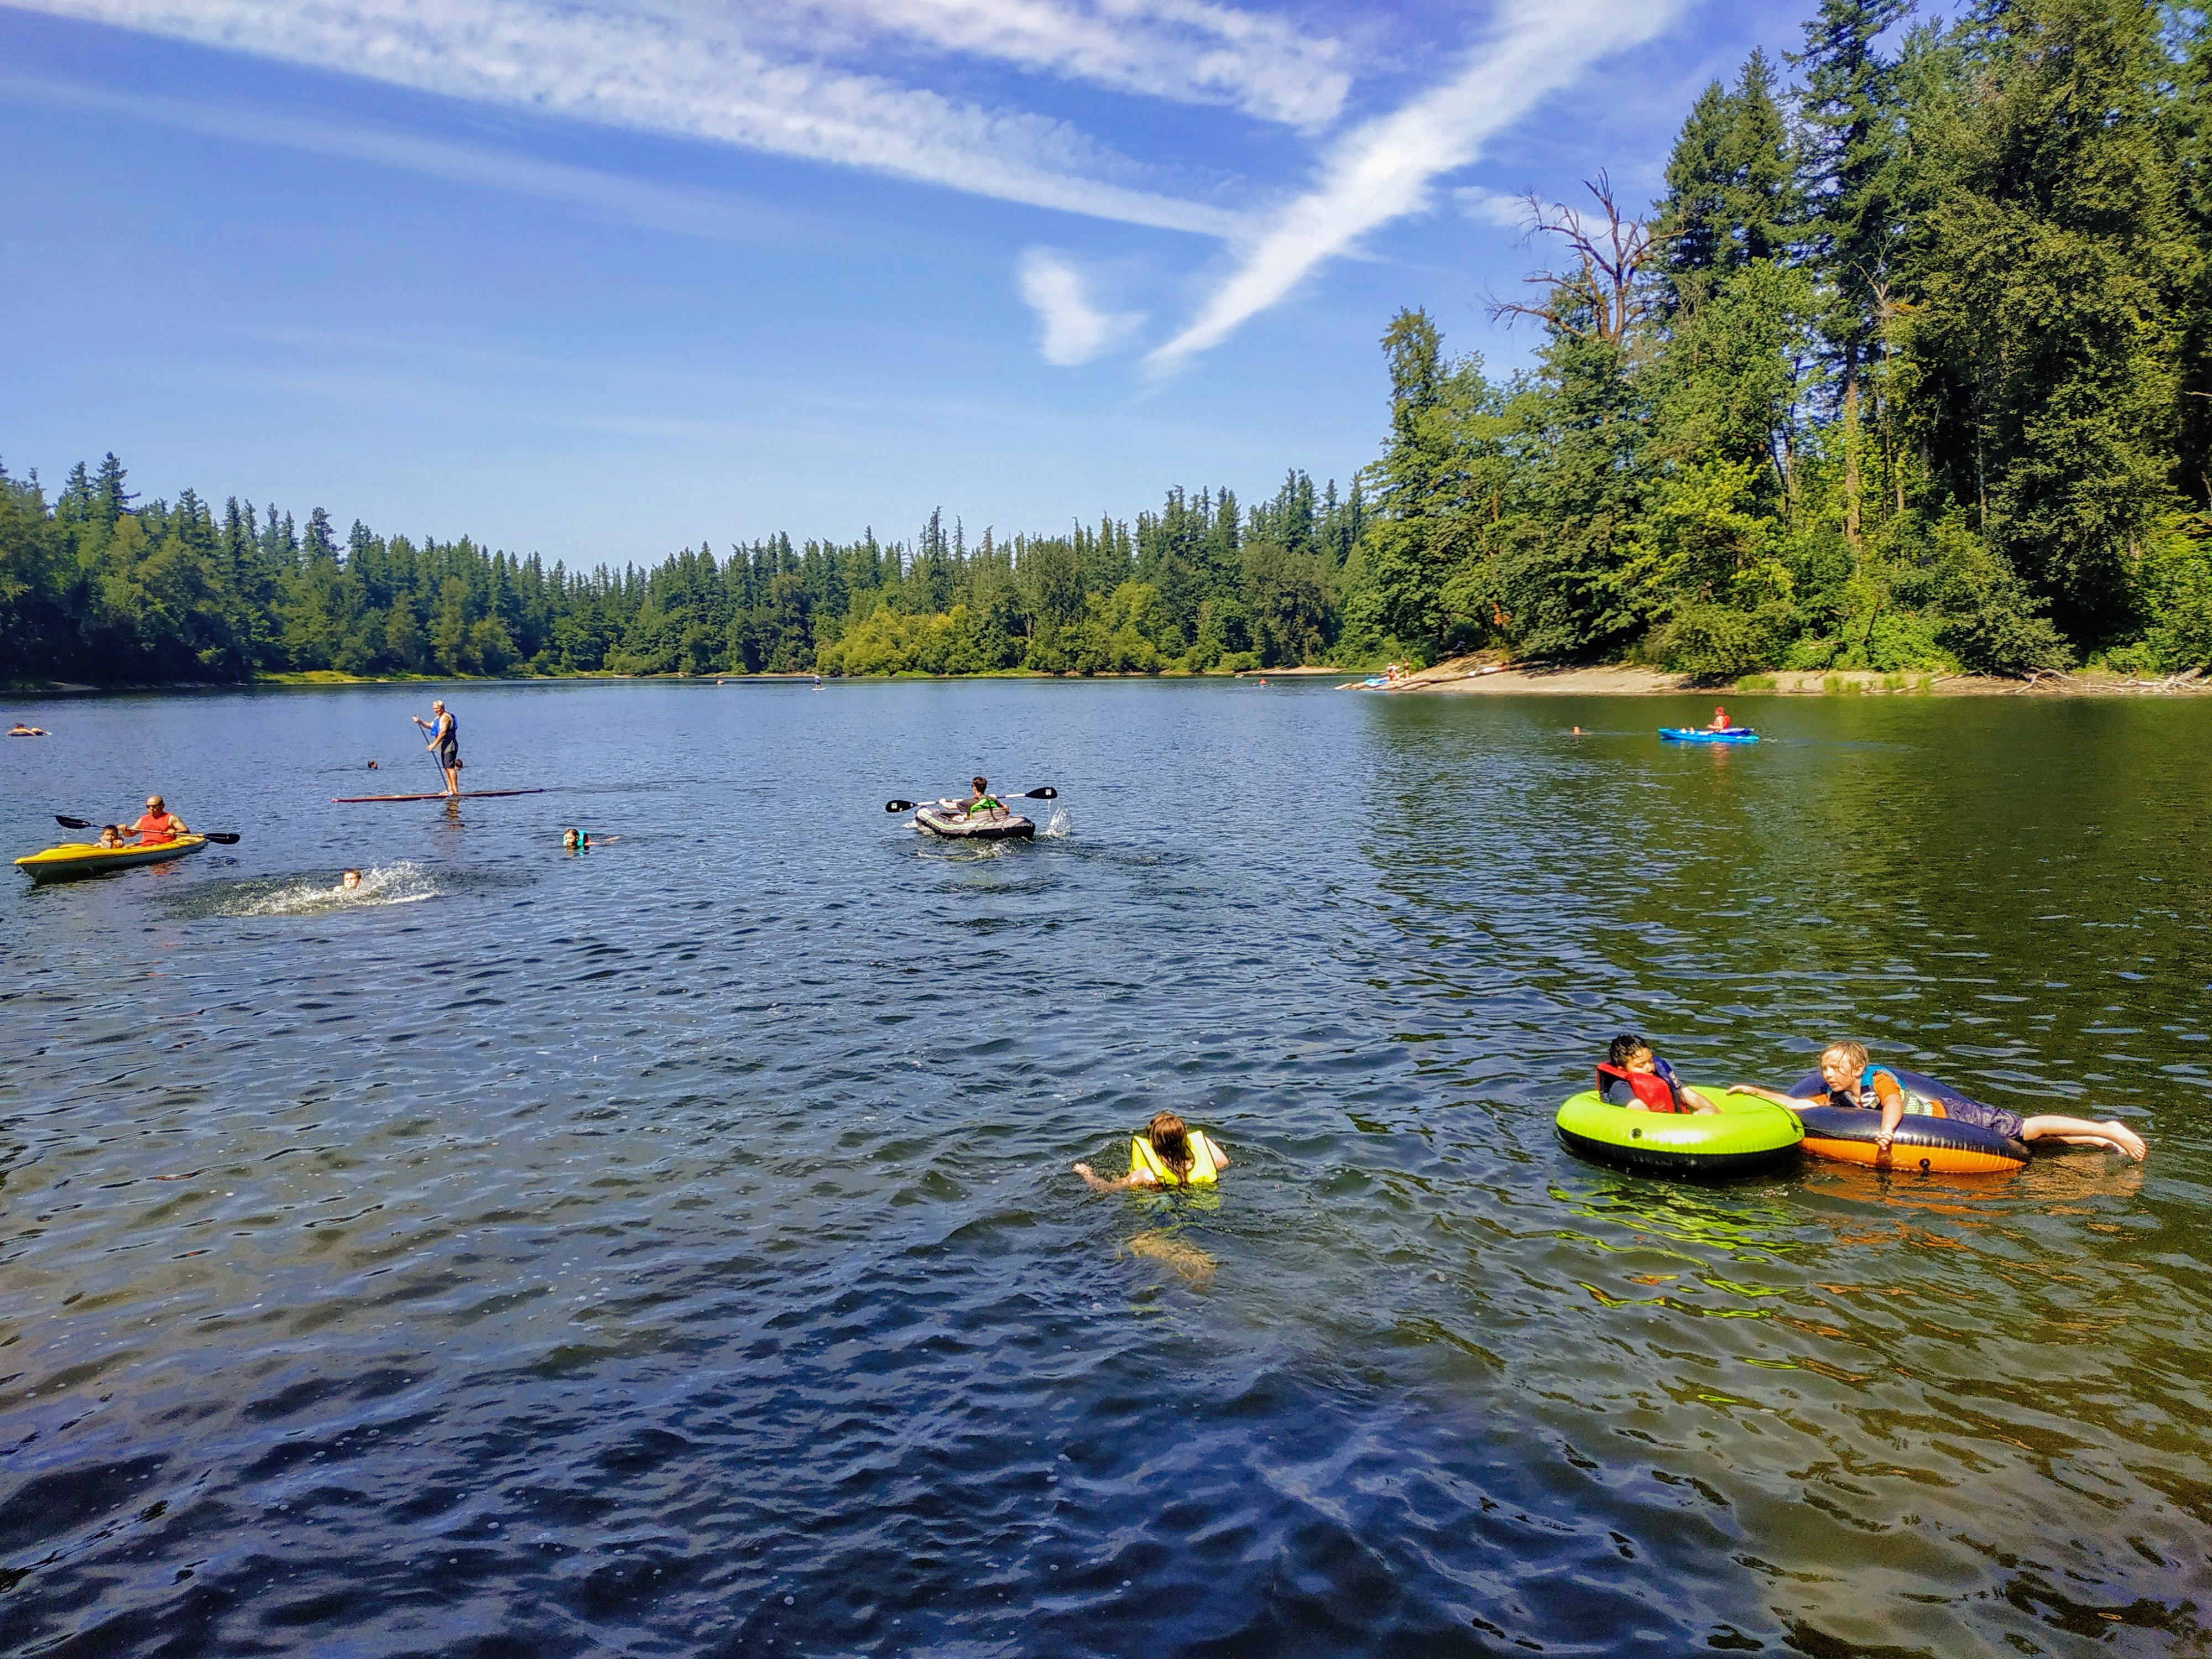
In the summertime, you can rent kayaks, canoes, and paddleboards from the beach. They also offer boat tours of the lake during the summertime, with rates starting at $35. Check with the front desk at Lake Quinault Lodge to learn about all of their tour options.

Any time of the year is a wonderful time to visit. However, during the summer months, you will have the opportunity to rent boats and kayaks and spend more time playing on the lake. The downside is that it is busier and more expensive.
In the winter, it is rainier, colder, and you have frequent wind storms; however, you will also find better rates and fewer people. So it depends on your needs and what experiences you want to get out of it.
Weather Tips
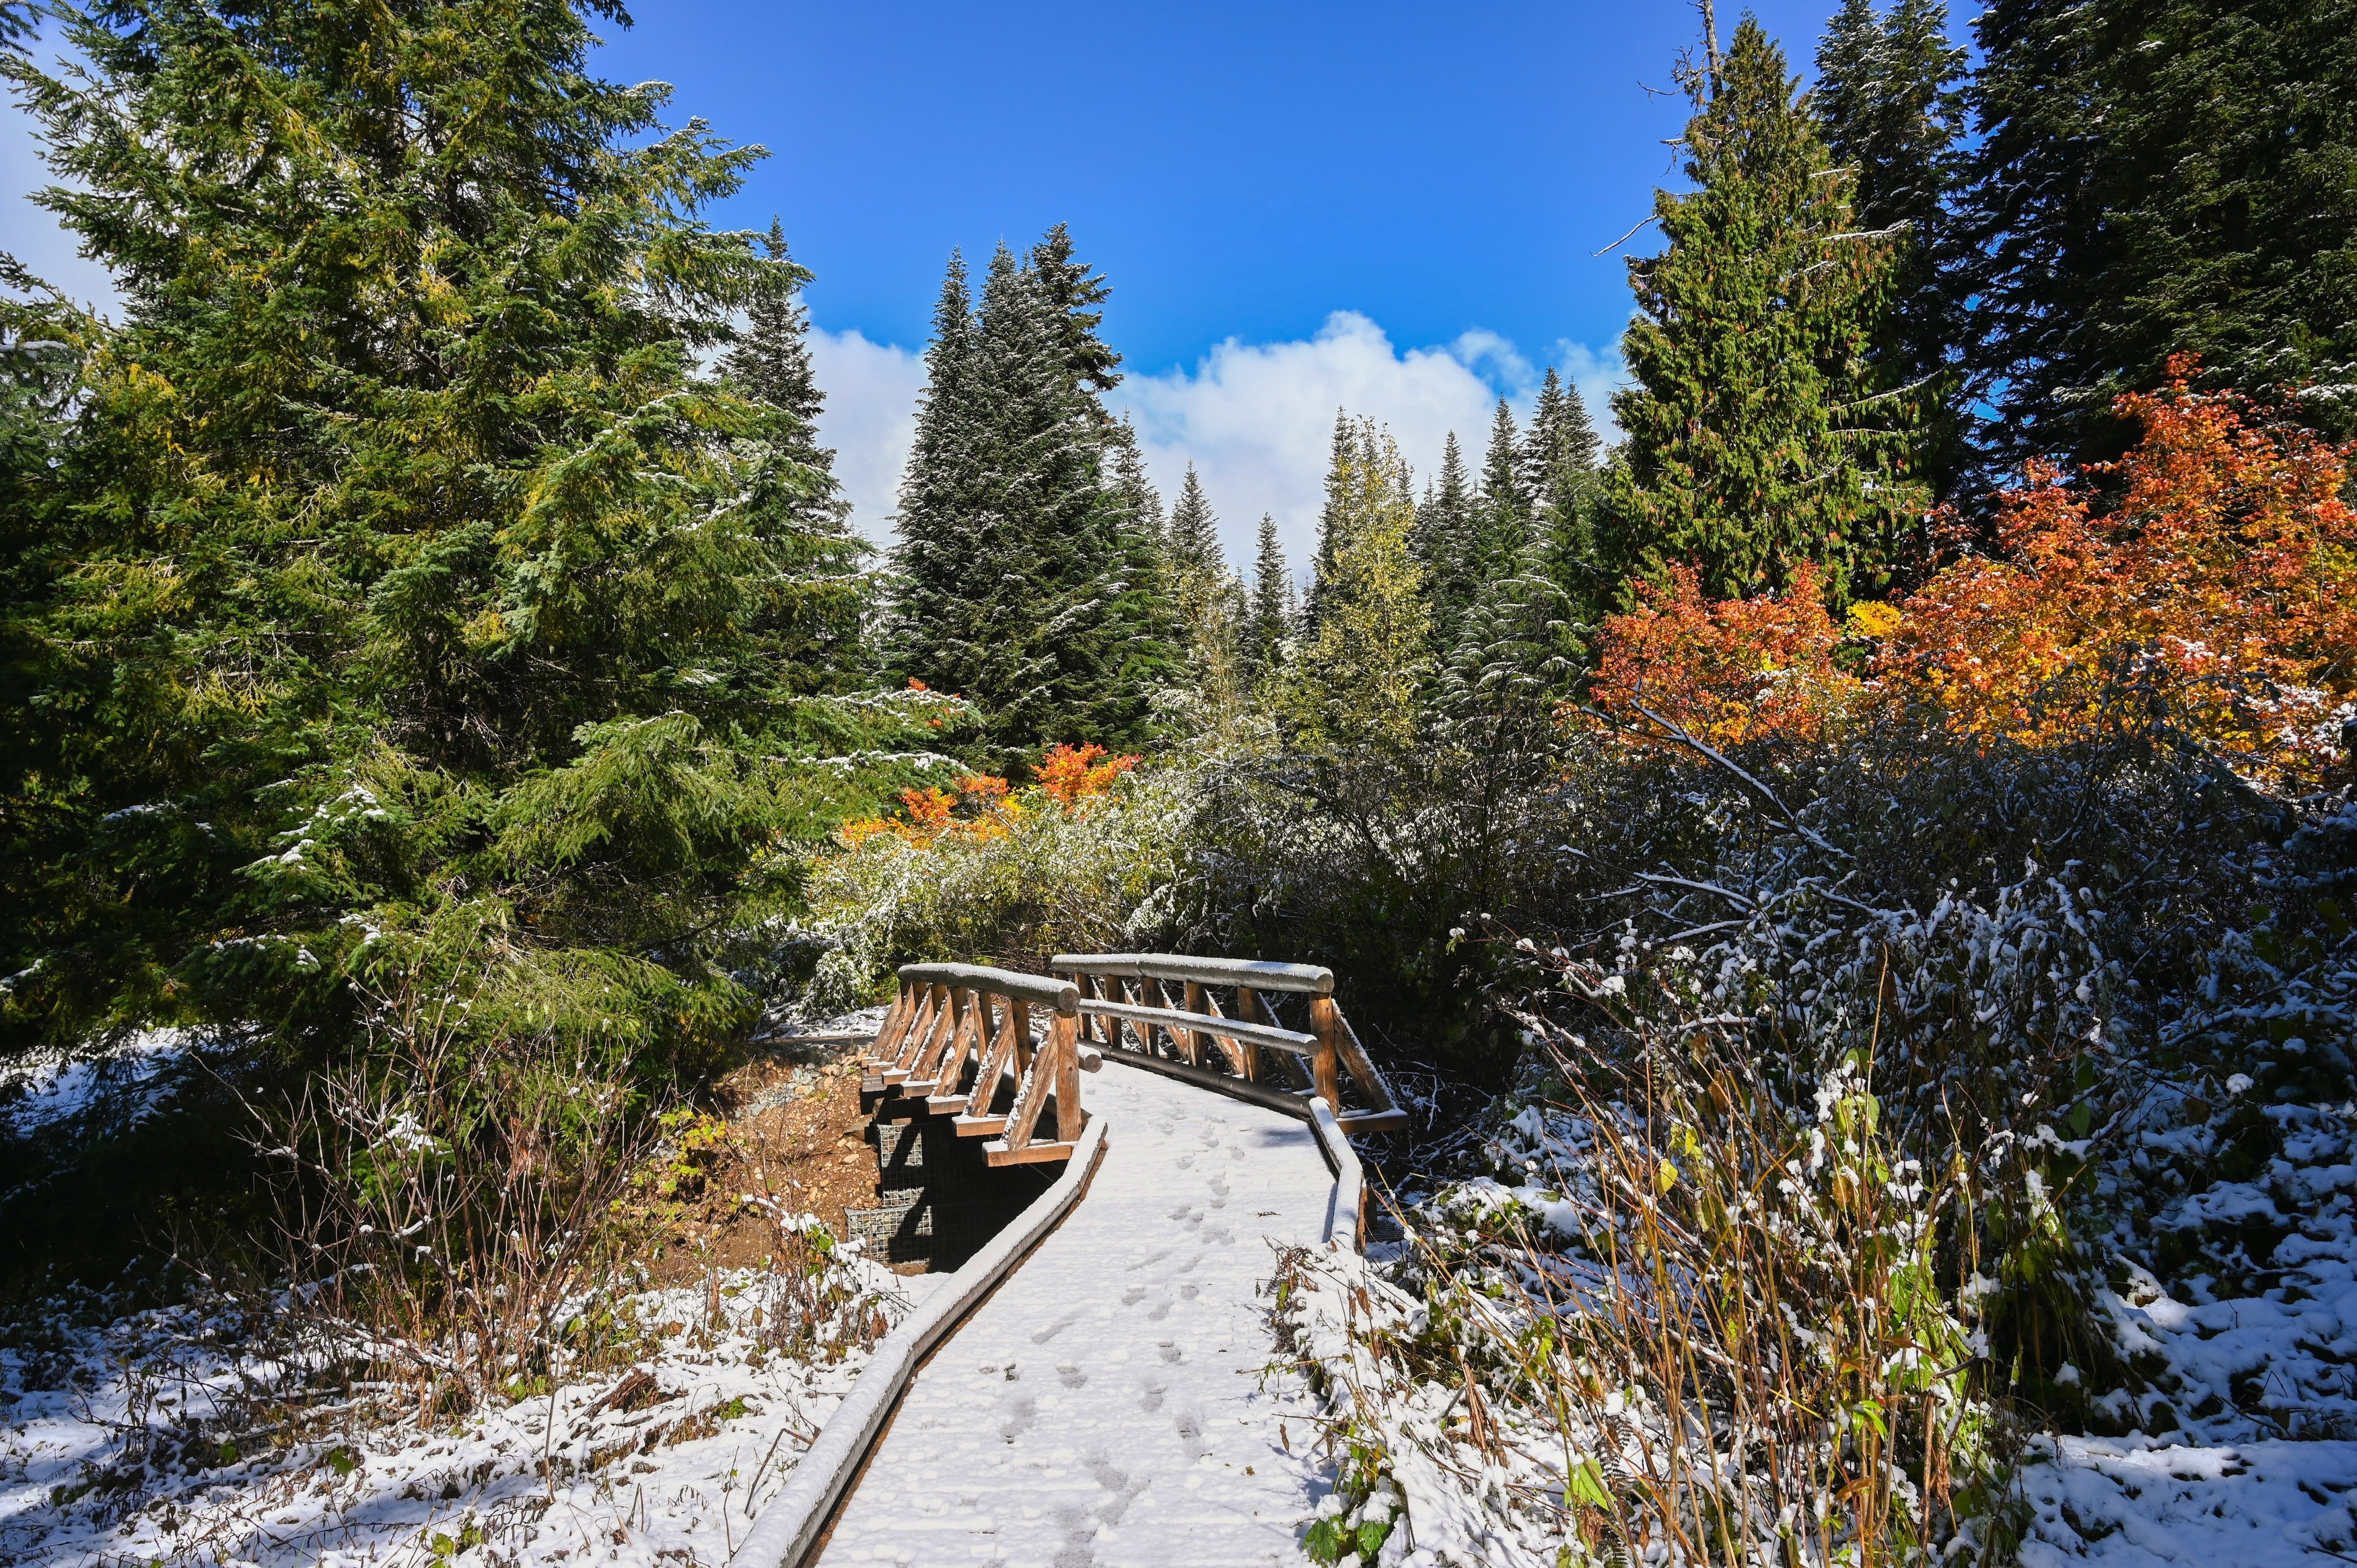
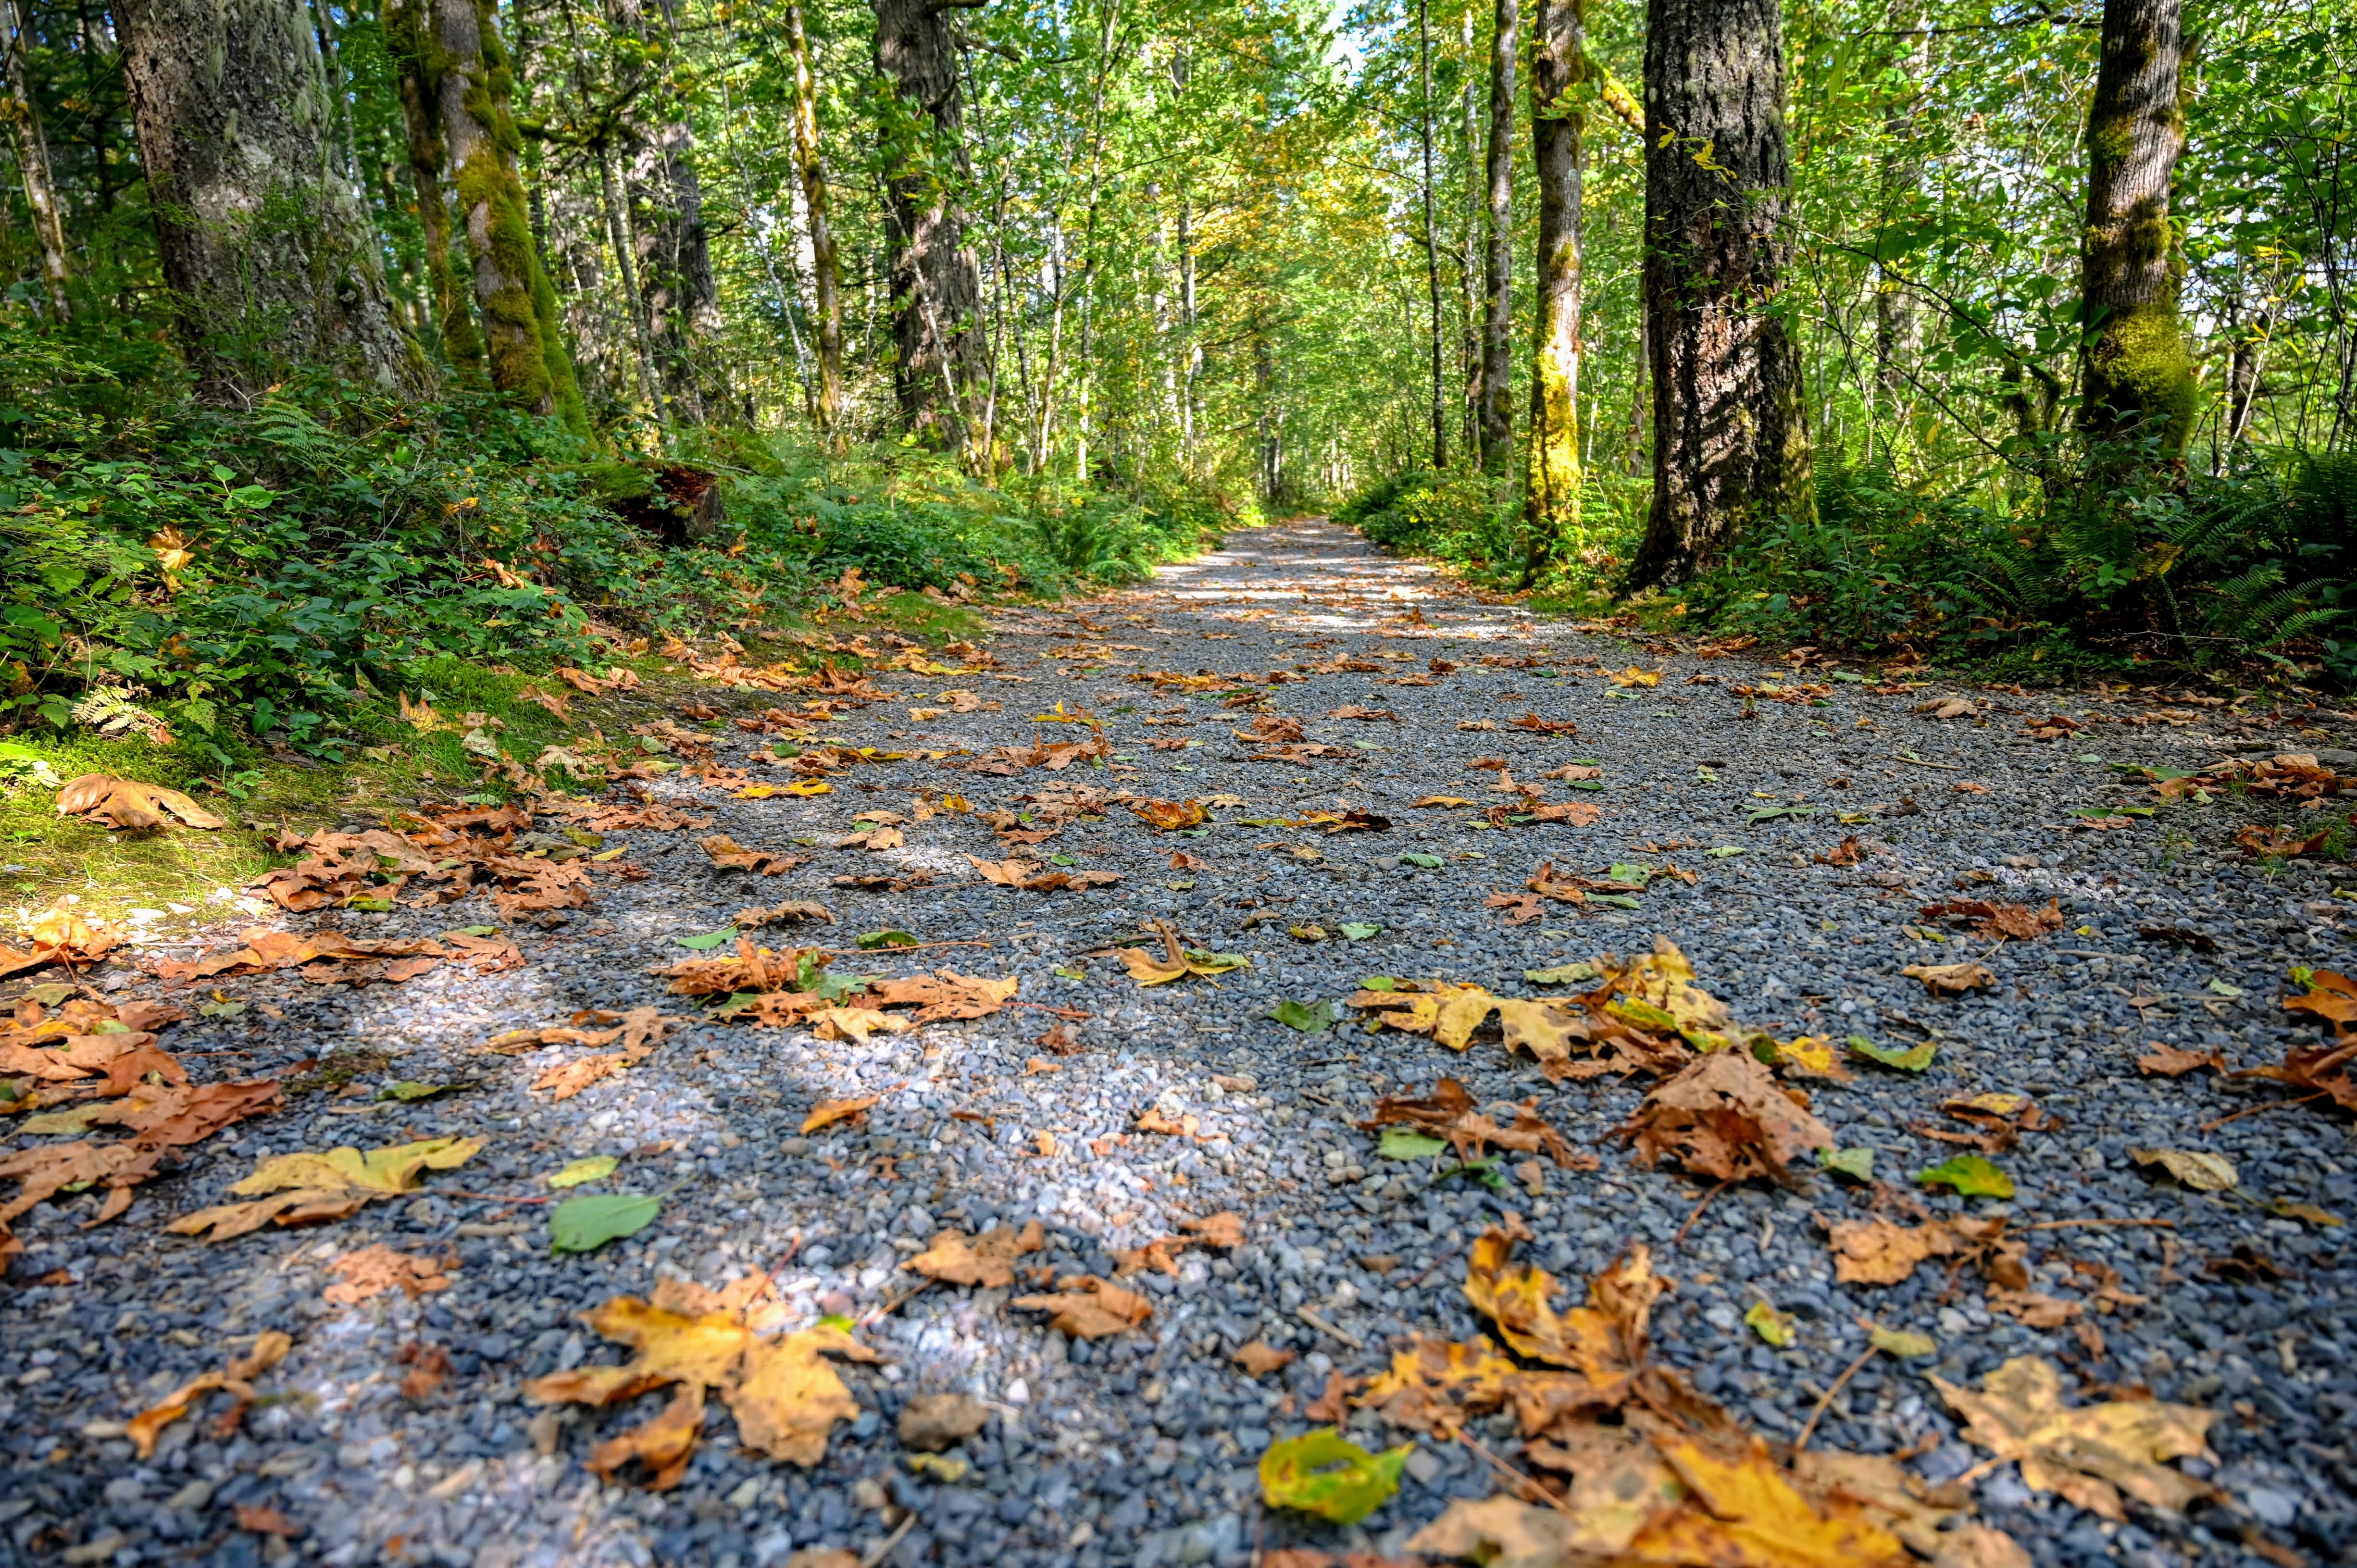
Make sure to pack layers. Whether you visit during the winter or the summer, due to the coastal location and forest shading, it can be chilly here no matter what time of year you visit. Also, you are visiting an area bordered by rainforests, and they are called “rainforests” due to the abundance of rain they receive. Therefore be prepared for rain. Pack your raincoats and waterproof hiking gear. Prepare to get a little muddy on the trails.
Another weather component to be mindful of, are the wind storms. This area often gets wind storms, especially during the winter. This can cause power outages and downed trees. Check with Quinault Lodge ahead of time if you are concerned about this, and of course, don’t ever go out hiking during a wind storm. A tour guide at Lake Quinault Lodge once told me that even the elk come out of the forest during a wind storm and find a safe meadow to wait out the storm.
Seasonal Hours
Money-Saving Tips
To save money on food, I like to pack stuff for peanut butter and jam sandwiches. Then when I’m out all day hiking and taking photos, I don’t have to return to the lodge for food. I make a sandwich in the car, and I also pack a bottle of water and some snack bars.
Other ways to save money on food are to bring some ramen cups and then use your coffee maker to boil water. Maybe bring a box of your favorite donuts to have with your morning coffee. You’ll burn off the calories later.
Email Offers
You can also sign up for the Olympic National Park email list and learn about deals on accommodations throughout the year. I visited Lake Quinault Lodge during the winter on a buy one night, get 1-night free deal–major bonus!
No Cell Service
It’s important to know that there is no cell service at Lake Quinault Lodge. I overheard one person say that if you stood on the lawn, in a particular spot, you could get a spotty signal. I had no cell signal during my visit, so I would not count on that.
You do, however, have Wi-Fi at the lodge, and I also had coverage on the property around it. This means if you want to text or call someone, plan to use Google Duo or Hangouts (or similar app) for Wi-Fi calls and texts.
Smoking Policy
All rooms and facilities at Lake Quinault Lodge are non-smoking.
Alert for Light Sleepers
This is your public service announcement for all of you light sleepers (myself included). The walls separating the rooms at Lake Quinault Lodge are thin. You can hear the conversations of your neighbor at normal speaking volumes. You can also listen to them, brushing their teeth and snoring at night. Make sure to pack headphones or earplugs if this will be a problem for you. It will depend on your “neighbor.”
Dining Options
In addition to dining at the Roosevelt room at Lake Quinault Lodge you can also eat at the following places:
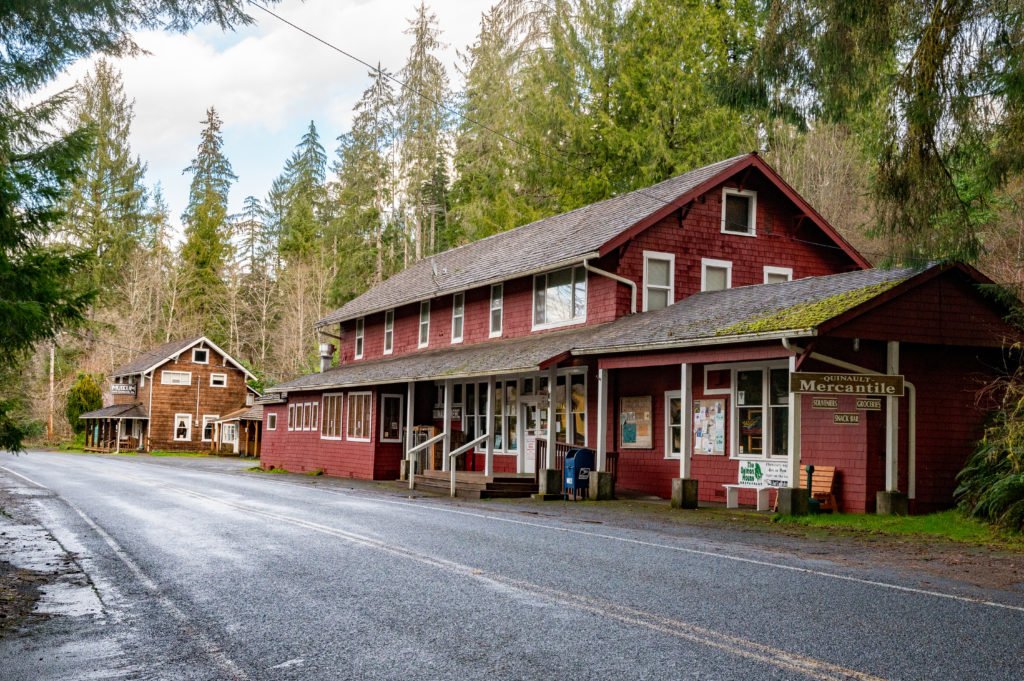
The Mercantile (opened seasonally)
The Mercantile sells a variety of gear from food to camping and fishing supplies and souvenirs. It also has a small restaurant where you can get burgers or pizza during the summer months.
Amanda Park
This is the small town only a 5-minute drive from Quinault. There is Dino’s Pizza & Grill (opened afternoon and evenings) as well as the Quinault Internet Cafe (closes at 3:30 p.m.), both are good choices when you’re looking for an alternative to dining at the Lake Quinault Lodge.
Kalaloch Lodge’s Creekside Restaurant
The Kalaloch Lodge is a short 30-minute drive from the Lake Quinault Lodge. Their Creekside Restaurant offers ocean views as well as a delicious, locally sourced menu and a full bar for drinks. Enjoy a meal and a walk on the beach afterward before heading back to Lake Quinault Lodge.