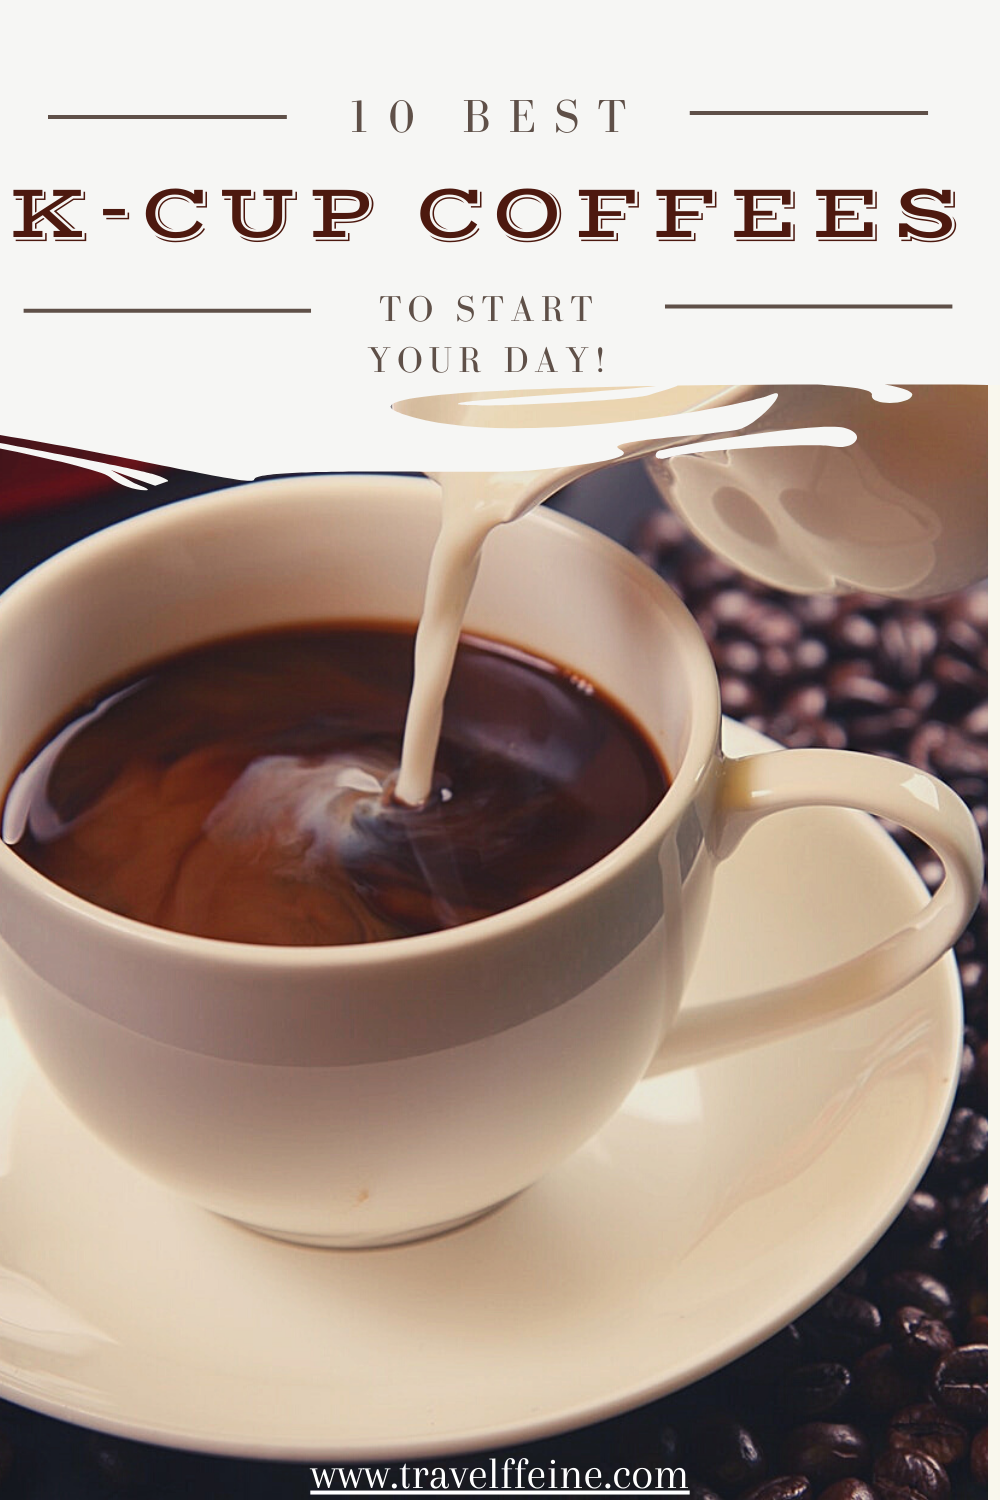
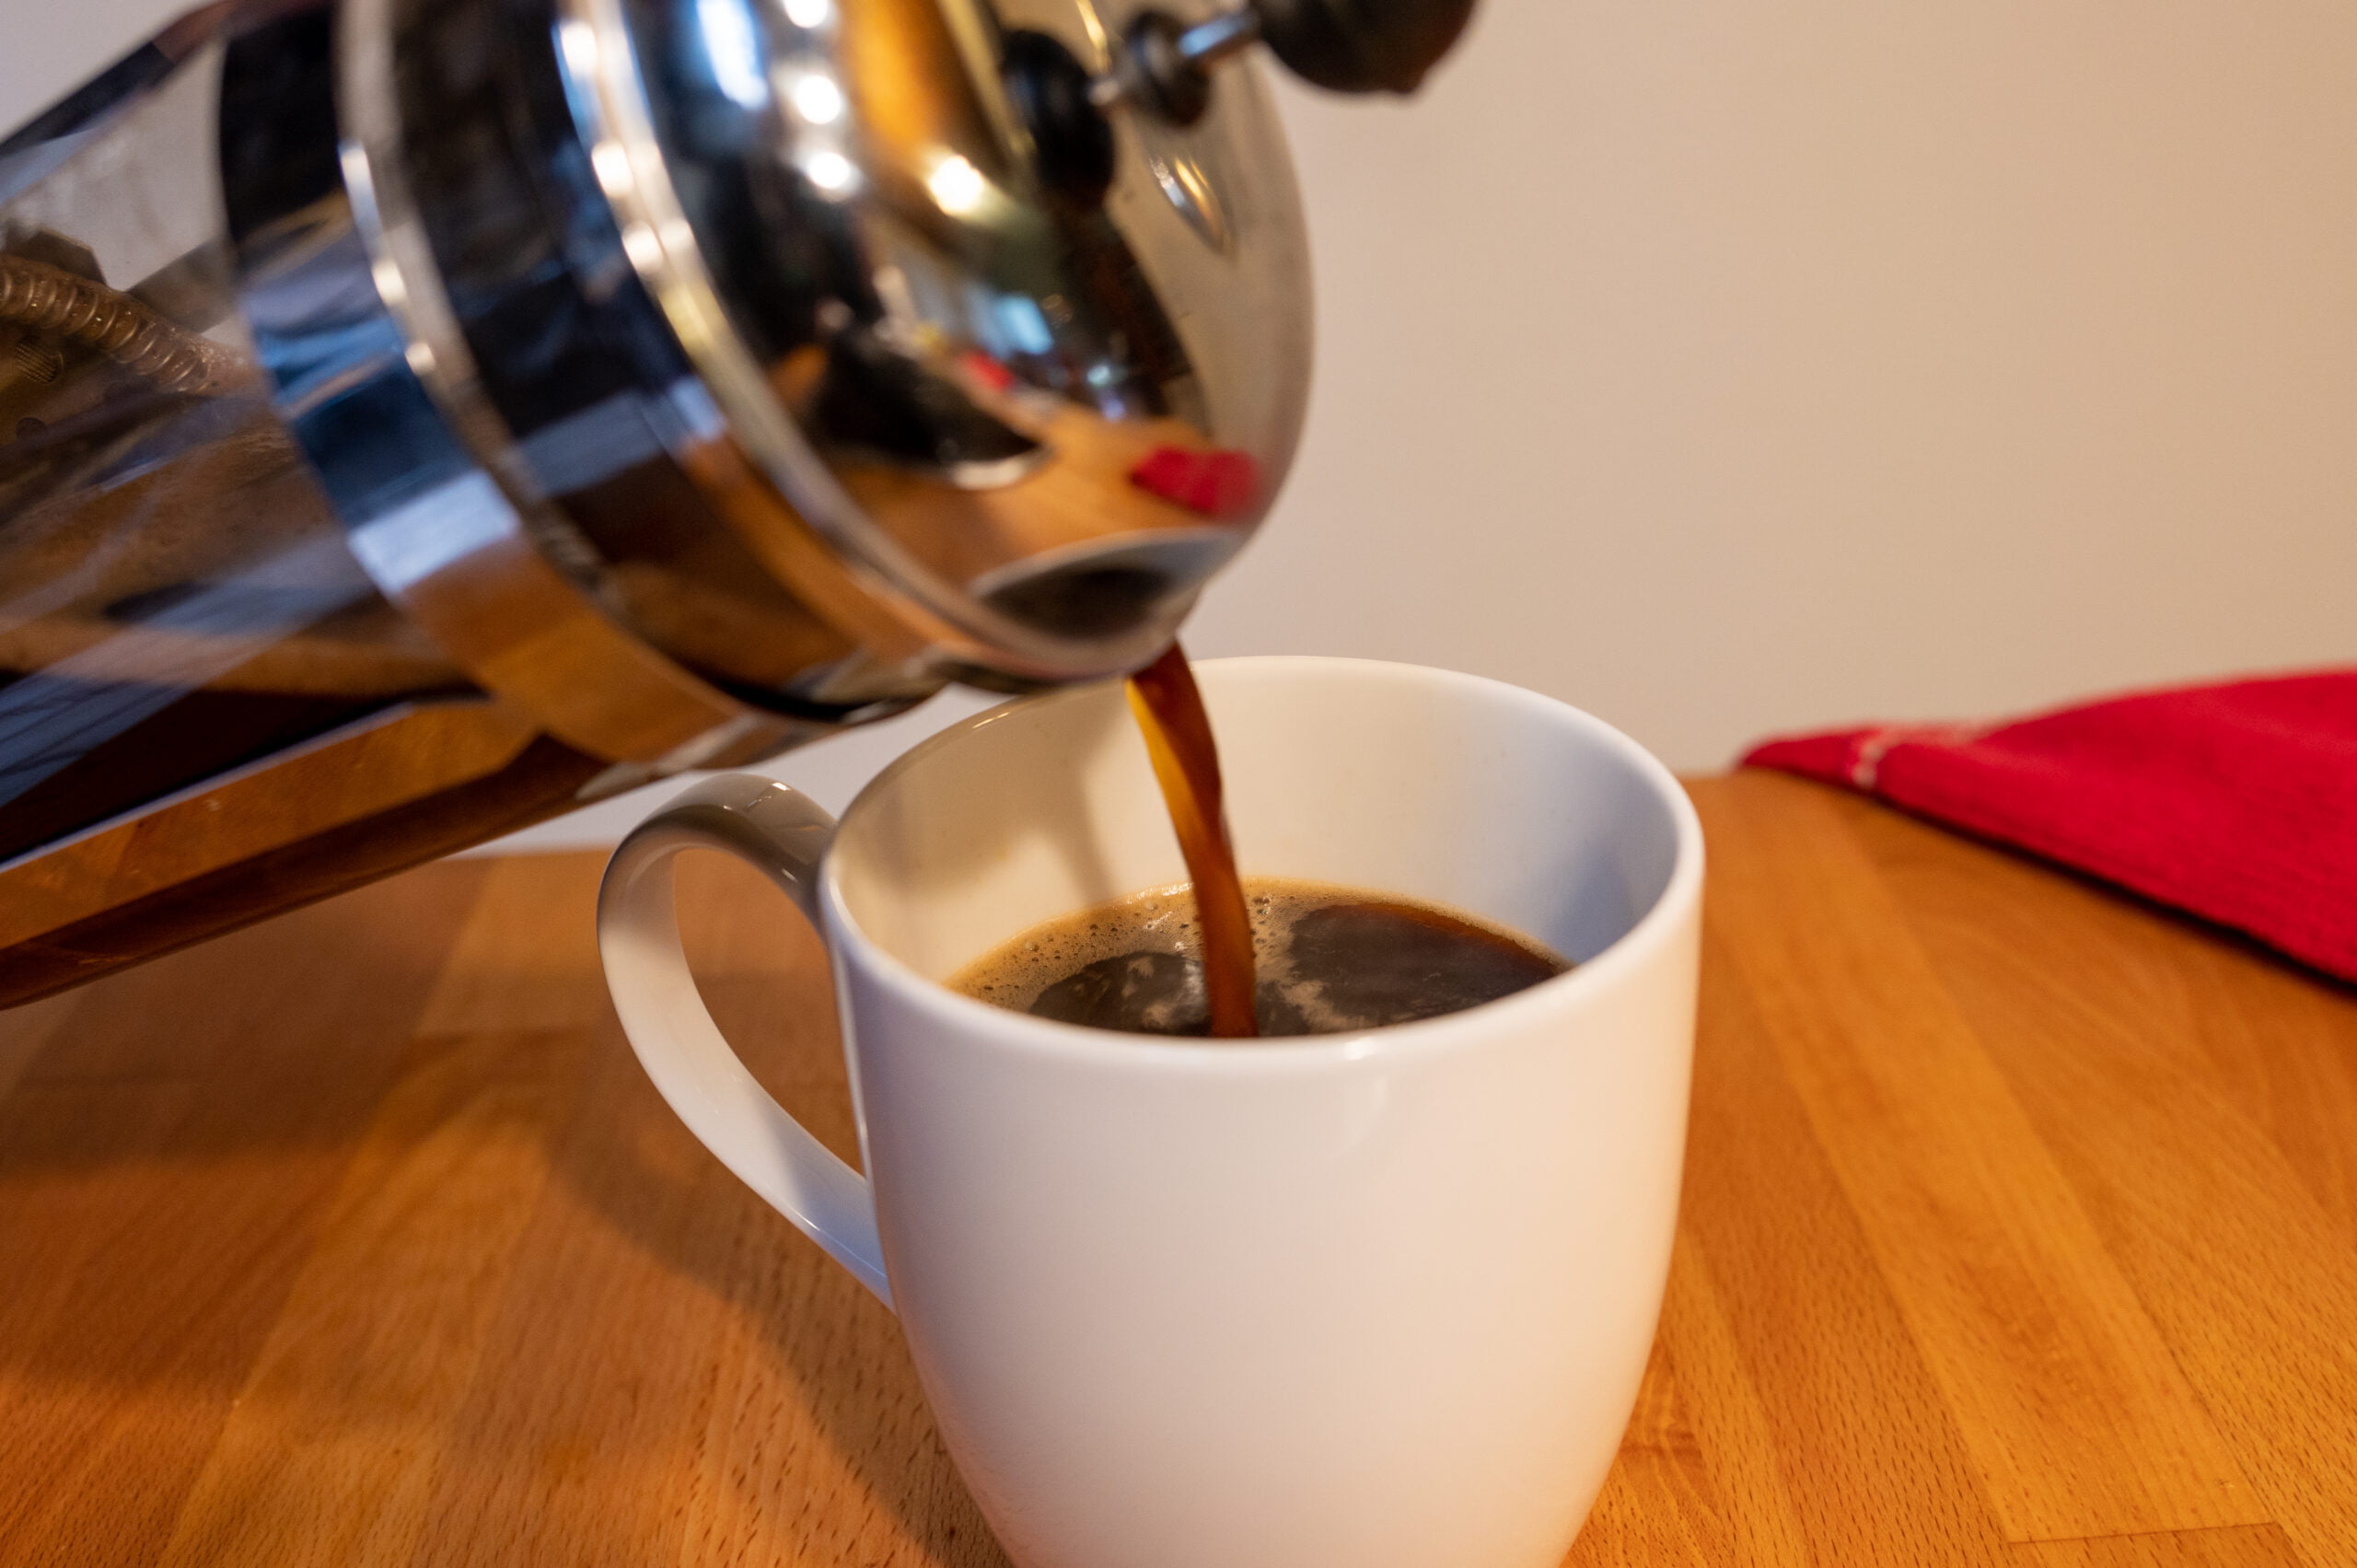
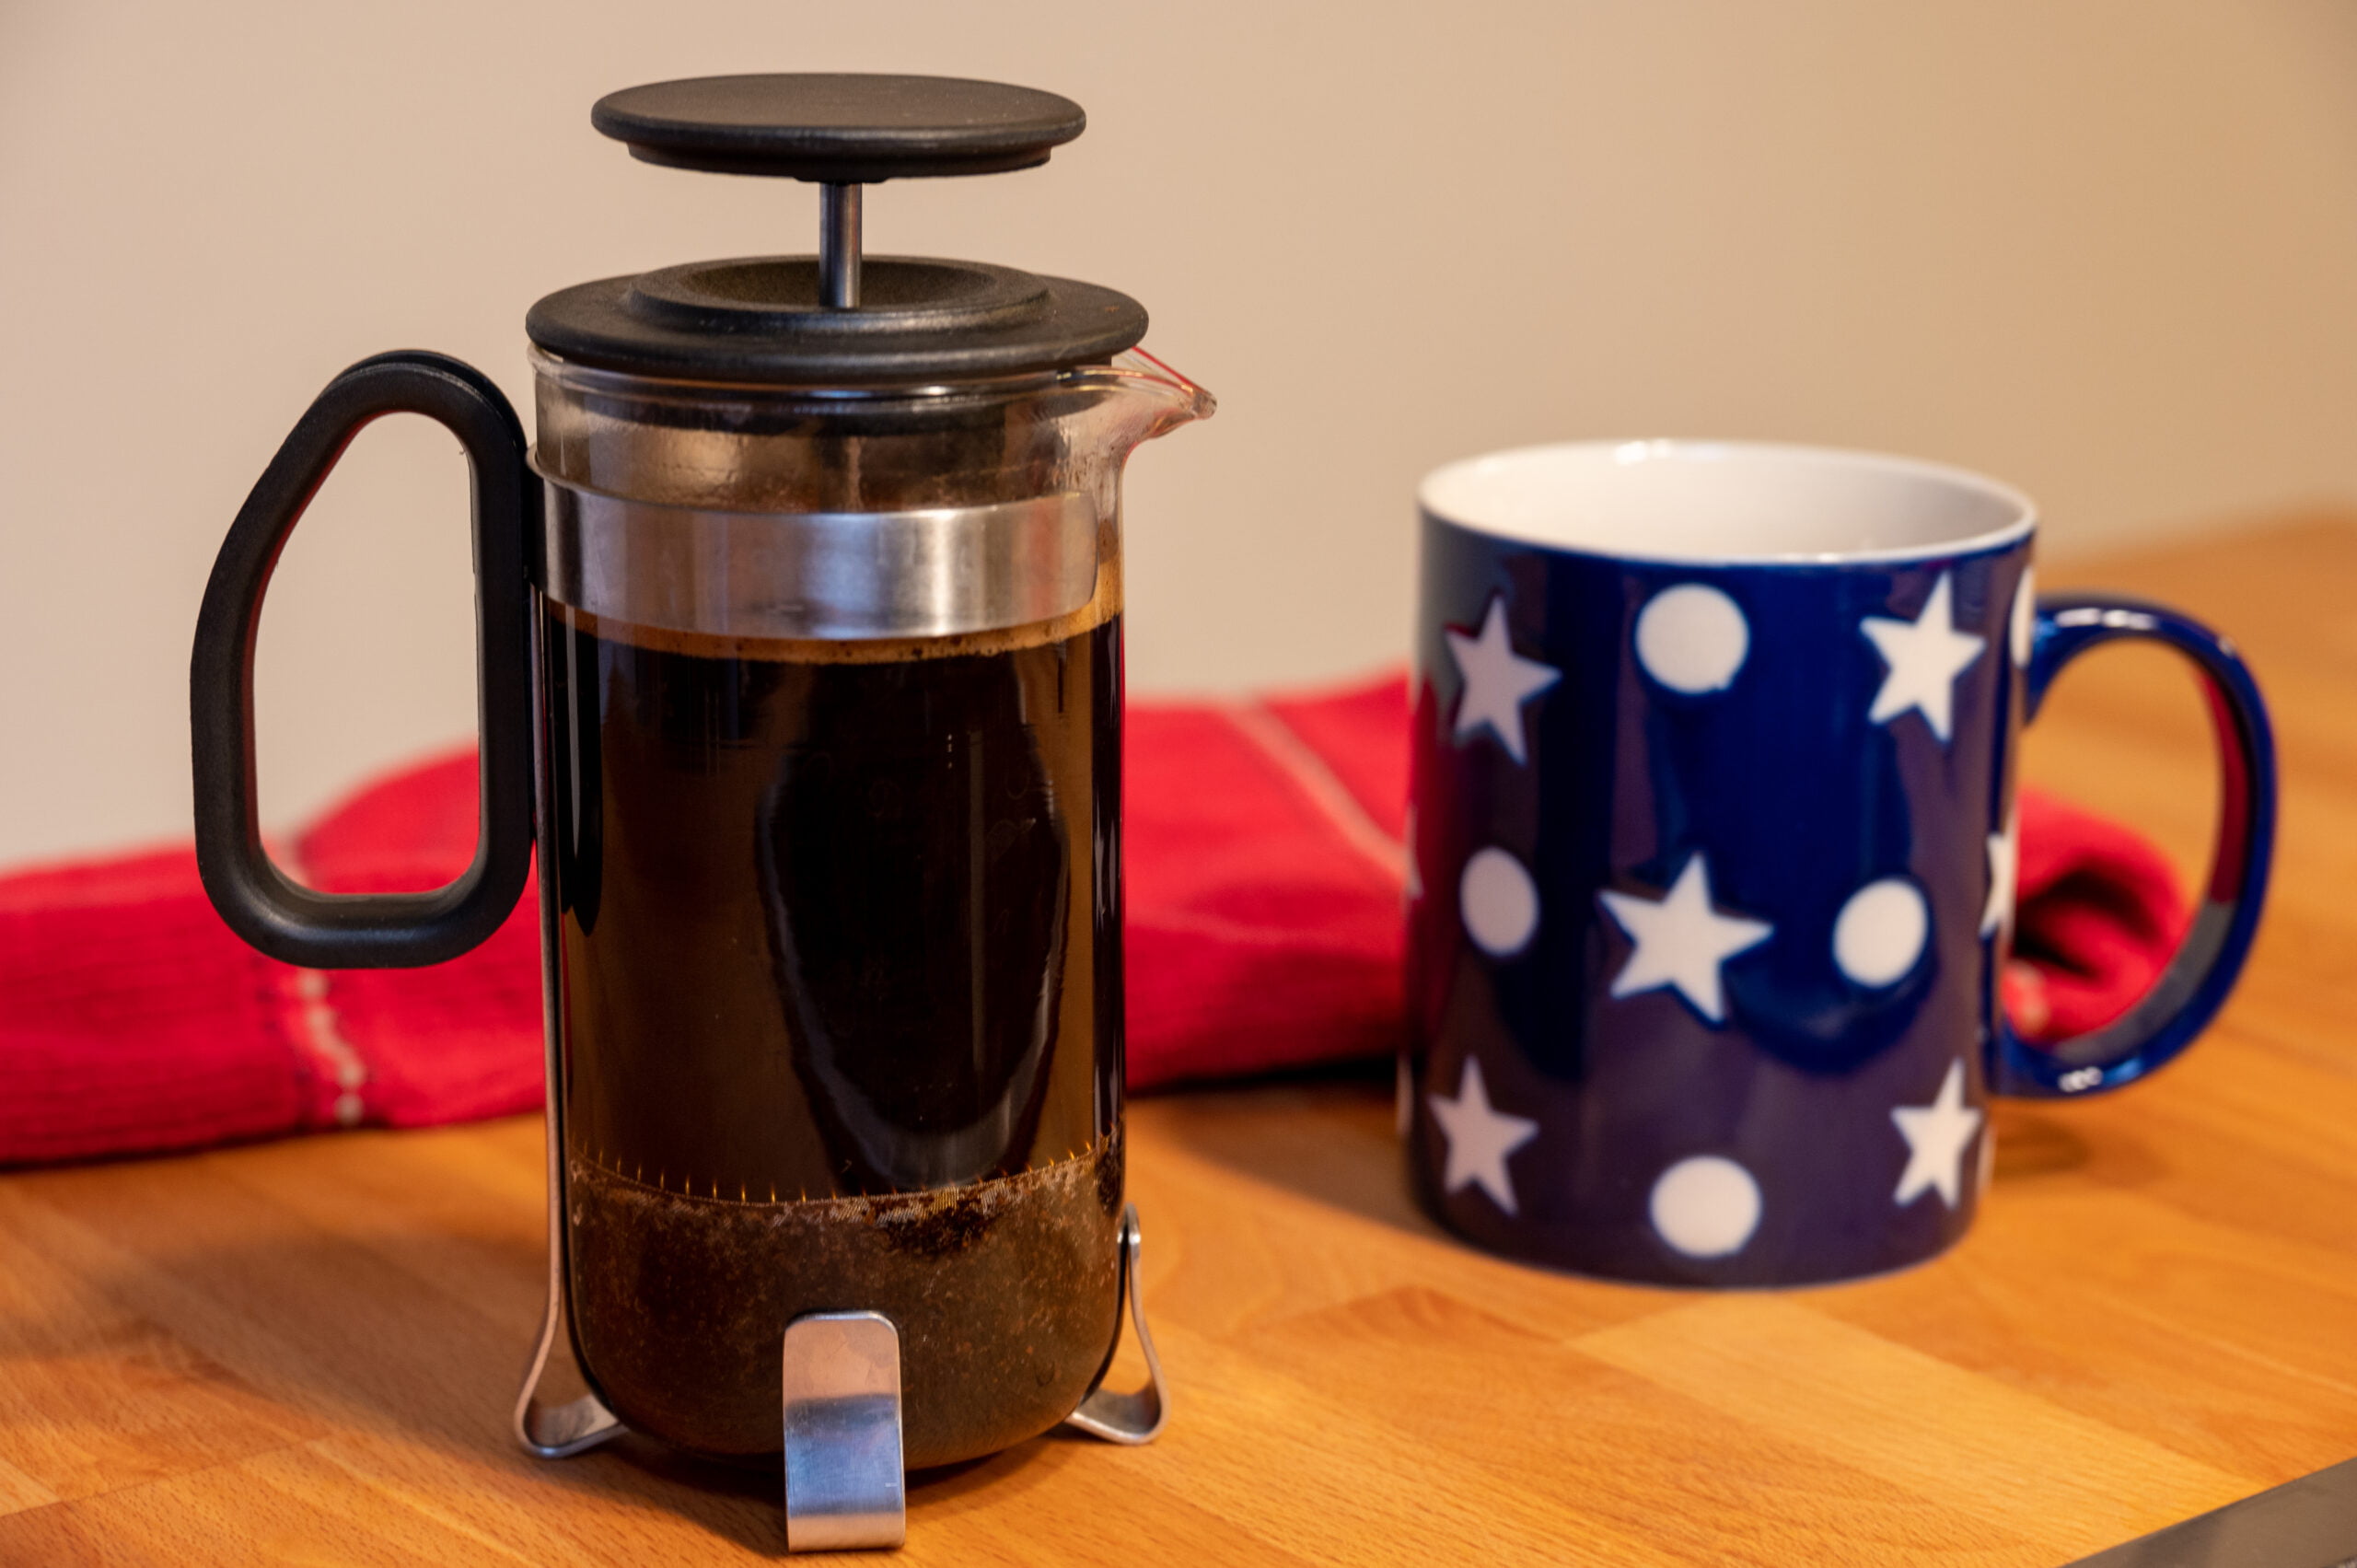
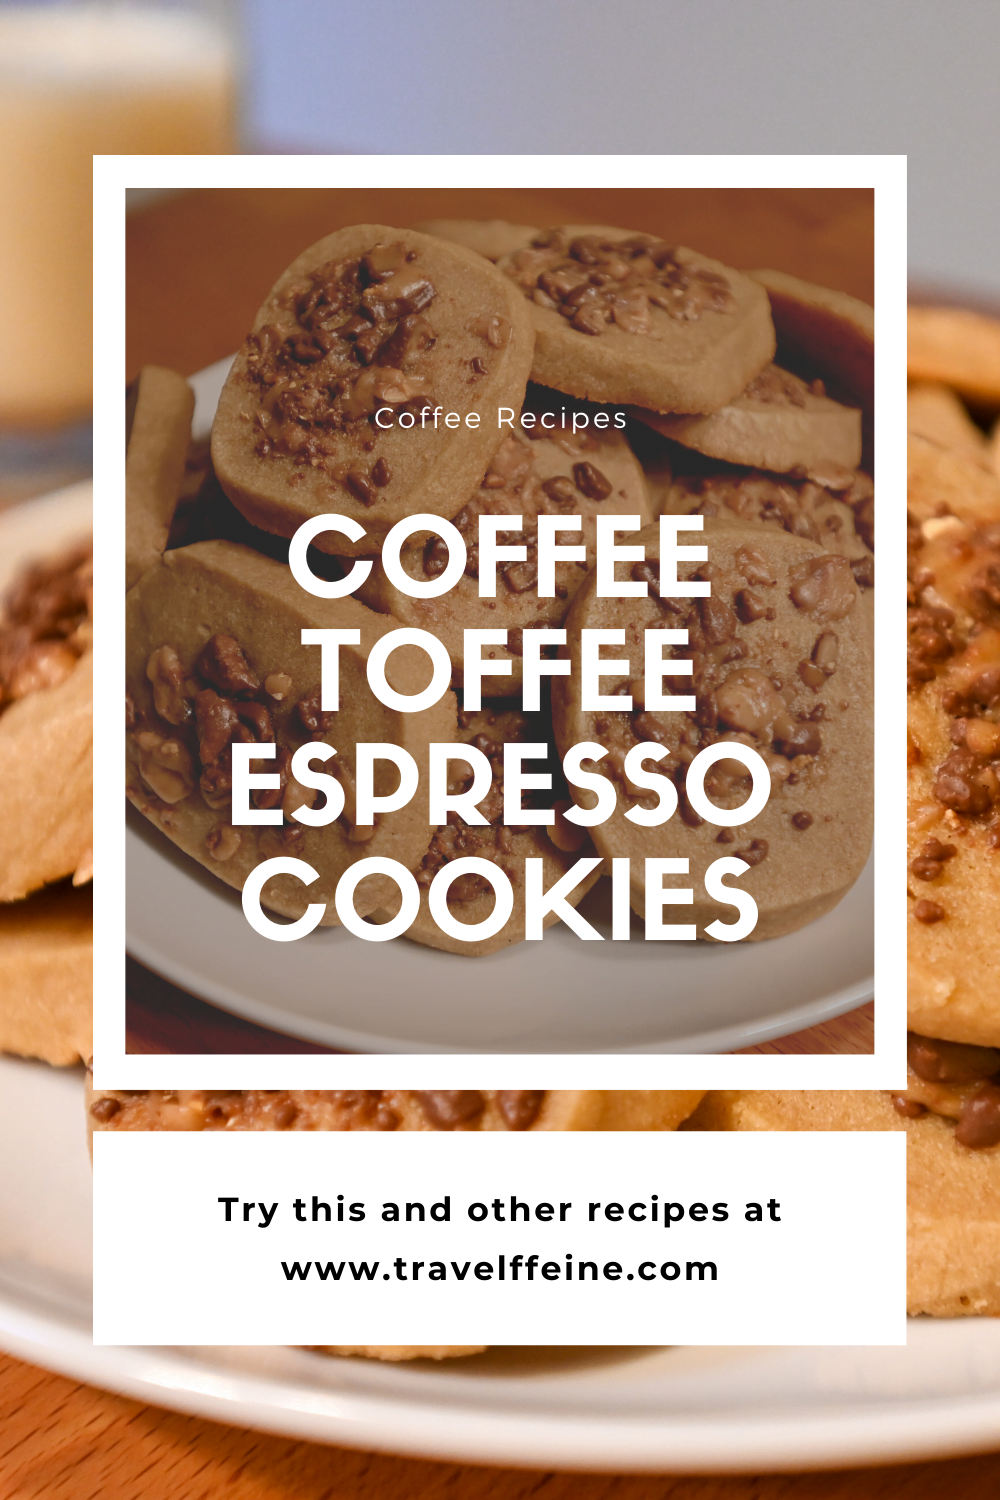
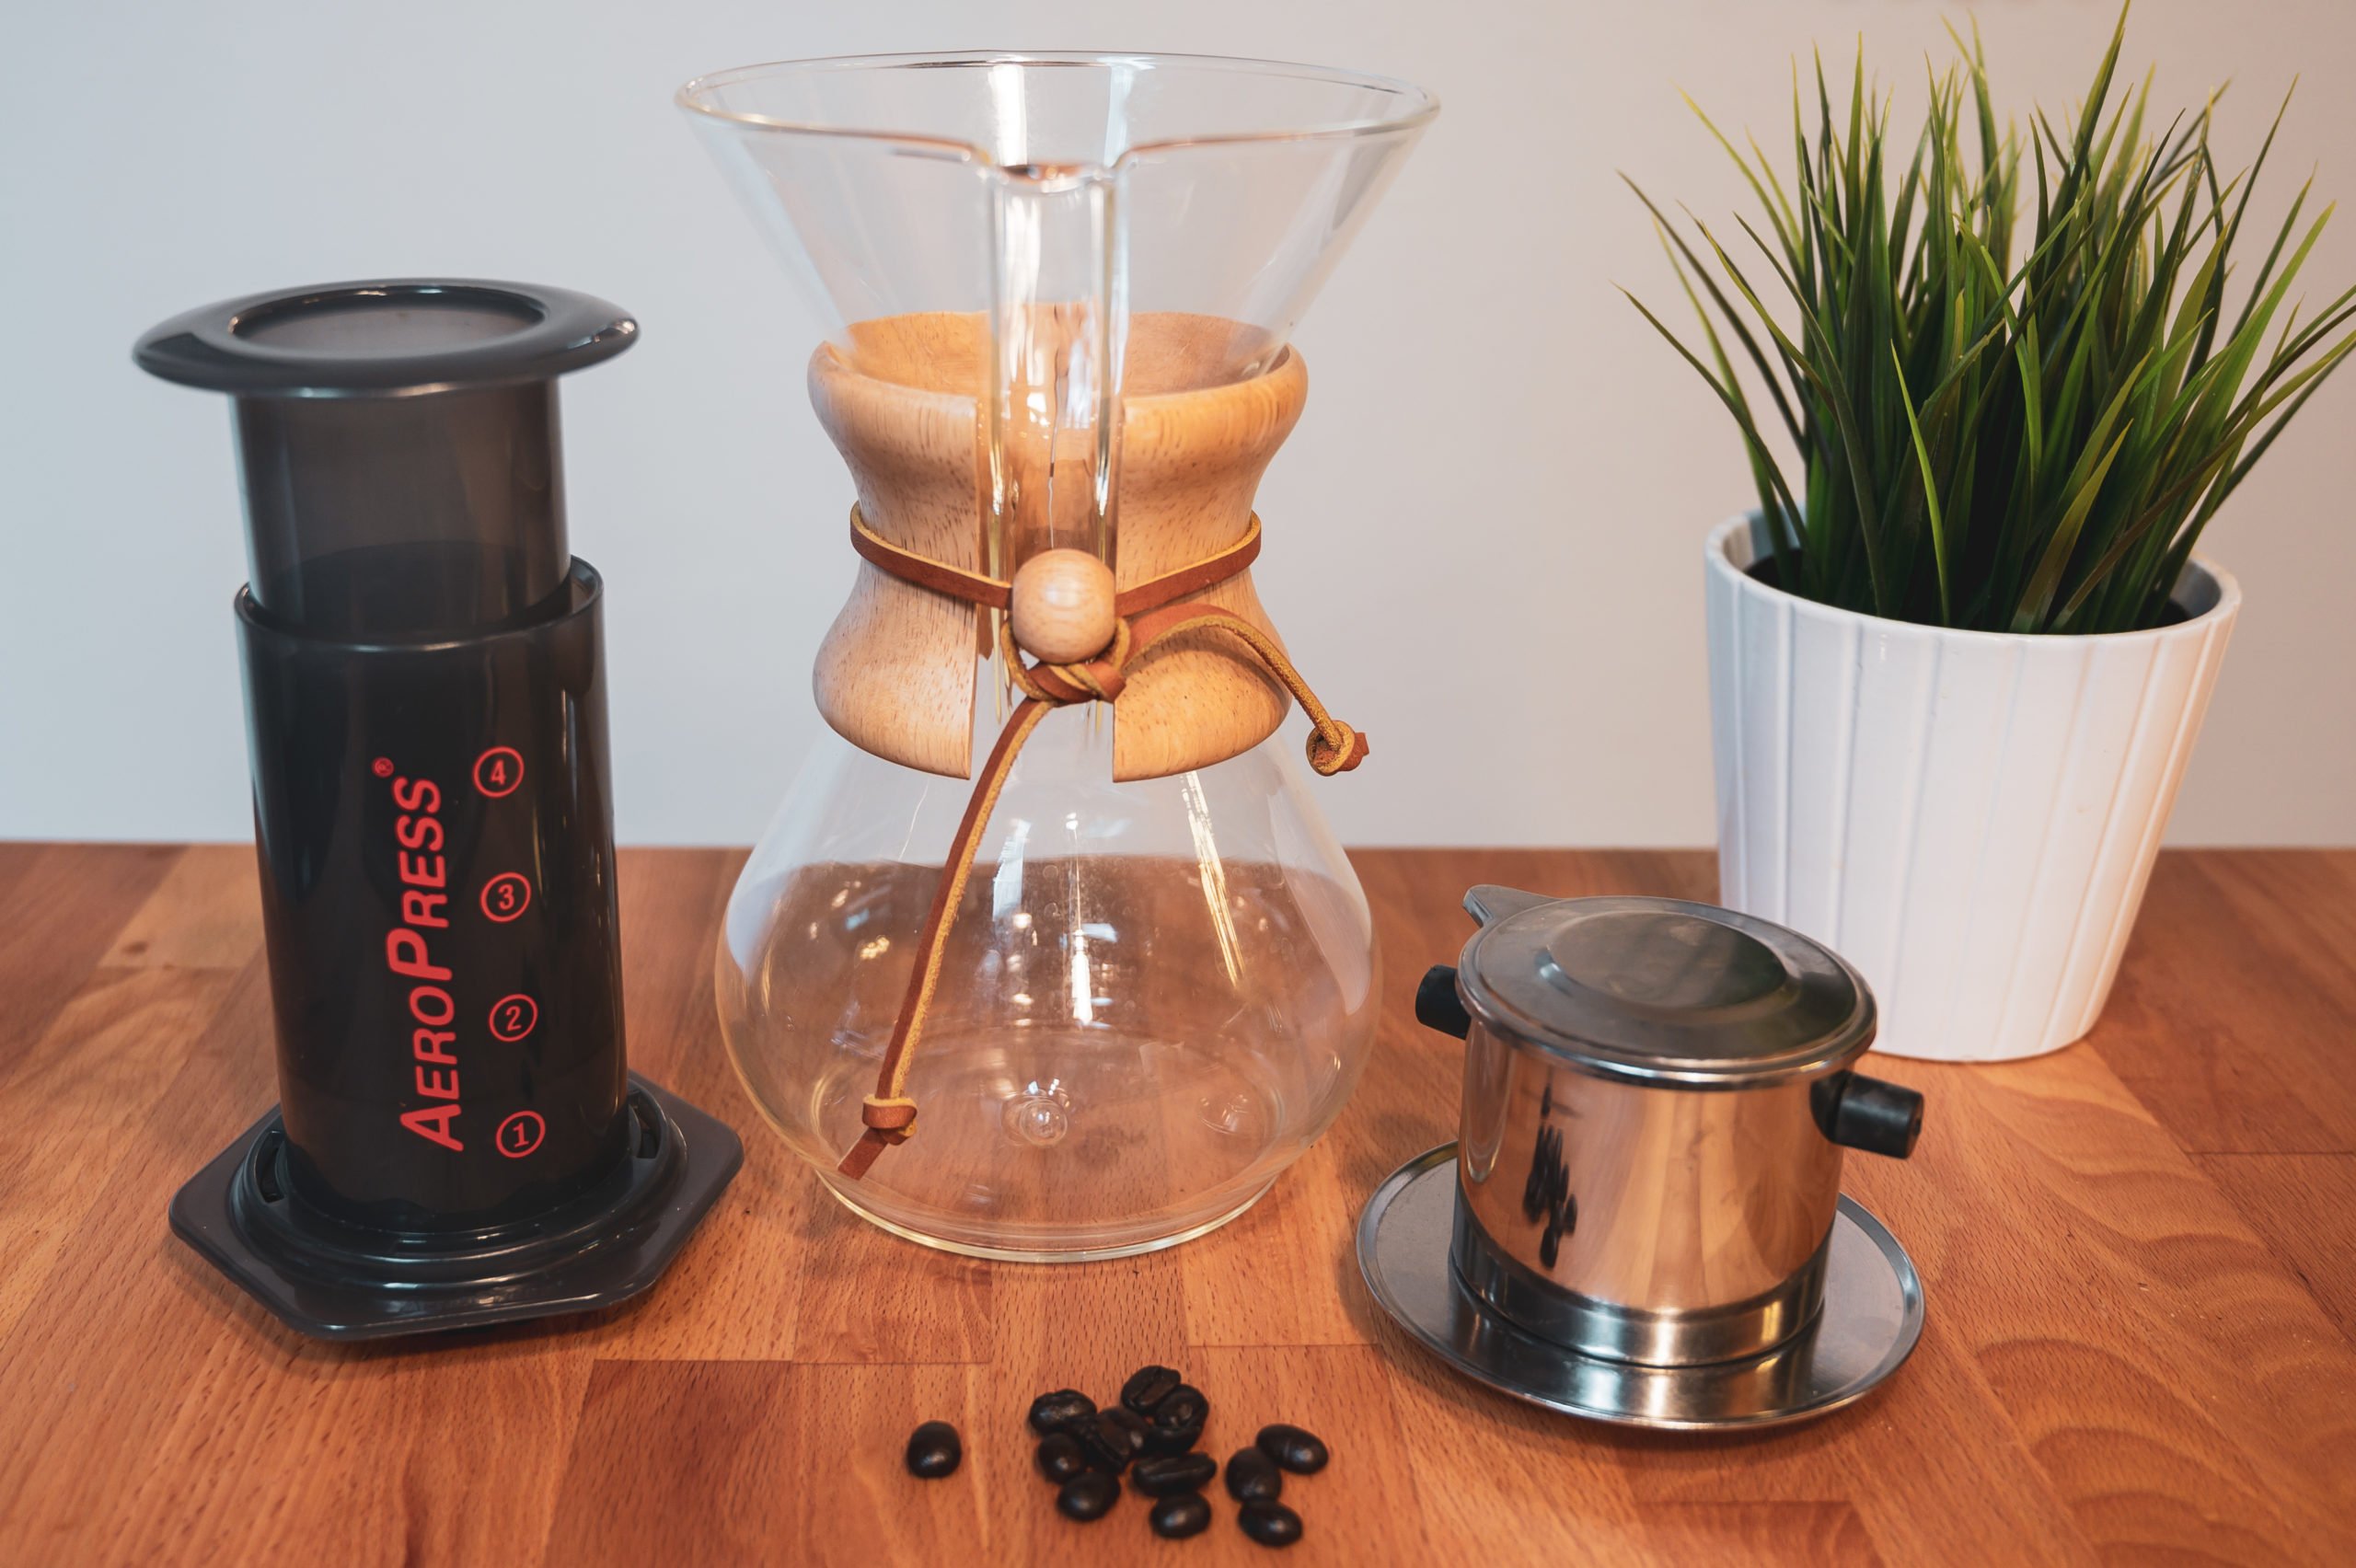
I love a relaxing morning where I have time to grind my coffee beans and brew a cup of French Press coffee or Chemex Coffee. However, some mornings I’m exhausted and don’t have time to spend 5-10 minutes making a cup of coffee. Enter my Keurig K-Cup coffee machine! It is so convenient to pick out a K-Cup coffee pod, place it in the machine and click brew. Easy-peasy. These are some of the best K-cup coffees I’ve found in over a decade of drinking K-Cup coffee. I chose them based on their flavor, strength, aroma, and willingness to drink them repeatedly.
I typically drink my coffee either black with a teaspoon of sugar or with two teaspoons of half-and-half and one teaspoon of sugar. All of the K-Cup coffees listed here were tested both with half-and-half and without.
1) Tim Hortons Original Blend
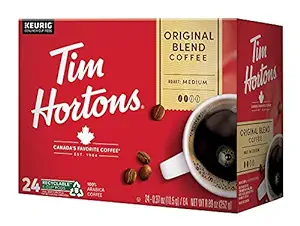
I first tried Tim Hortons Original Blend while traveling in the U.S. years ago. The hotel I stayed at had a K-Cup machine in the room, and one of the provided K-cup coffees was Tim Horton’s Original Blend. It was love at first sip! Often, the in-room coffee given in hotels is, well, less than adequate, but I loved Tim Horton’s K-Cup coffee and started buying them online for a quick go-to coffee for those busy mornings when I need something quick! It is still one of the best K-Cup coffees I’ve tried to date.
2) Don Francisco’s Hawaiian Hazelnut Coffee
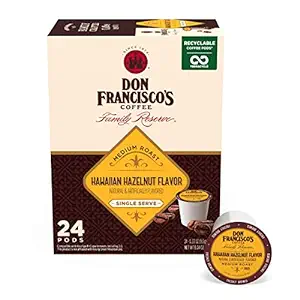
I am not someone who typically enjoys flavored coffees. I think most of them taste artificial. That said, the one flavor I do enjoy is hazelnut-flavored coffee. Don Francisco’s Hawaiian Hazelnut combines two of my favorite flavors, hazelnut, and coconut. What can I say? I’m nuts about it! It takes me back to Maui, sitting on the lanai, sipping coffee, and watching the sunrise. Now, that’s the life!
If you’re someone who likes flavored coffees, then you need to try Don Francisco’s Hawaiian Hazelnut. It is one of the best flavored K-Cup coffees! I’ve been drinking it for years, and it is a favorite of mine and my houseguests.
3) Peet’s Coffee Café Domingo
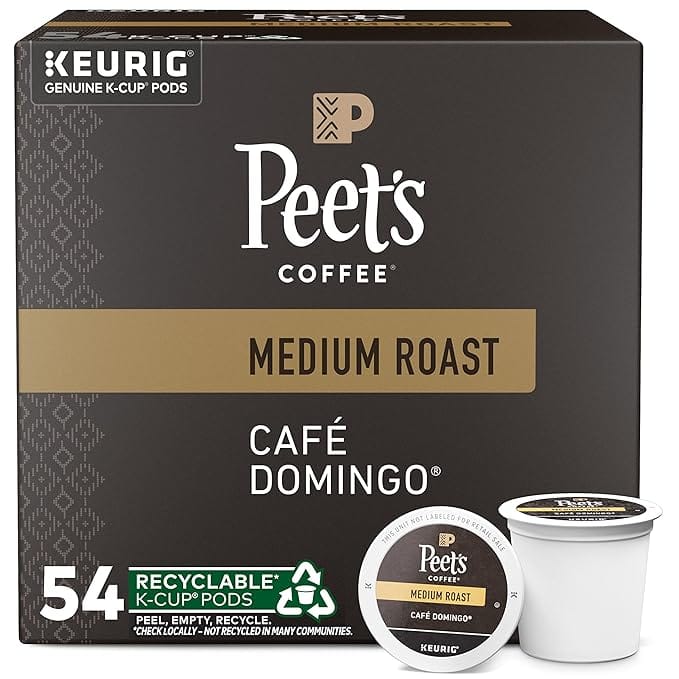
I mentioned Peet’s Cafe Domingo in my article on the 7 Best Coffees to Try for Any Brewing Method, and it continues to be one of my favorites. It is an excellent medium roast coffee with nutty and toffee flavor that is the perfect morning pick-me-up! Although I typically buy it in whole bean 1lb bags, it is also one of the best K-Cup coffees I have tried.
4) Krispy Kreme Classic Coffee

I remember my first time visiting a Krispy Kreme donut store, and I ordered a coffee with my donuts, one cream, two sugars. I was pleasantly surprised when I took my first sip at how good it was! So when I saw that Krispy Kreme was producing a line of K-Cup coffee, I had to try it! It’s great! The Krispy Kreme Classic Coffee is a lot like what they serve in their stores. It is a favorite of mine and my hubby’s. It tastes even better with a Krispy Kreme donut, but then we can’t have everything!
5) San Francisco Bay Coffee Fog Chaser
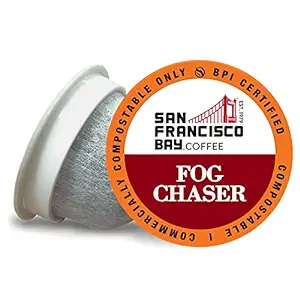
Another long-time staple of mine is San Francisco Bay Coffee’s Fog Chaser. This is one of the best K-Cup coffees for those who enjoy a full-bodied dark roast coffee. In addition to the great flavor, I also like that these K-cups are made with plant-based materials and are certified fully commercially compostable.
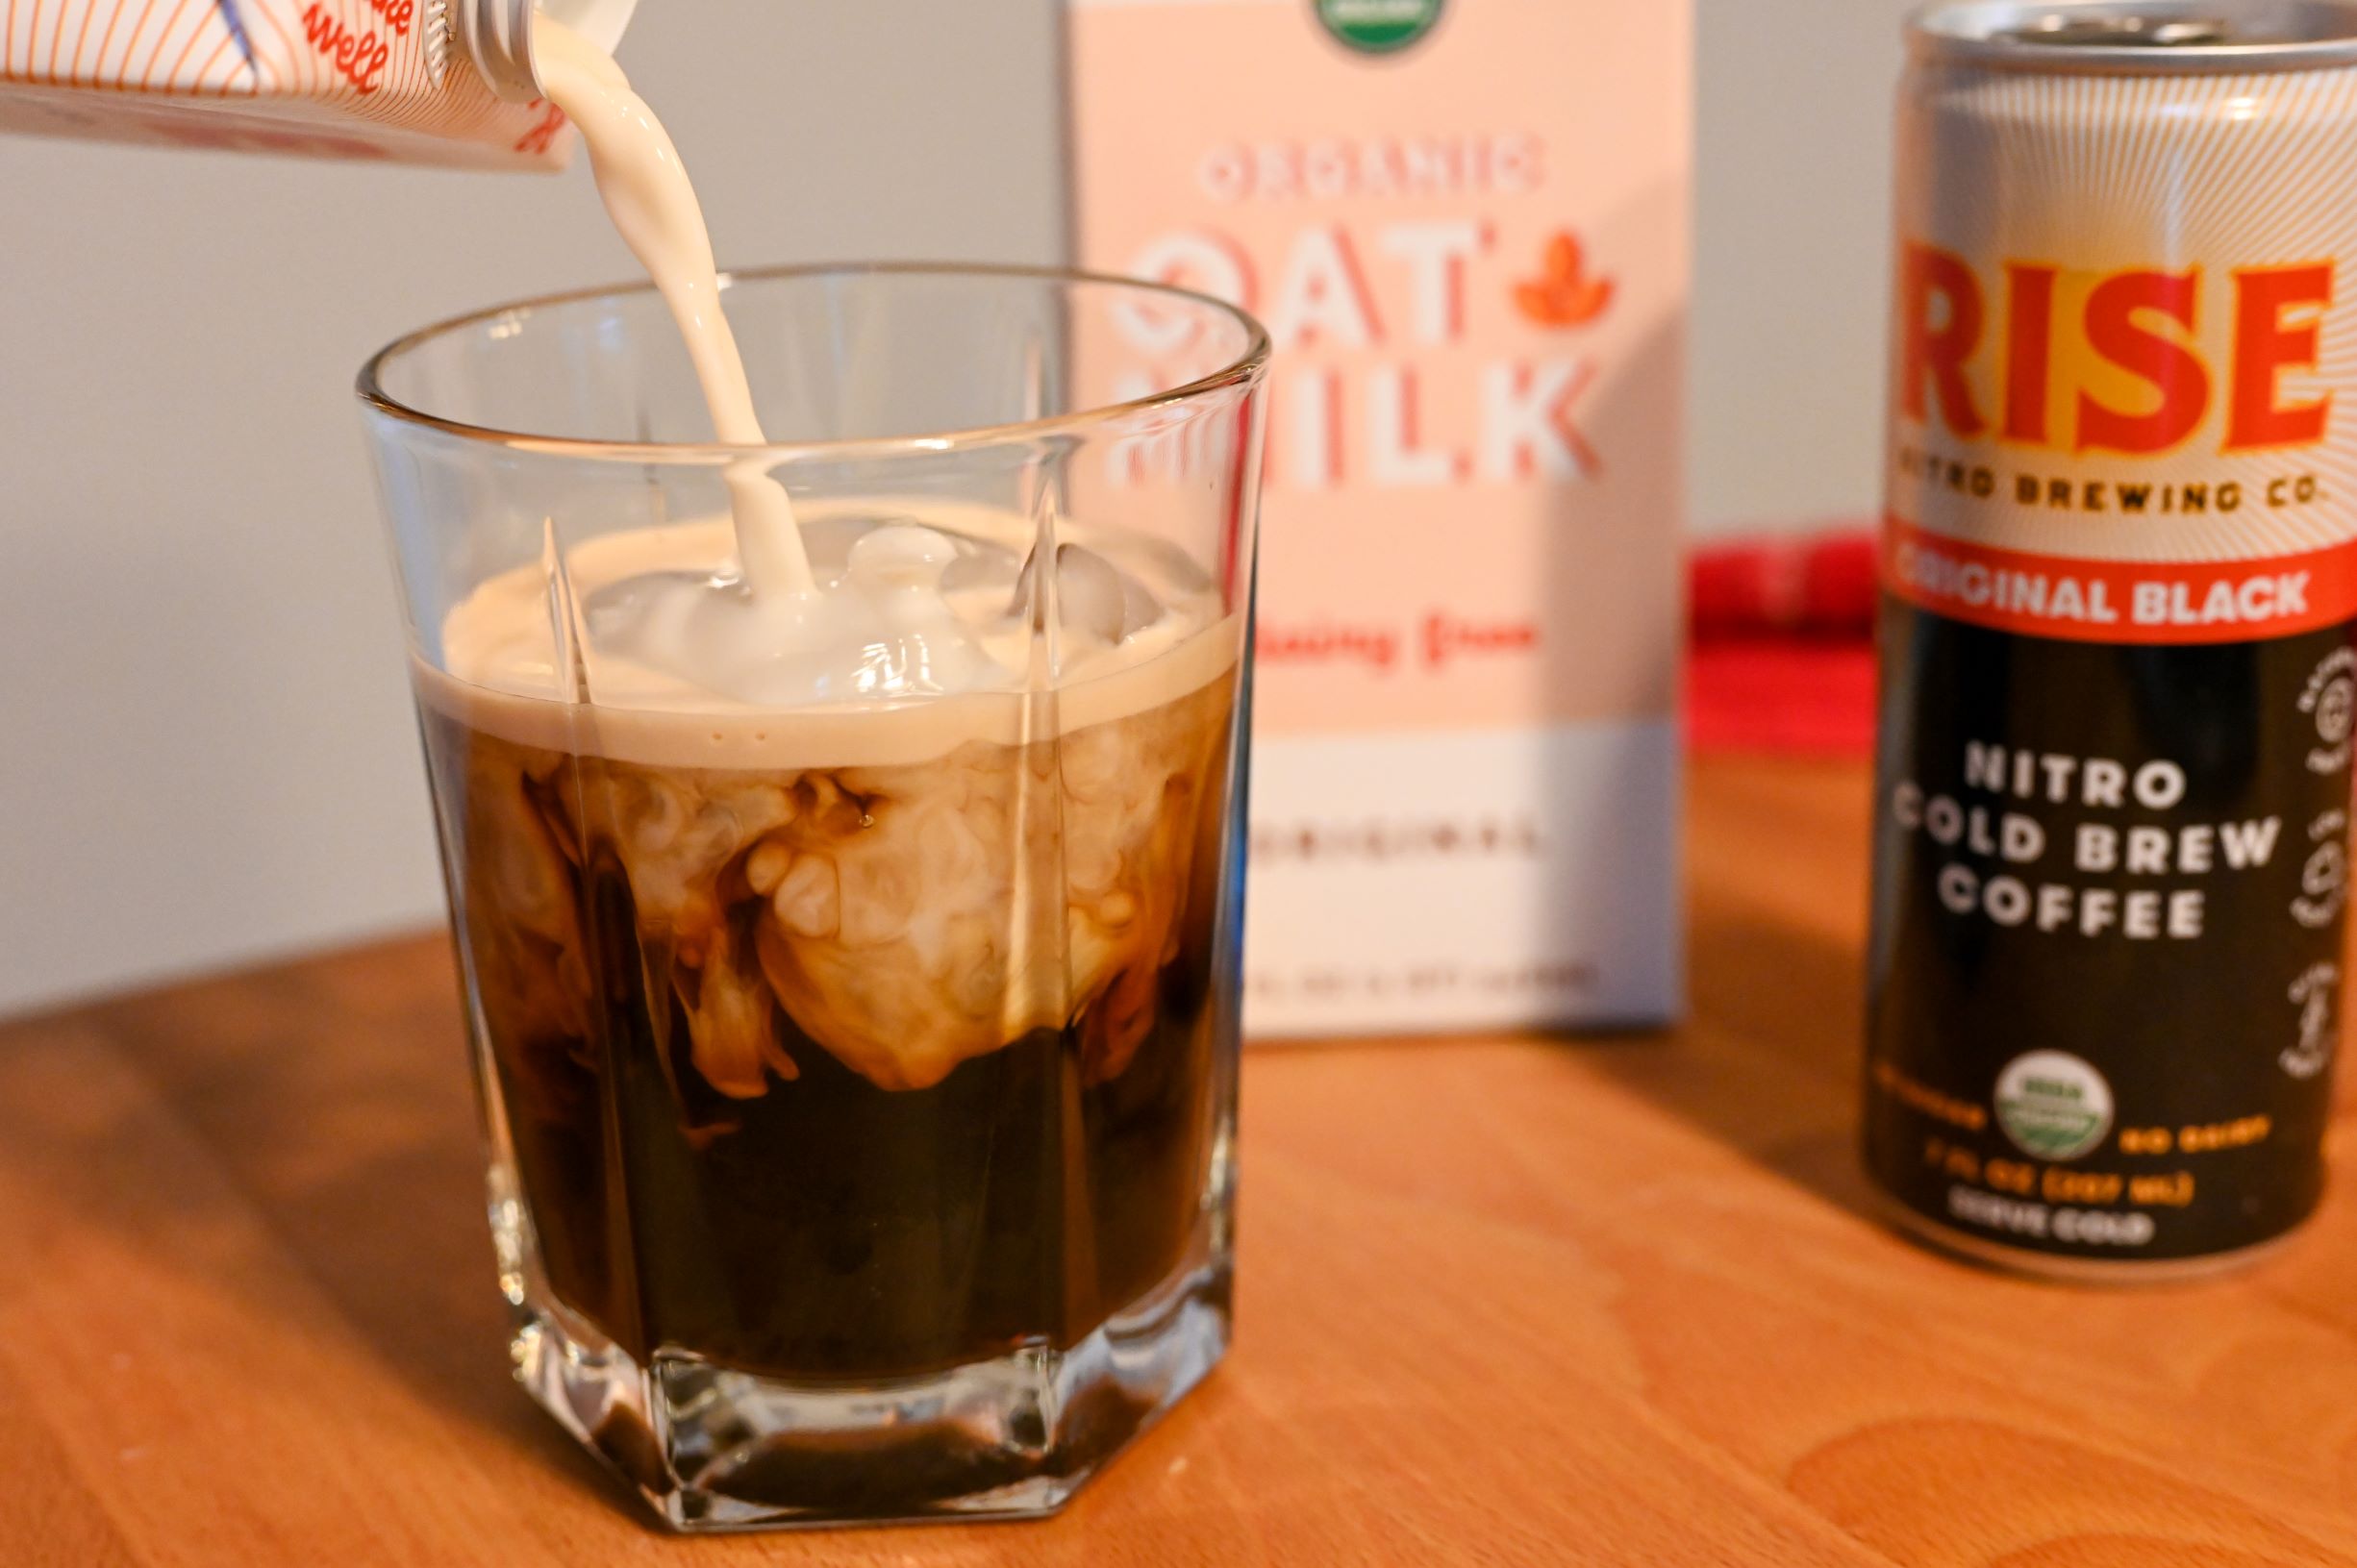
I used the Fog Chaser K-Cups to make quick DIY lattes as it is a bold dark roast blend. You use one of their K-Cup coffee pods and set your water amount to 4 oz, then add in your favorite flavoring and some frothed milk, and you’ve got a quick DIY latte!
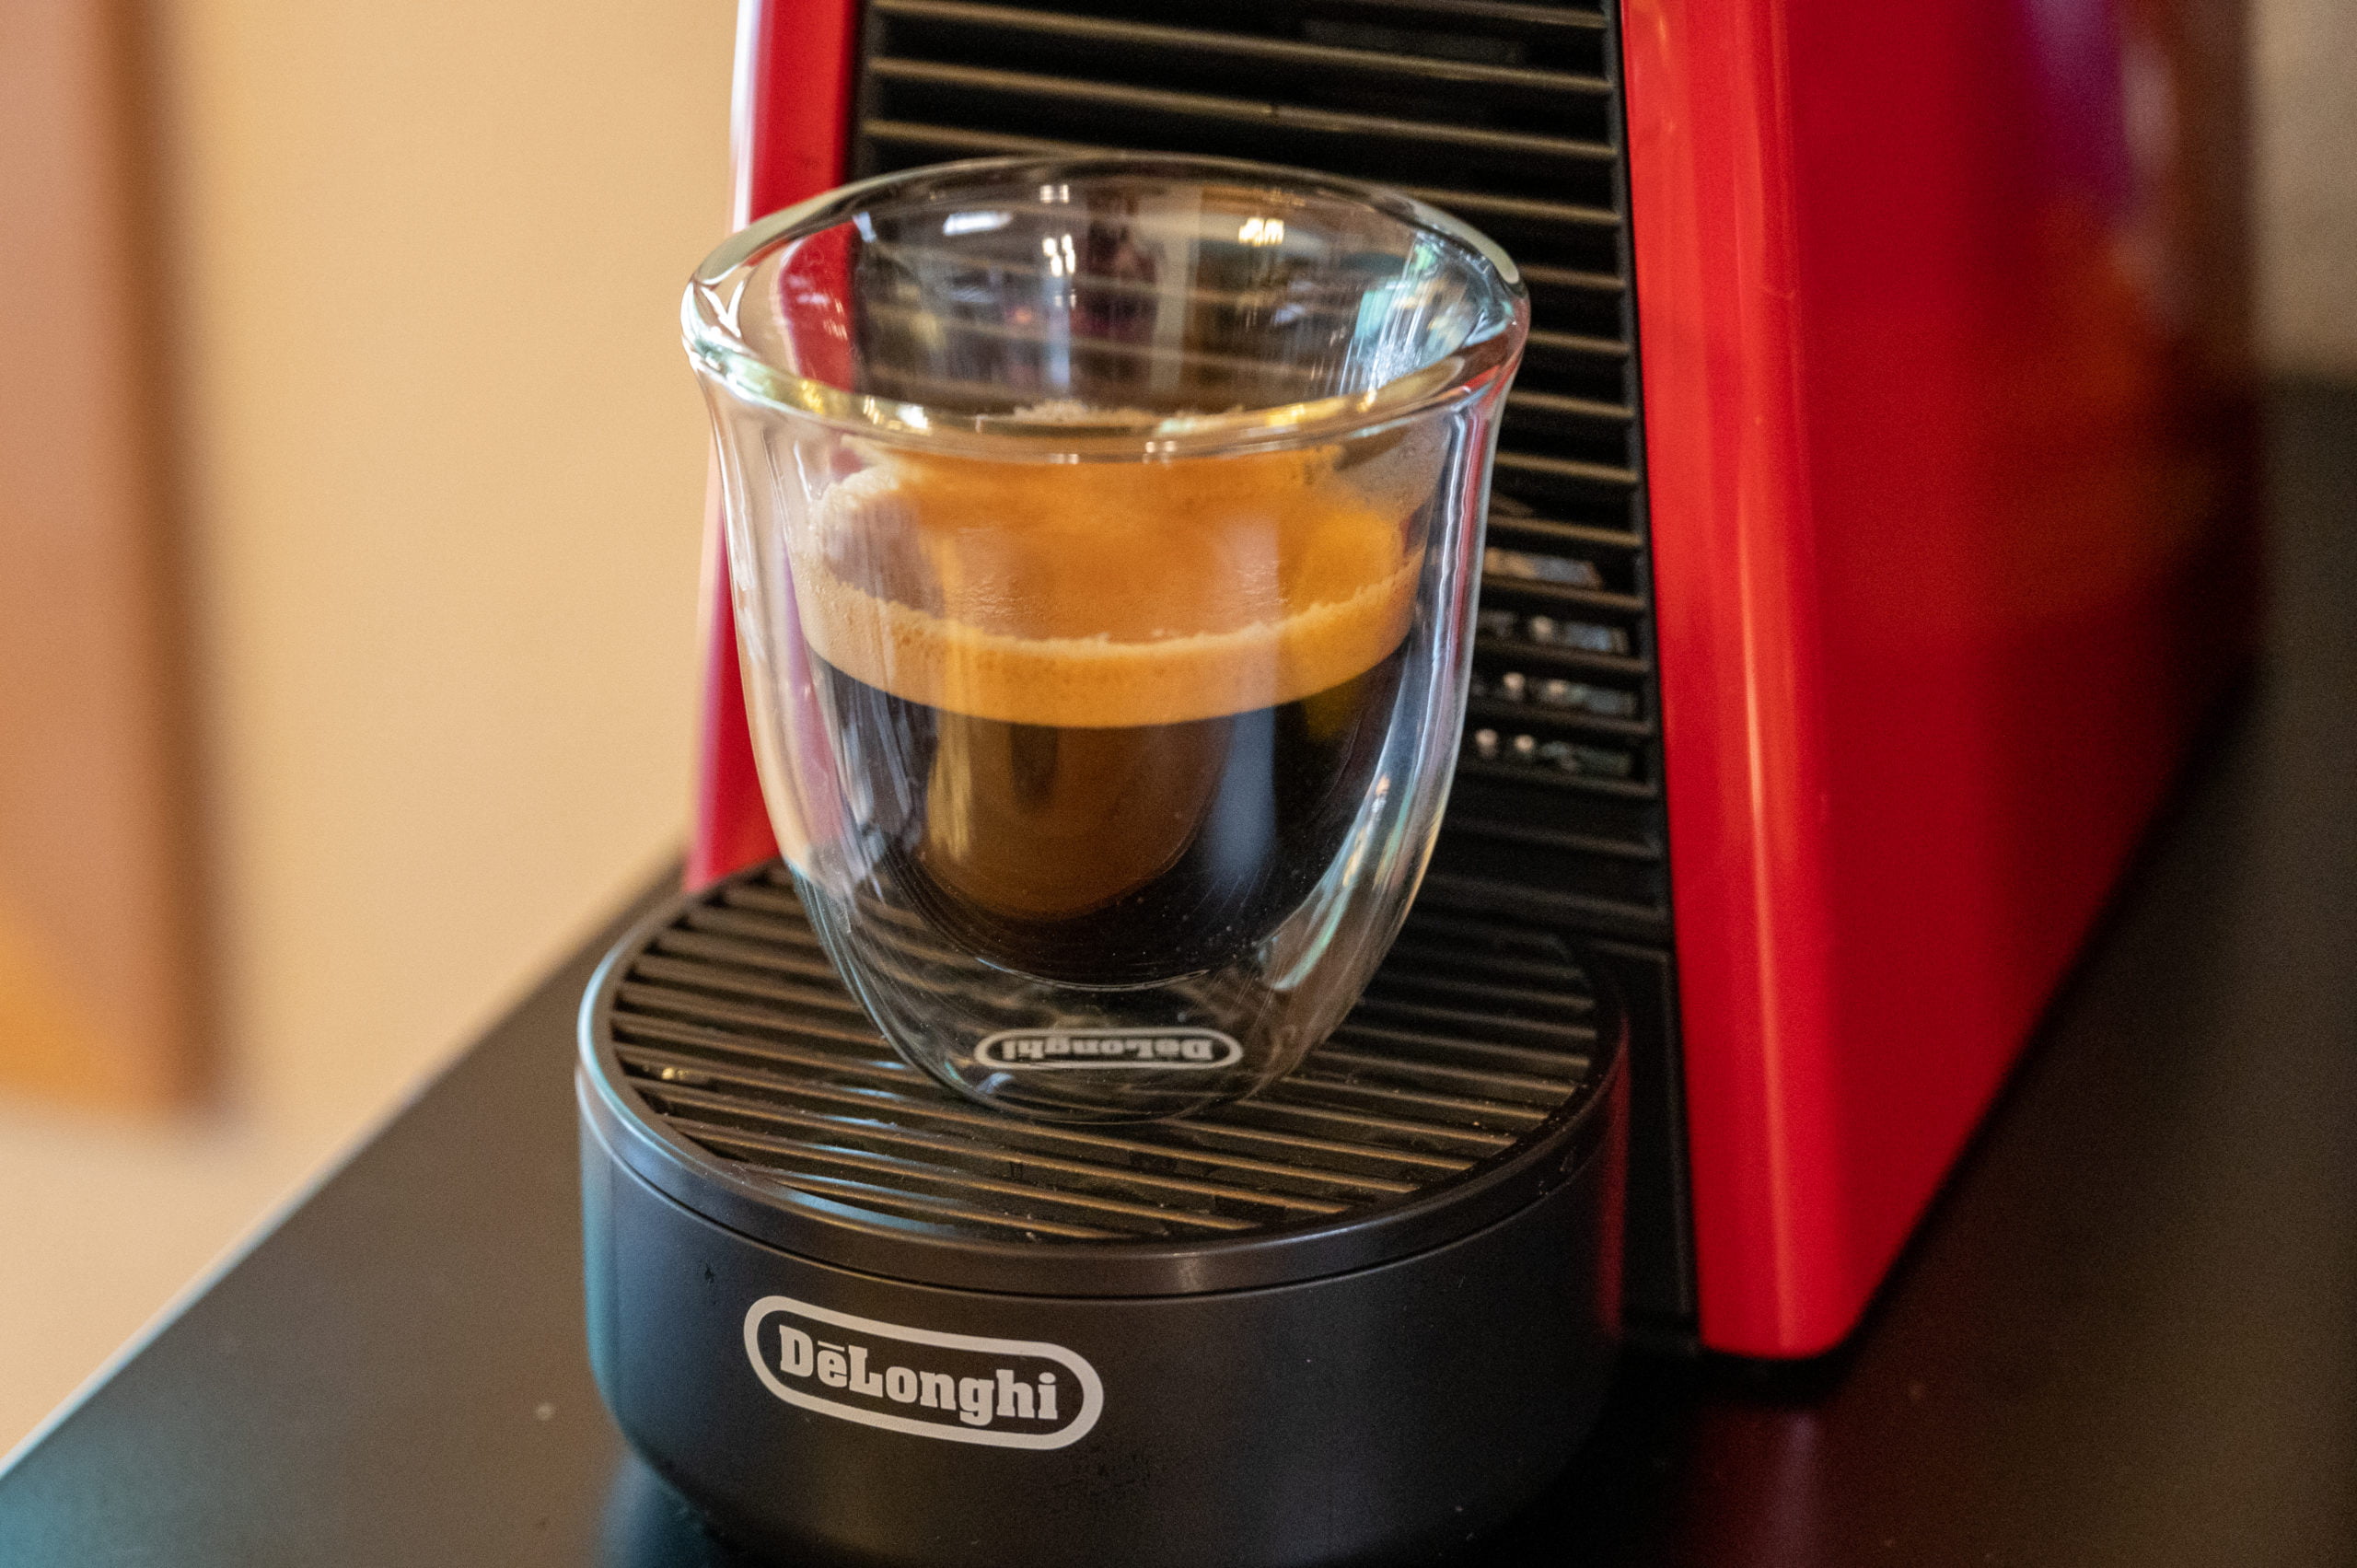
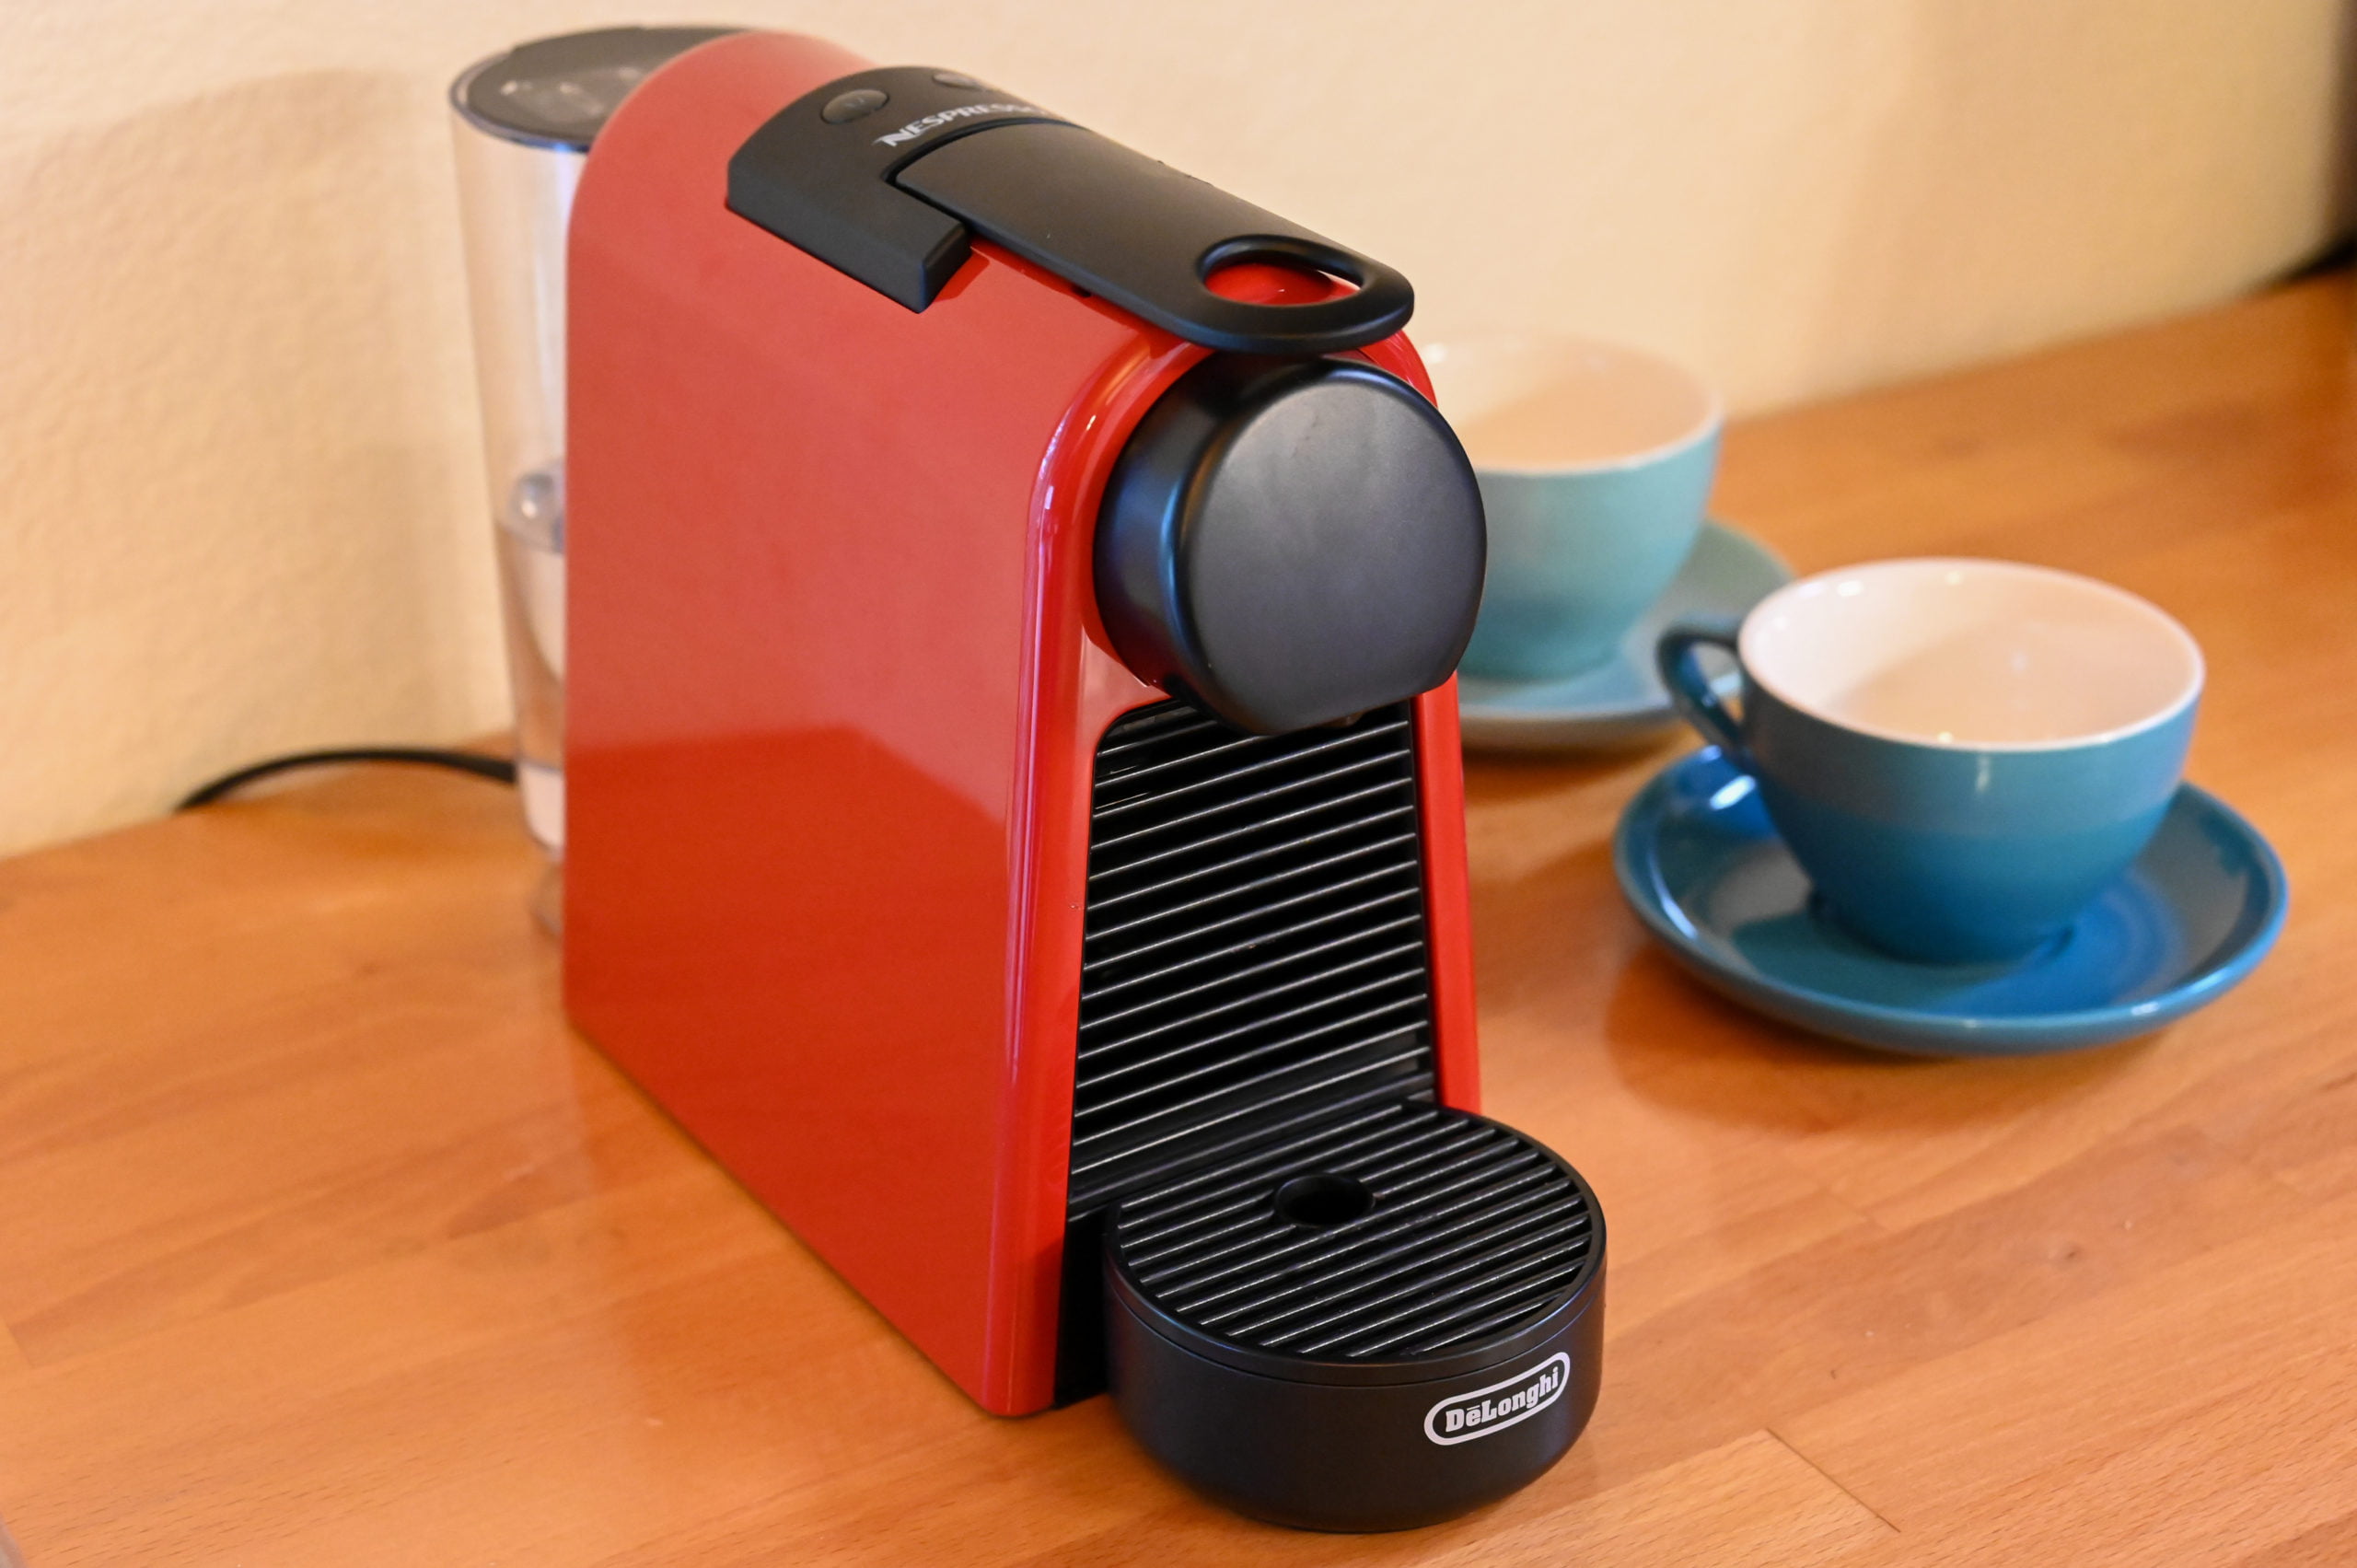
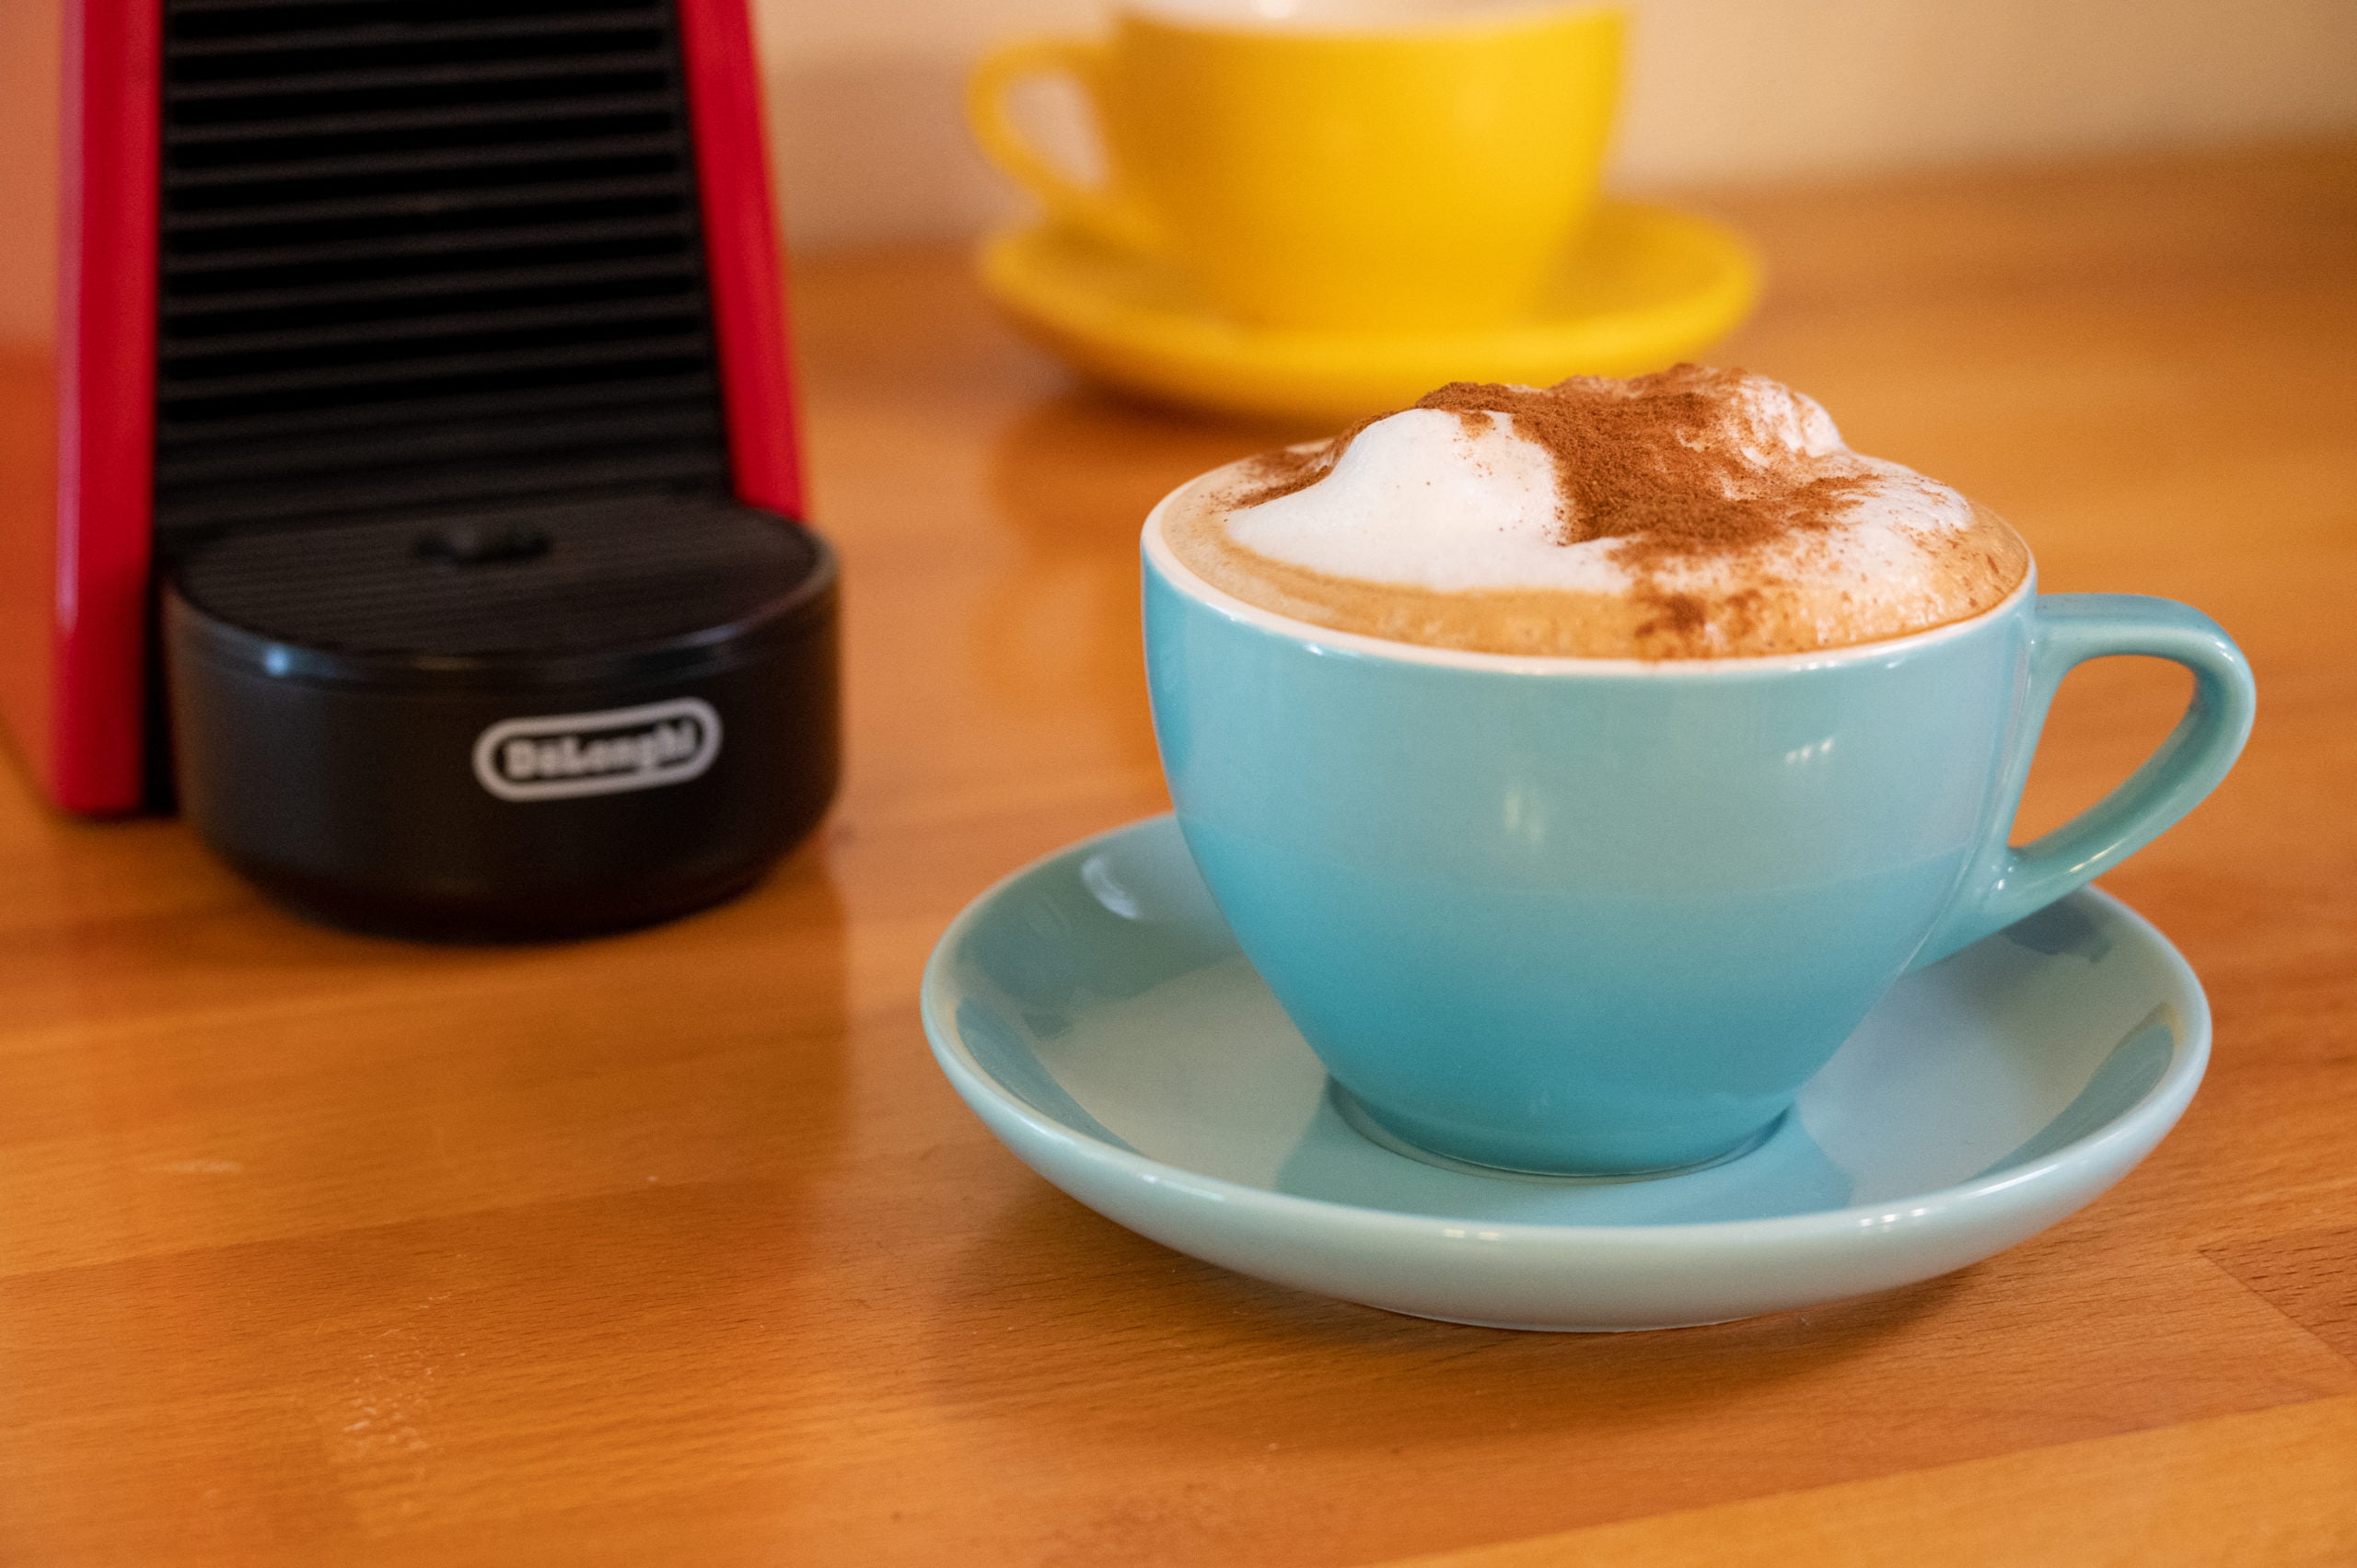
Now, I use my Nespresso Essenza Mini to make lattes and cappuccinos. Still, if you don’t have an espresso maker, then the San Francisco Bay Coffee Fog Chaser K-cups are perfect for a K-cup espresso substitute.
6) Atlas Coffee Club K Cups
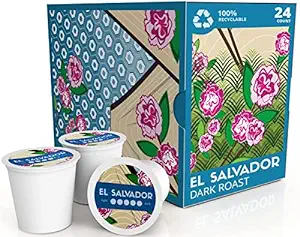
Atlas Coffee Club is a forerunner in the subscription coffee world delivering freshly roasted coffee to your door and now they have added K Cups to their coffee offerings. Atlas Coffee Club K Cups have taken coffee pods to a whole new level. They don’t sacrifice quality for convenience, in fact, they figured out a way to fit 20% more coffee into their pods for a richer brew. They roast the coffee on-demand before shipping so you get freshly roasted coffee, something previously lacking in the world of coffee pods. Additionally, they pay above Fair Trade prices and their K Cups are recyclable–now that’s a win-win!
If that wasn’t enough, they also packed their K-Cups into a beautiful box that functions as a drawer. No need to hide an ugly box of coffee pods, you will want to display these beautifully designed containers on your countertop. It is the best-designed and functional K-cup box I’ve ever seen.
If you subscribe to their monthly coffee club you will also receive a postcard from the country of origin (how cool is that), along with the history on the origin of the coffee, and each month you’ll receive a new box from a different country to try.
I tried the Brazil and El Salvador blends so far and both were great. I preferred the Brazil with a little sugar and half and half, while the El Salvador was perfect black. When you drink it black you taste the notes of cinnamon and spice. It was a pleasant surprise to find a K-Cup with so much flavor! I am excited to try more of Atlas Coffee Club’s K Cups, I’m thinking maybe a “trip” to Costa Rica?
7) Folger’s Hazelnut Cream K-Cup Coffee
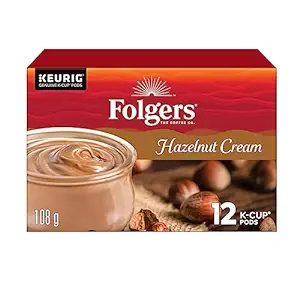
If I remember right, there was a time when I couldn’t get the Don Francisco Hawaiian Hazelnut K-Cup coffee, and I had to try something else. I saw that Folger’s Hazelnut Cream K-Cup coffee got good reviews, so I decided to give it a try. I was glad I did! It ties for the best Hazelnut K-Cup coffee I’ve tried to date! It doesn’t have the added coconut flavor that I love in Don Francisco’s Hawaiian Hazelnut, but it has a delicious creamy hazelnut flavor and fragrant aroma. If you love hazelnut coffee, you will love Folger’s Hazelnut Cream!
8) Diedrich Morning Edition Regular & Decaf
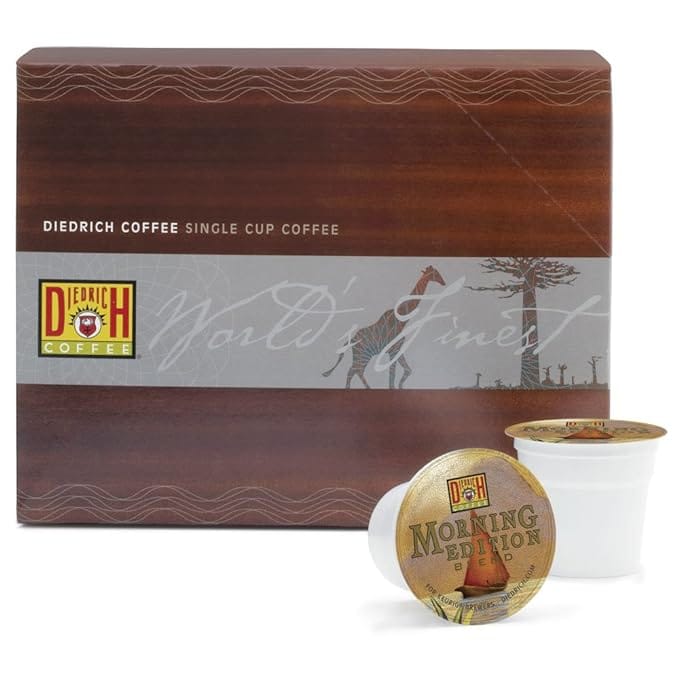
Diedrich Morning Edition is another one of those hotel-provided K-Cups that turned out to be great! In addition to the regular Morning Edition Coffee, Diedrich Coffee’s Morning Edition Decaf K-Cup coffee is the best decaf K-Cup coffee I’ve tried. Now, I haven’t tried a lot, as I don’t typically drink decaf coffee. However, I have some houseguests who prefer decaf, and occasionally in the evening, I enjoy decaf coffee. So, if you like drinking decaf, I highly recommend you give Diedrich Coffee’s Morning Edition Decaf a try!
9) The Original Donut Shop K-Cup Coffee
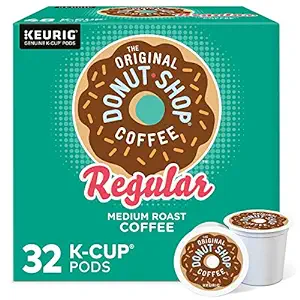
The Original Donut Shop Regular Coffee is one of the best K-Cup coffees for that good all-around diner-style cup of coffee. This is one of my husband’s favorite k-cup coffees. It’s that dependable cup of coffee that goes great with a sweet bread or donut hole.
10) Starbucks Veranda Blend
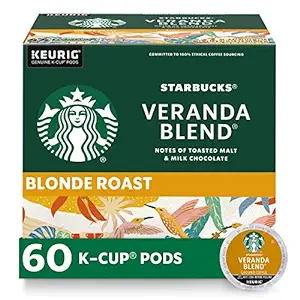
I don’t think the K-Cup style coffee makers typically lend themselves well to light roast coffees. However, I do enjoy Starbucks Veranda Blend Blonde Roast K-Cup coffee. It is probably the best light roast K-Cup coffee I’ve found so far. I enjoy getting it on drip at my local Starbucks, but it is much cheaper to brew a cup at home!
Final Thoughts on the Best K-Cup Coffees
I brew the K-Cup Coffee listed in this post using 10 ounces of water. My K-Cup Coffee maker does go up to 12 ounces, but I found it is a little weak for my taste with that much water. I only change this water amount when using the San Francisco Bay Coffee Fog Chaser K-Cups to create a quick latte. Then I only use 4 ounces to create a strong shot of coffee in place of using a shot of espresso.
I think the best sign of a good coffee is one you want to drink repeatedly. I’ve tried around 25 different K-cup coffees, and the ones that made this list of the best K-Cup coffee are the ones I continue to purchase year after year. That said, the “best K-Cup coffee” is a subjective term. I’d love to hear about some of your favorite K-Cup coffees that didn’t make my list. I am always up to try a new coffee!
Related Articles You May Enjoy
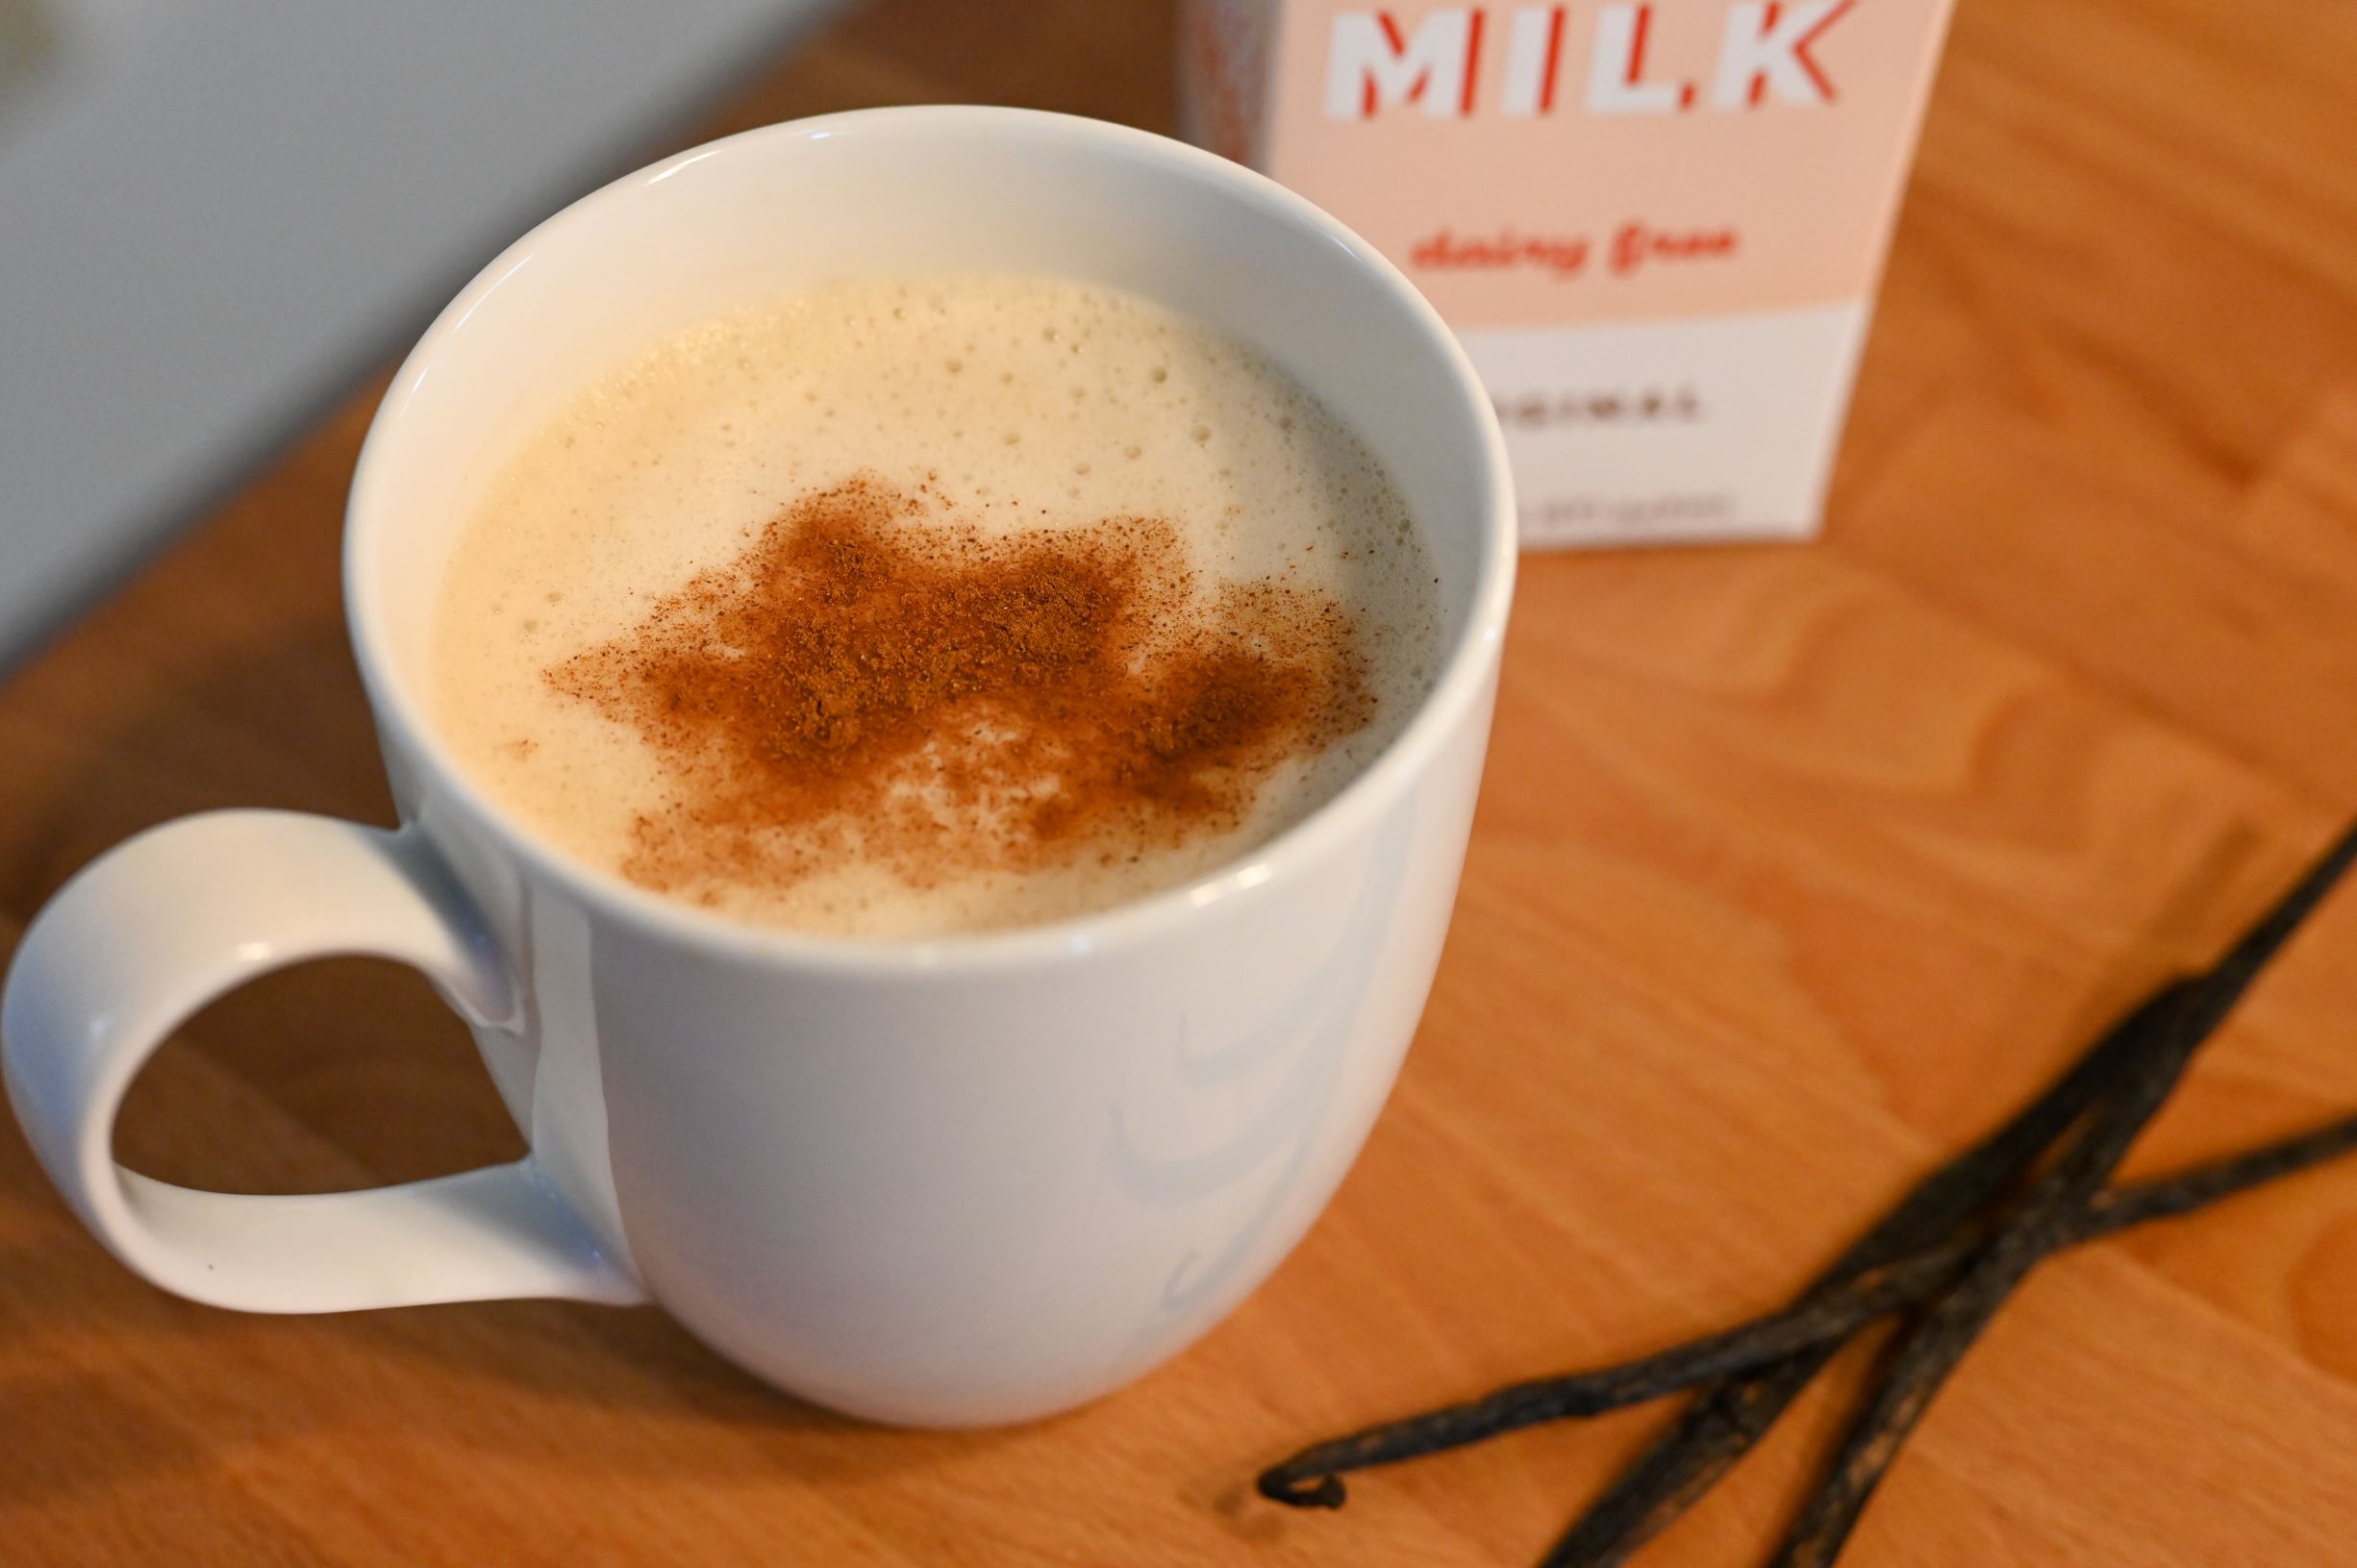
- RISE Brewing: 8 Delicious Recipes with Oatmilk & Coffee
- Nespresso Essenza Mini: The Complete Guide
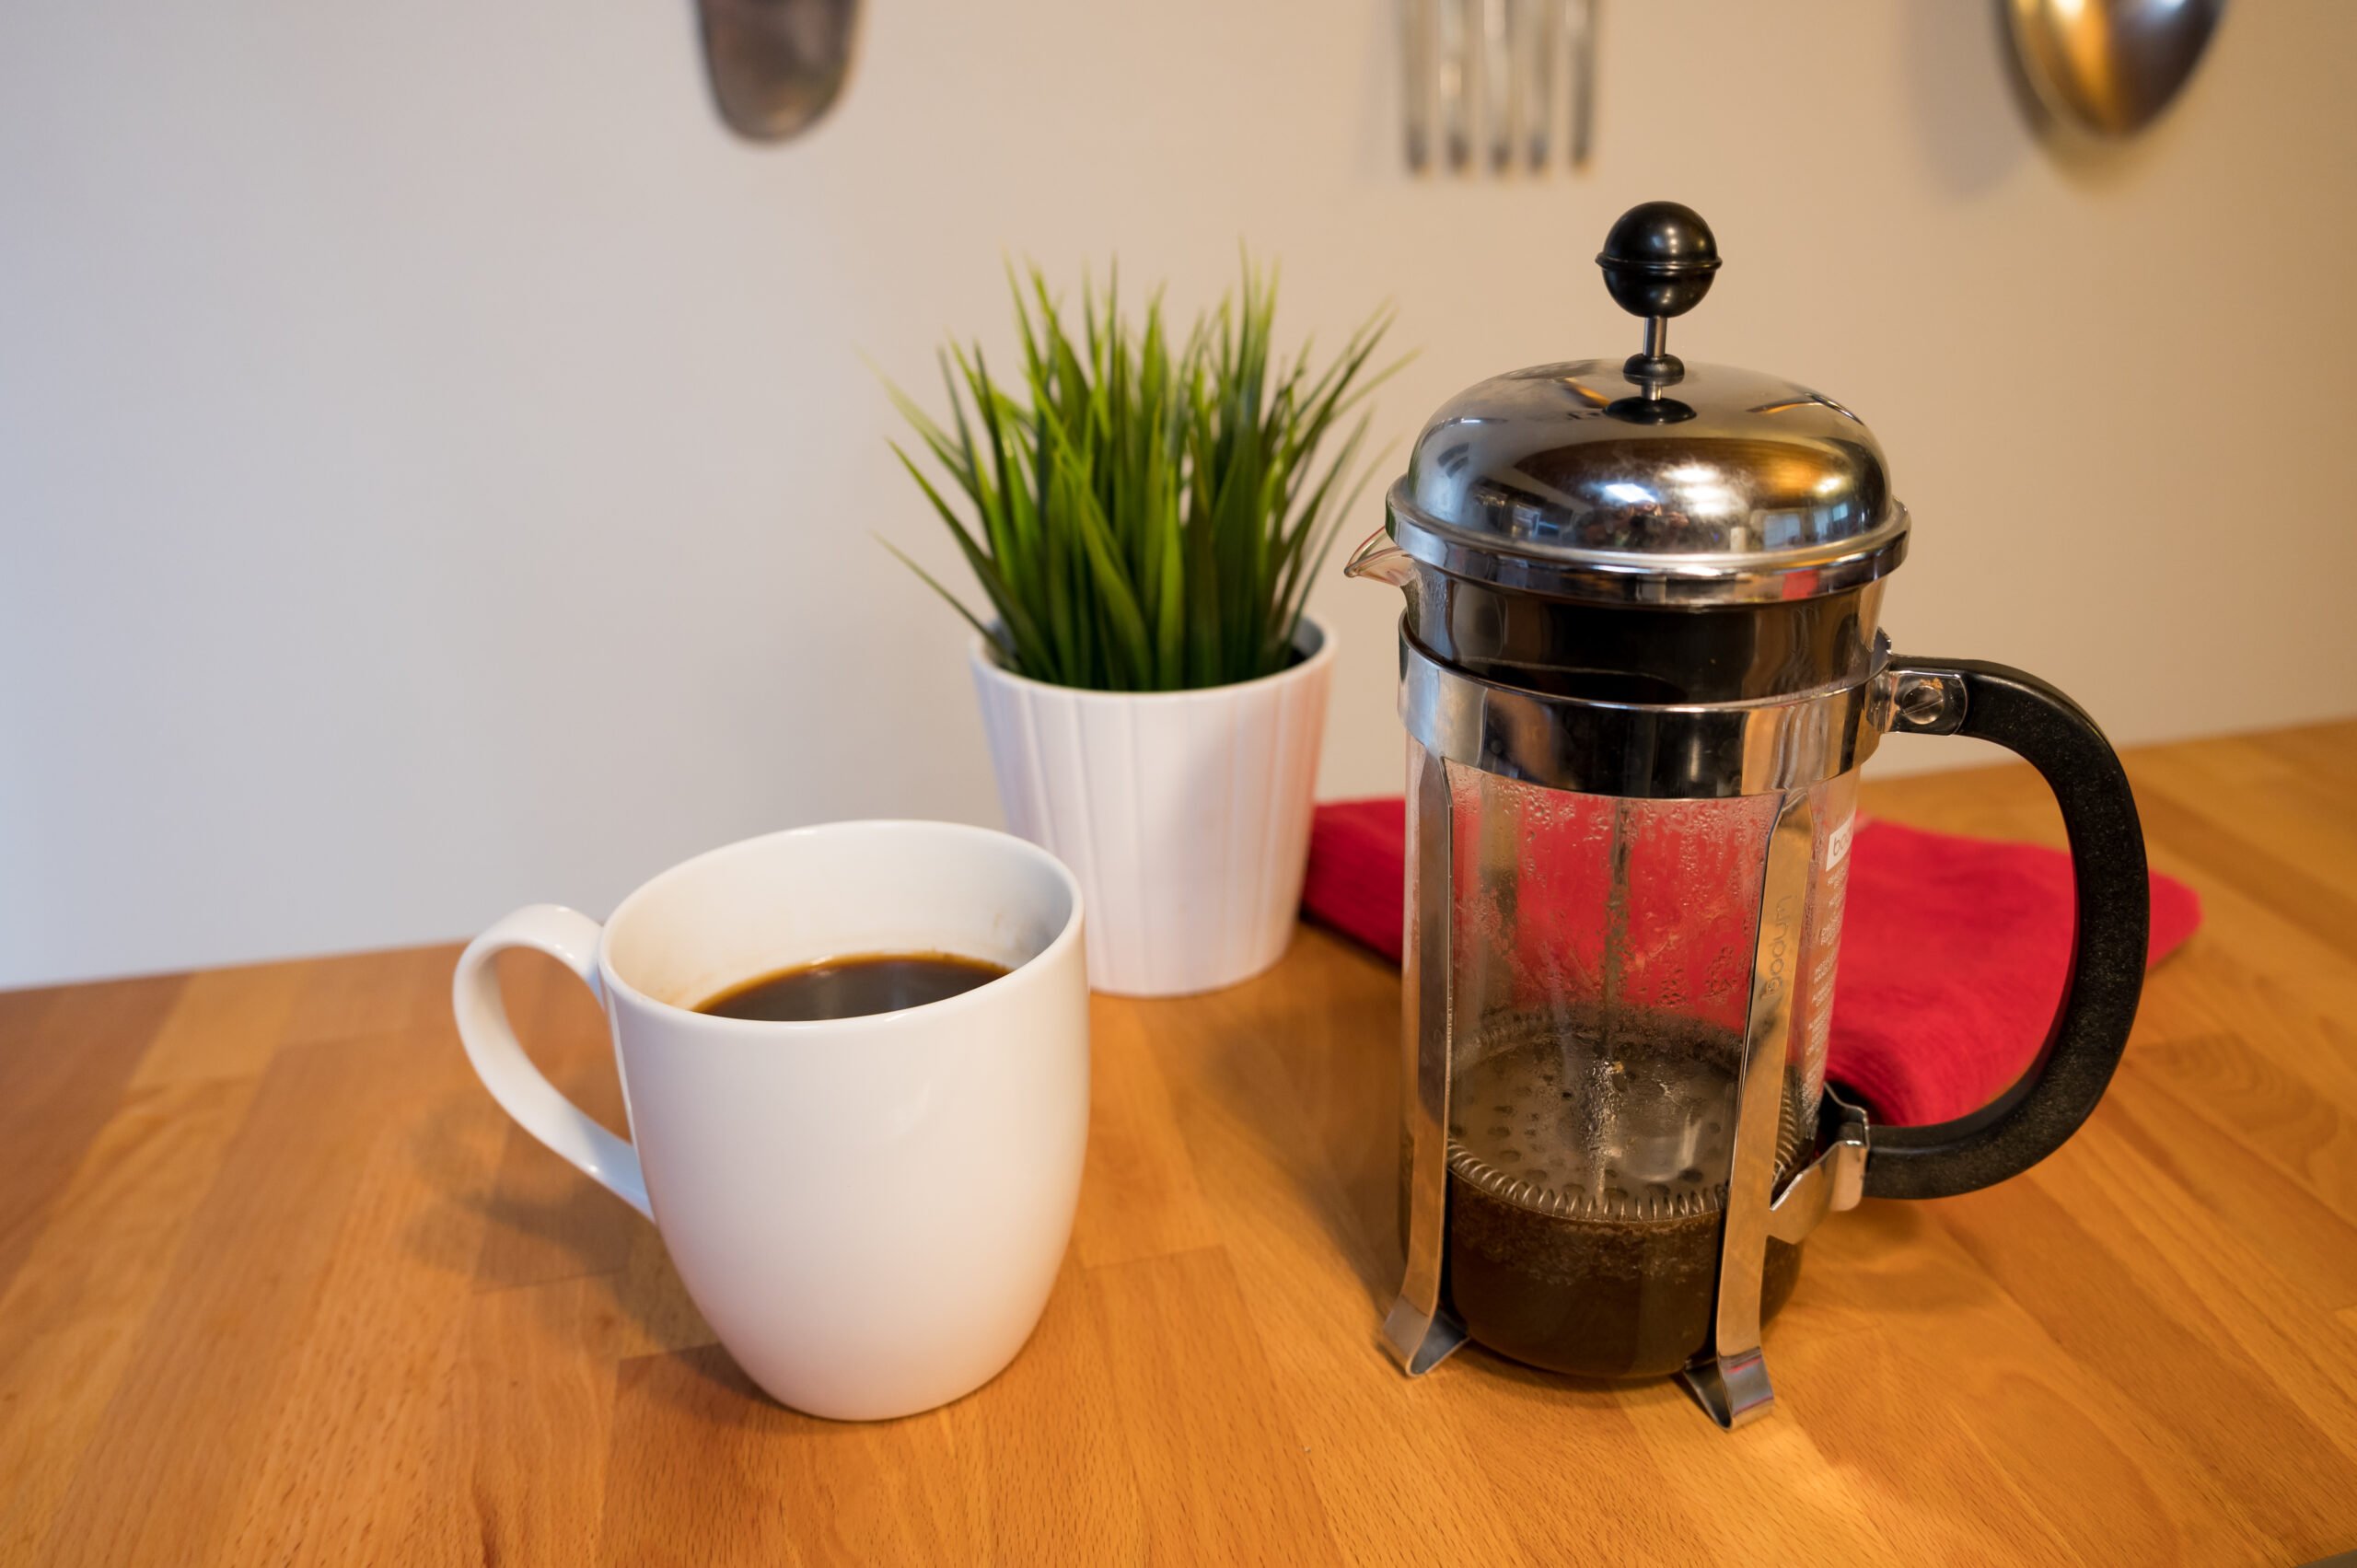
- How to Easily Make French Press Coffee
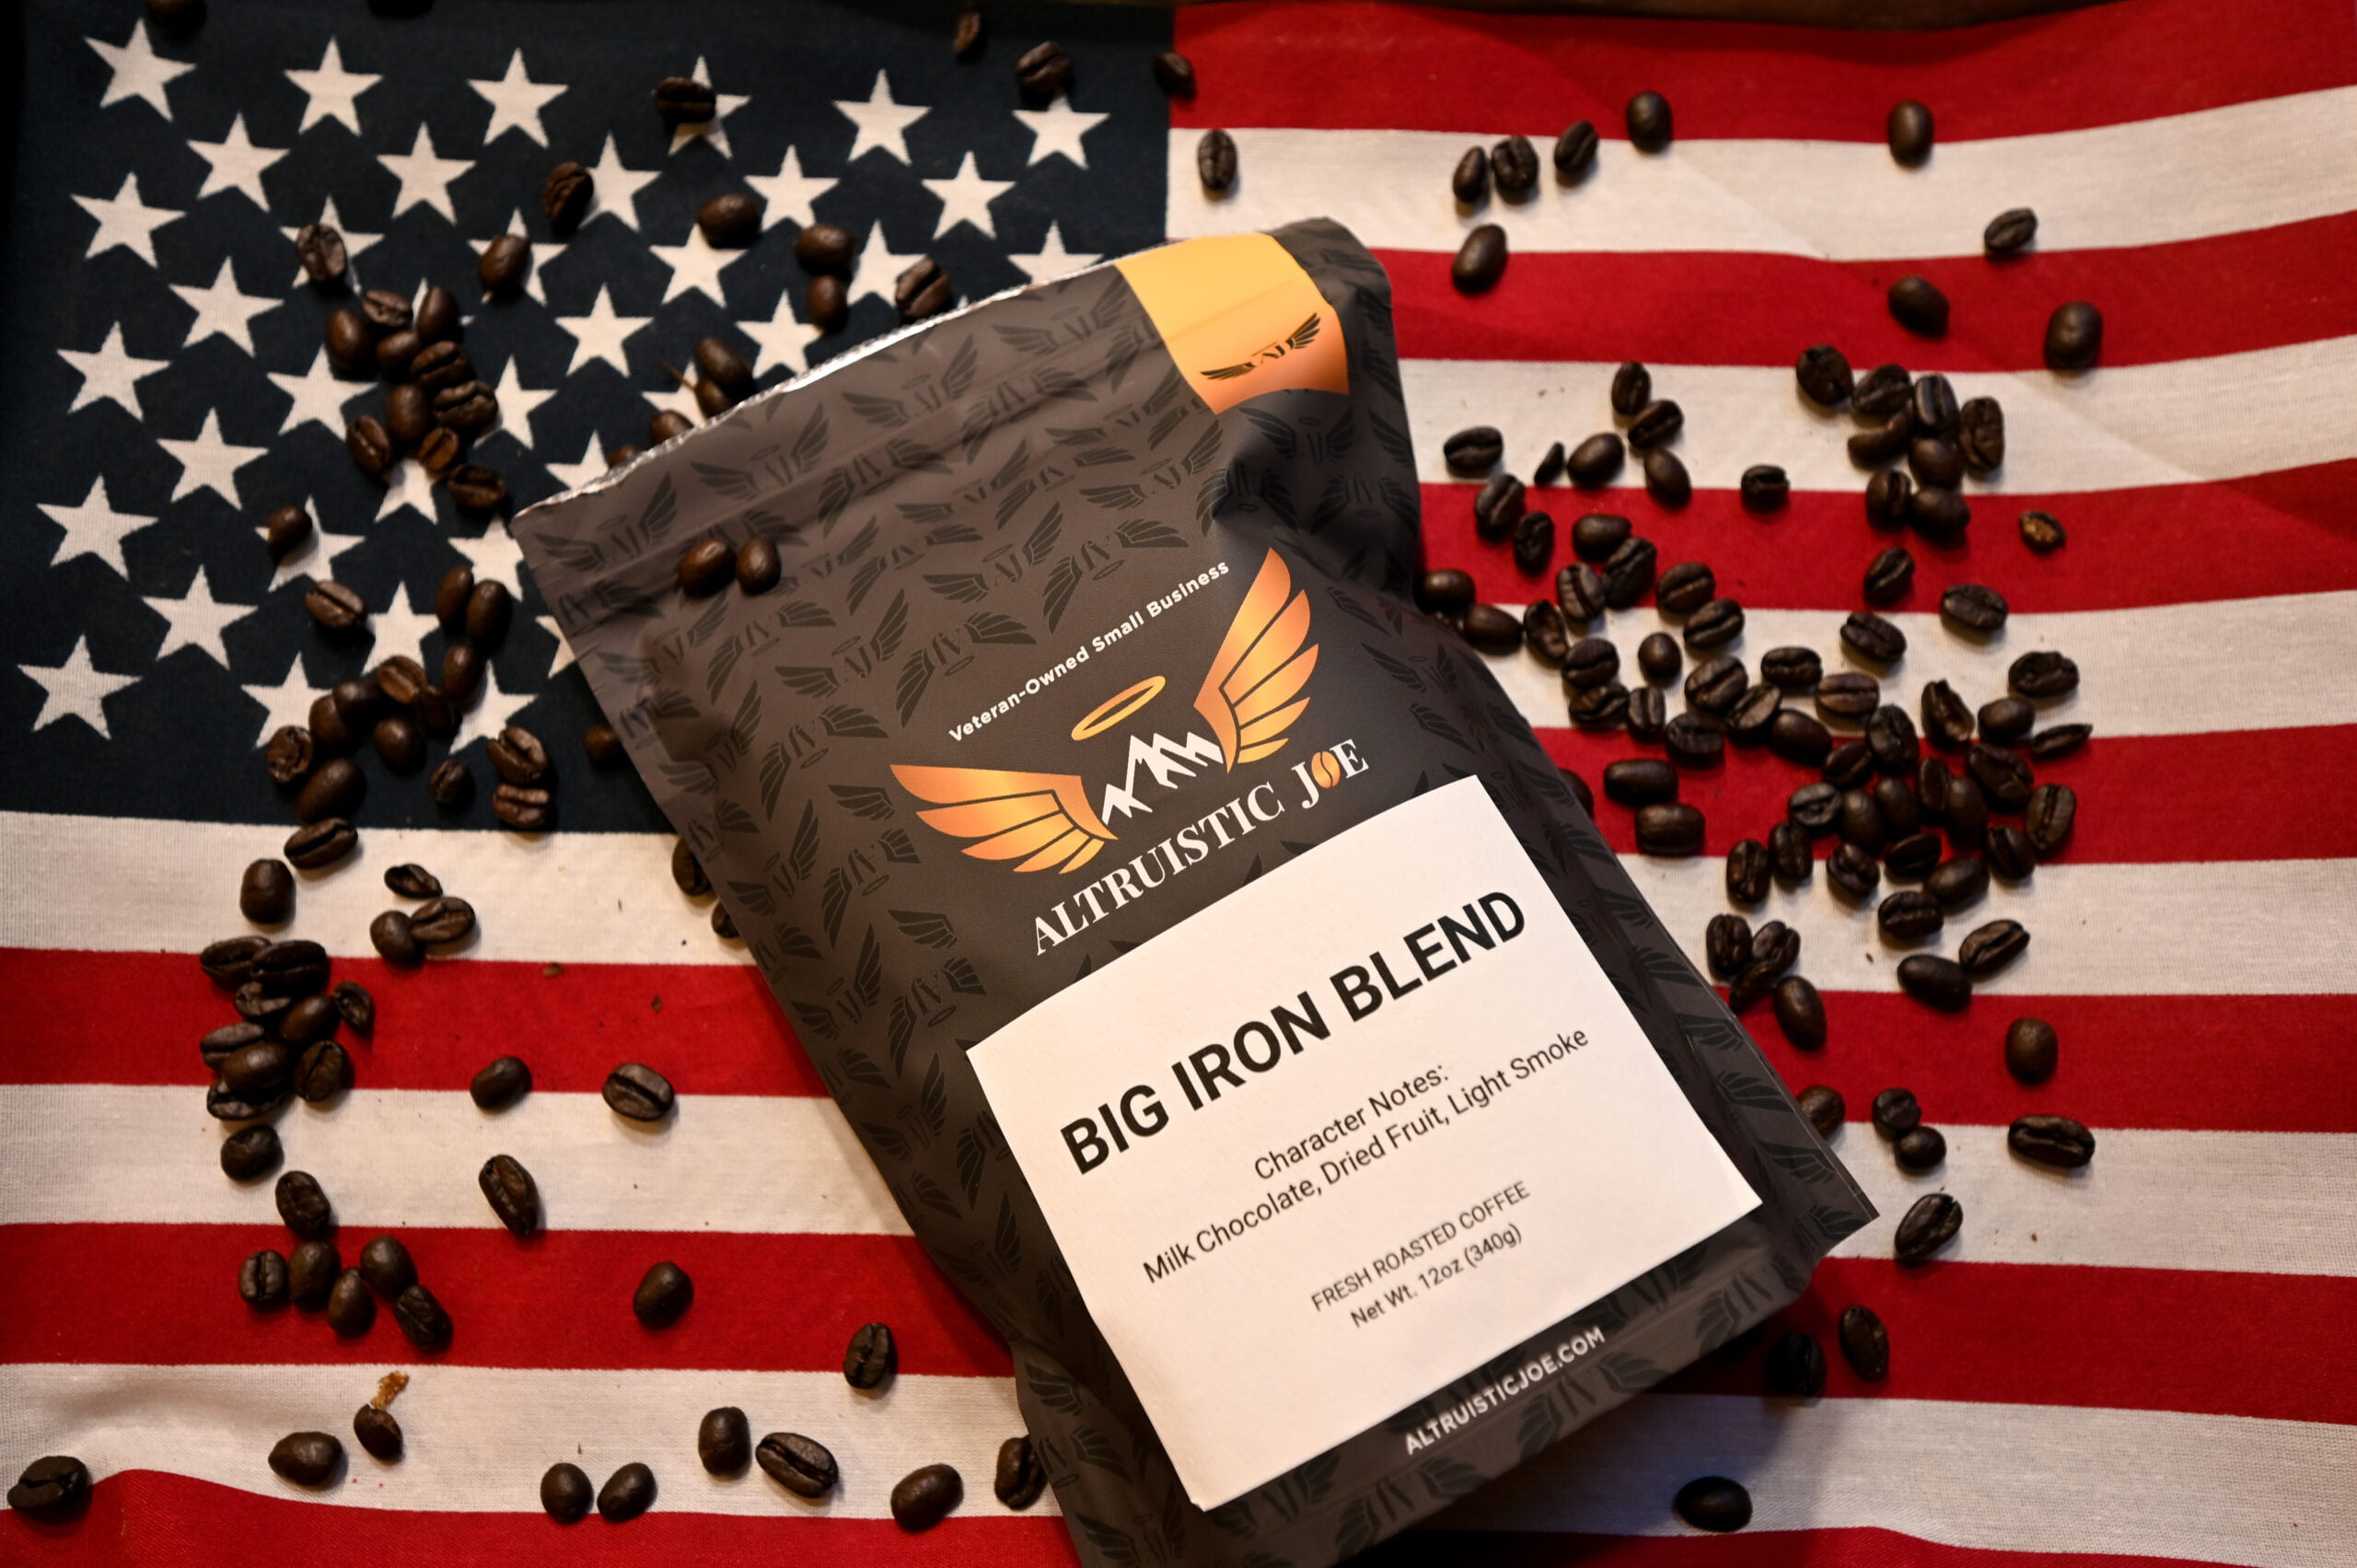
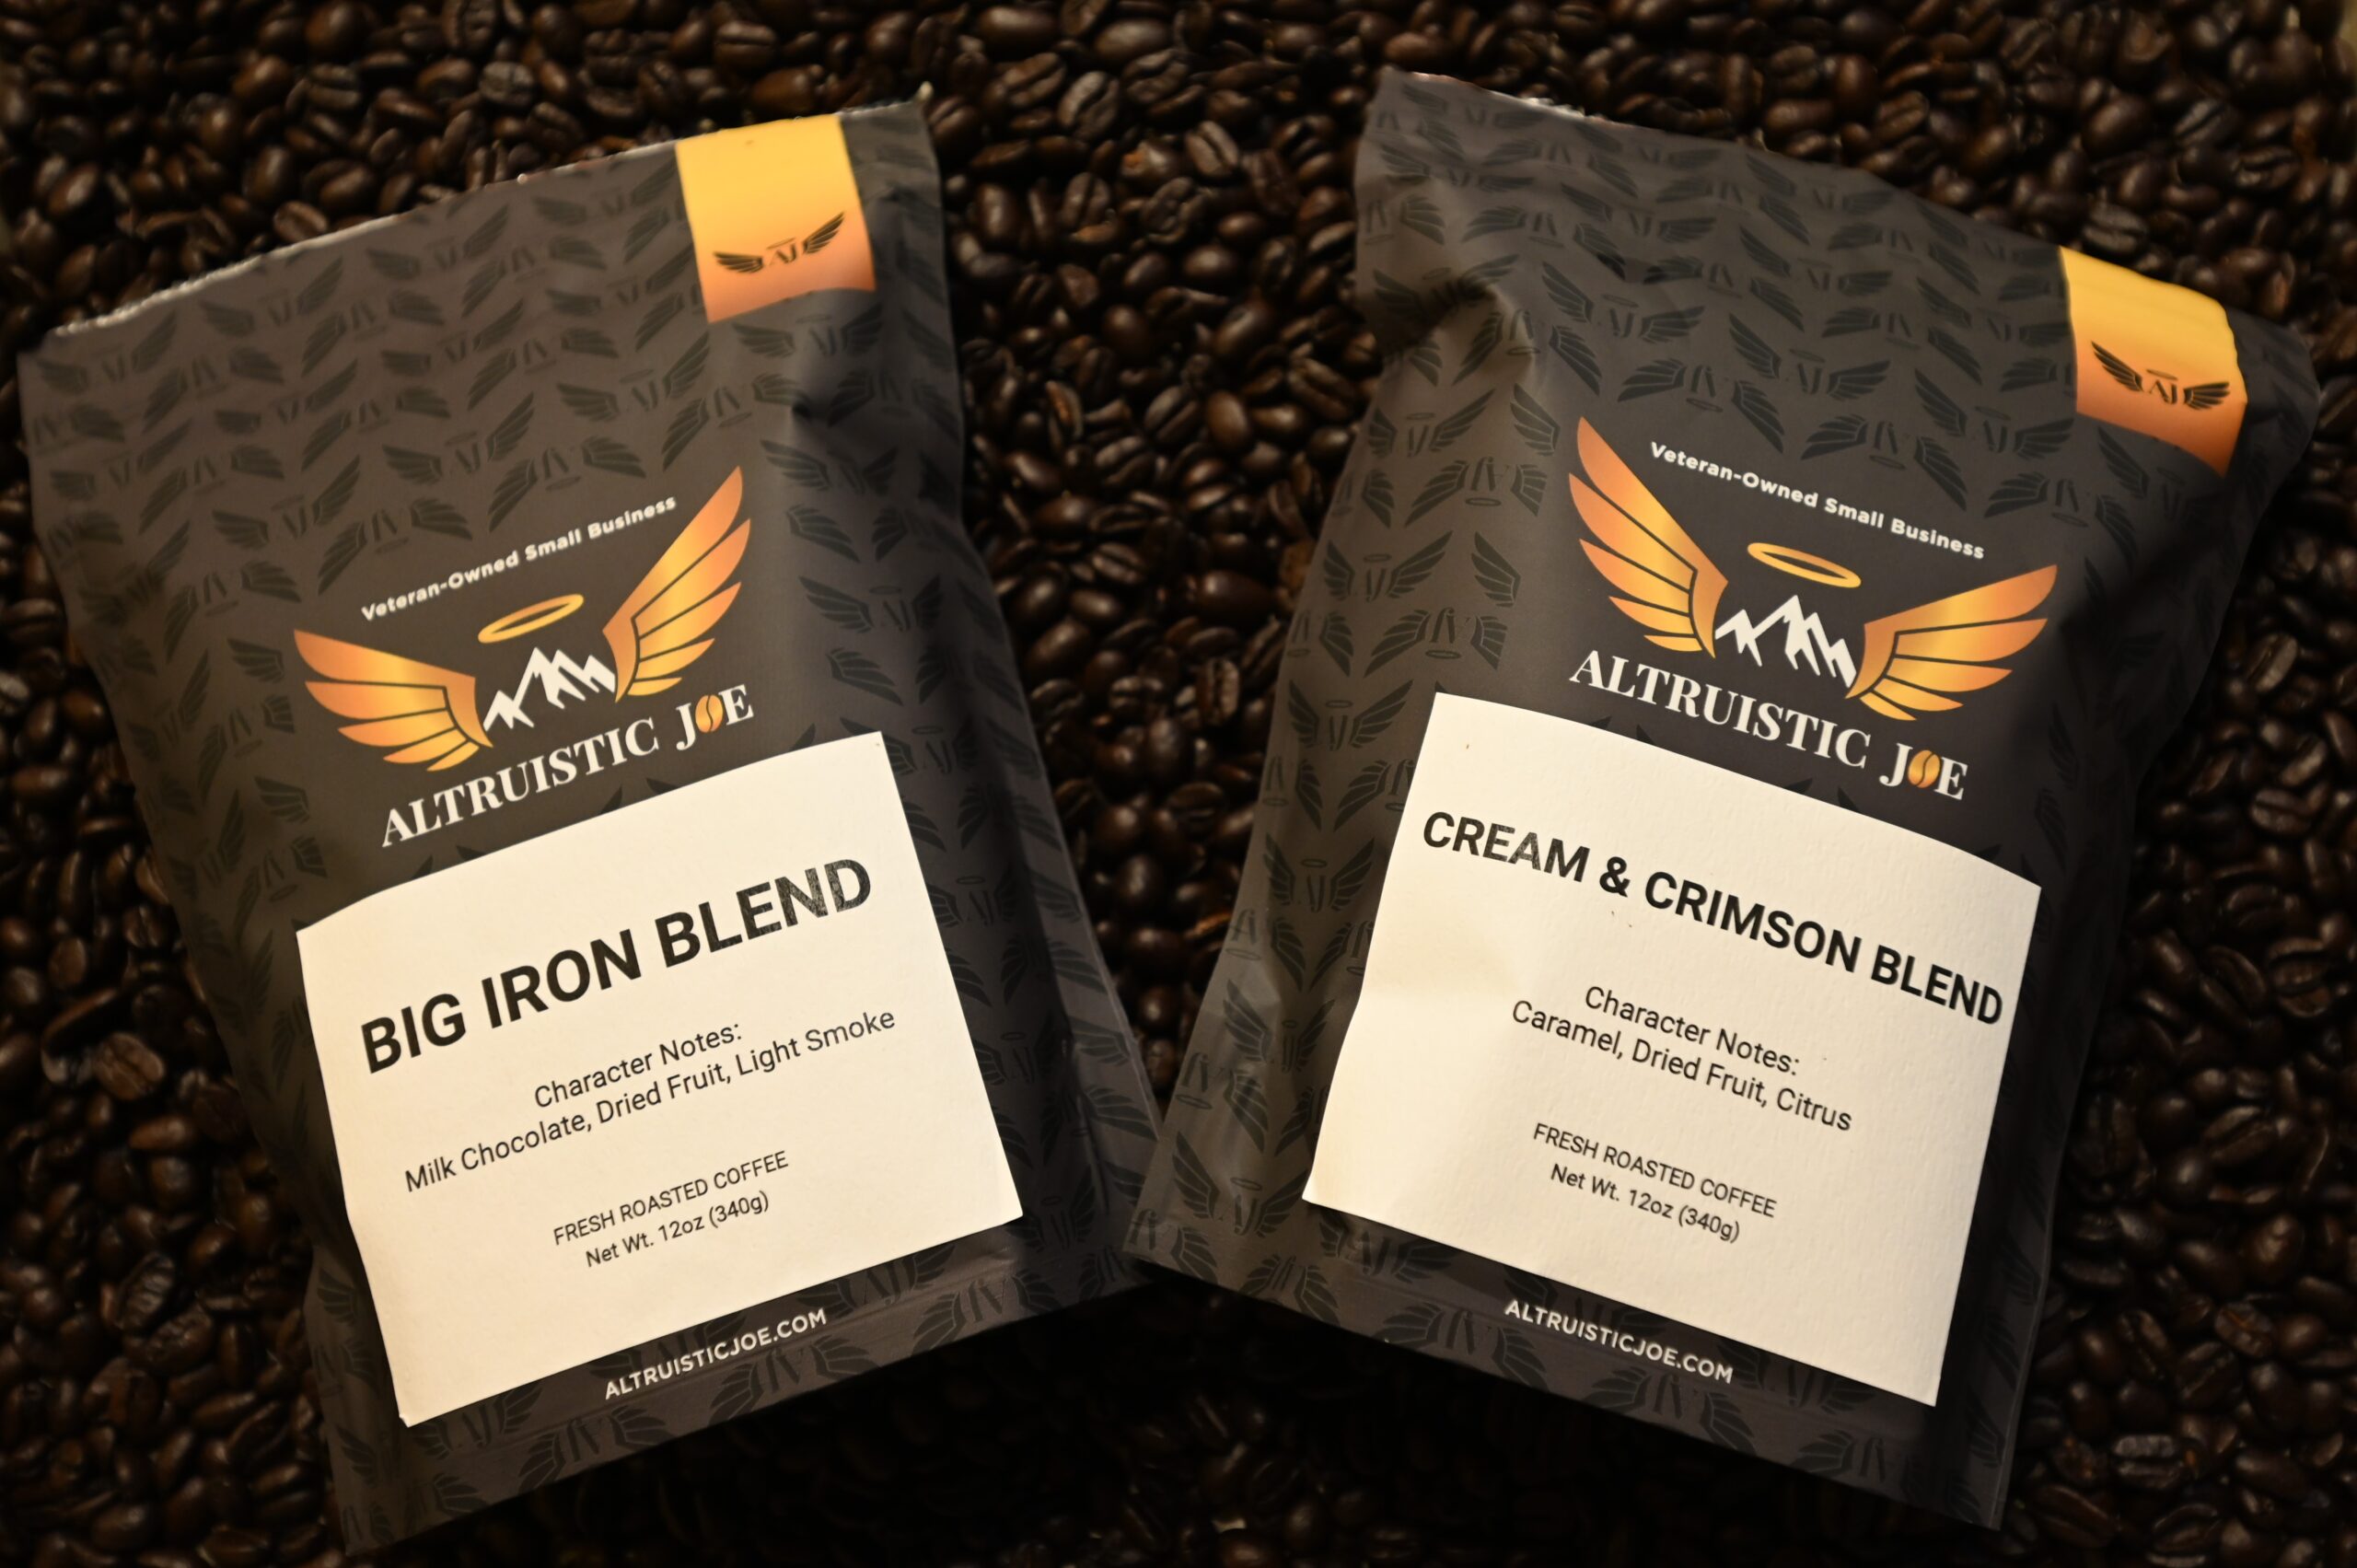
- Altruistic Joe: Coffee With a Cause
- 7 Best Coffees to Try for Any Brewing Method
Note: Travelffeine is reader-supported. This post contains affiliate links. When you purchase using one of these affiliate links, we get paid a small commission at no extra cost to you. And as always, all opinions are our own. Thank you!