This one-week Oregon road trip explores some of the unique and lesser-known places to see in Oregon State. I wrote this itinerary based on my own road trip leaving from Seattle. Customize as needed to guide you from your home to each of these places to see in Oregon. I think one week is enough time to see each of the features listed on this Oregon road trip itinerary. However, some might complete it in less time, and others might prefer a slower pace. For example, my hubby and I did all of the things listed on this itinerary, except the side trip to Crater Lake, in 4 nights and 5 days of driving.
Oregon Road Trip Summary
- Time Needed to Complete: About 1 week
- Leaving From: Seattle, WA
- Type of Activities: Hiking, Camping, Photography, Drone Photography, Exploring Oregon’s Natural Wonders
- Approximate Total Miles (if leaving from Seattle): ~1400 miles
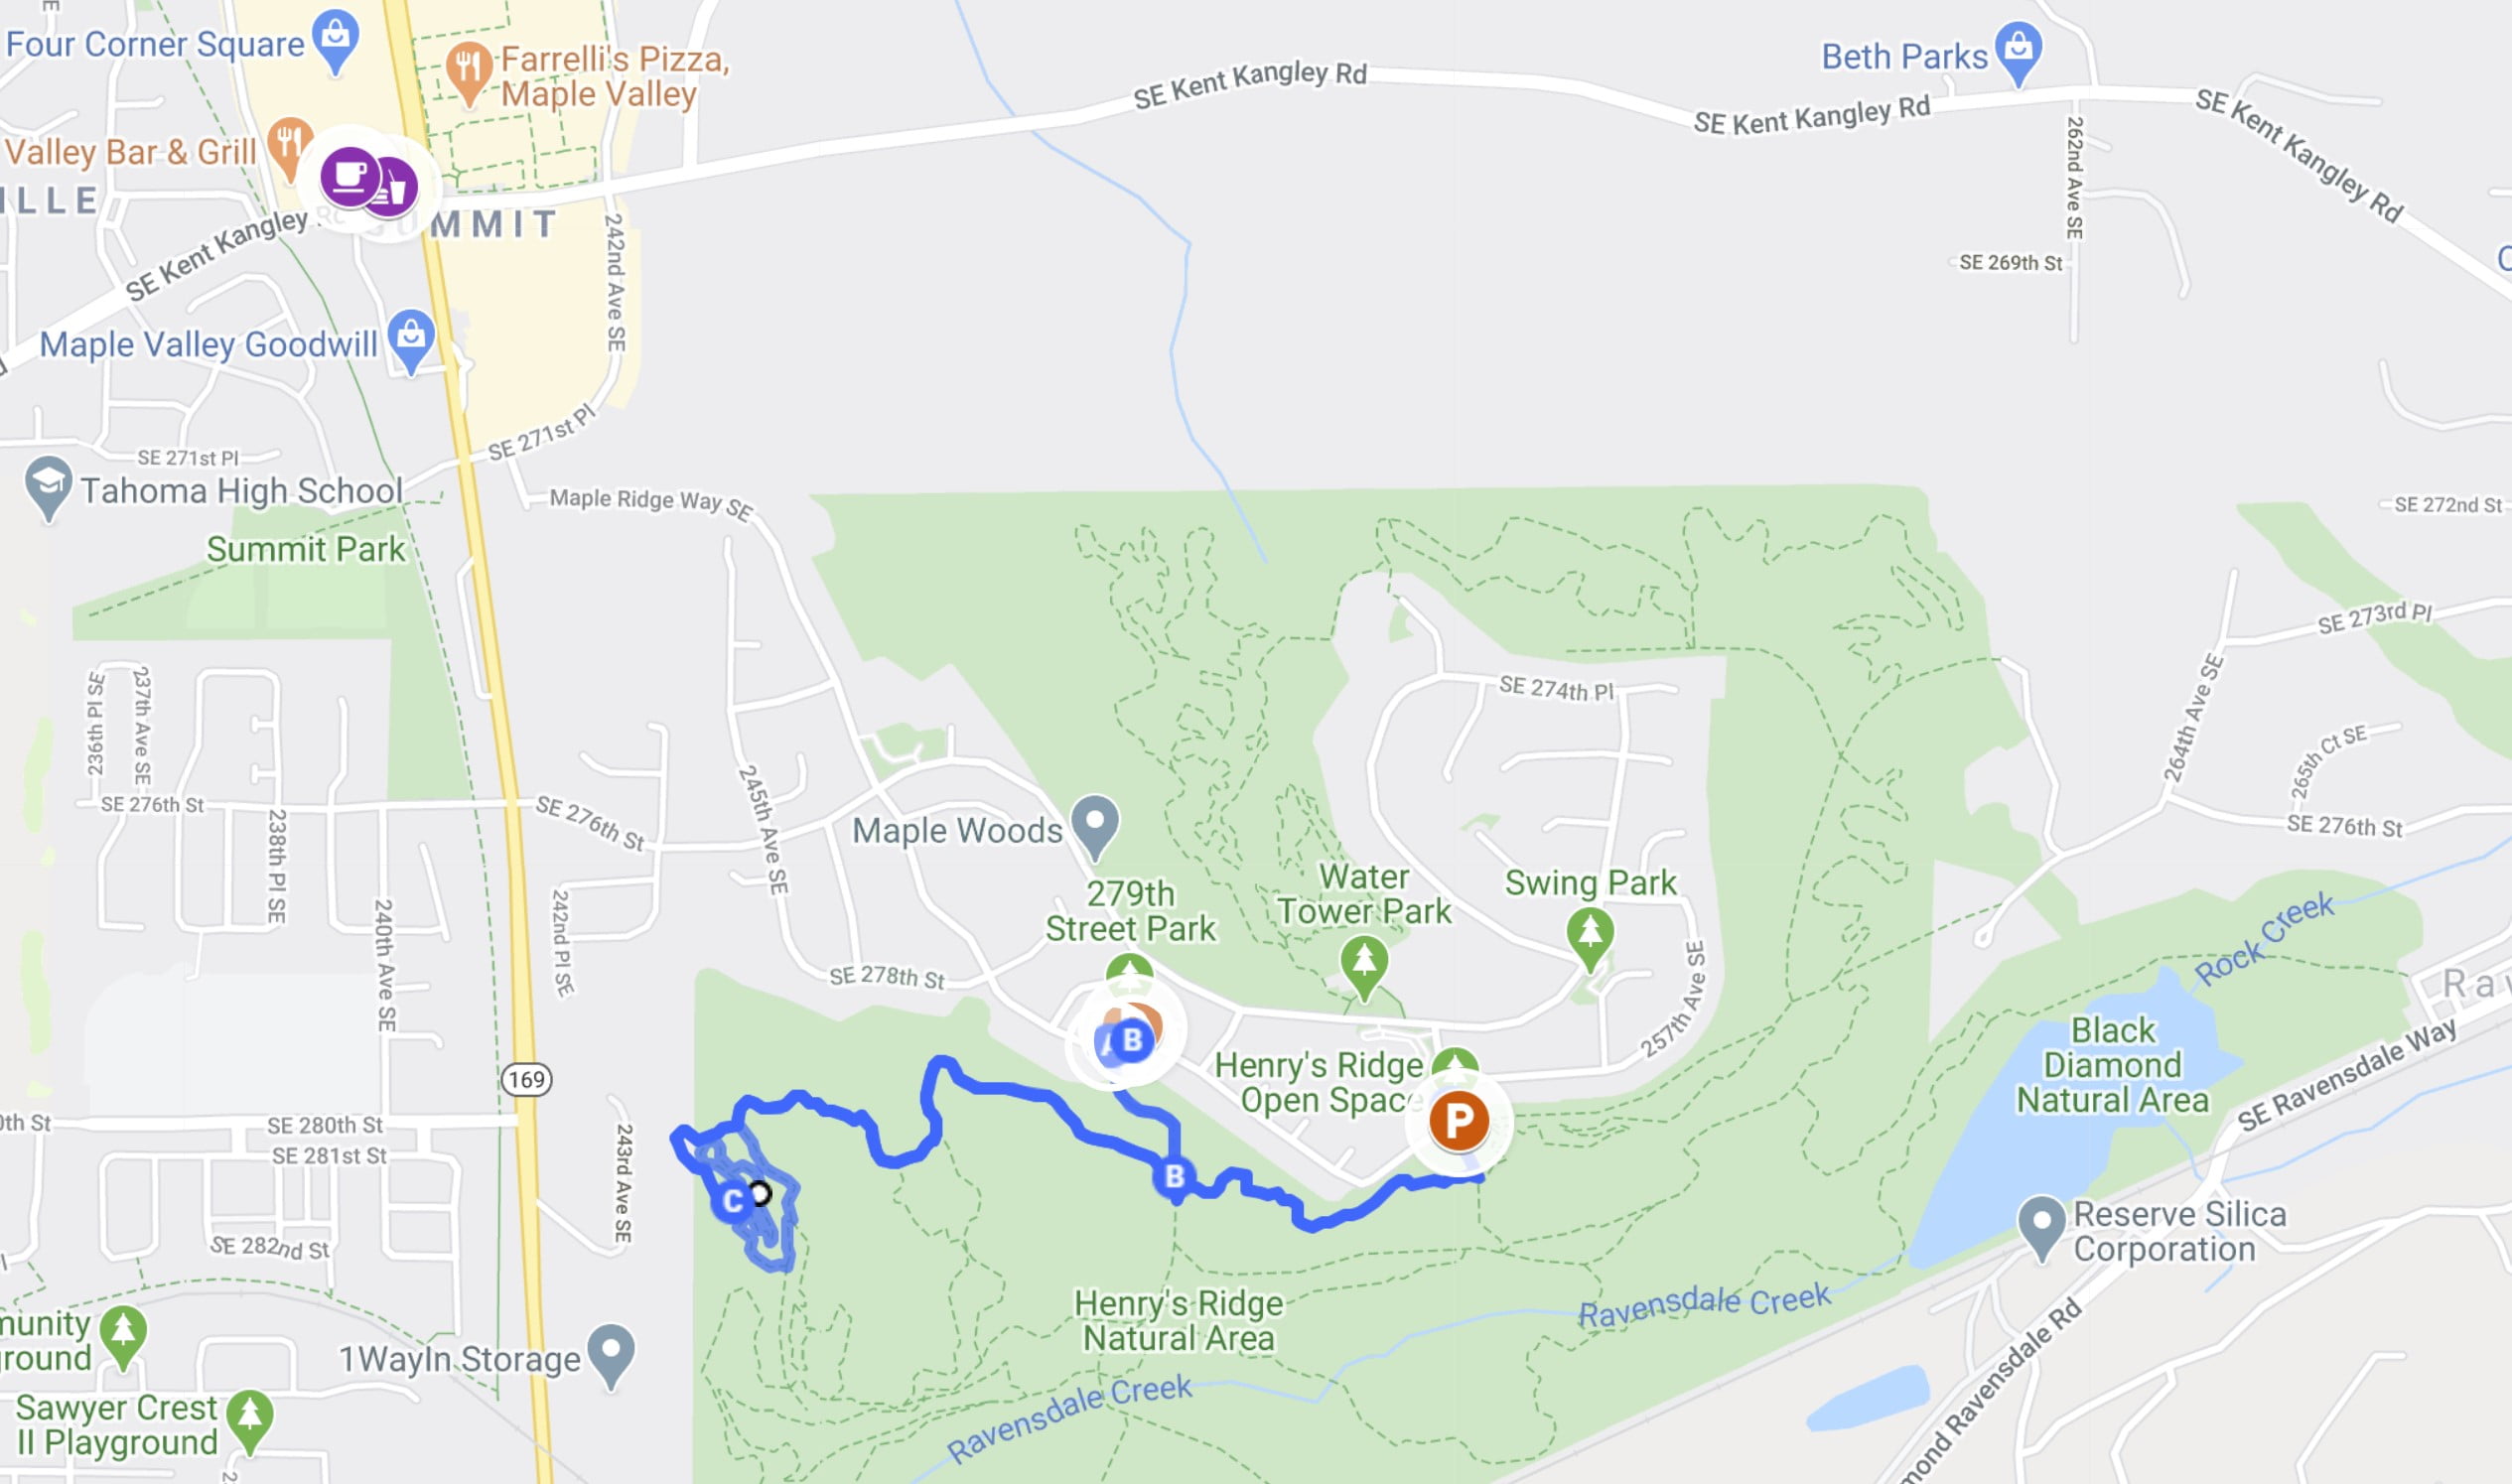
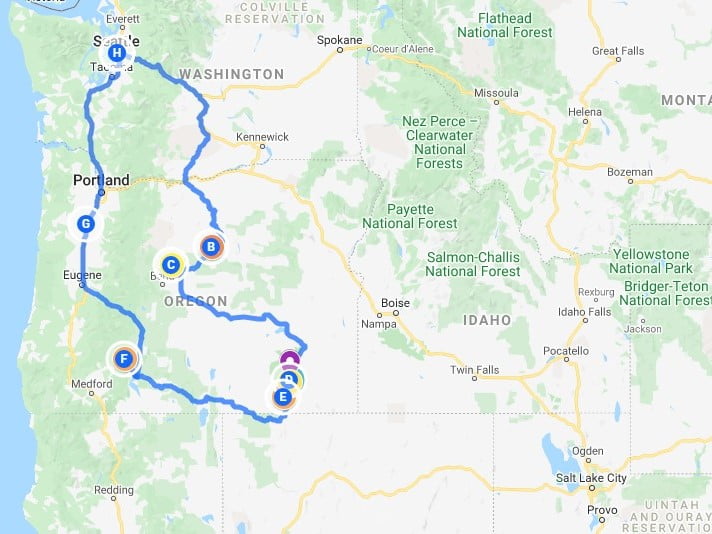
Map of This Oregon Road Trip
Click on the map to get driving directions to each location, feel free to customize according to your start/end points.
Overview of Stops on this Oregon Road Trip
The Alvord Desert
Oregon’s Painted Hills
Smith Rock State Park
Crater Lake
In-N-Out Burger (Yes, this is considered to be an important stop on this road trip.)
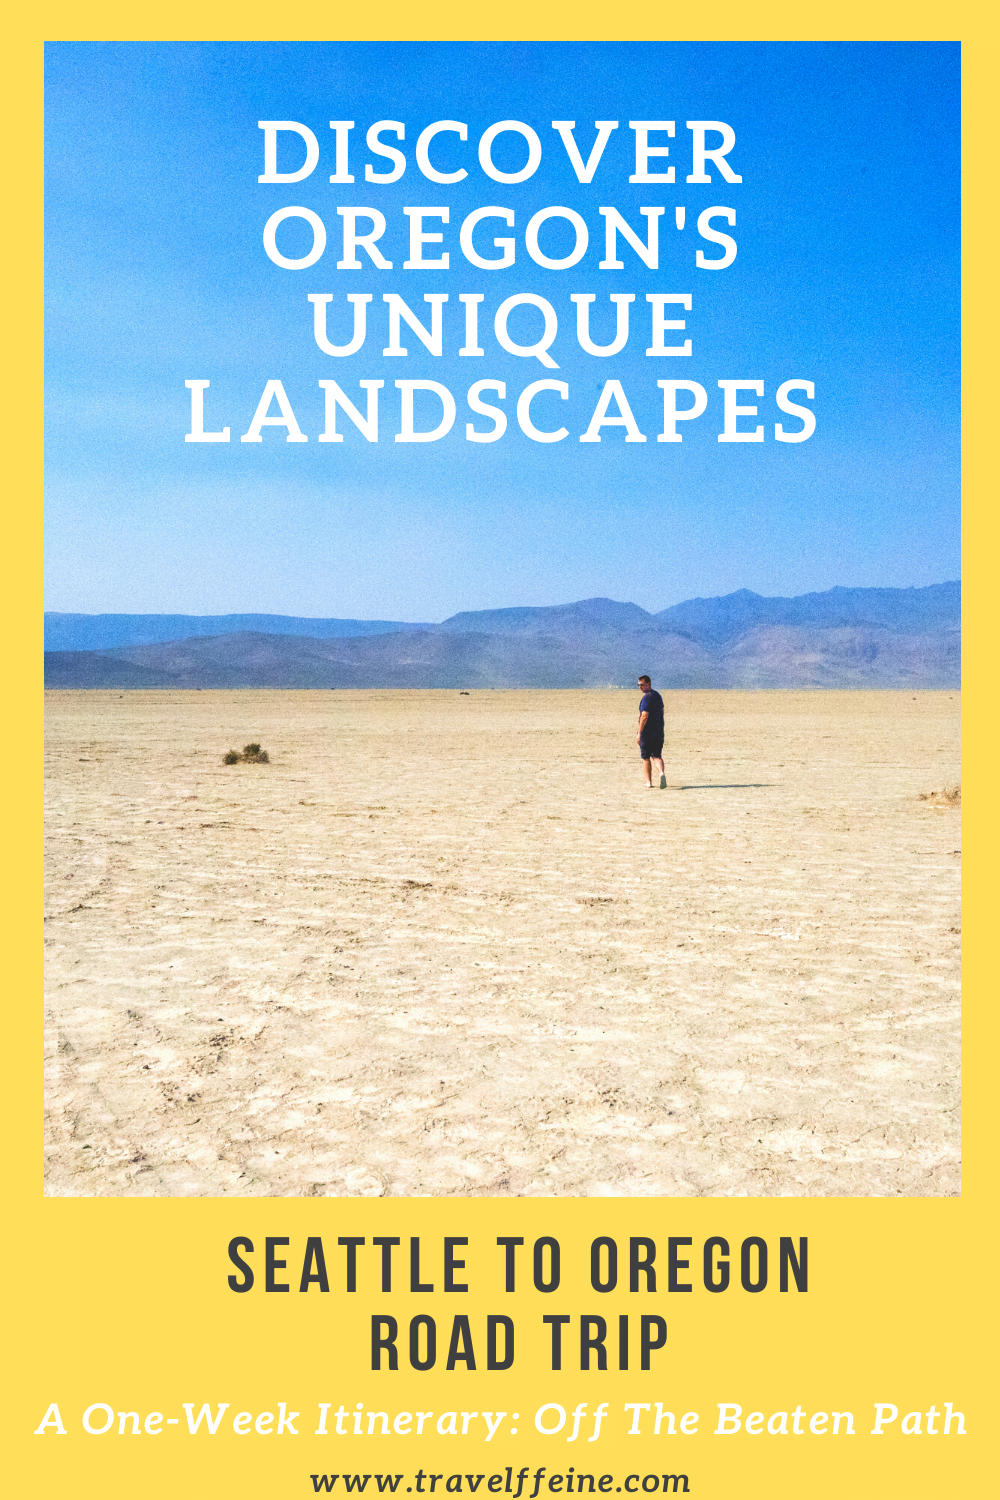
The Alvord Desert
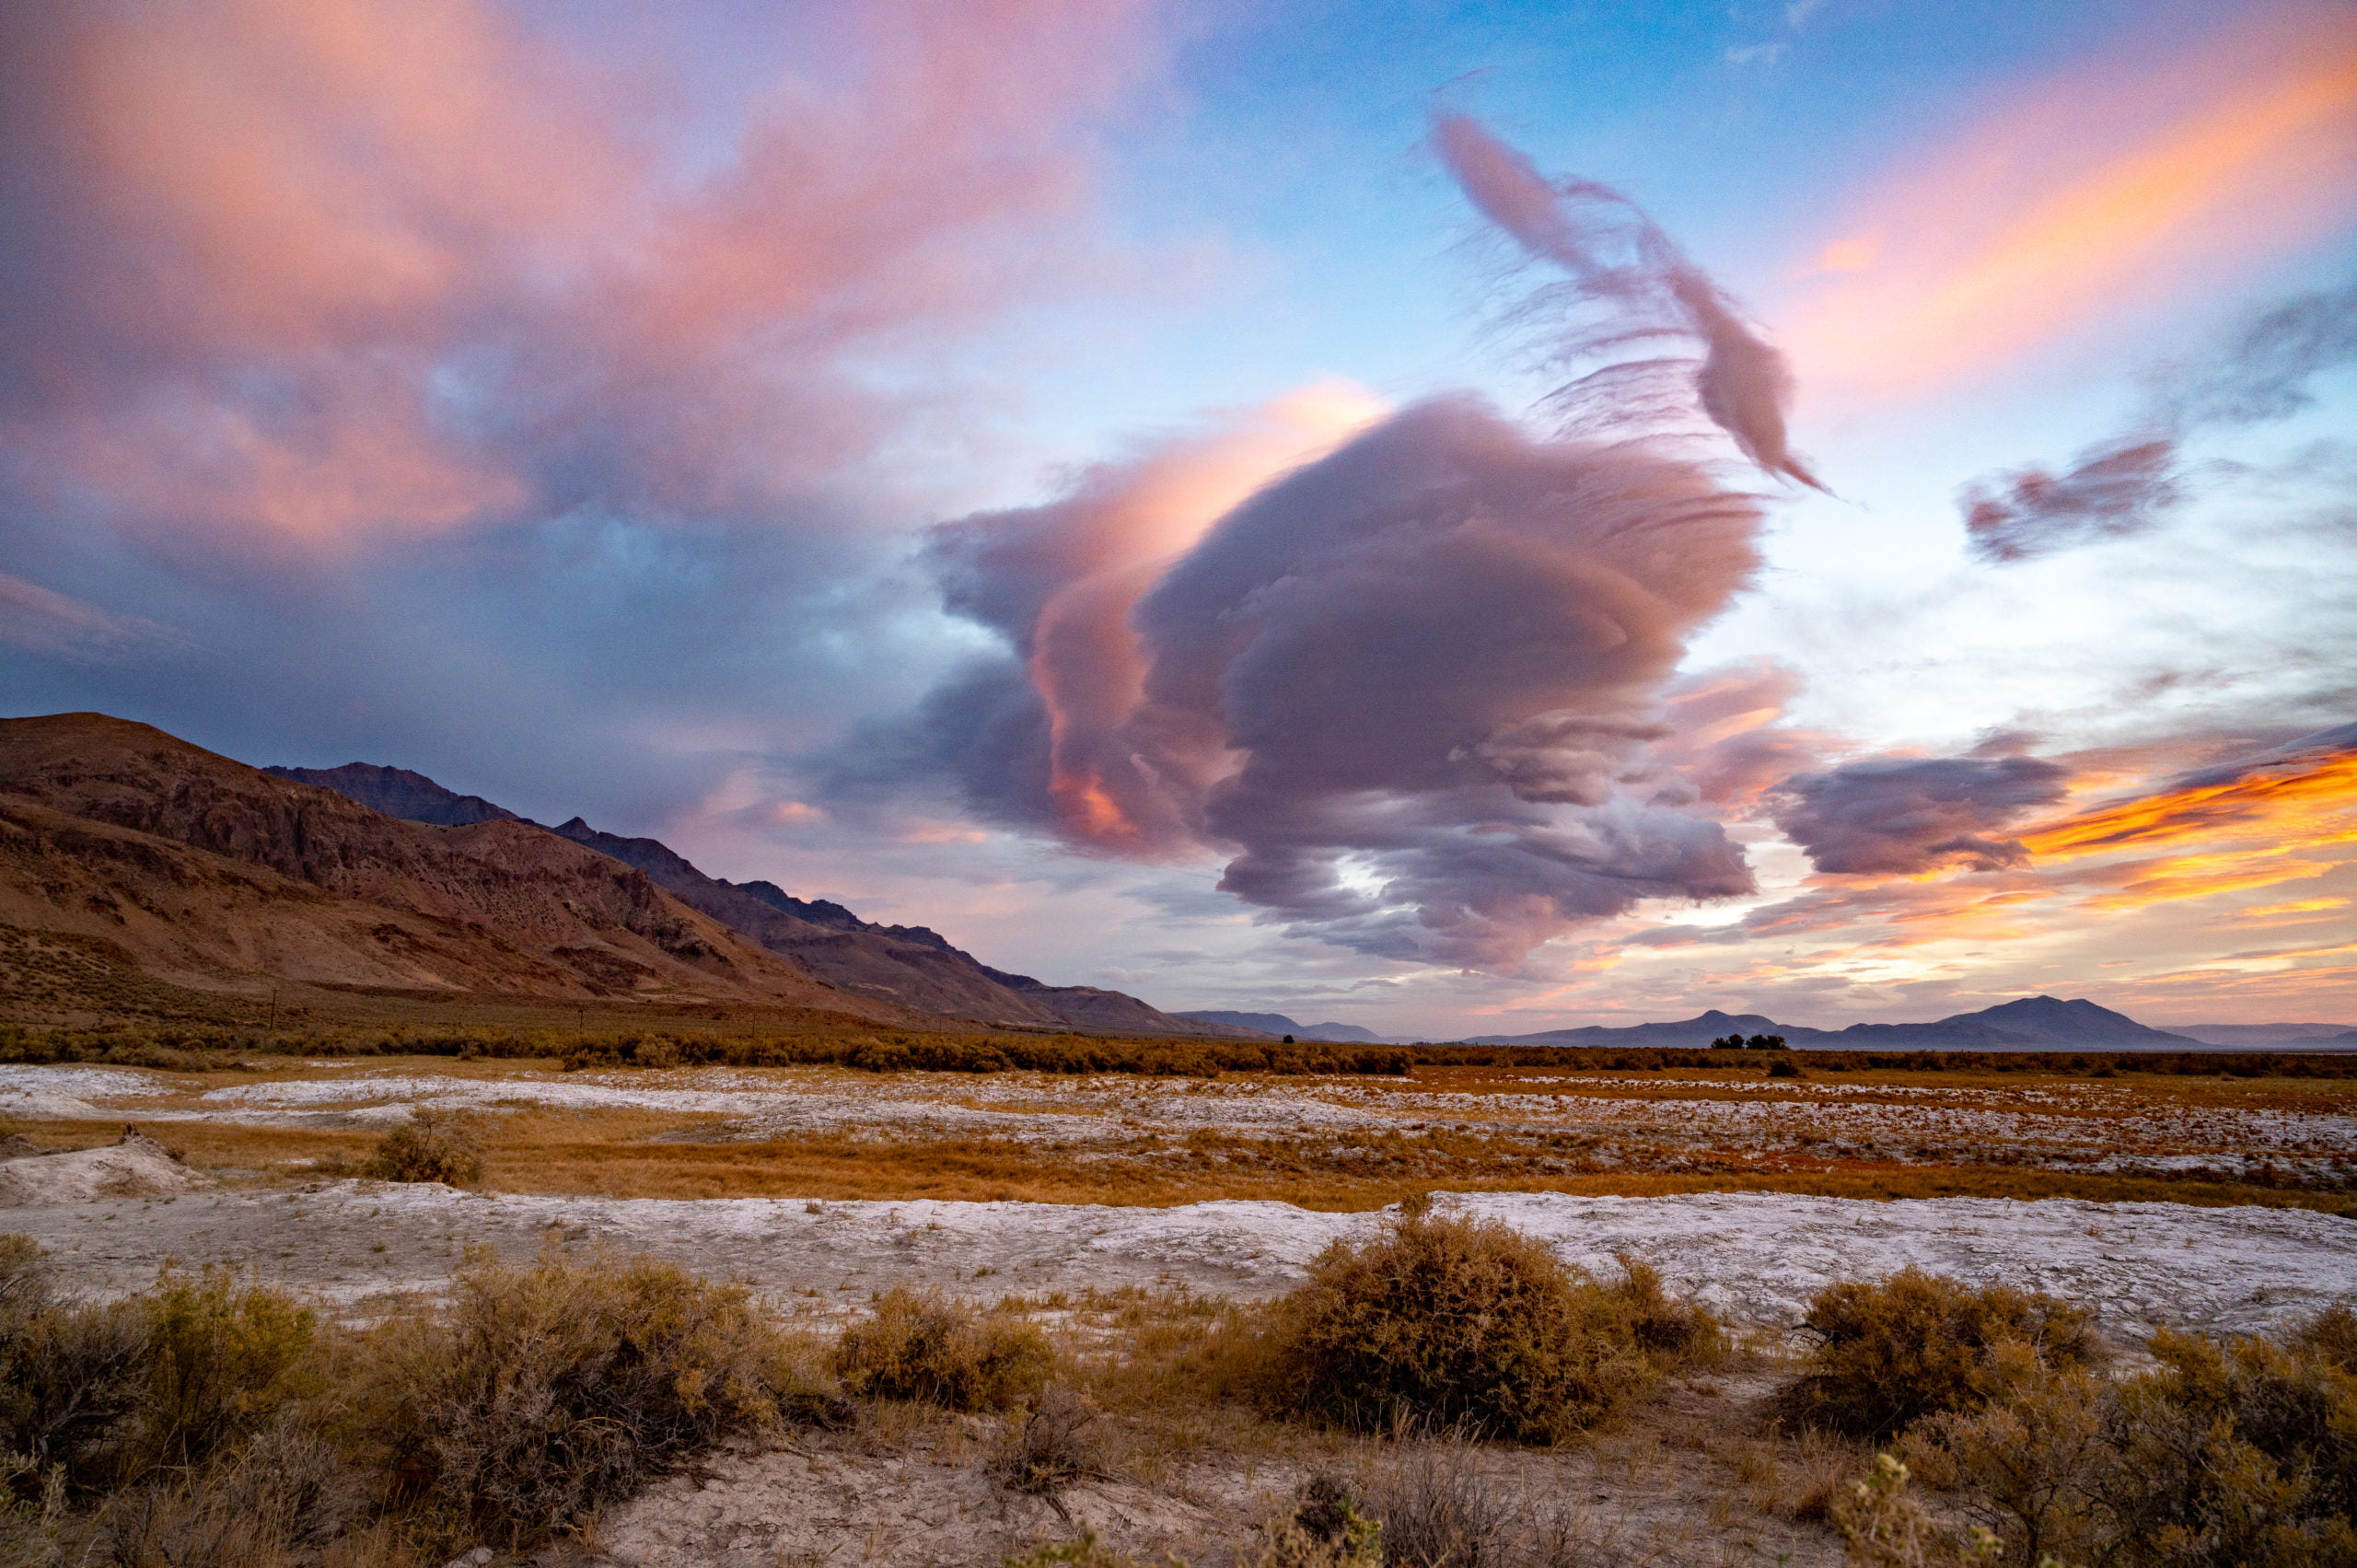
This remote section of Oregon State is rugged and beautiful! Enjoy the drive through sagebrush dotted hills, deep canyons, mountain views, and gravel roads leading to the middle of nowhere. Relax in the Alvord Hot Springs, embrace your inner race car driver, and soak in the desert sun. This is a destination for the adventurous! It is a highlight on this Oregon road trip itinerary and is a stop you won’t soon forget! Read my post Exploring Alvord Desert and Hot Springs in Oregon for more tips on planning your adventure here.
The easiest way to navigate to the Alvord Desert is using the Alvord Desert Hot Springs address and then going into the desert from there.
Alvord Desert Hot Springs
36095 E Steens Rd
Princeton, OR 97721
*Optional Add-On: A day spent exploring Steens Mountain. There are beautiful hikes and viewpoints at Steens Mountain which borders the Alvord Desert. If the weather is good, consider spending the day exploring the scenic Steens Mountain Loop Road. However, as with the Alvord Desert, prepare for driving on unpaved gravel roads with rugged terrain and little cell service.
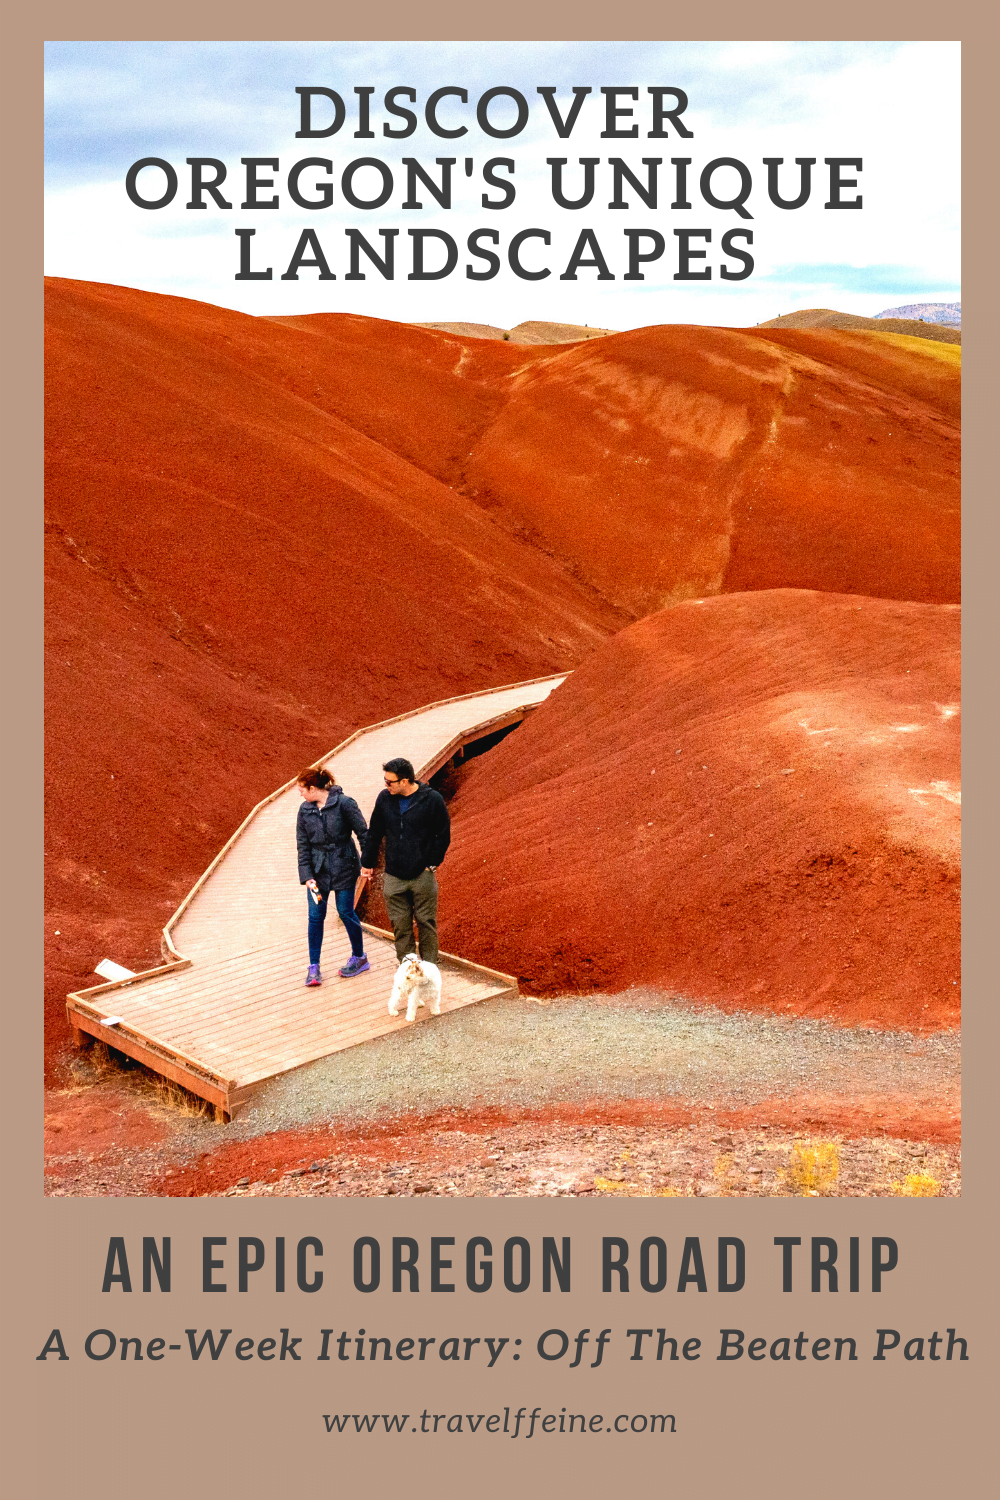
Oregon’s Painted Hills
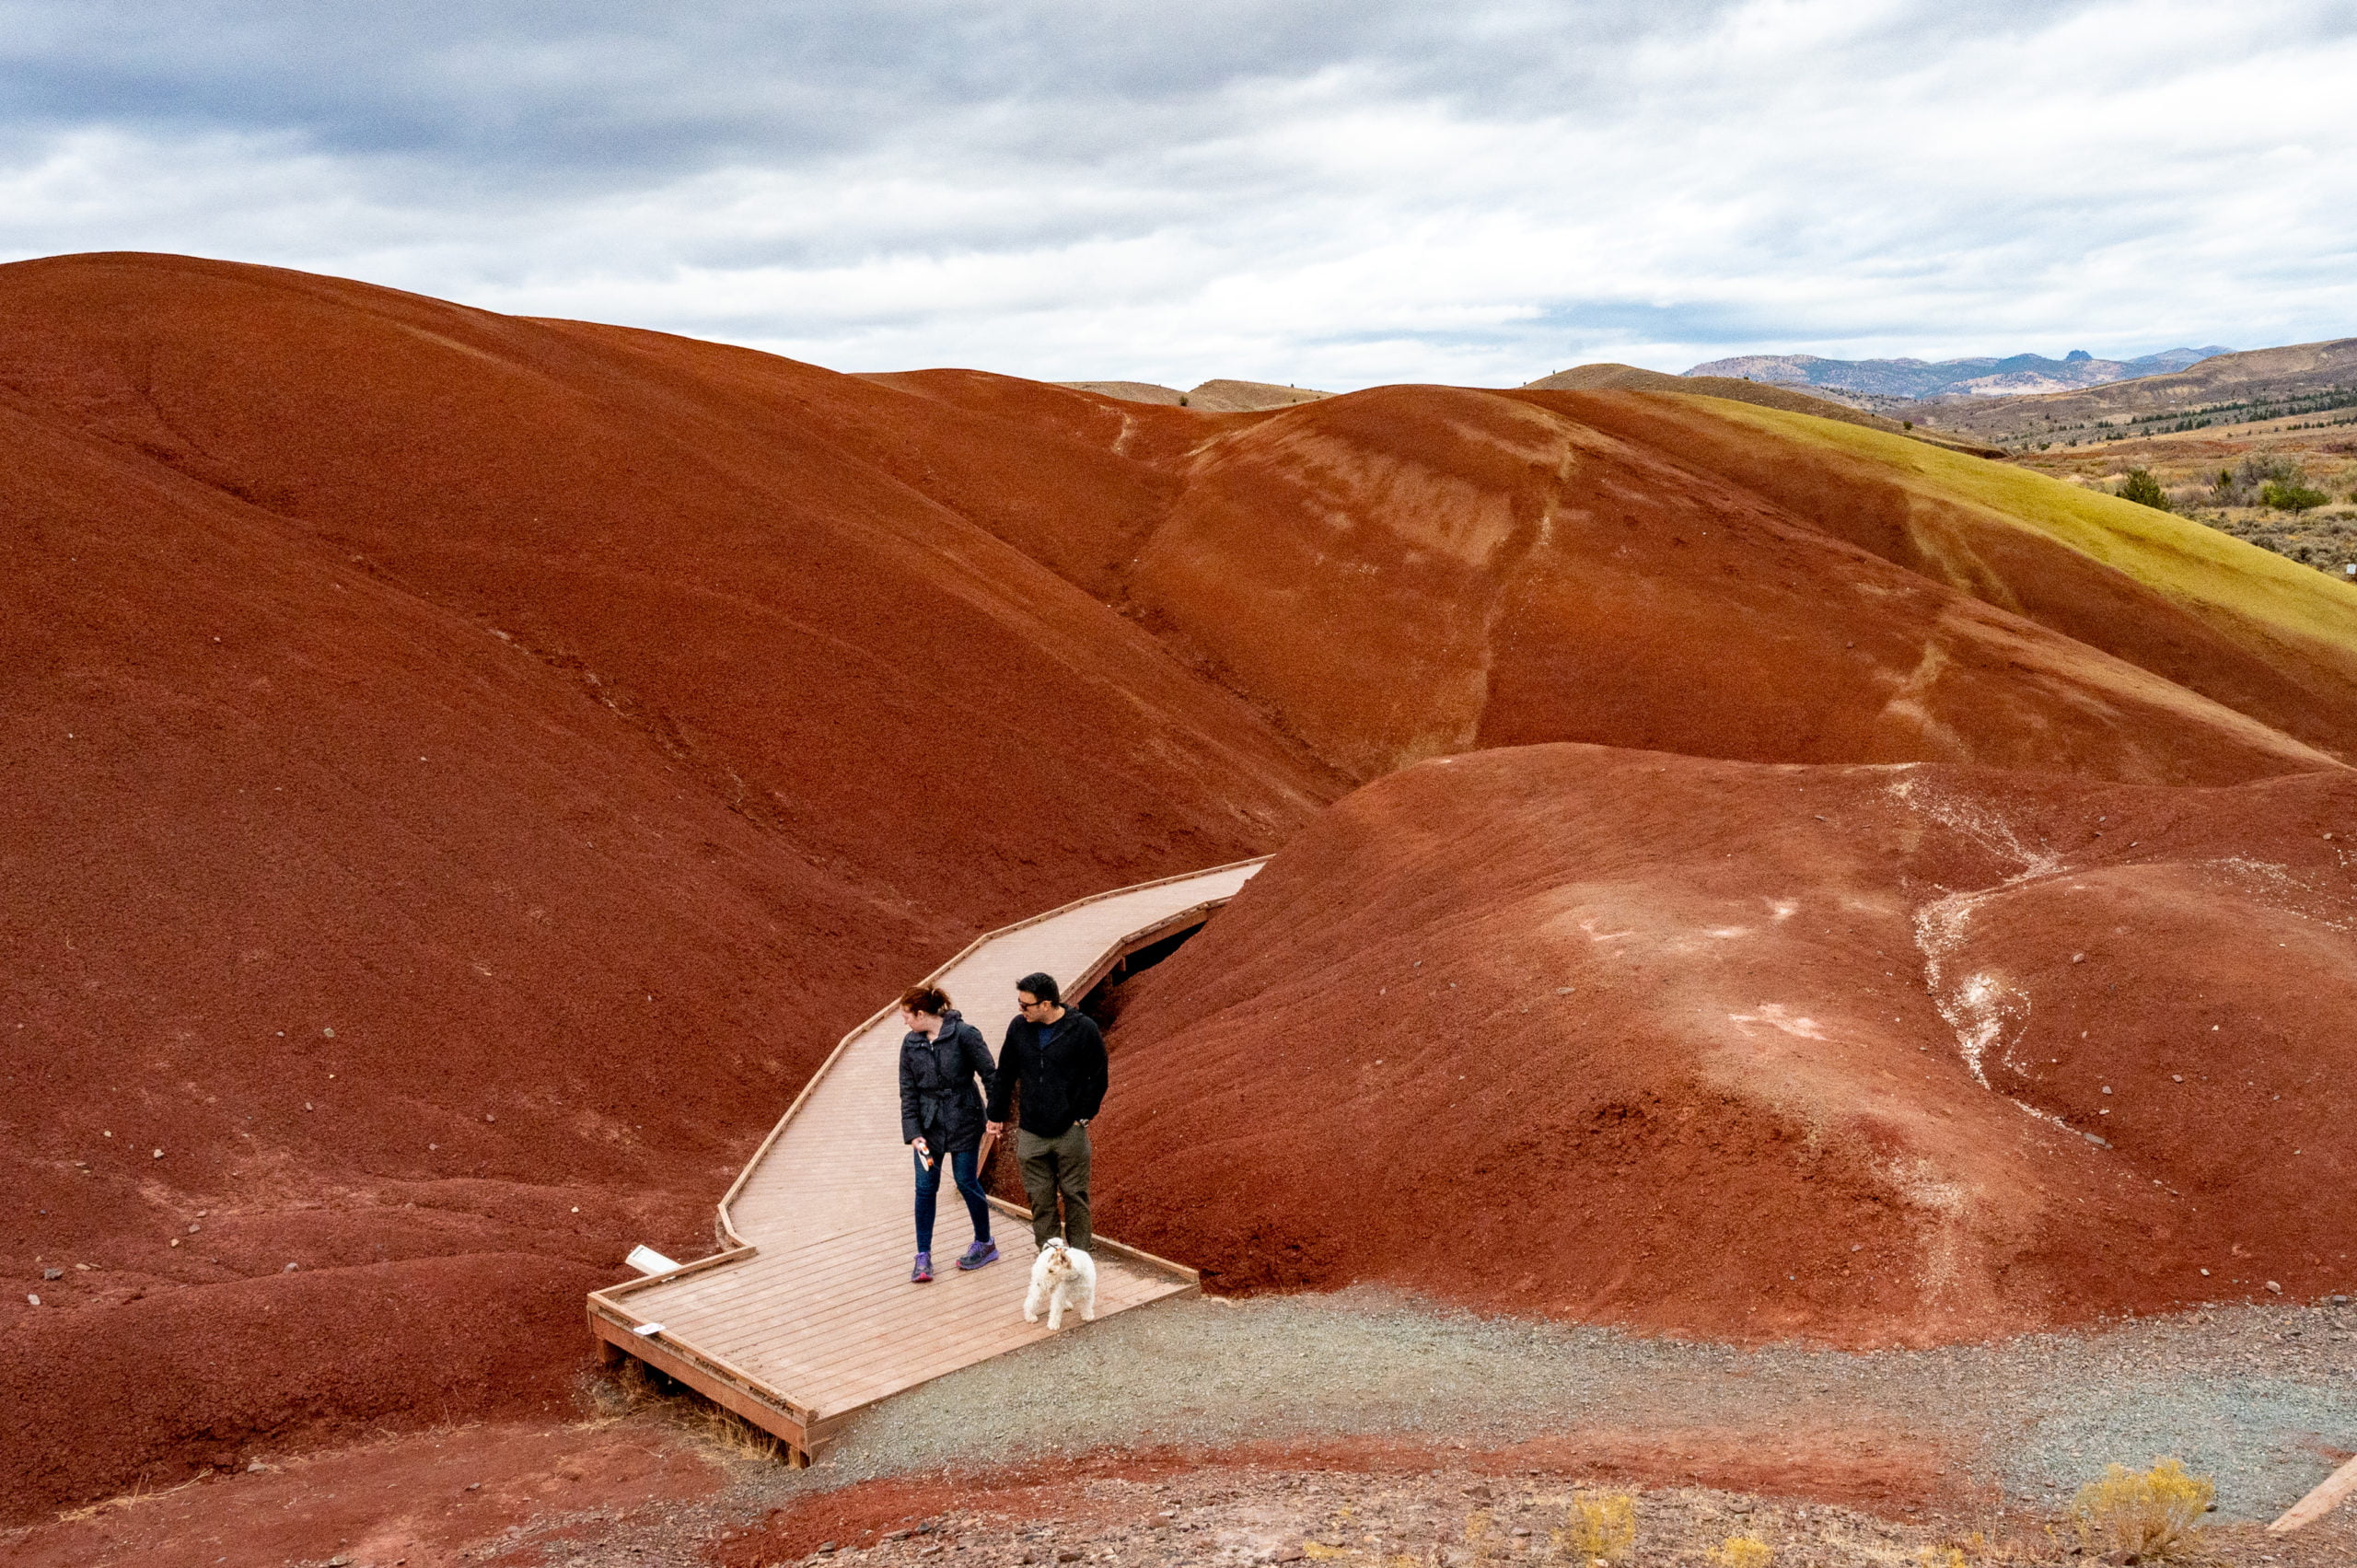
Oregon’s Painted Hills is just another in this state’s selection of unique destinations. These brightly colored hills located in the John Day Fossil Beds National Monument are the result of ancient volcanic activity. You’ll journey past rolling farmlands and suddenly find yourself surrounded by hills painted in bright reds and yellows. They really are an unusual find amongst the ranches and green pastures. This Oregon road trip stop surprised me as I never realized Oregon had so many fascinating natural features. I was left with a greater appreciation for this beautiful state. Read Visiting Oregon’s Unique Painted Hills for more information on how to get there.
John Day Fossil Beds National Monument- Painted Hills Unit
37375 Bear Creek Rd
Mitchell, OR 97750
Smith Rock State Park
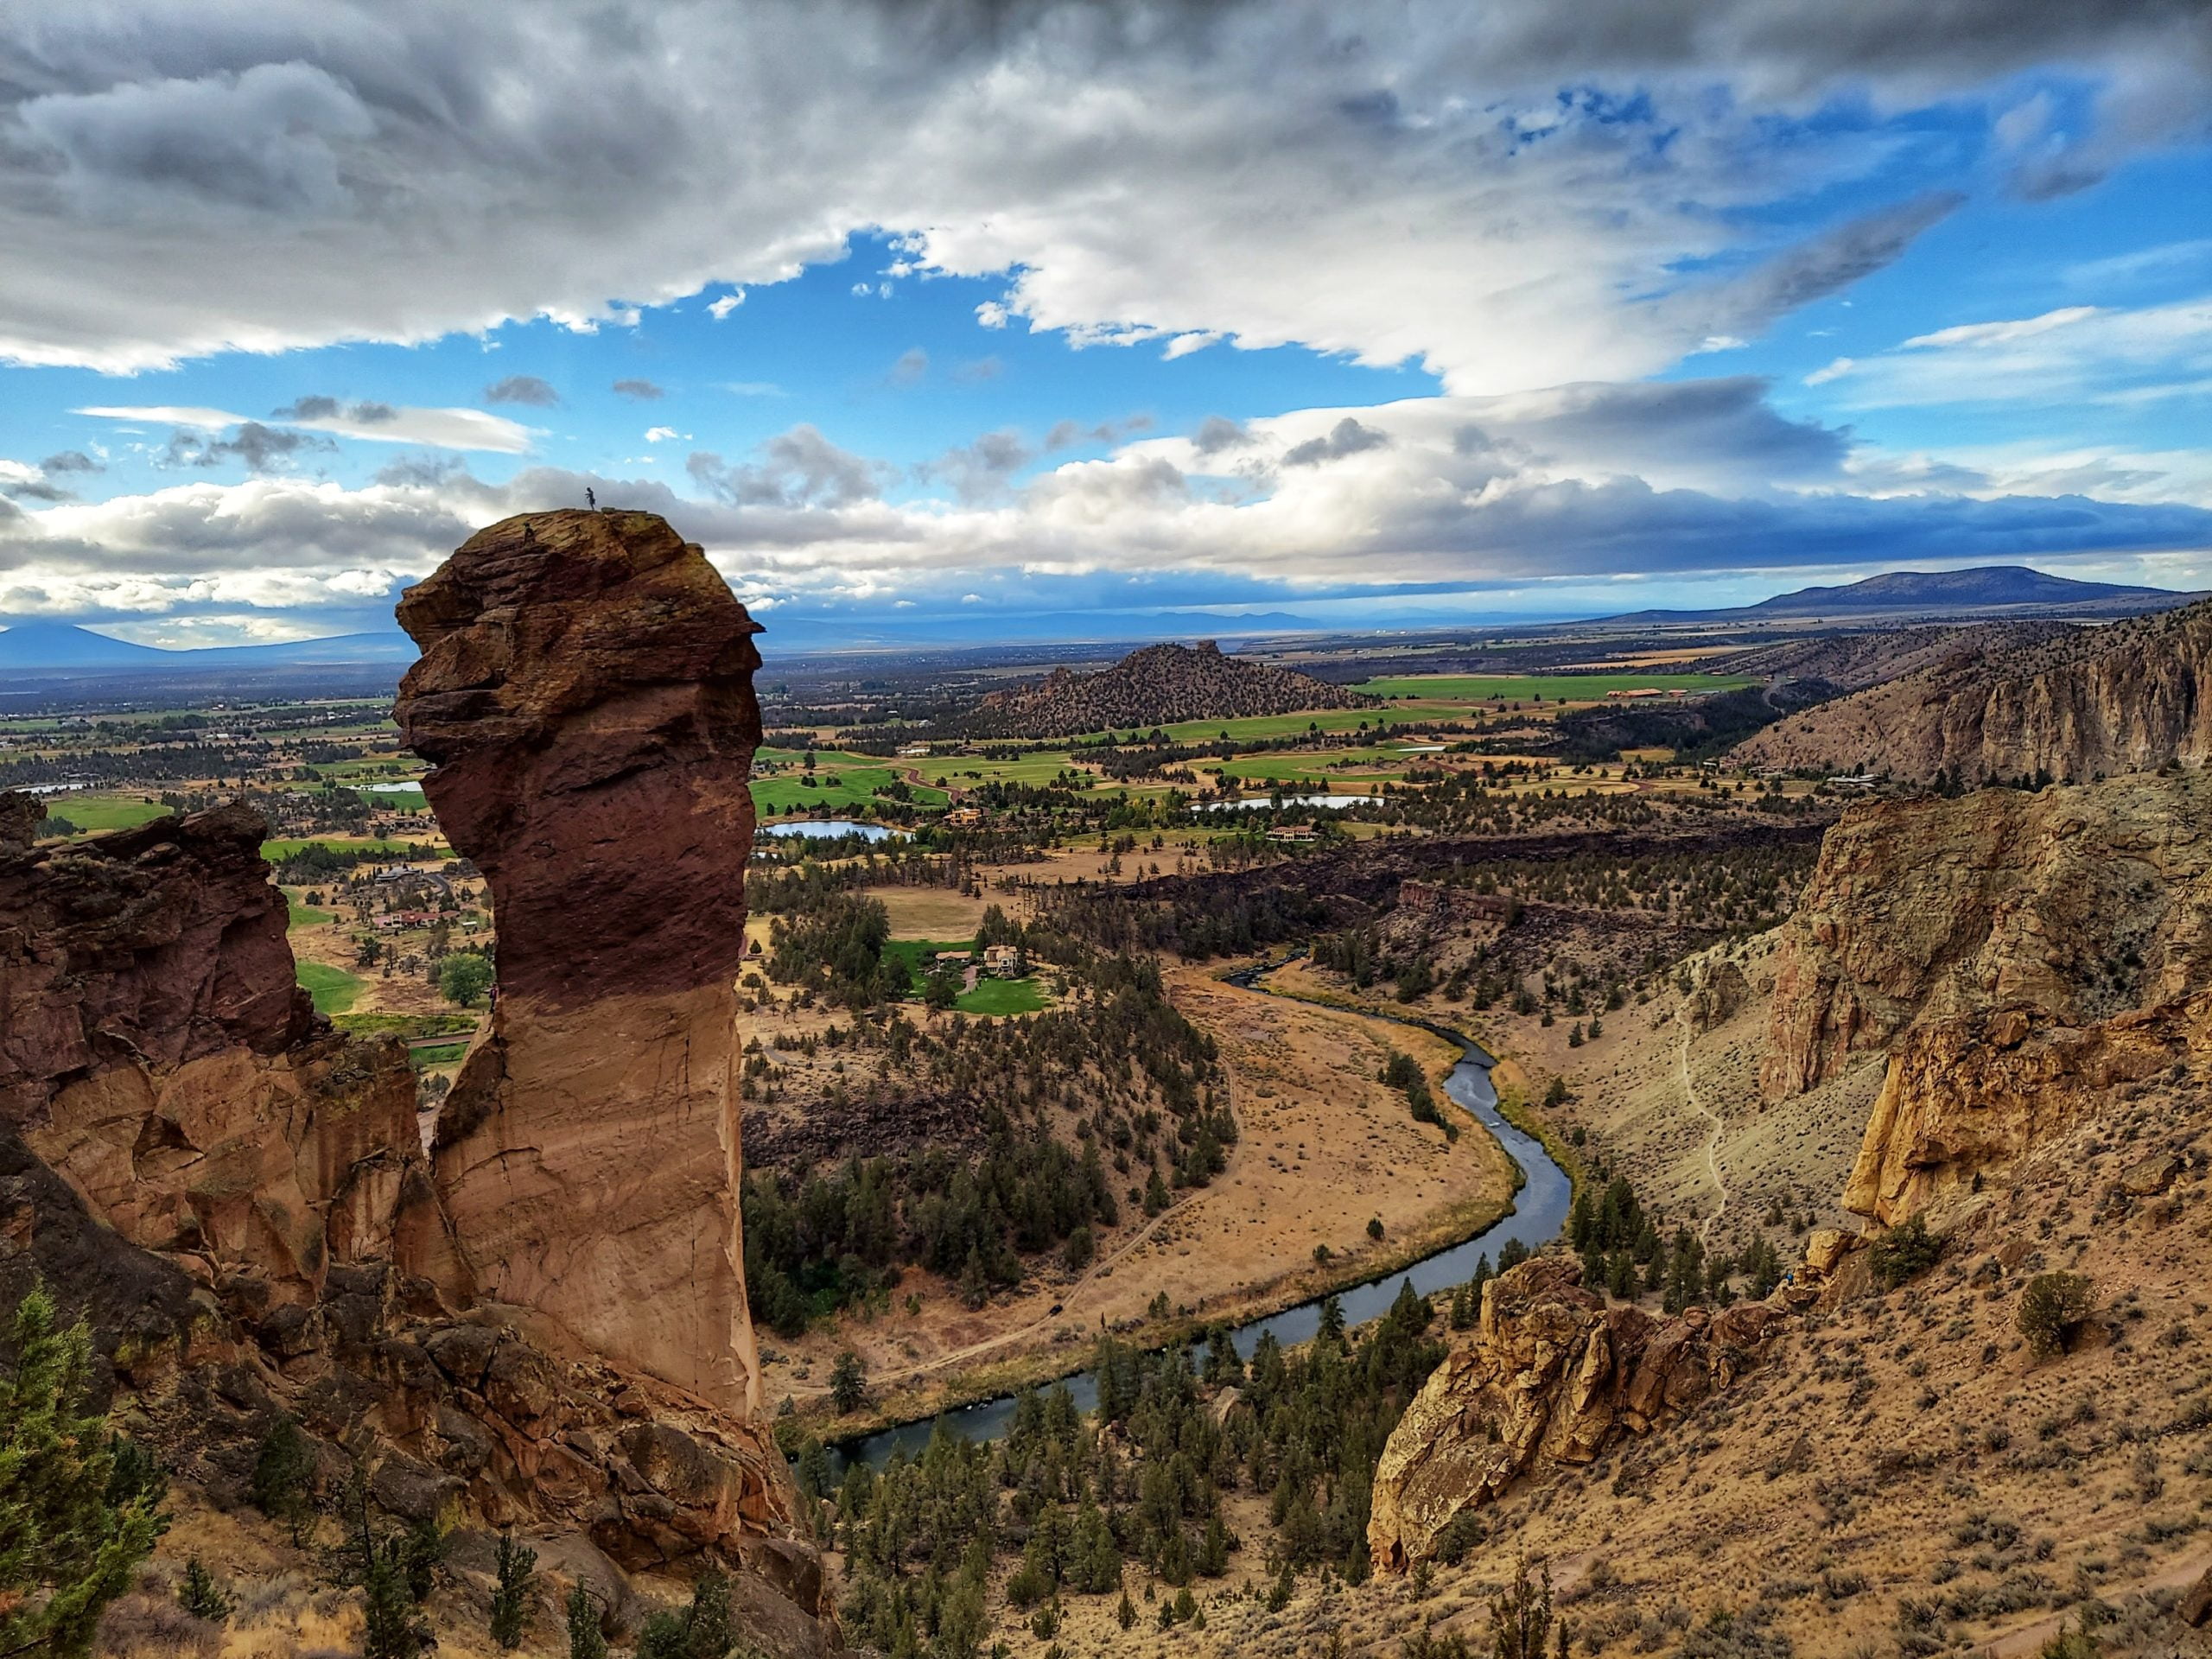
You will love the rugged beauty of Smith Rock State Park. It’s craggy rock cliffs, sweeping vistas, and beautiful river walks winding through the park. If you’re into rock climbing, hiking, or mountain biking, this is the park for you! Smith Rock State Park was a favorite stop of mine along this Oregon road trip. We only spent a few hours here, but I could have spent days photographing its beauty and exploring all the trails. Read more about our hike at Smith Rock State Park: Misery Ridge Loop Trail.
Smith Rock State Park
Terrebone, Oregon 97760
Crater Lake
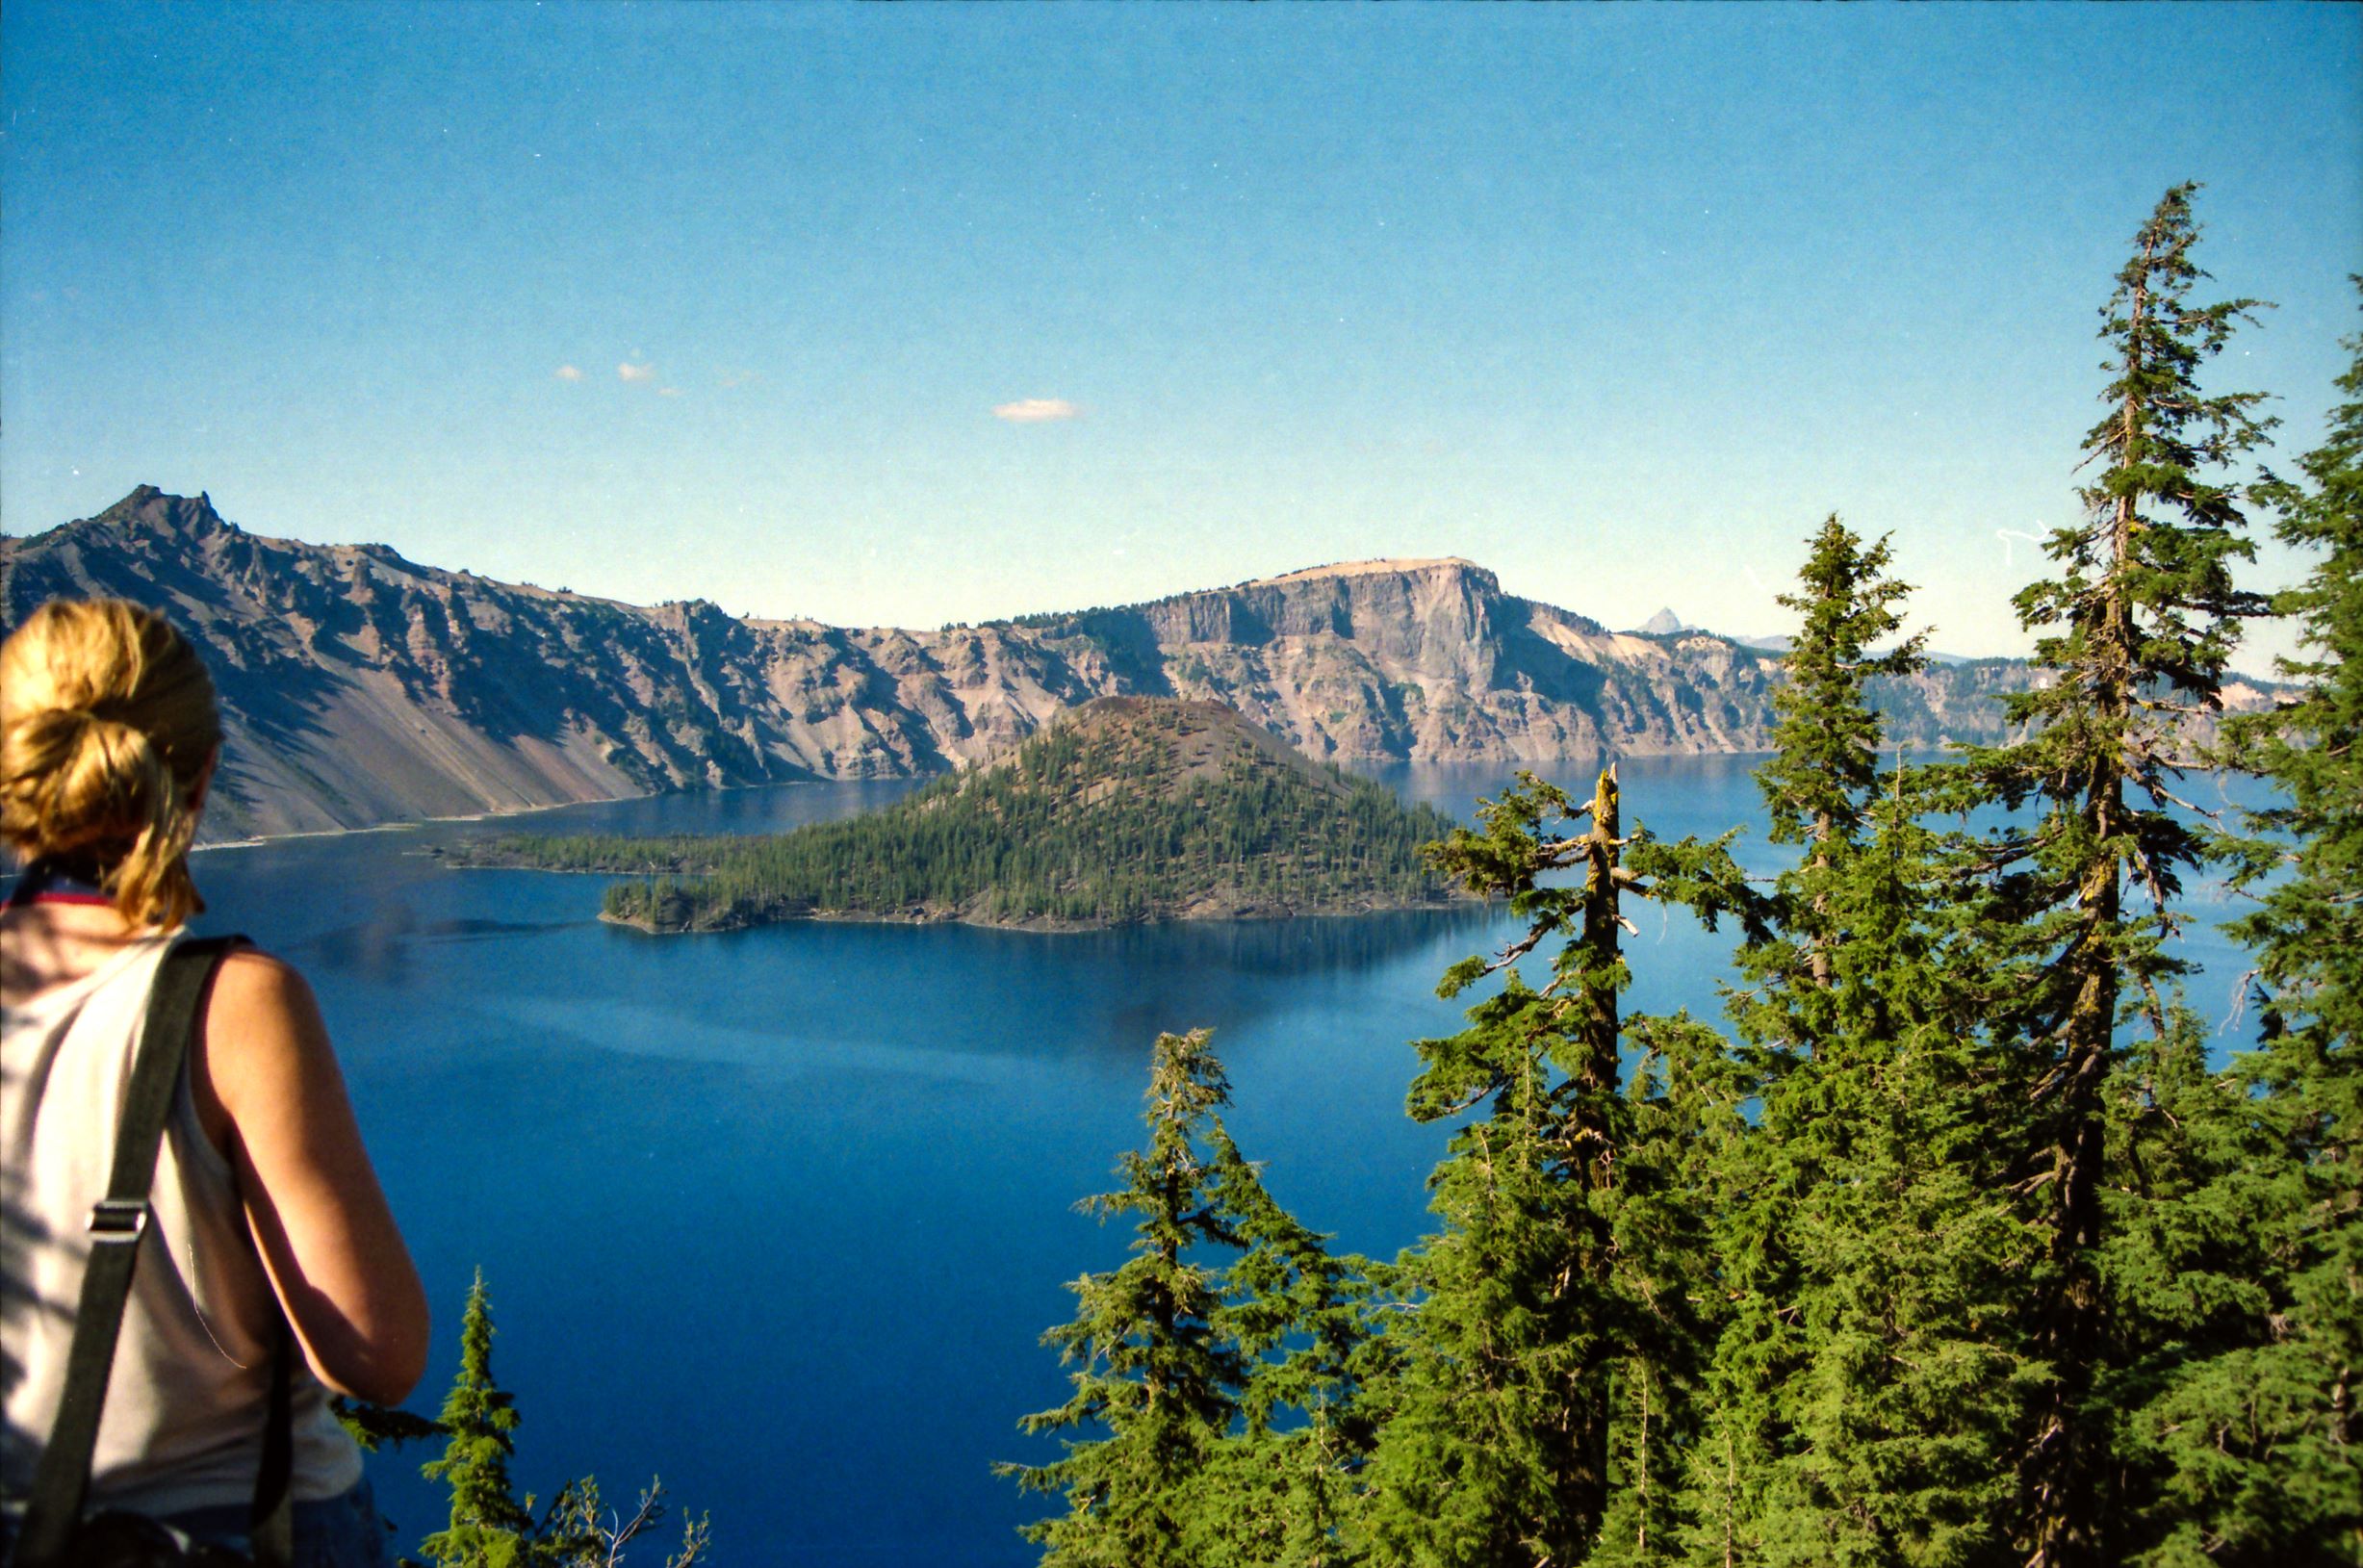
My hubby and I did not stop at Crater Lake on this latest Oregon road trip due to our time constraints. However, if you’ve got a week to make this road trip and you’ve never visited, then I recommend you include it in your route.
Just a word of warning before you go, the journey to Crater Lake is not for the faint of heart. You drive up the mountain with nail-biting drop-offs. Keep your eyes on the road, and soon you’re rewarded with gorgeous views of this volcanic lake. It is such a unique natural setting that everyone should see it at least once. I visited years ago on another road trip with a friend, and its gorgeous blue waters are a beautiful sight to behold.
Read the Department of Interior’s blog on 12 Things You Didn’t Know About Crater Lake for further inspiration. You can also visit the Crater Lake National Park website for information on road conditions, where to stay, and what’s open.
Crater Lake Observation Station
Rim Drive
Crater Lake, OR 97604
In-N-Out Burger

If you’re from California, you might not understand why an In-N-Out Burger is highlighted as a stop along this Oregon road trip. However, if you’re a Washingtonian like me, who loves In-N-Out, you’ll get it. There are no In-N-Out Burgers in Washington State and it was only recently that we had the option in our neighbor state of Oregon. So, I knew that no road trip to Oregon would be complete without including at least one stop at In-N-Out! If you’ve never had In-N-Out then you’re missing out!
I love their cheeseburger with a strawberry milkshake. Sometimes I ask for it animal style which means they give me a yummy grilled onion relish in place of the raw onion on the regular cheeseburger. One of the things I love about In-N-Out Burger is their consistency. I know no matter which location I stop at I will get a consistently good burger at consistently low prices. Just trust me on this, and give them a try. I’m starting to salivate just thinking about them, so I’d best move on.
This is the address for the location we stopped at on this road trip.
In-N-Out Burger
6280 Keizer Station Blvd
Keizer, OR 97303
Final Thoughts & Tips
Download an offline map of Oregon before your road trip. Since a lot of this road trip passes through Oregon’s remote areas, there is little to no cell service near many of these destinations. Having an offline map is a huge help, especially when navigating places like the Alvord Desert. Also, a printed road atlas is never a bad idea either, but at a minimum, have the offline map.
Pack road trip essentials like extra water, road tunes, snacks, a good spare tire, jumper cables, an emergency kit, and a portable charger for electronic devices. Also, make sure to keep your car fueled up as gas can be few and far between in some of these areas. The Alvord Desert is the most remote of the destinations, so make sure to read my guide for visiting there and my tips for preparing for the trip. You may also want to read AAA’s guide to road trip car maintenance to make sure your car is ready for your trip.
Places to Stay
We camped at Alvord Desert, and then stayed in a hotel in Princeton for our visit to Oregon’s Painted Hills, and also stayed in a hotel in Redmond, Oregon for our visit to Smith Rock State Park. There are two campgrounds at Crater Lake National Park open only in the summer. Check the park’s website ahead of time for the latest information and how to reserve a spot.
Talk to locals if you are unsure about areas that are okay to drive in, or for information about weather conditions, and places to see. Locals know their area and are usually more than happy to share their first-hand knowledge.
This Oregon road trip itinerary really highlights the variety found in this state. Prior to this road trip, most of my visits to Oregon were relegated to the coast, which is beautiful. However, there is so much more to Oregon than just its coastline. I think you will be surprised to discover the natural beauty and unique volcanic features along this Oregon road trip.
Happy Exploring!