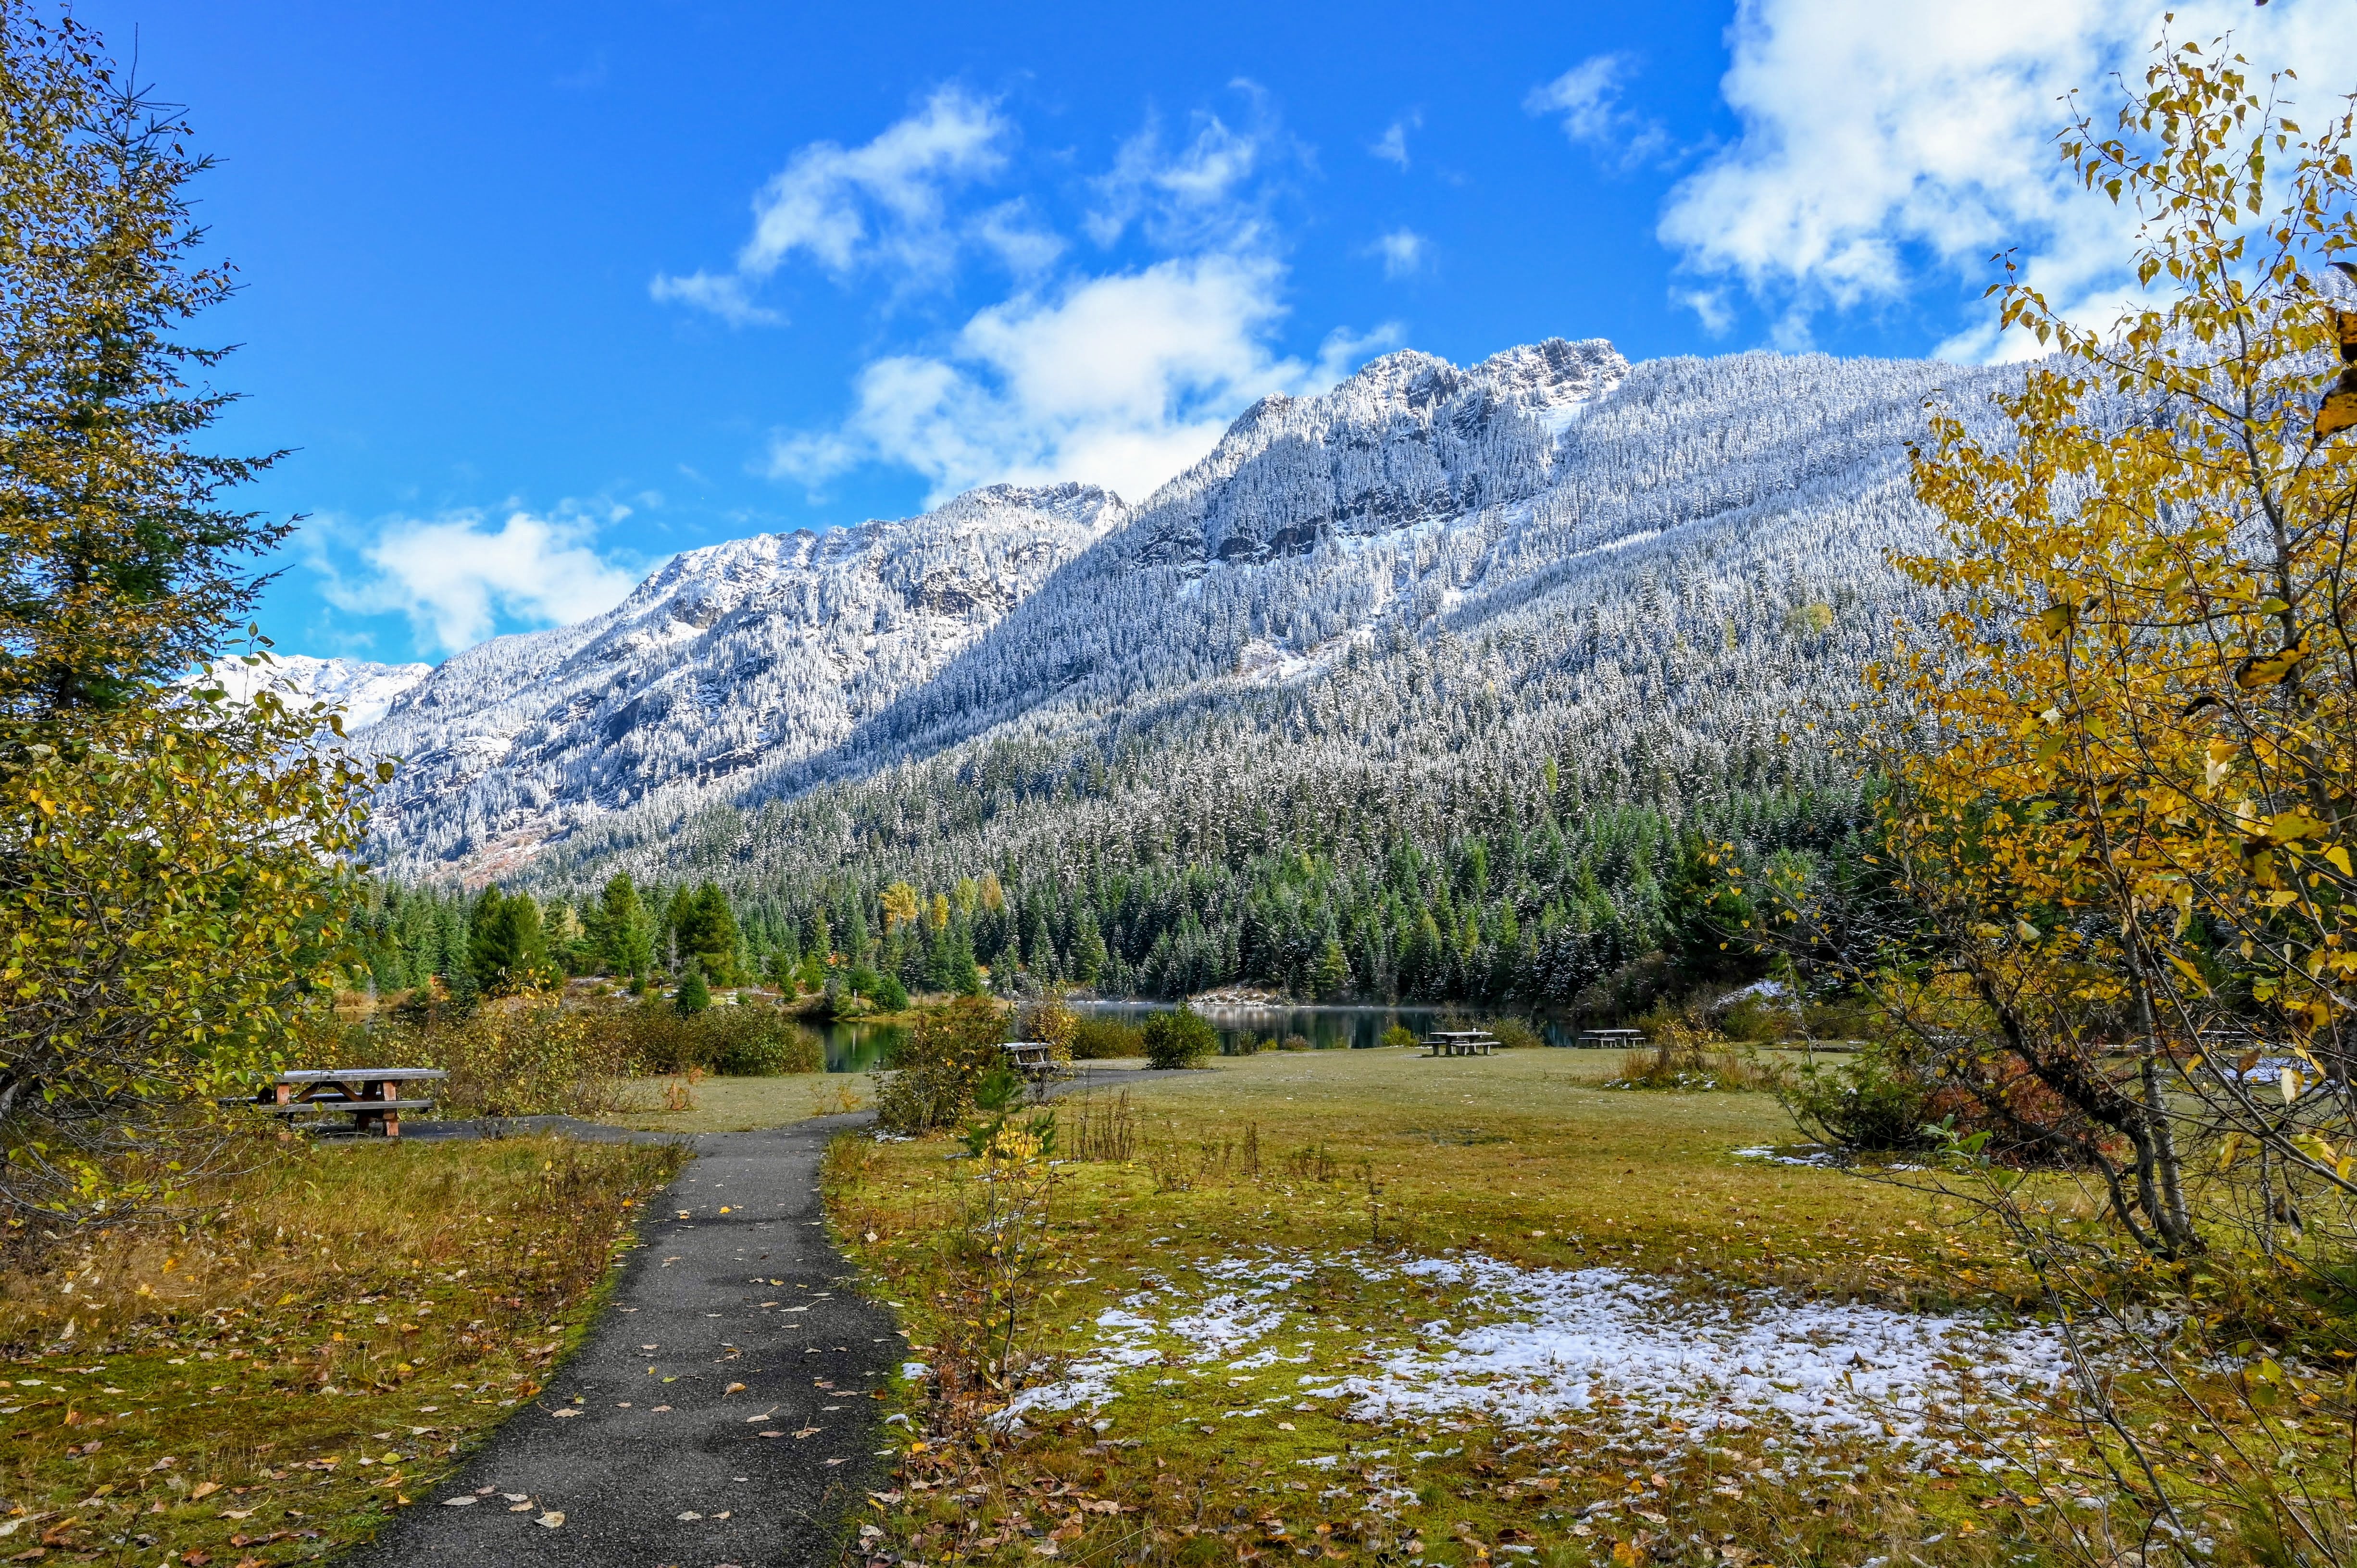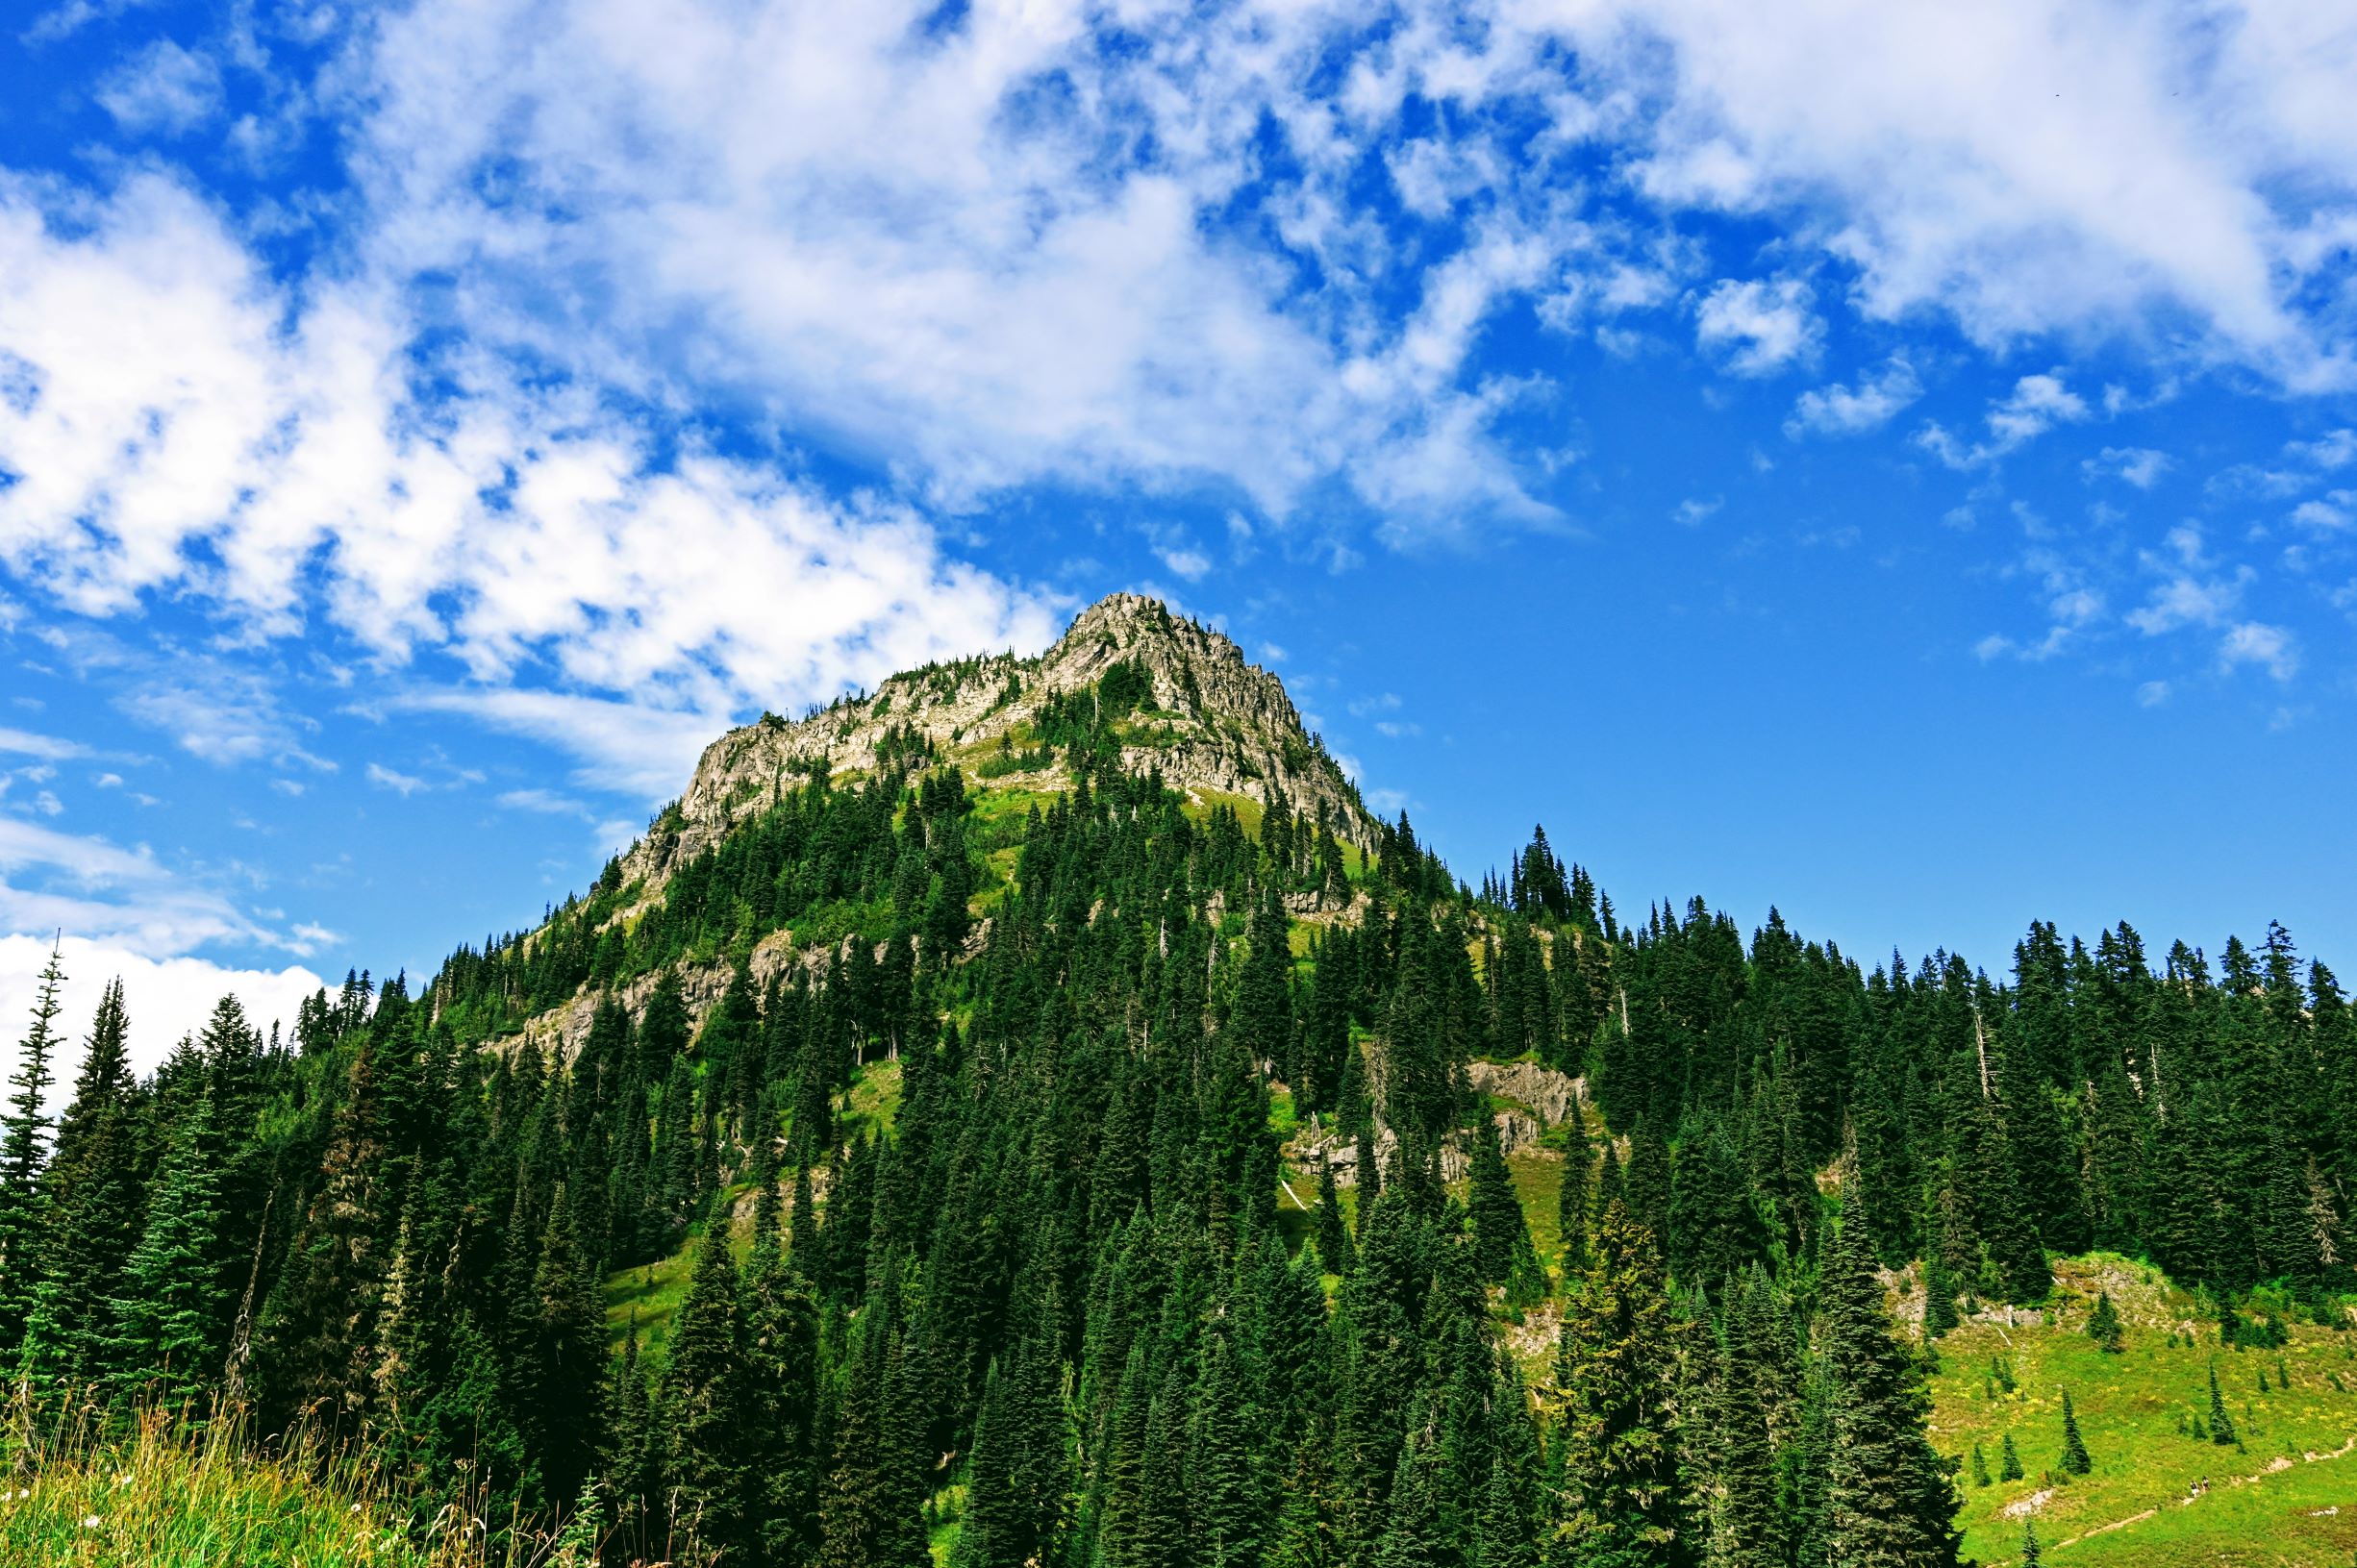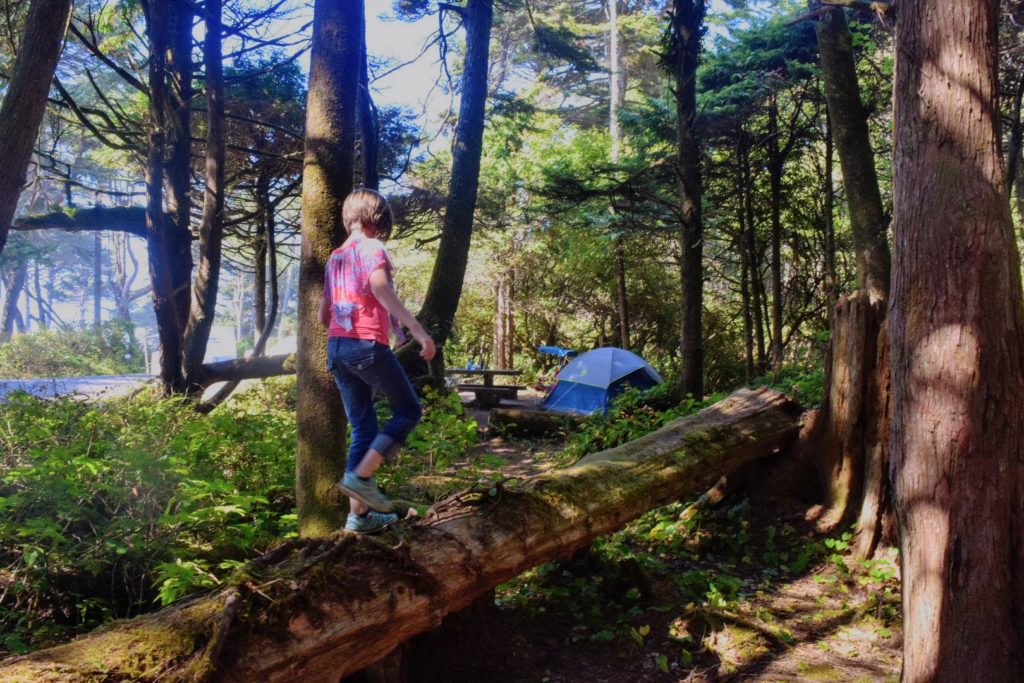
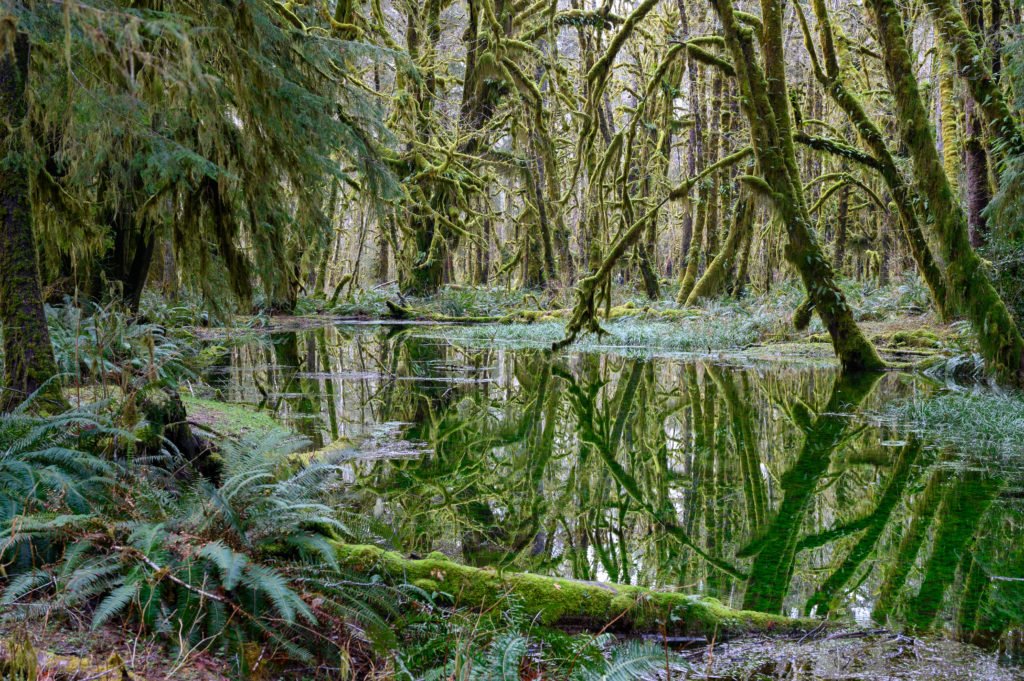
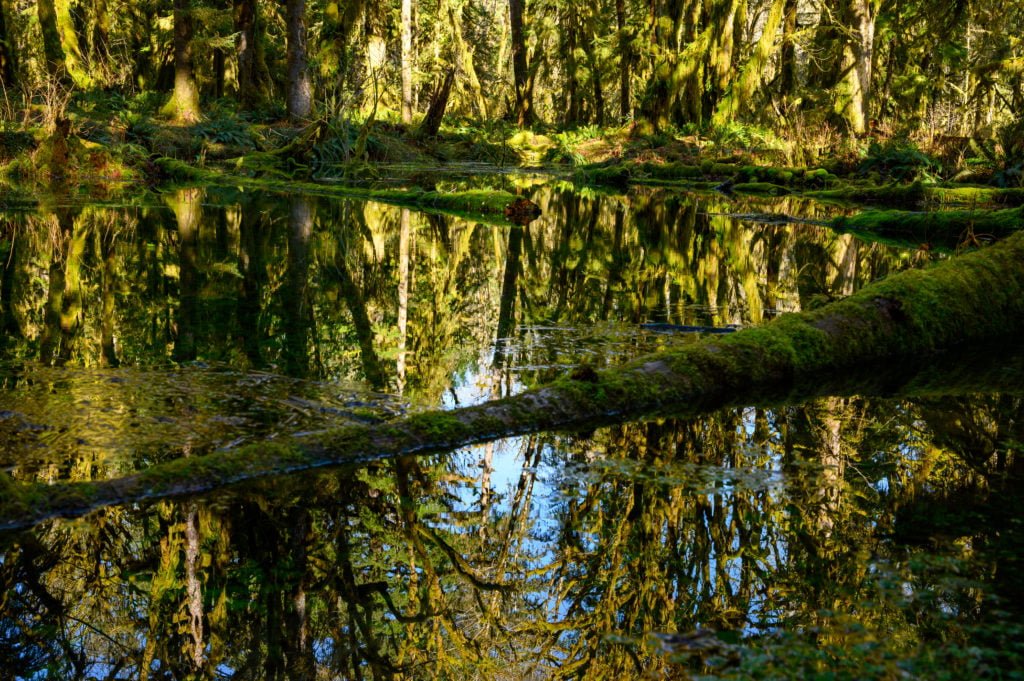
This short 0.5 mile loop trail is probably my favorite out of all of the Quinault rainforest hikes I list in this post. I felt like I entered another world. It was as if I was on the set of Avatar or Endor, the forest moon inhabited by Ewoks. The wonder and beauty of the rainforest all in this short 1/2 mile walk.
Walking the Trail
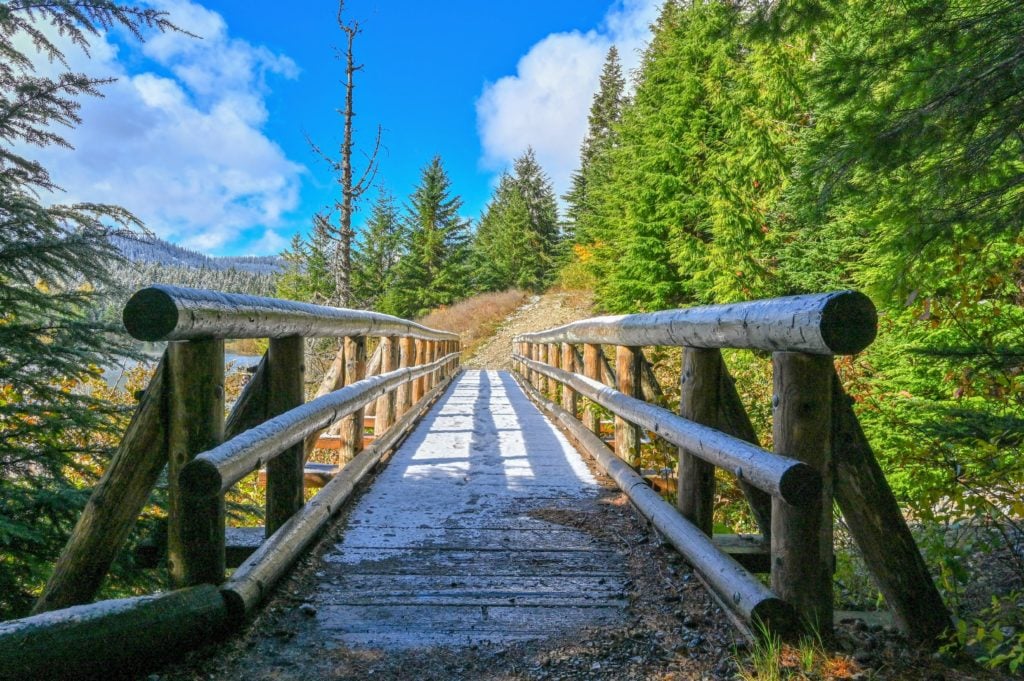
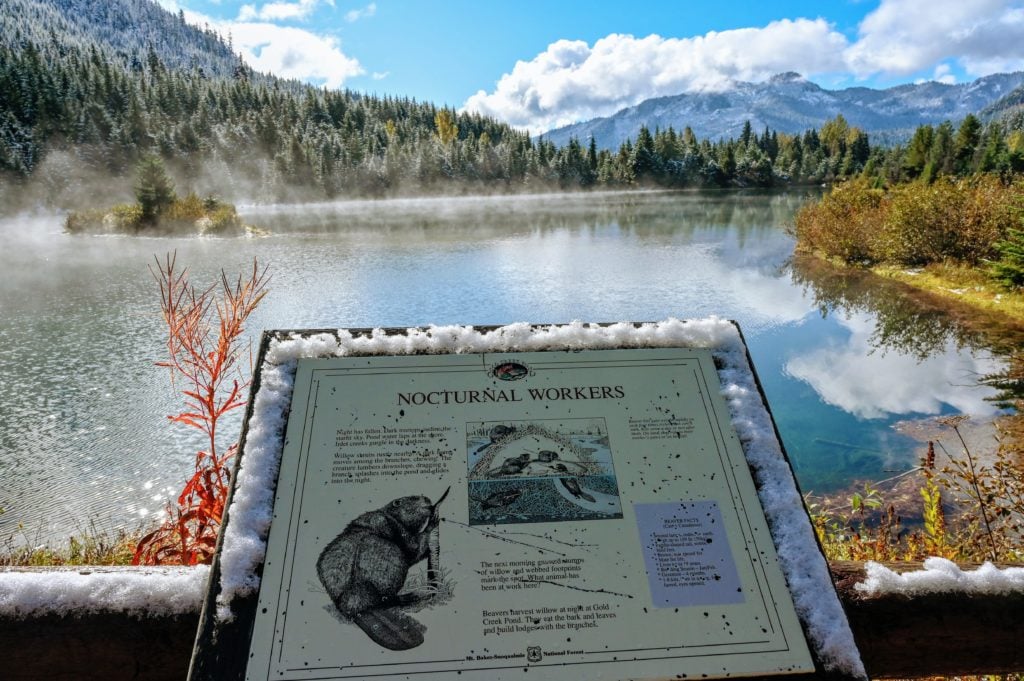
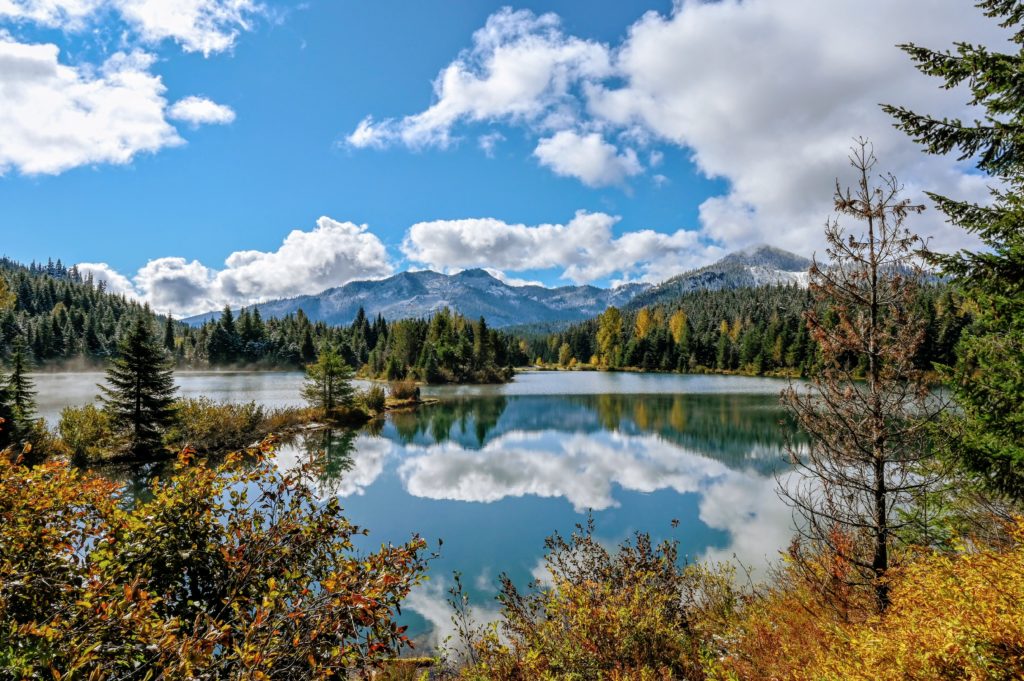
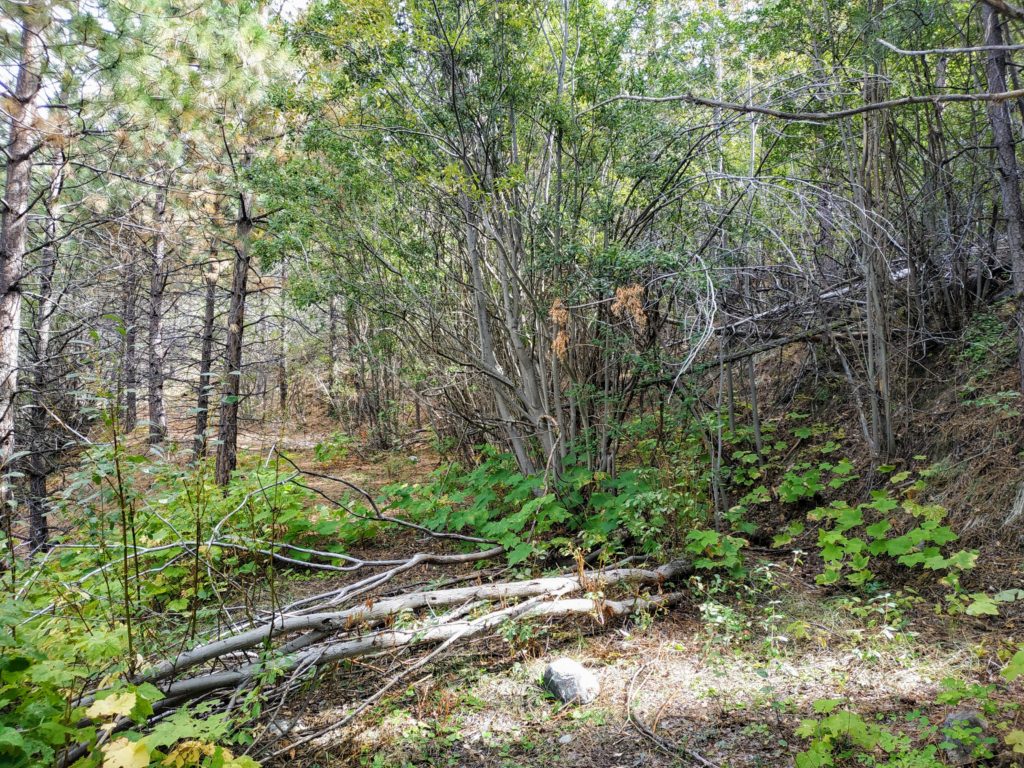
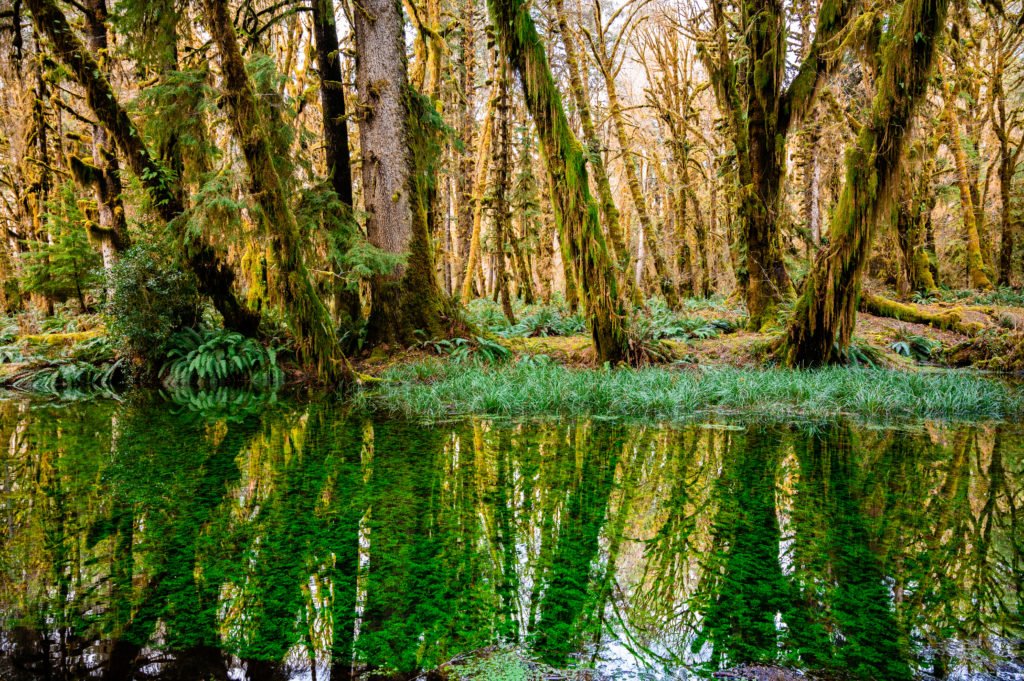
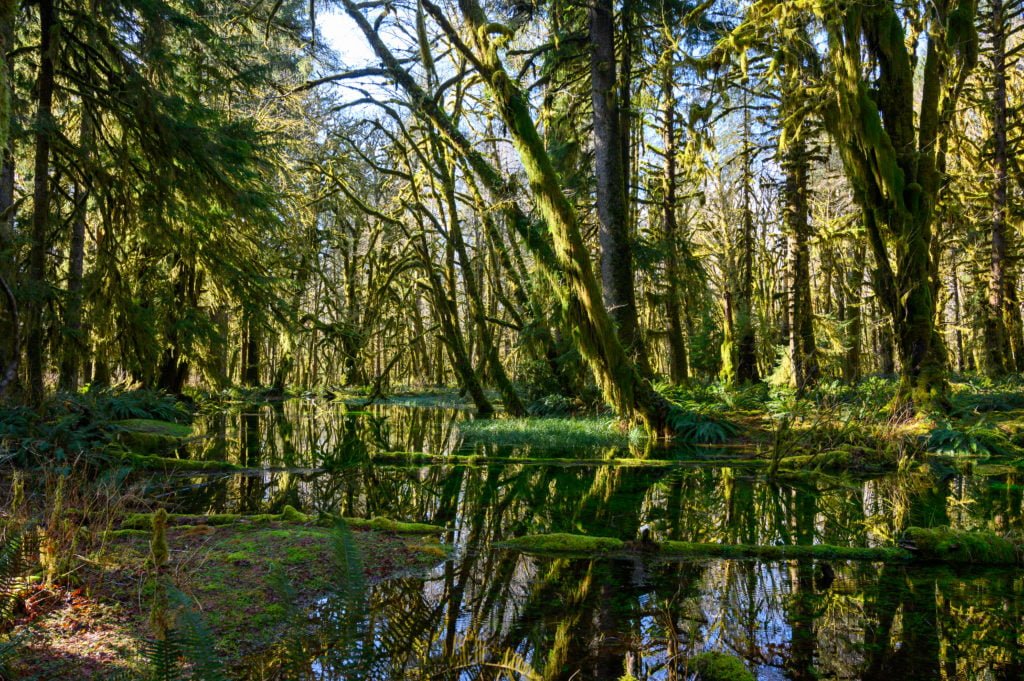
You’ll start by the Maple Glade Rainforest sign and walk across the wooden bridge to begin. Follow the trail as it curves left and winds its way past giant Western hemlocks and redcedar trees. Soon the path meanders around and then curves left where it opens up alongside a small body of water. This bog or pond, or whatever it is called, most likely connects to the Kestner Creek.
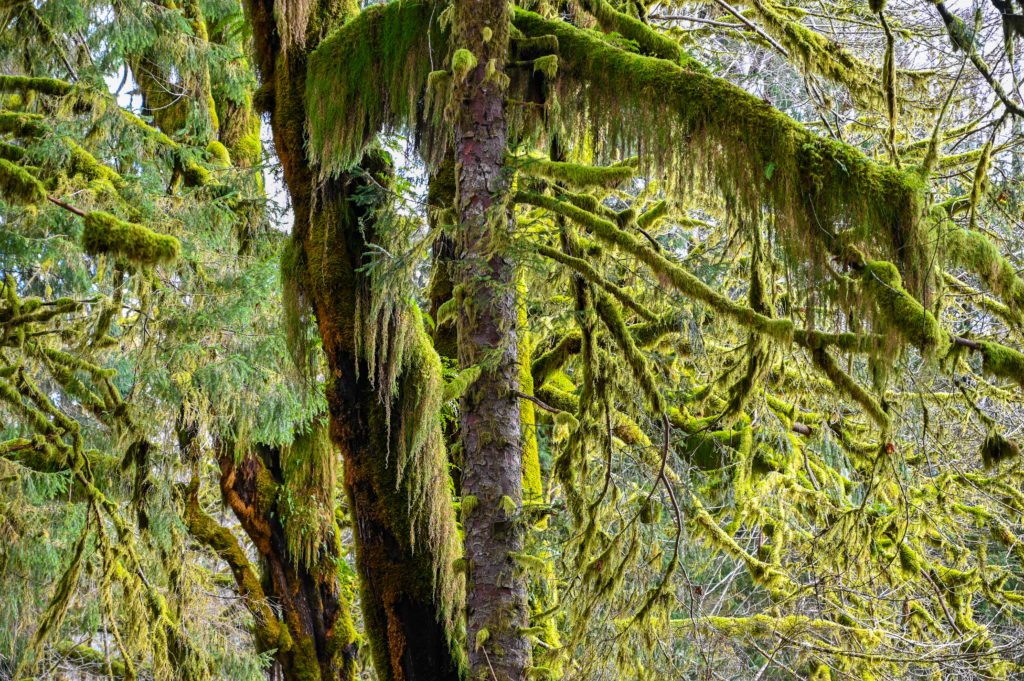
This is the area of the Quinault rainforest, where I feel as though I’ve entered another planet. There are mossy trees everywhere, forming an emerald canopy overhead, and small green plants that live under the water make it appear as a bright green pool of liquid. I really can’t describe it justly, you’ve got to see it for yourself. It is one hike I’d do on any day, rain or shine. It is stunning.
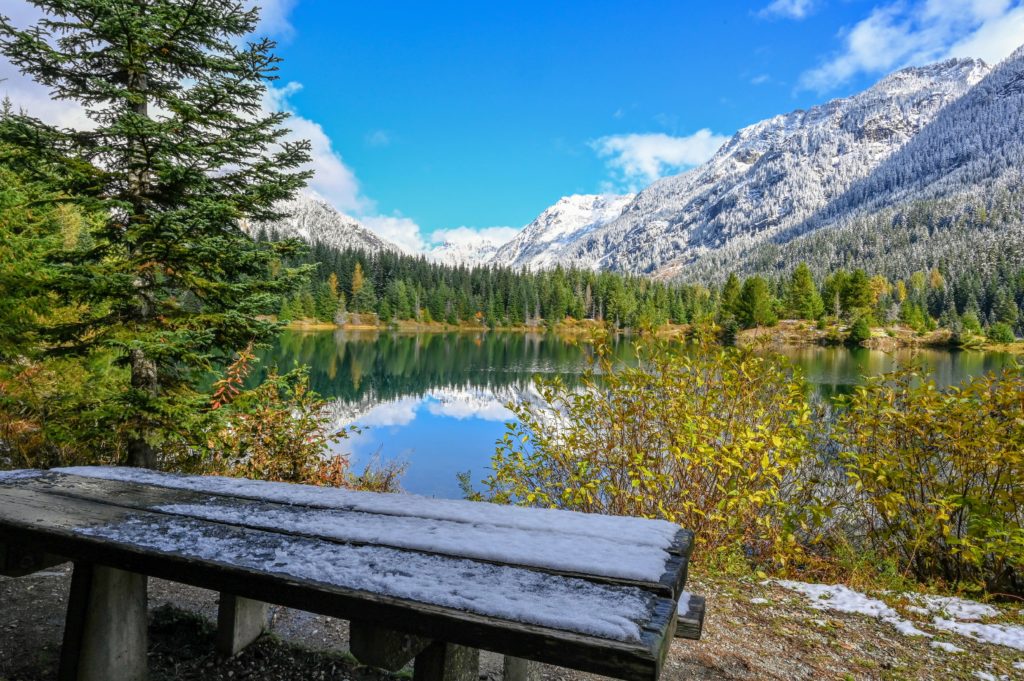
The trail loops around to the left and circles back to the trailhead. However, you can fork to the left and hike to the Kestner Homestead if you’re up for it. See my notes on this hike below. Make sure to stop and sit on the trail bench as you make your way back to the parking lot. The Maple Glade Rainforest trail deserves a slow meandering pace, filled with a lot of gazing upward in awe at the staggering beauty surrounding you.
Accessibility
This trail is marked as an accessible trail, although not fully meeting ADA accessibility guidelines. It is a flat trail with no real elevation change. However, when I hiked it, the path was not wide enough to push a wheelchair through it, plus it gets muddy due to all the rain. So, it’s certainly a flat, easy trail, that one can take very slowly, perhaps with a cane, but probably not with a wheelchair.
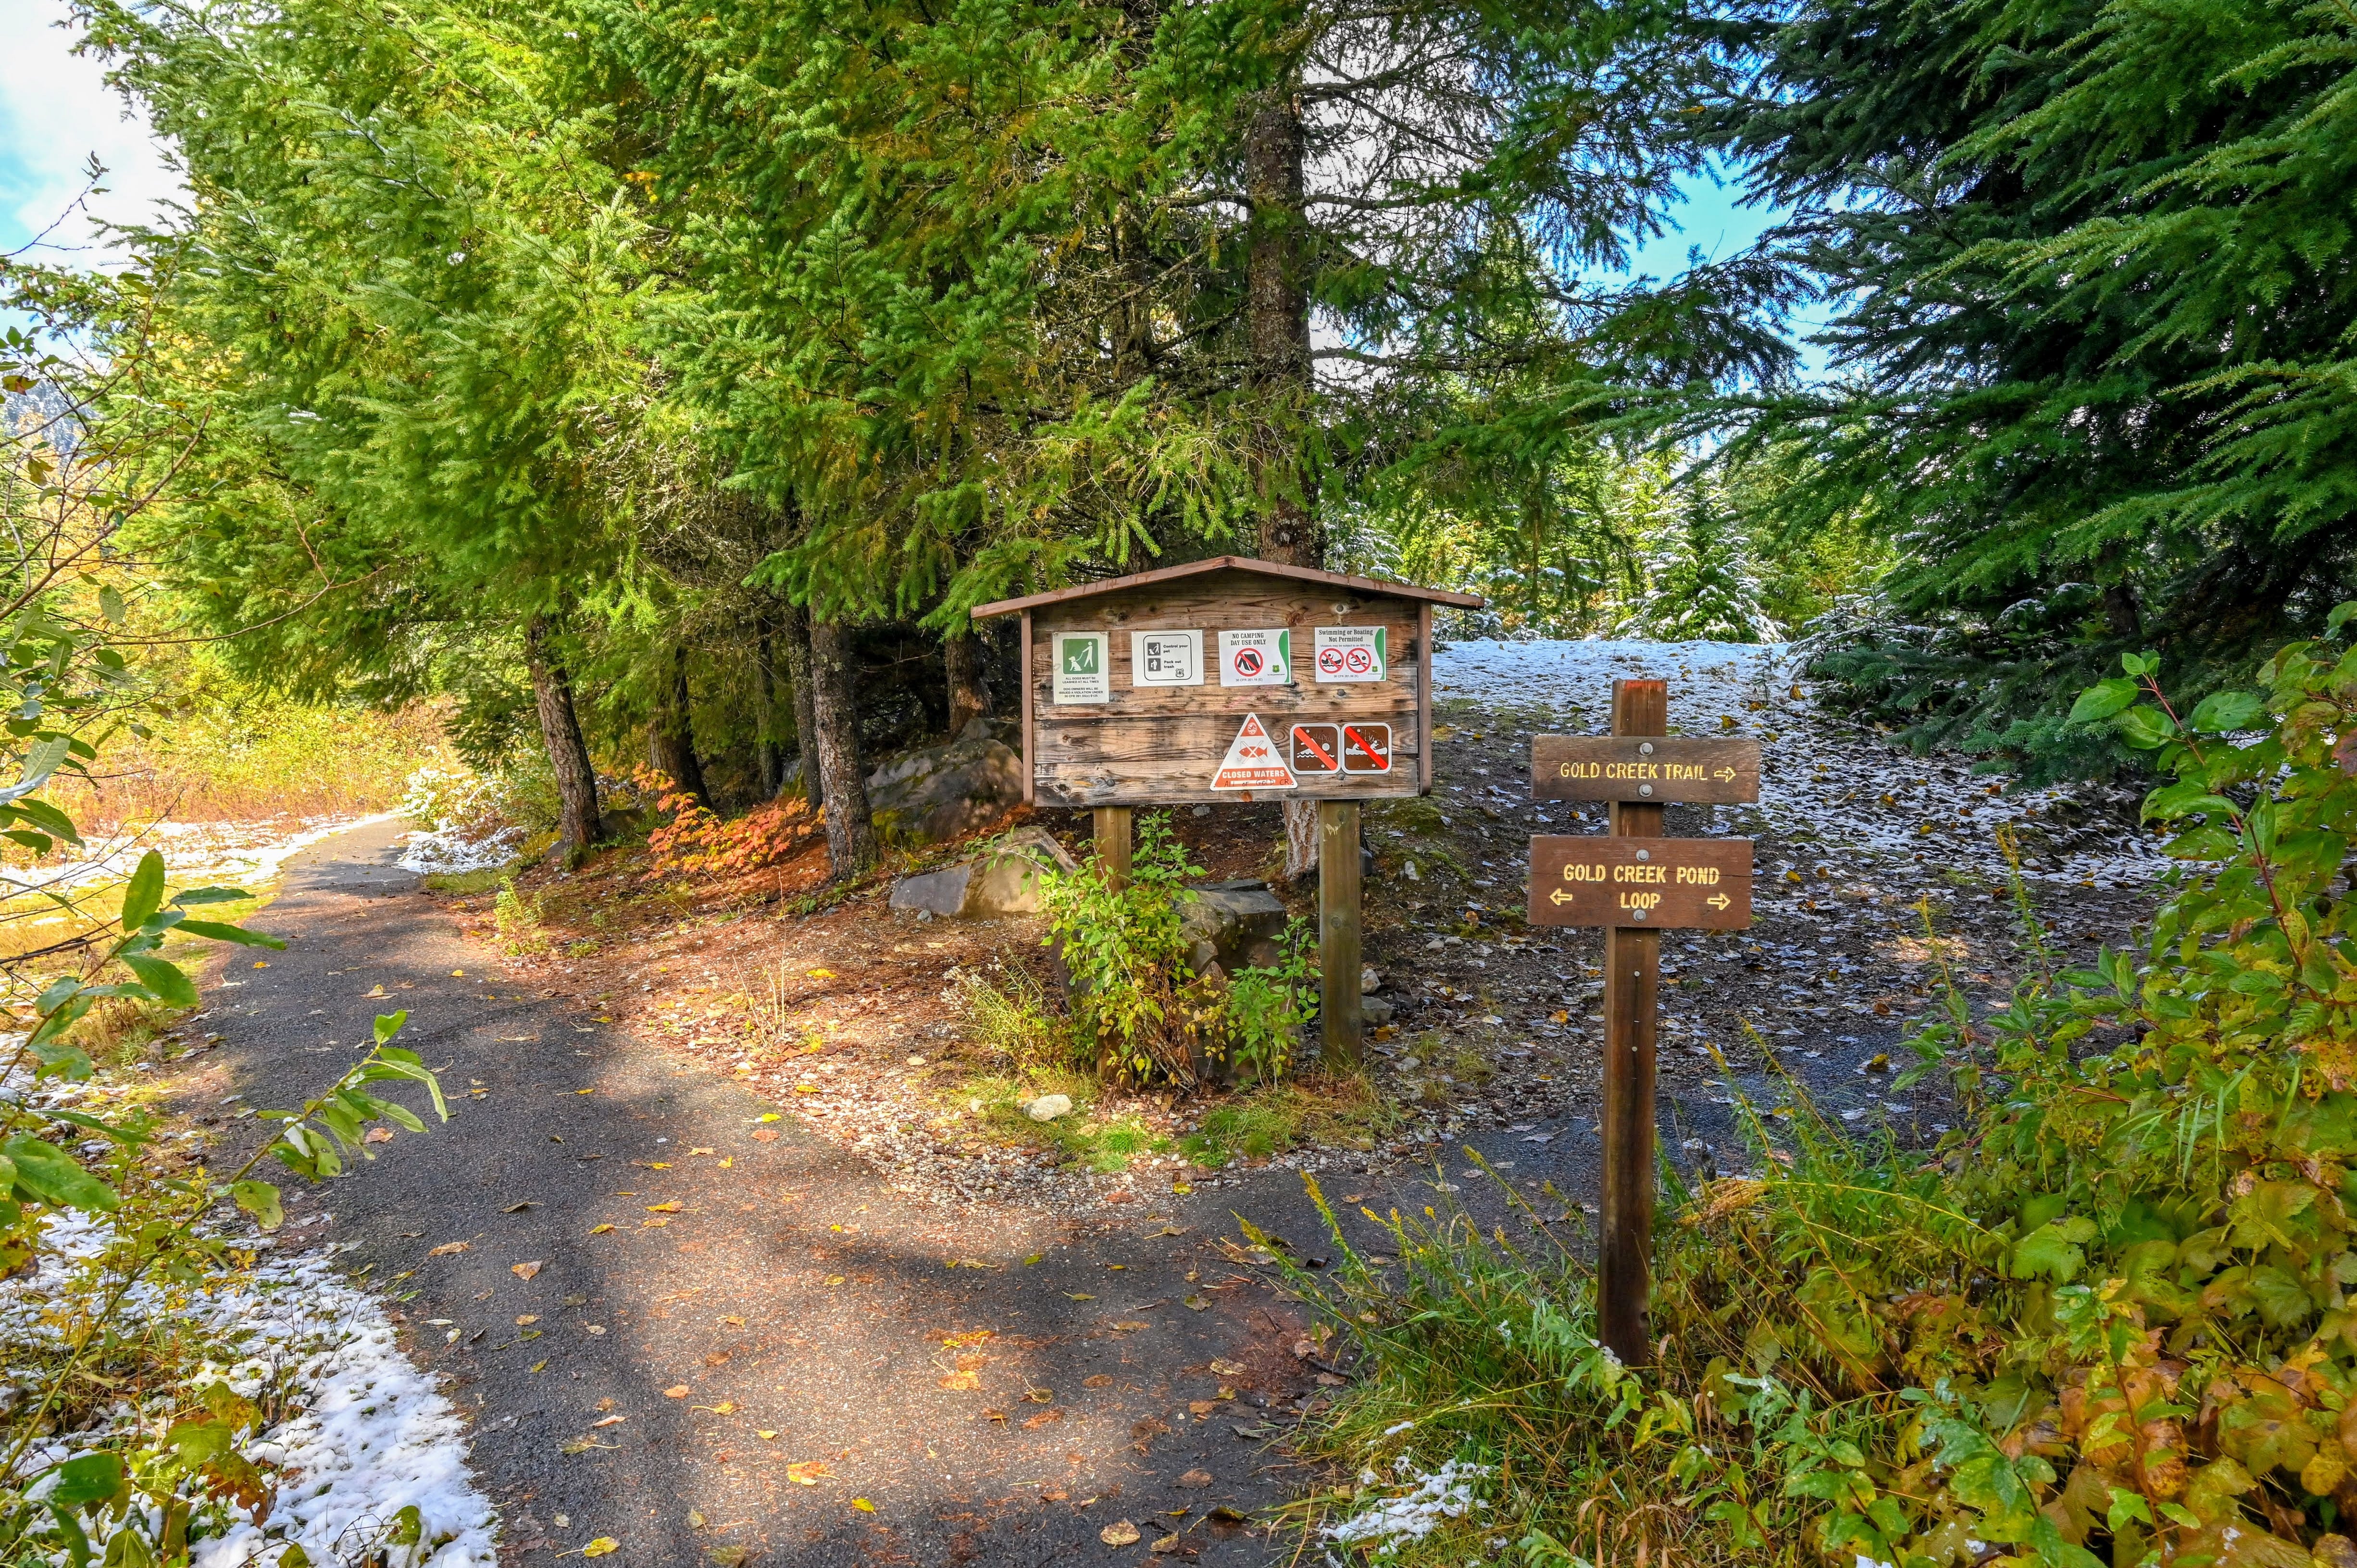
Getting Here
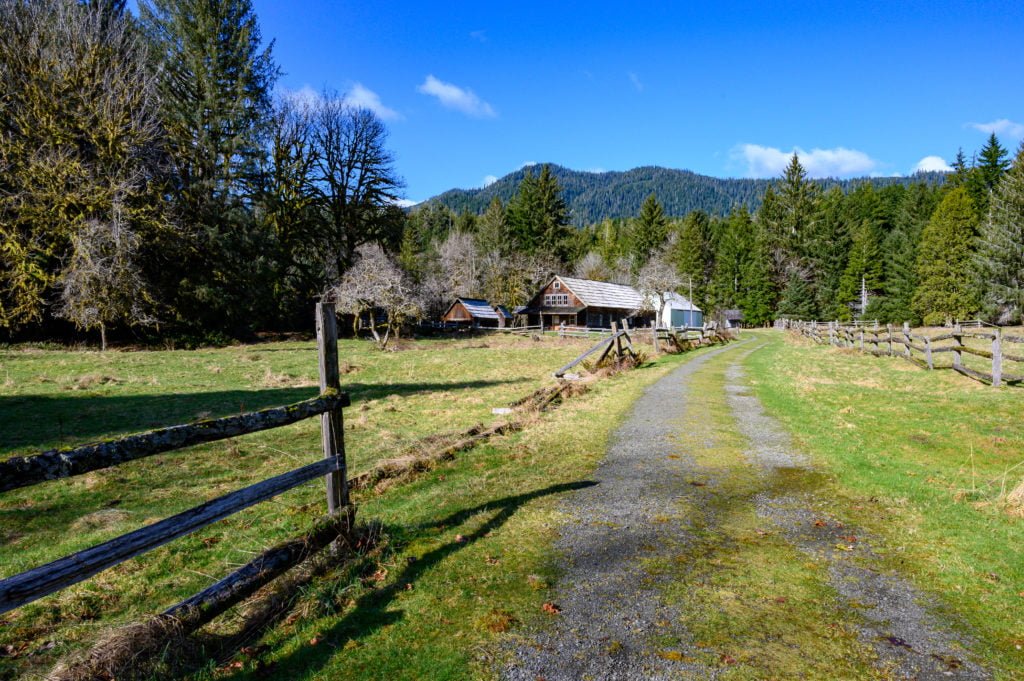
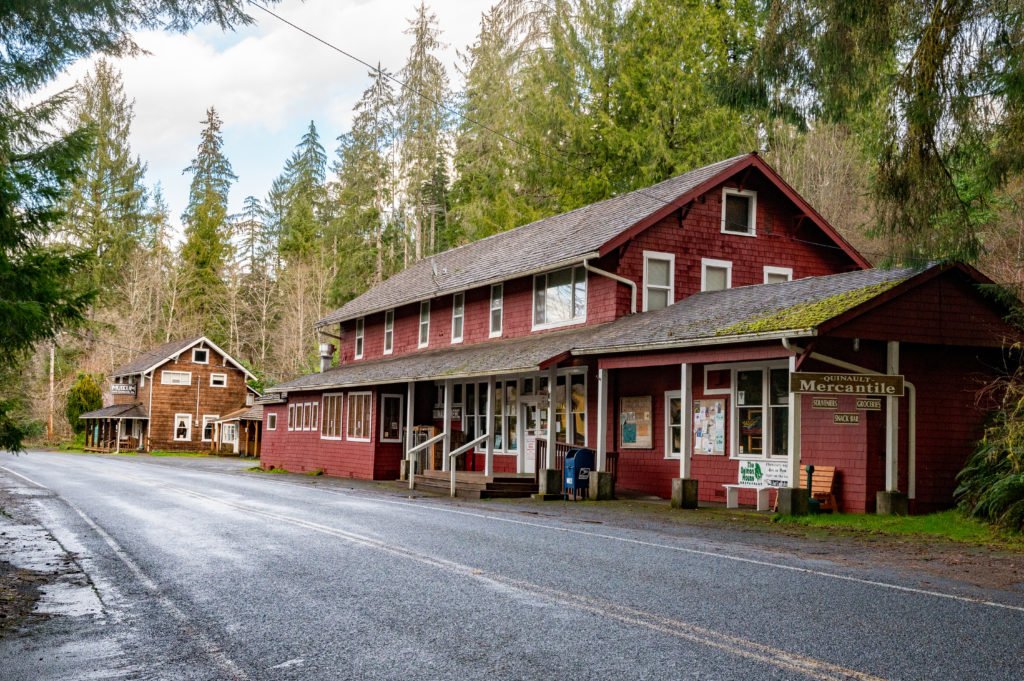
Turn onto N Shore Rd from US-101. There is a small grocery store on the corner where you turn. Then stay on N Shore Road for about 5.5 miles. You’ll see the turn for the Quinault Rainforest Ranger Station and trailhead parking on the left. The Maple Glade Rainforest Trailhead is also shared by the Kestner Homestead Trail, which I discuss below.
Facilities
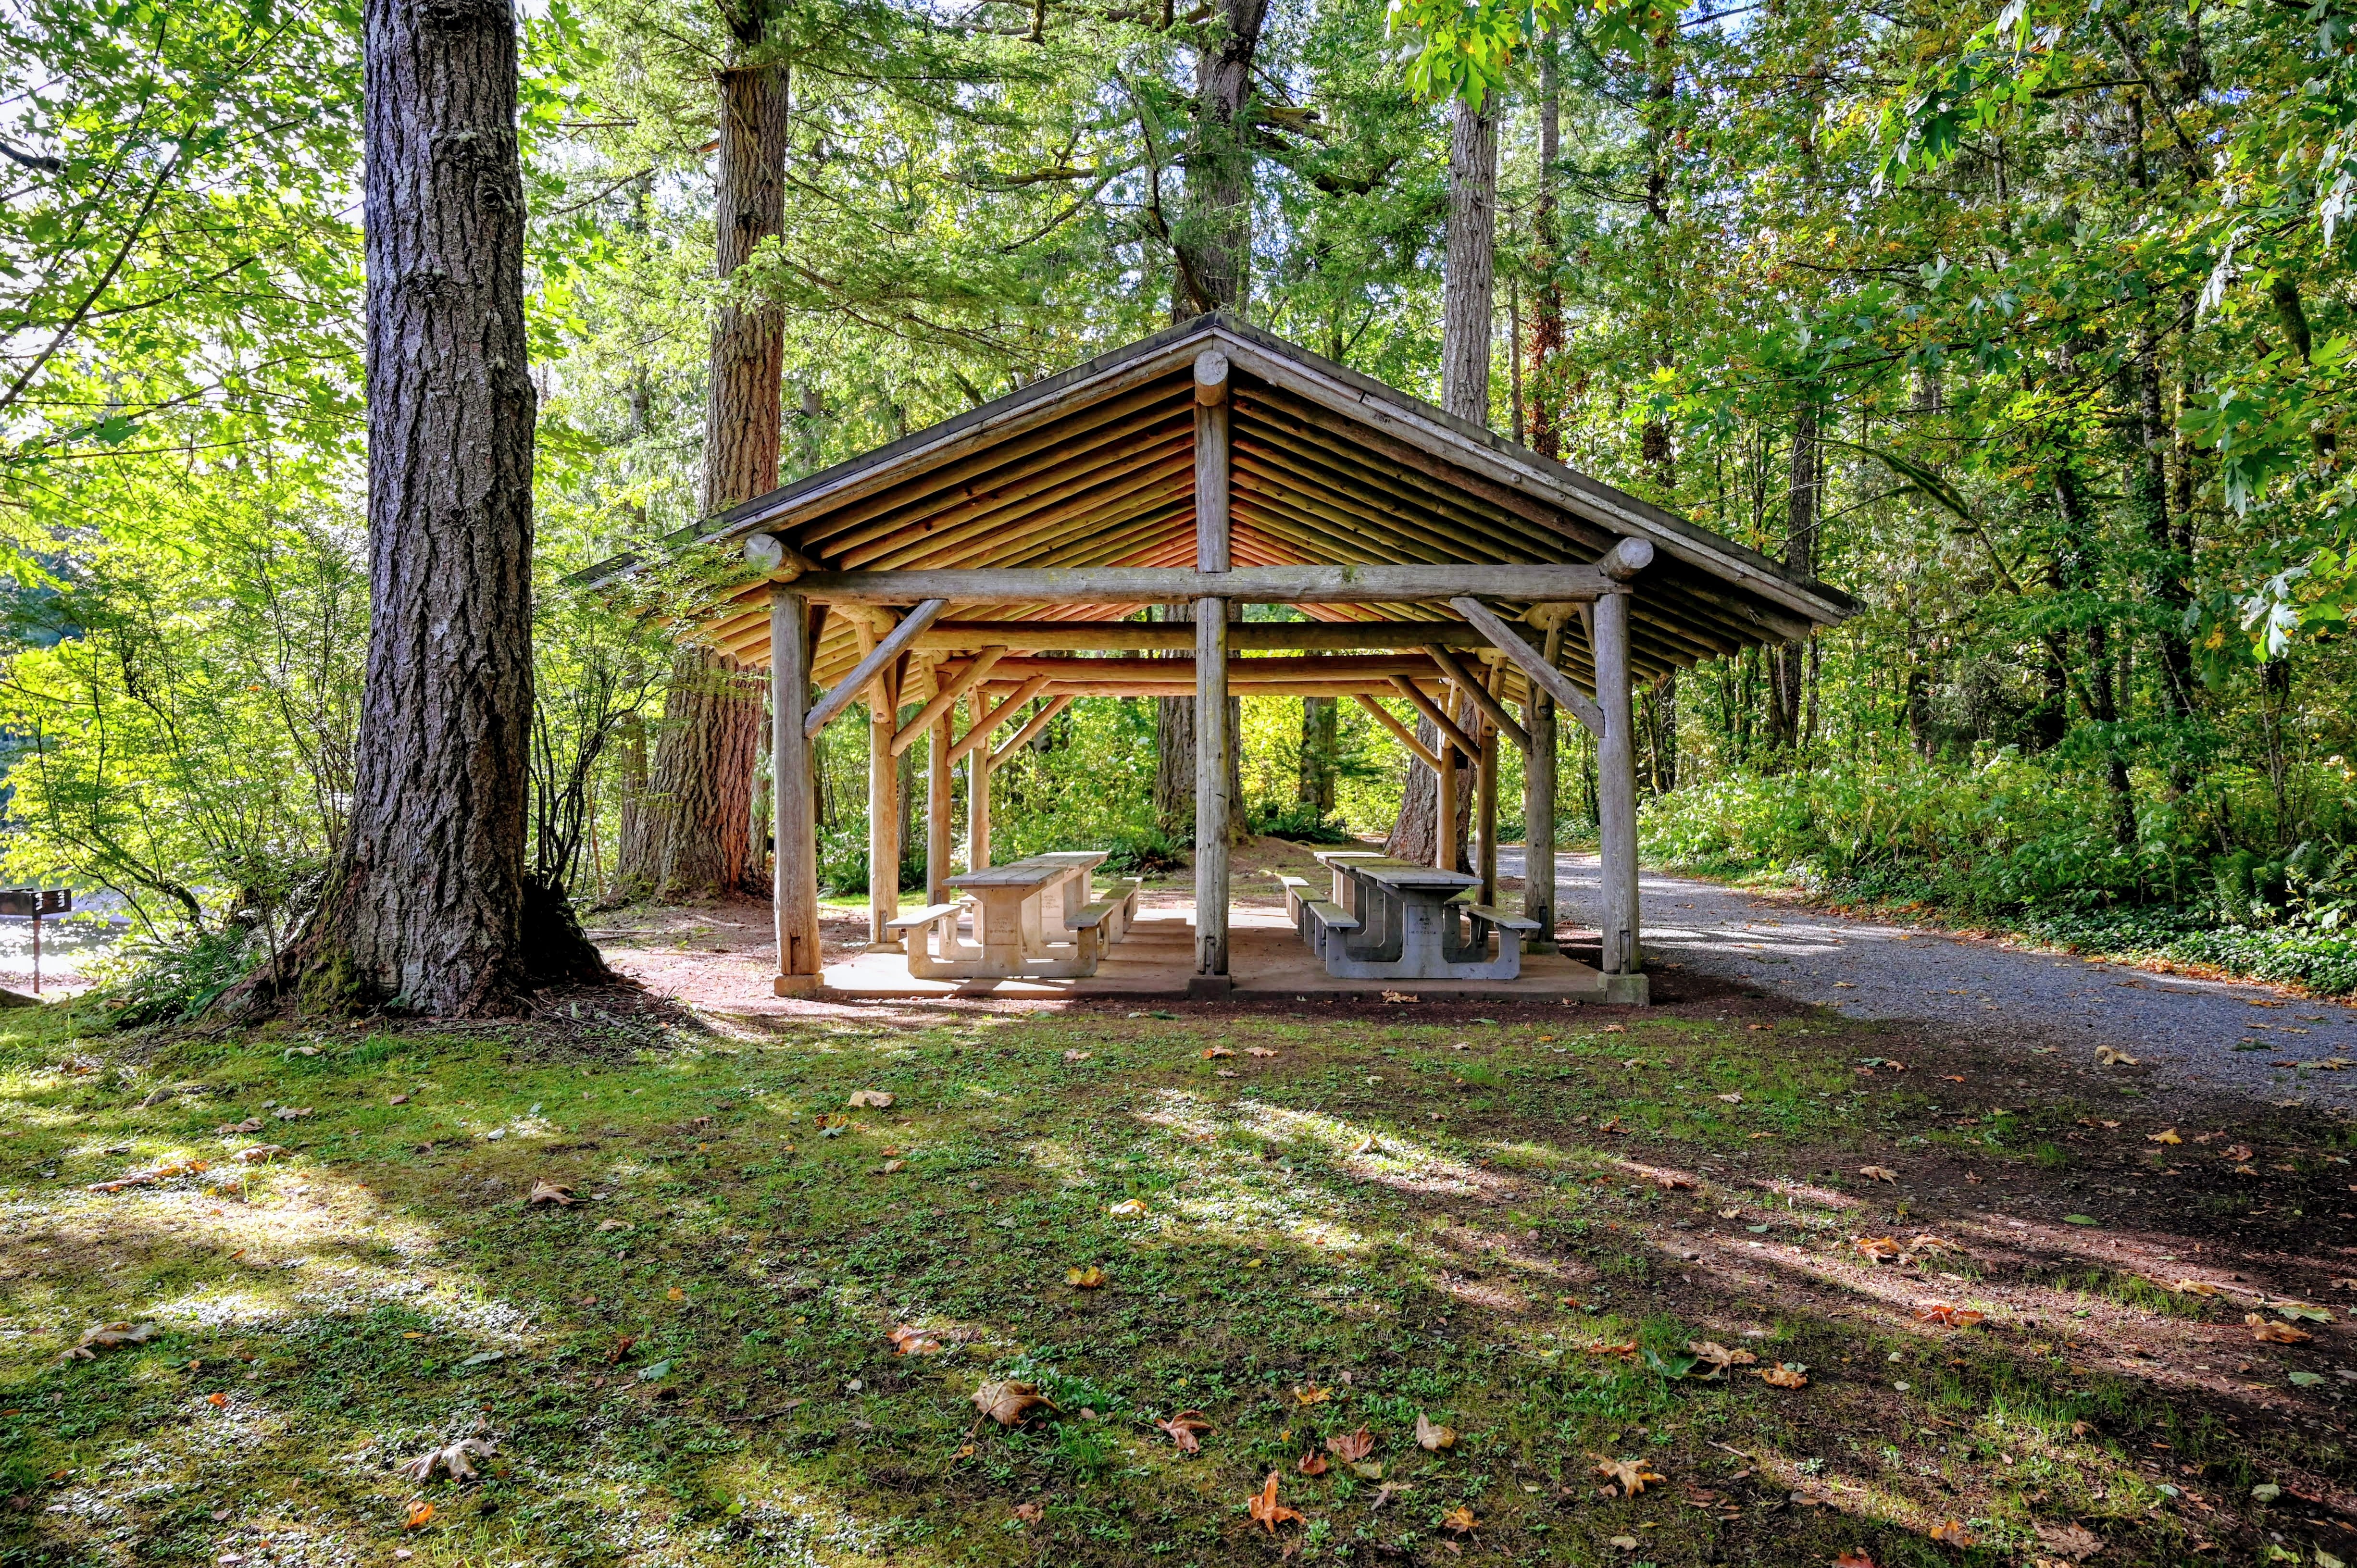
There are accessible toilets by the Quinault Rainforest Ranger Station as well as picnic tables. The ranger station is only open part-time during the summer when it is; I recommend you go in and speak with the rangers on staff to learn more about the area.
The Kestner Homestead Trail is a 1.5-mile loop trail that starts from the parking lot at the Quinault Rainforest Ranger Station. The trailhead parallels Kestner Creek to the right, with the Maple Glade Rainforest Trail on the left. Look for salmon in the creek before starting the trail. I saw two huge salmon here when I visited in February. If you combine this hike with the Maple Glade Rainforest trail, it is about 2.0 miles roundtrip.
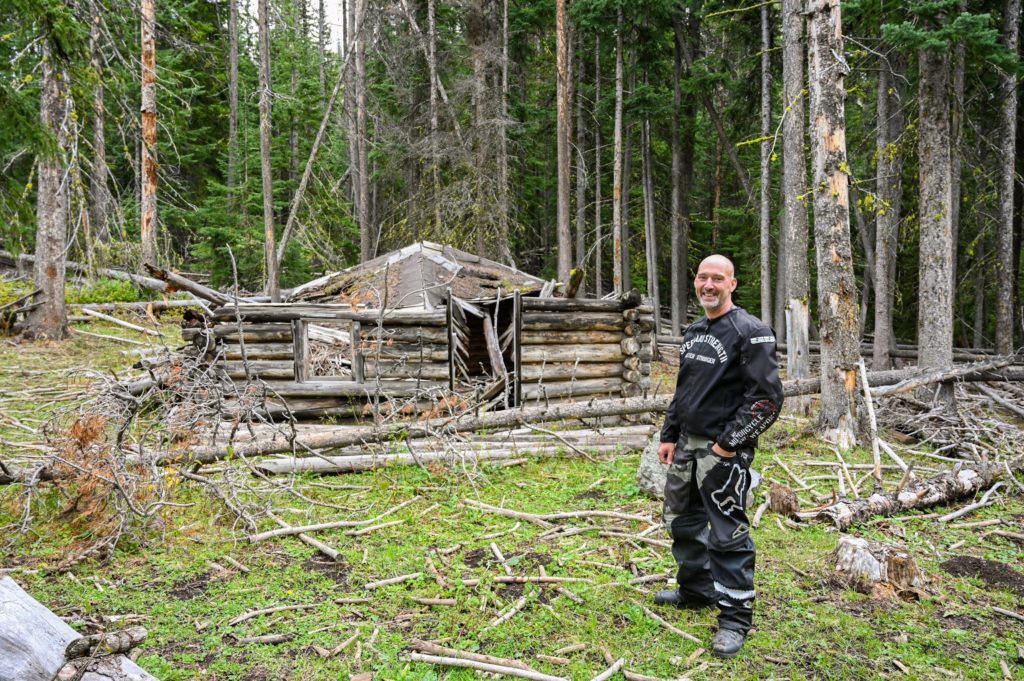
The Kestner family moved here in the late 1800s, and the homestead has a variety of structures left behind from these early homesteading days. There is also a large picnic area underneath one of the large barn-like structures—lots of space for kids to run around and explore.
Tip: If you don’t want to hike the 1.5 miles loop to the Kestner Homestead, you can also make a left out of the Quinault Rainforest Ranger station parking lot and follow the road about 0.5 miles.
You’ll see a small parking area on the left-hand side of the road near a gate. You can park here and then walk to the Kestner homestead from here. This option is wheelchair friendly as you have a wide dirt road and open paths that will easily accommodate a wheelchair.
Getting Here
Turn onto N Shore Rd from US-101. There is a small grocery store on the corner where you turn. Then stay on N Shore Road for about 5.5 miles. You’ll see the turn for the Quinault Rainforest Ranger Station and trailhead parking on the left.
Facilities
There are accessible toilets by the Quinault Rainforest Ranger Station as well as picnic tables. The Kestner Homestead does not have any toilet facilities, but it does have a picnic area.
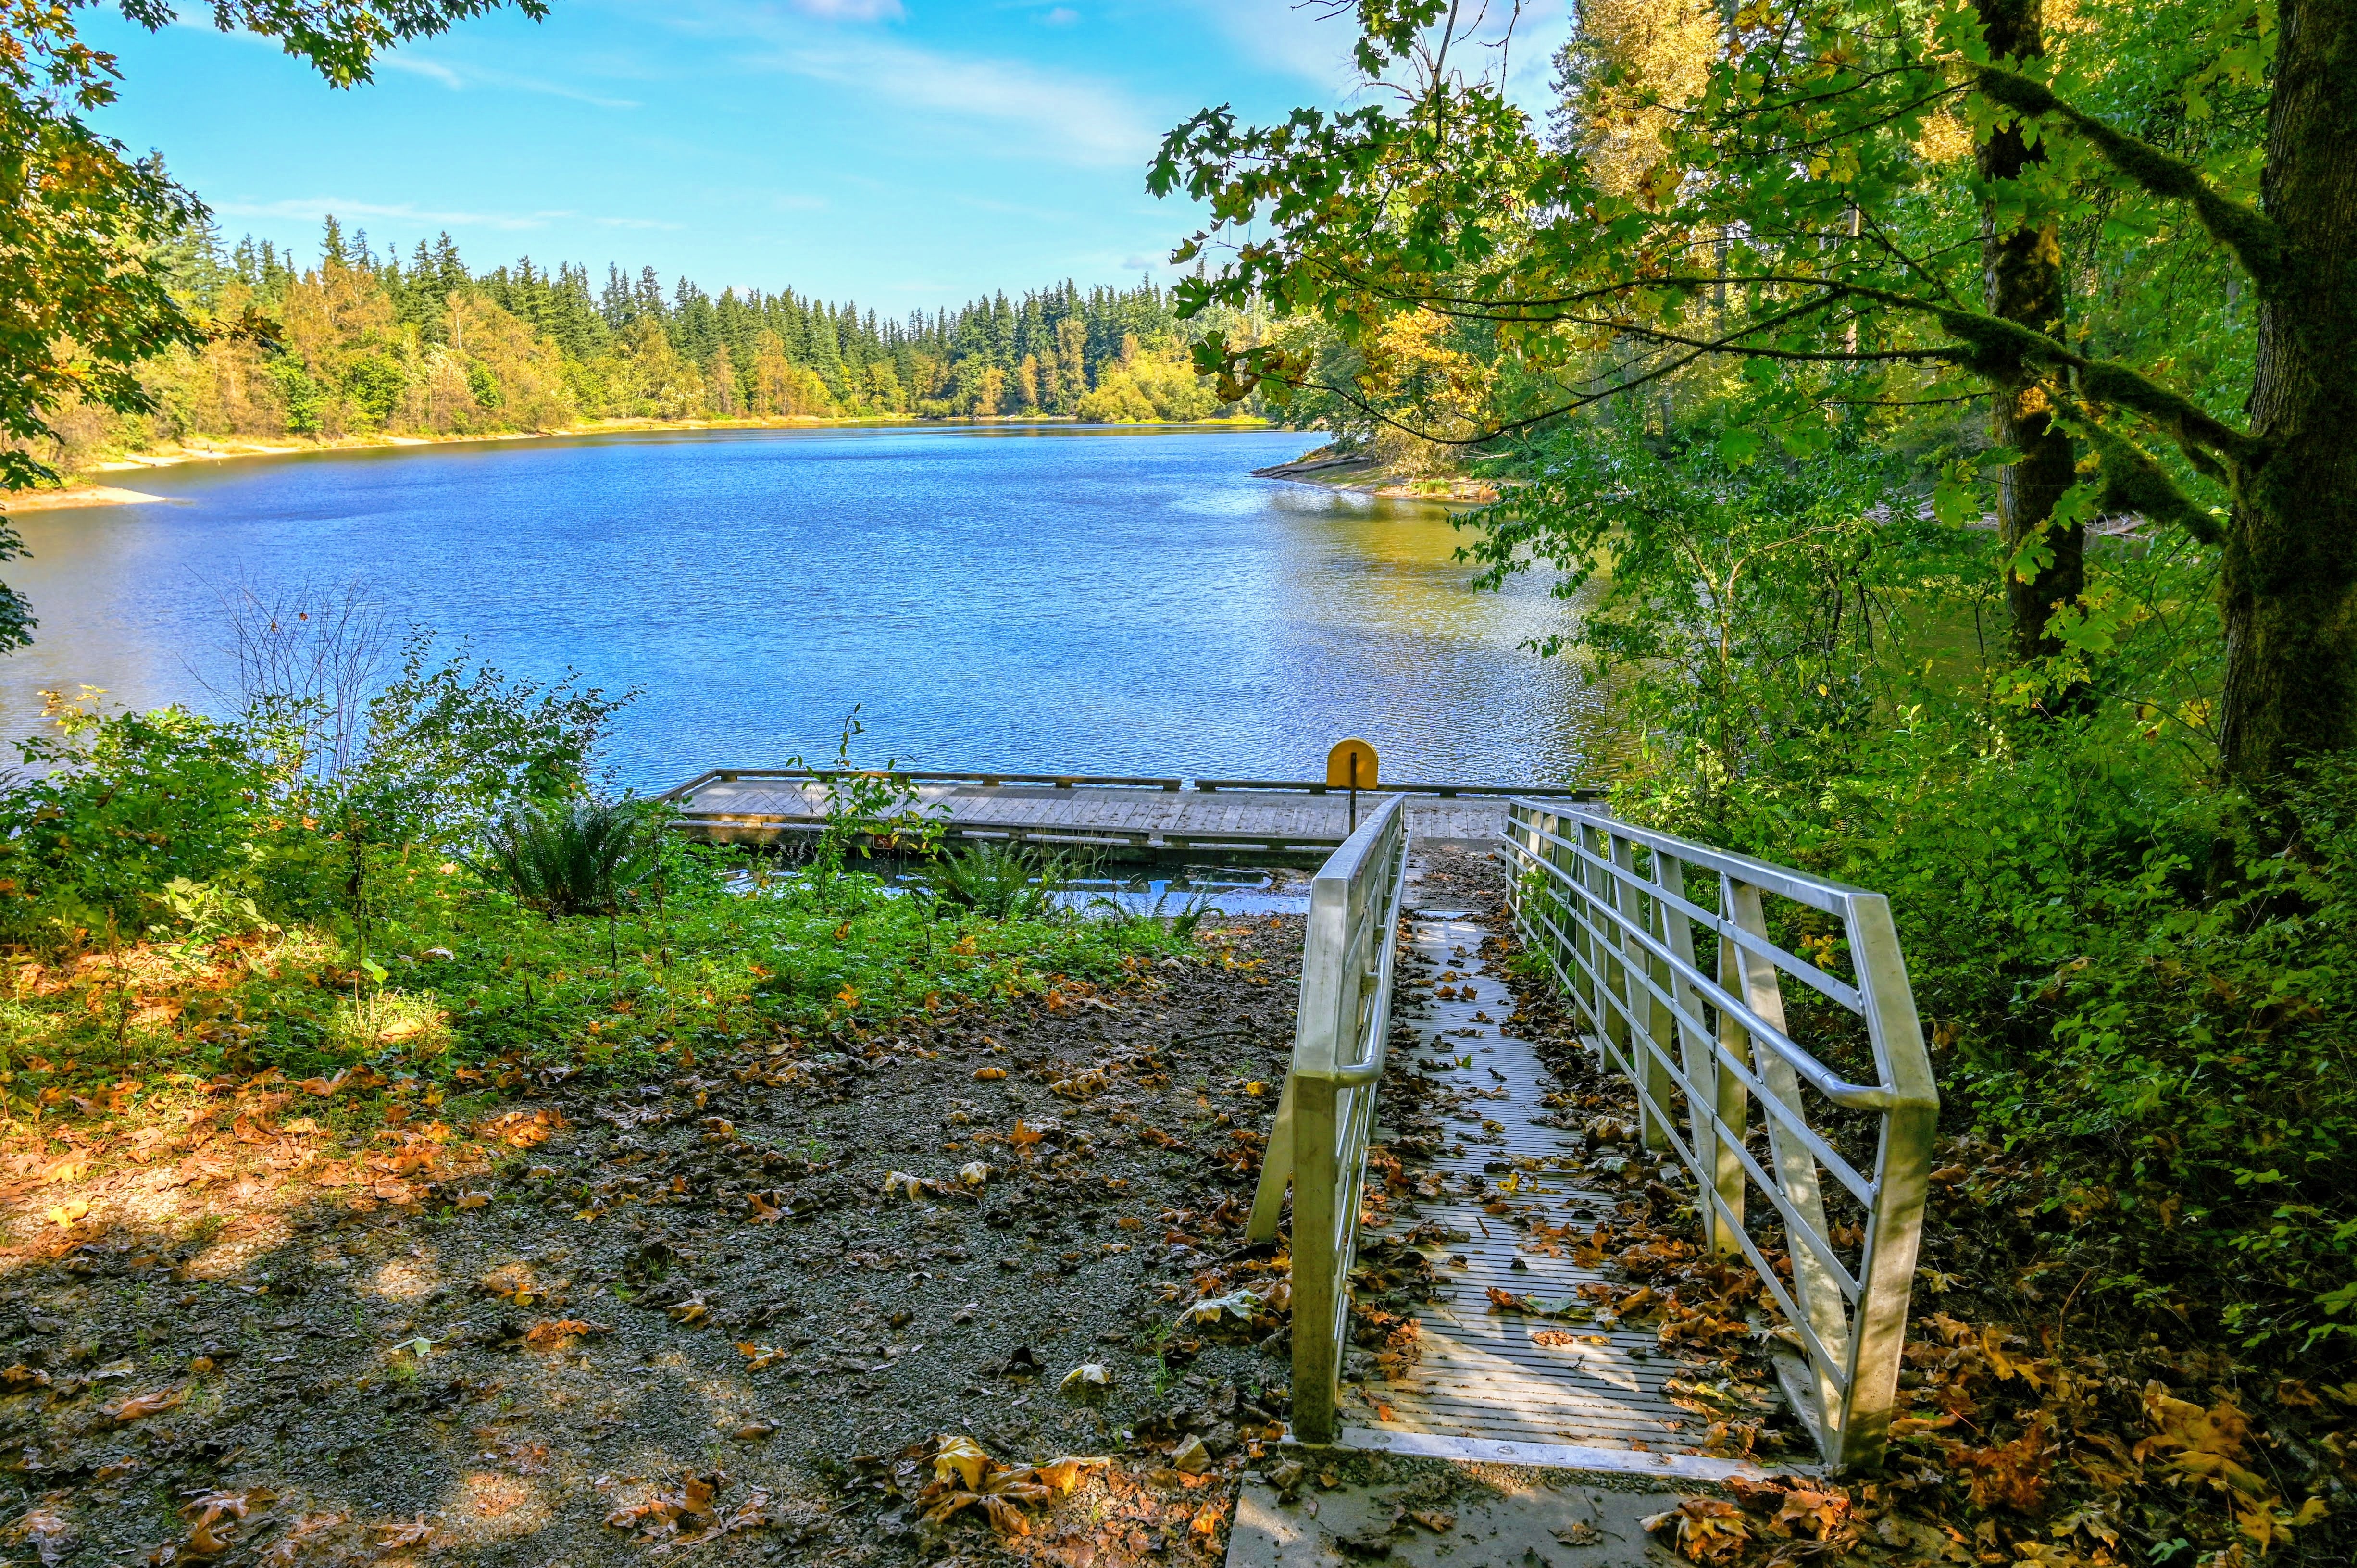
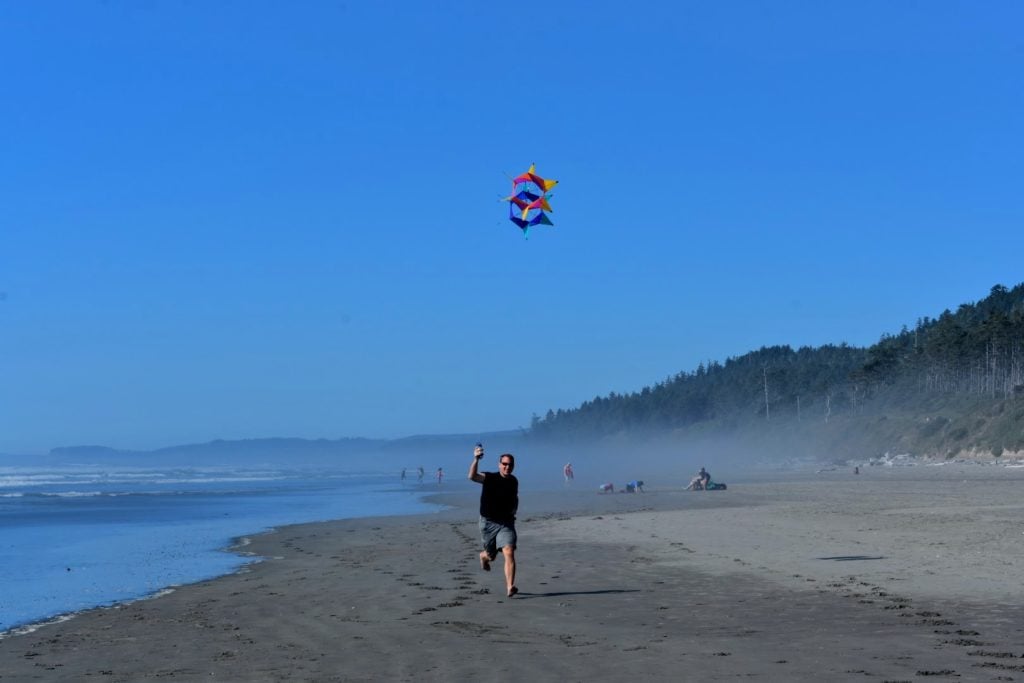
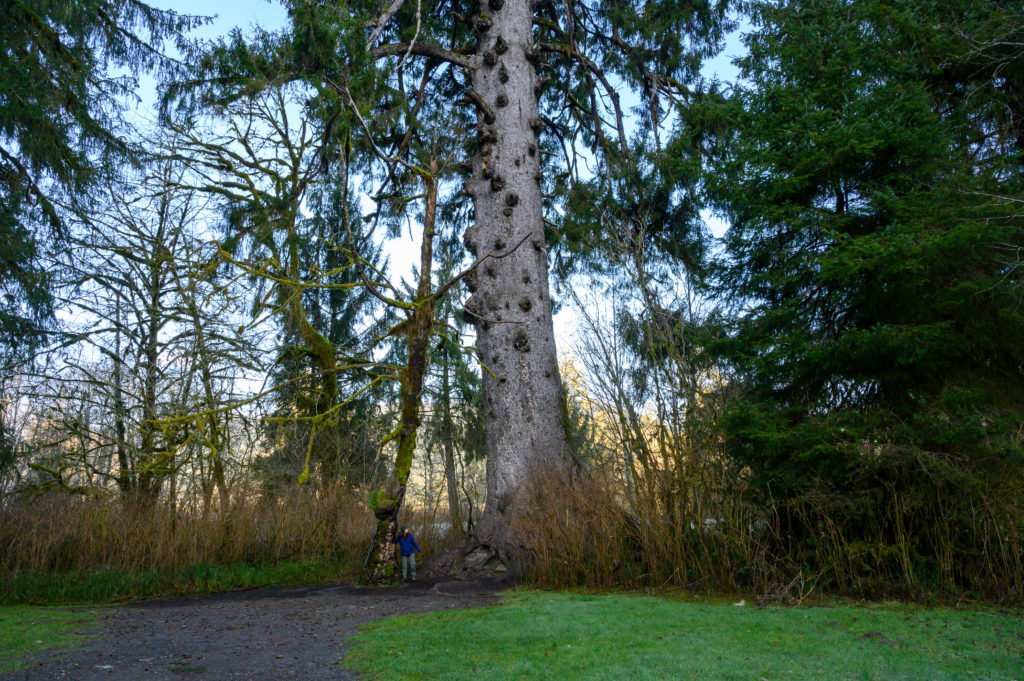
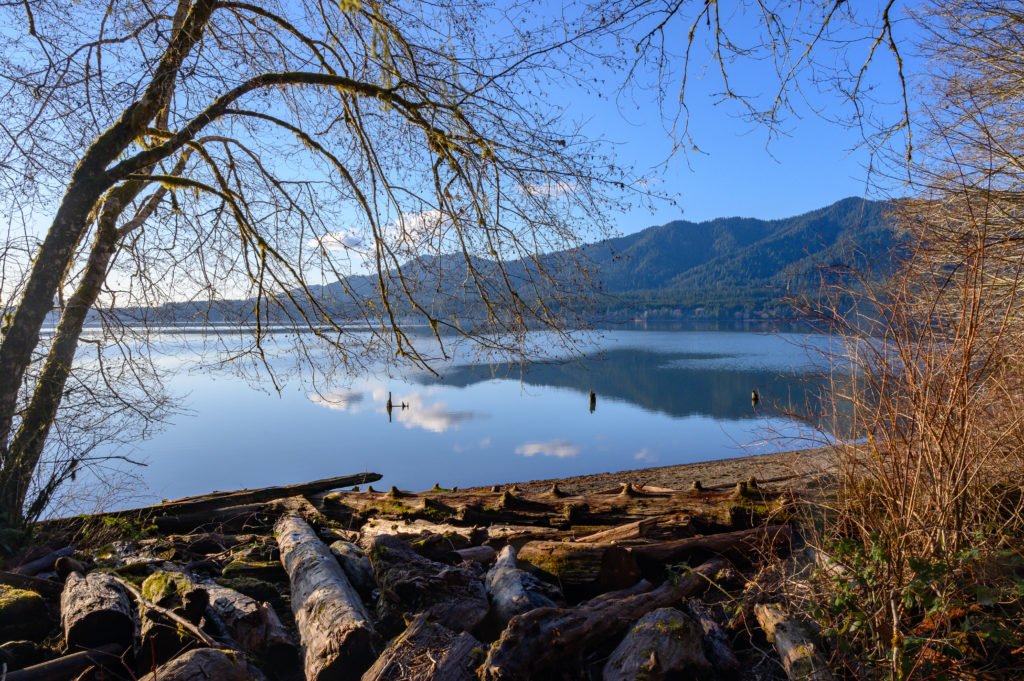
This loop trail is at the July Creek Picnic Area about 3.5 miles down the North Shore Road when coming from US-101. You will see the parking area for this day-use picnic area on your right. It’s a very short “hike,” but I feel that the giant trees you find here make it well worth your time! You also have access to Lake Quinault from the picnic area.
It is a great place to enjoy a picnic by the lake or to take the short hike past towering Douglas firs and cedar trees. As you continue down the trail, past the main picnic area, you’ll cross July Creek and pass a few more picnic areas with views of the lake before the trail connects with the road.
You can walk up the road back to the parking lot from here, or, turn around and loop back up the side trail you passed earlier when crossing the creek bridge, and this will connect you back to the parking lot as well.
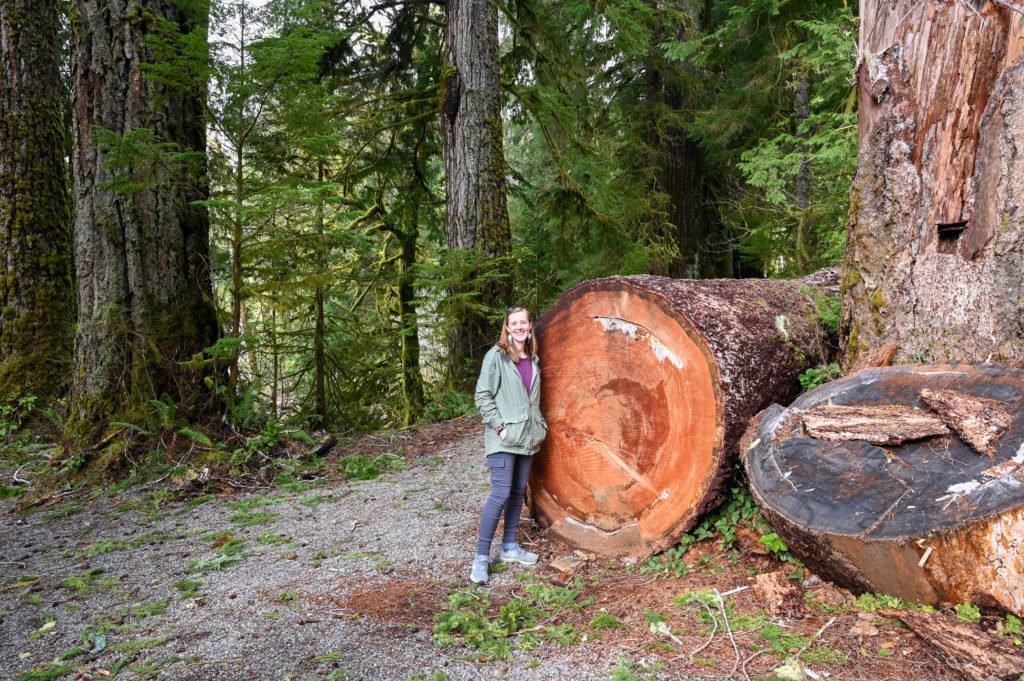
The picture below is of me standing by a fallen tree that is probably about 6’0 in diameter, and someone wrote the number of rings, the last marking I could read was “800” so I guess that means the tree was 800 years old? Either way, these are massive trees and so beautiful to admire.
Getting Here
Turn on to North Shore Rd from US-101. There is a small grocery store on the corner. Then drive about 3.5 miles east on North Shore Rd before you see the parking area for the July Creek picnic area.
Facilities
There are vault toilets here and lots of picnic tables scattered along the trail.
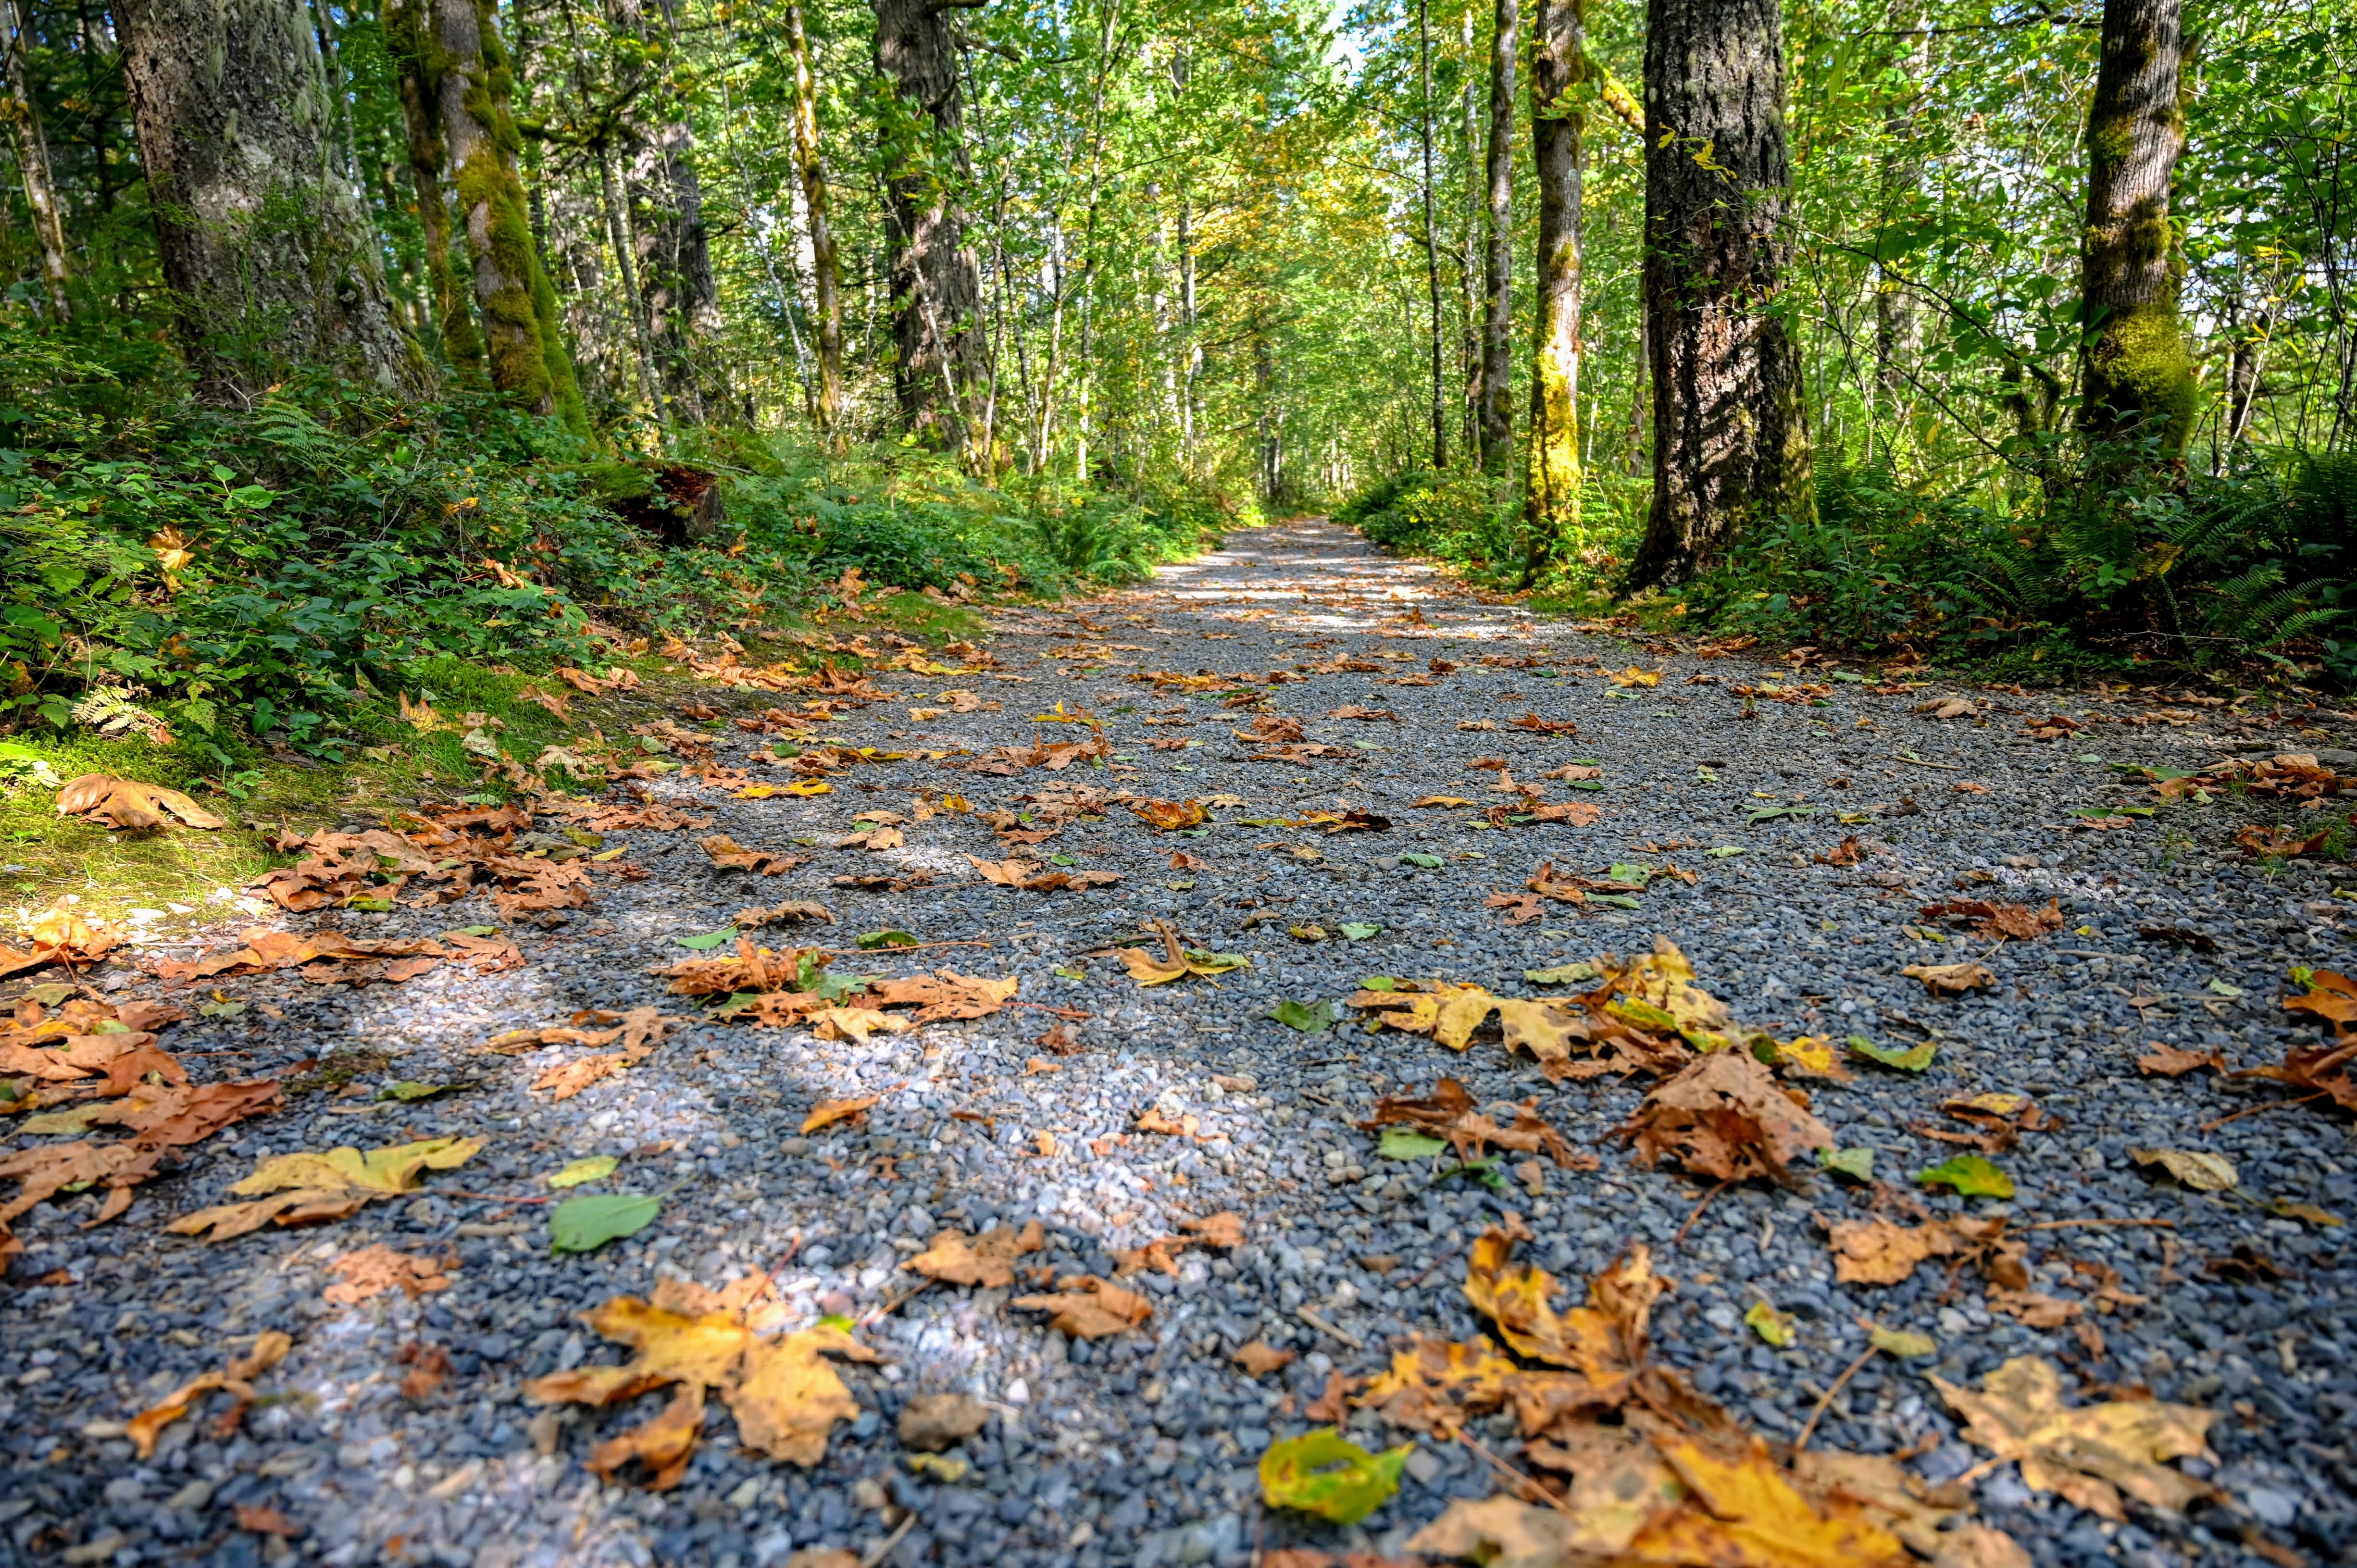
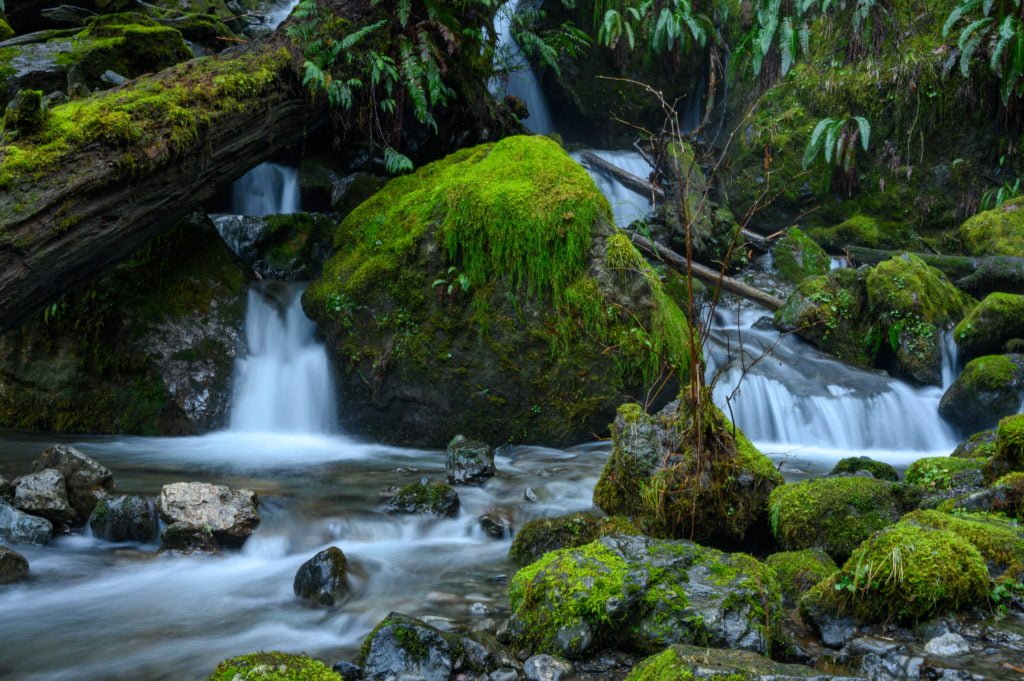
This 0.5 mile interpretive trail is on South Shore Rd about a mile from the Lake Quinault Lodge. The Quinault Rainforest Nature trail gives you a great sample of the rainforest ecosystem. You’ll gaze up at the towering giants around you and listen to the roar of the creek while admiring some waterfalls along the way.
This short hike packs a lot in! Stop and read the signs along the trail, explaining more about this unique area. There are some connecting trails you can choose from should you decide to extend your hike, look at the trail map before you begin to plan out the best route that loops you back to your car.
Getting Here
Turn on to the South Shore Rd from US-101 and drive about 1.5 miles to the trailhead parking lot, it will be on the right side of the road.
Facilities
There are restroom facilities here and a few picnic tables near the parking area.
Be on the lookout for the trailhead to the Largest Spruce Tree. There is a small sign on the left side of the road when heading east on South Shore Rd. A large dirt parking lot is on the right side of the road. There are no toilet facilities here, so plan ahead.
This is a 0.3 mile trail, and it’s a beautiful walk down a path with moss-lined trees on each side before reaching a beautiful crystal clear creek where you’ll gaze across at the towering spruce. It gets even more impressive close-up!
Getting Here
Turn on to the South Shore Rd from US-101 and drive about 1.5 miles to the trailhead parking lot, it will be on the right side of the road.
Facilities
There are restroom facilities here and a few picnic tables near the parking area.
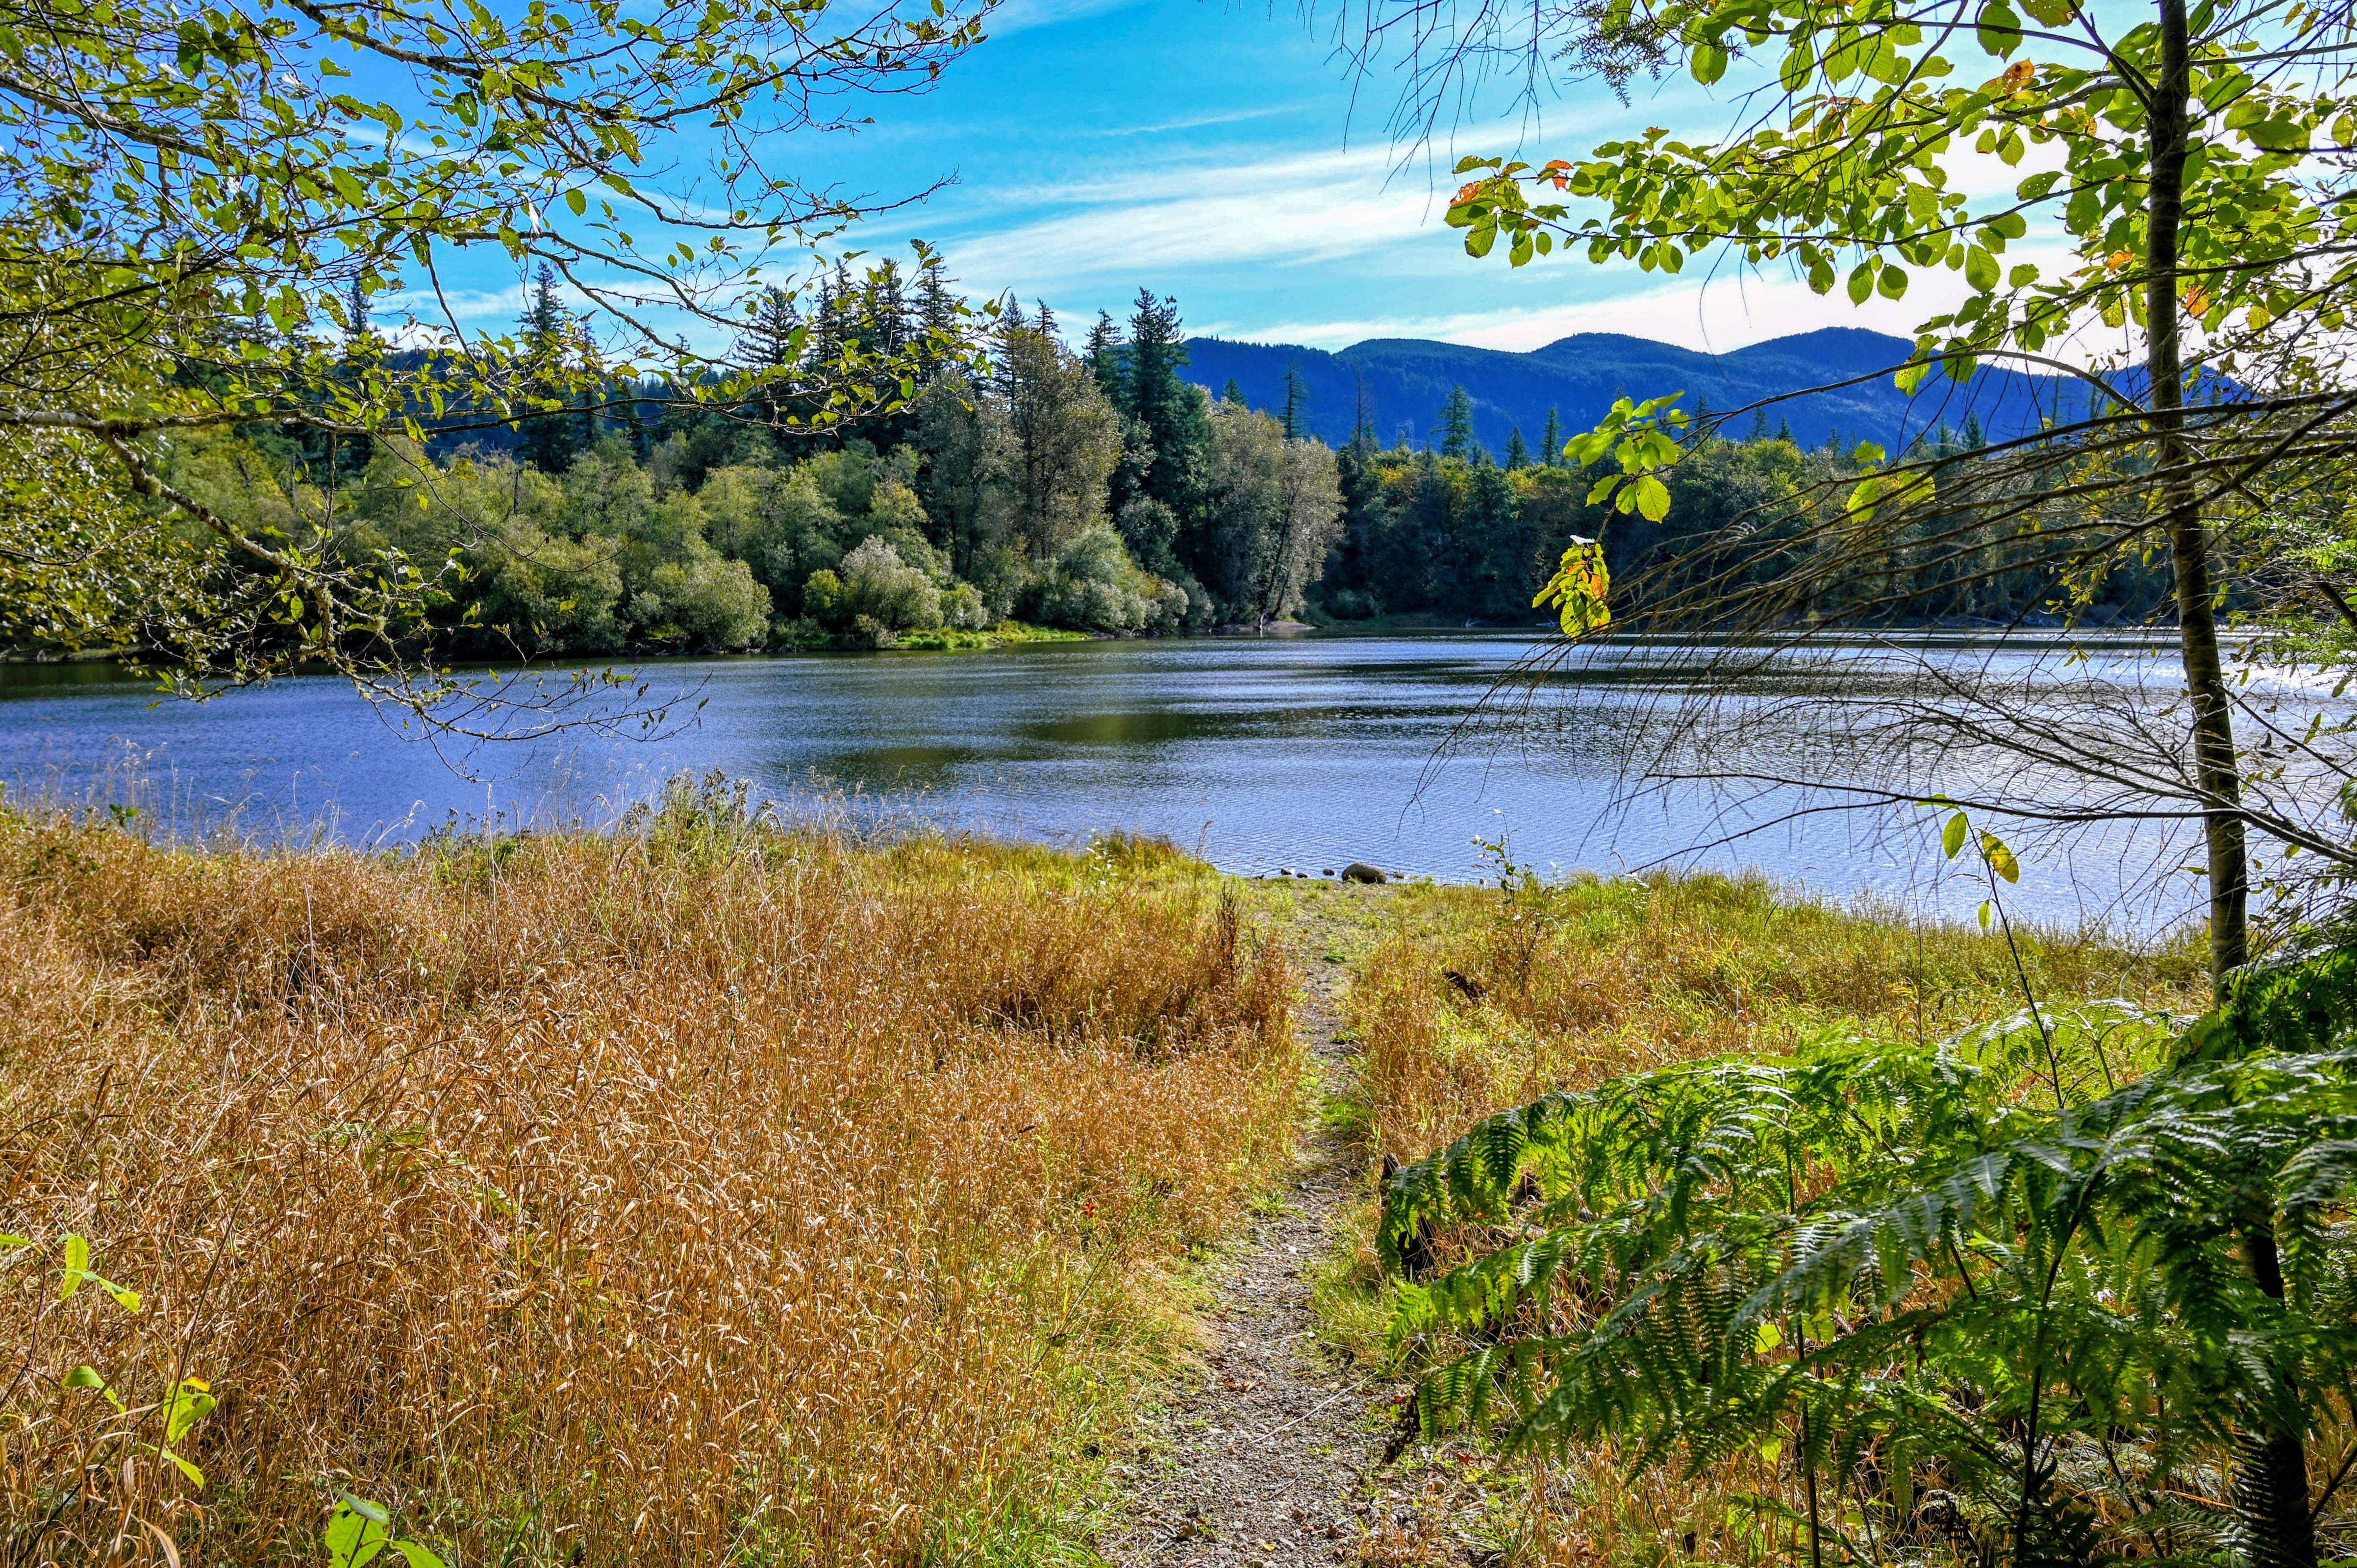
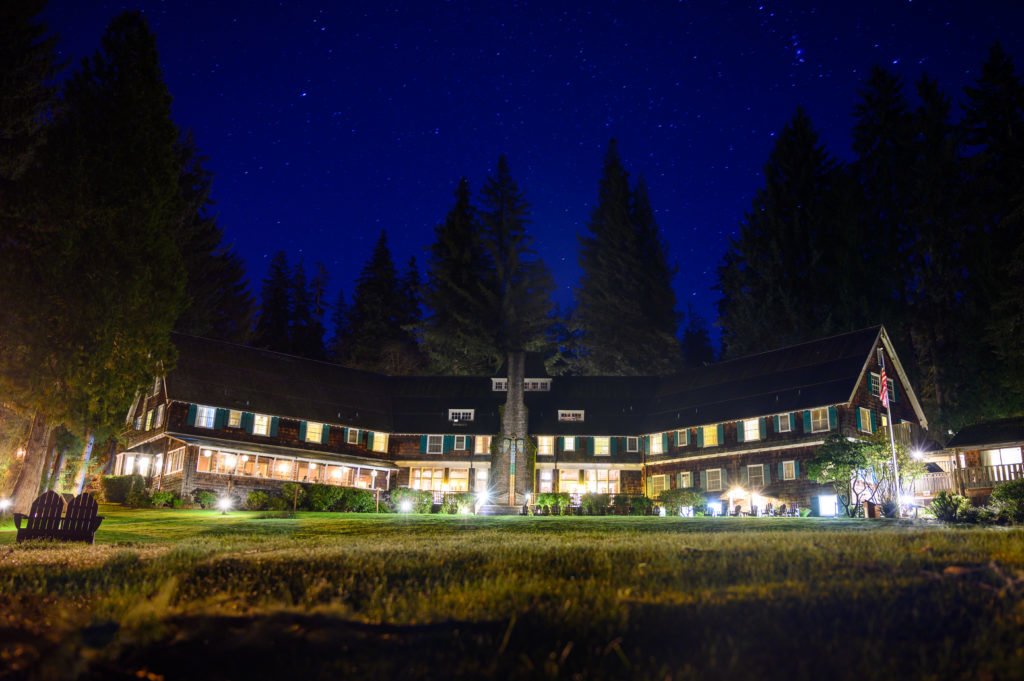
This trail goes by a few different names. You might see the trail name as the Lodge Trail to Cascade Falls Loop or as the Quinault Lodge Trail. The trailhead begins across the street from the Lake Quinault Lodge. If you want more information about the trails in the area, go inside the lodge to the front desk, and they will be happy to answer your questions.
The hike is about a 2.0-mile loop that returns you to the lower side of the Lake Quinault Lodge. It is an easy and mostly level trail with only small elevation changes. The path rewards you with views of the Cascade waterfalls as well as some time walking along Lake Quinault.
Getting Here
Turn on to the South Shore Rd from US-101 and drive about 2.0 miles where you’ll see the Lake Quinault Lodge on the left-hand side. There is a dirt parking area on the right side of the road. Look for the trailhead sign to begin your hike. (You can also refer to the Google Map I linked at the top of the post.)
This trail is one of the trails I mentioned under the Quinault Rainforest Nature Loop that connects with that .5 mile trail. For an optional longer hike, from the Rainforest Nature Trail parking lot, you can take the Quinault Loop Trail #854, which connects the trail systems to create a 4.0-mile loop trail.
Facilities
There are restroom facilities at Lake Quinault Lodge and also at Falls Creek Campground. Also, the Lake Quinault Lodge front desk has trail maps and useful information regarding things to do in the area.
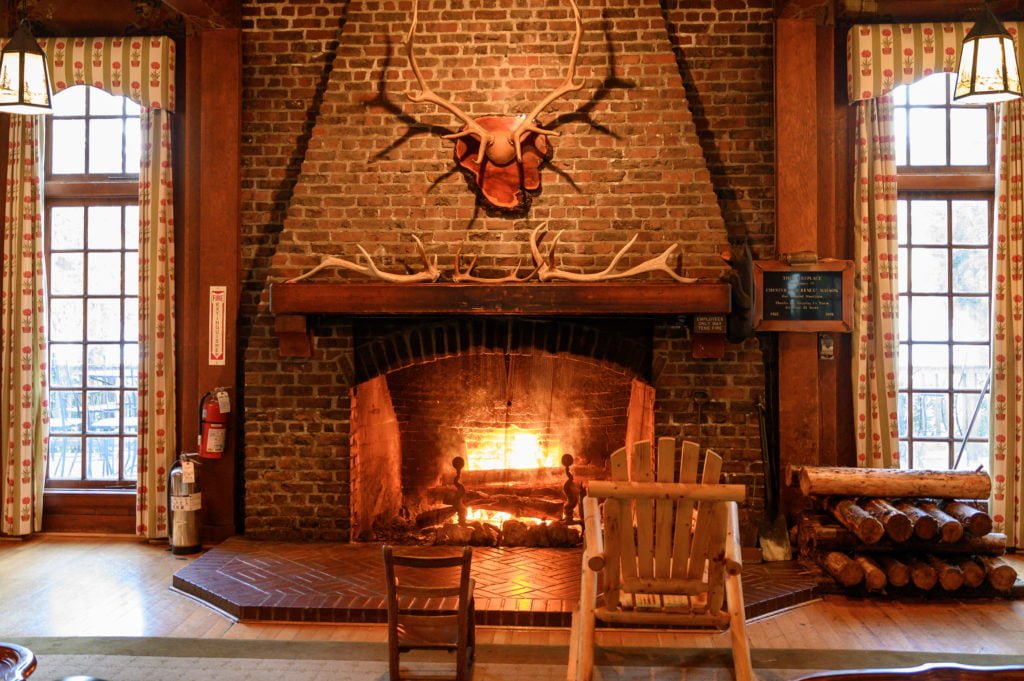
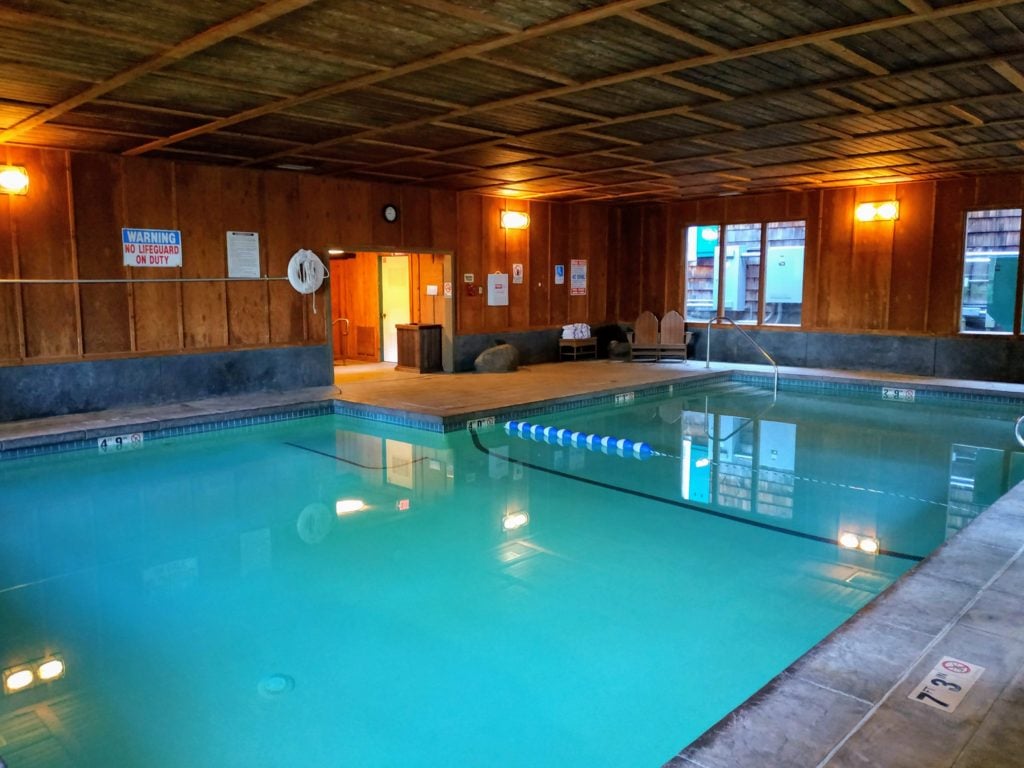
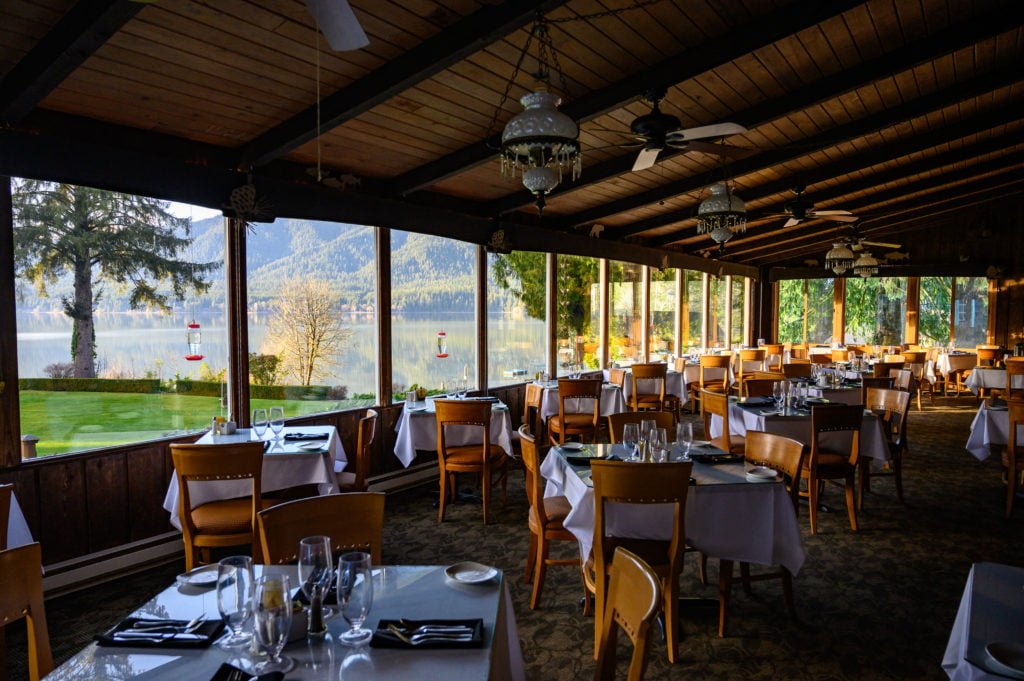
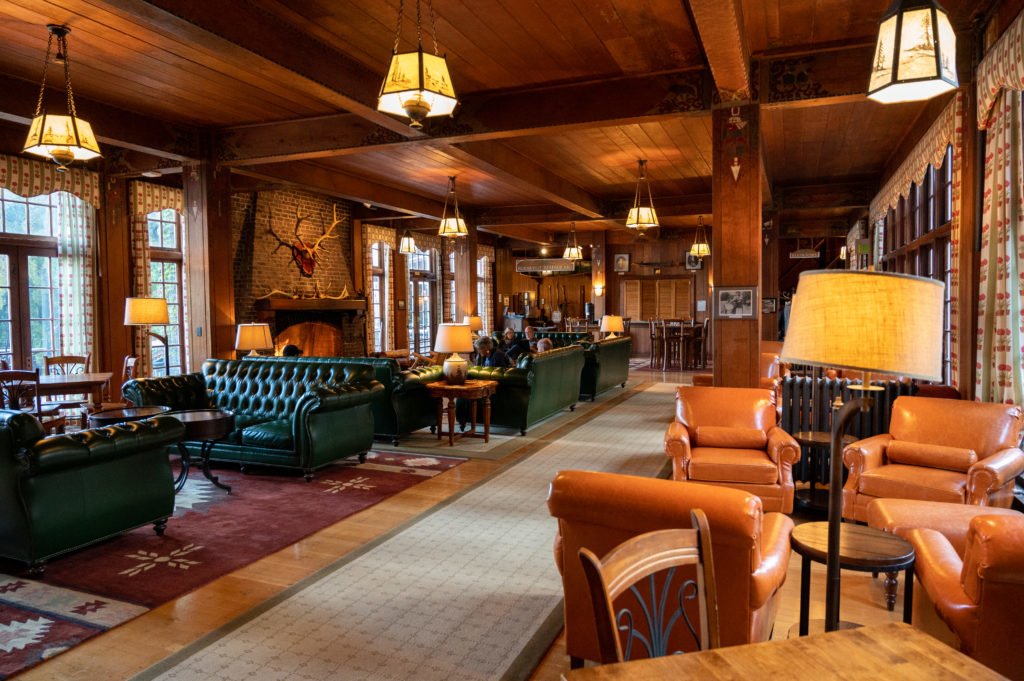
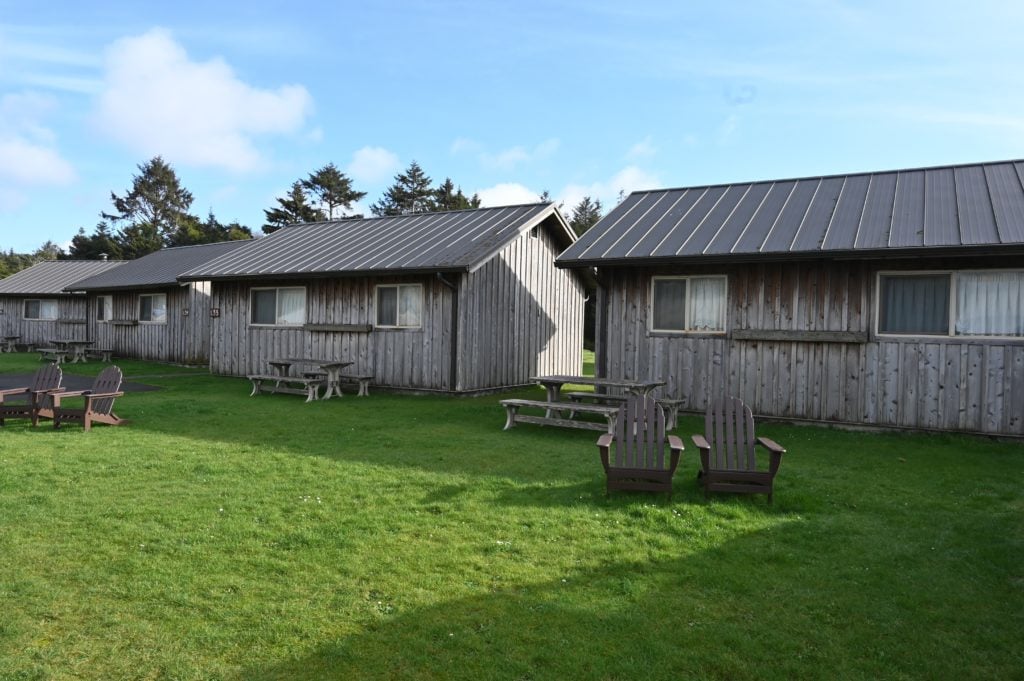
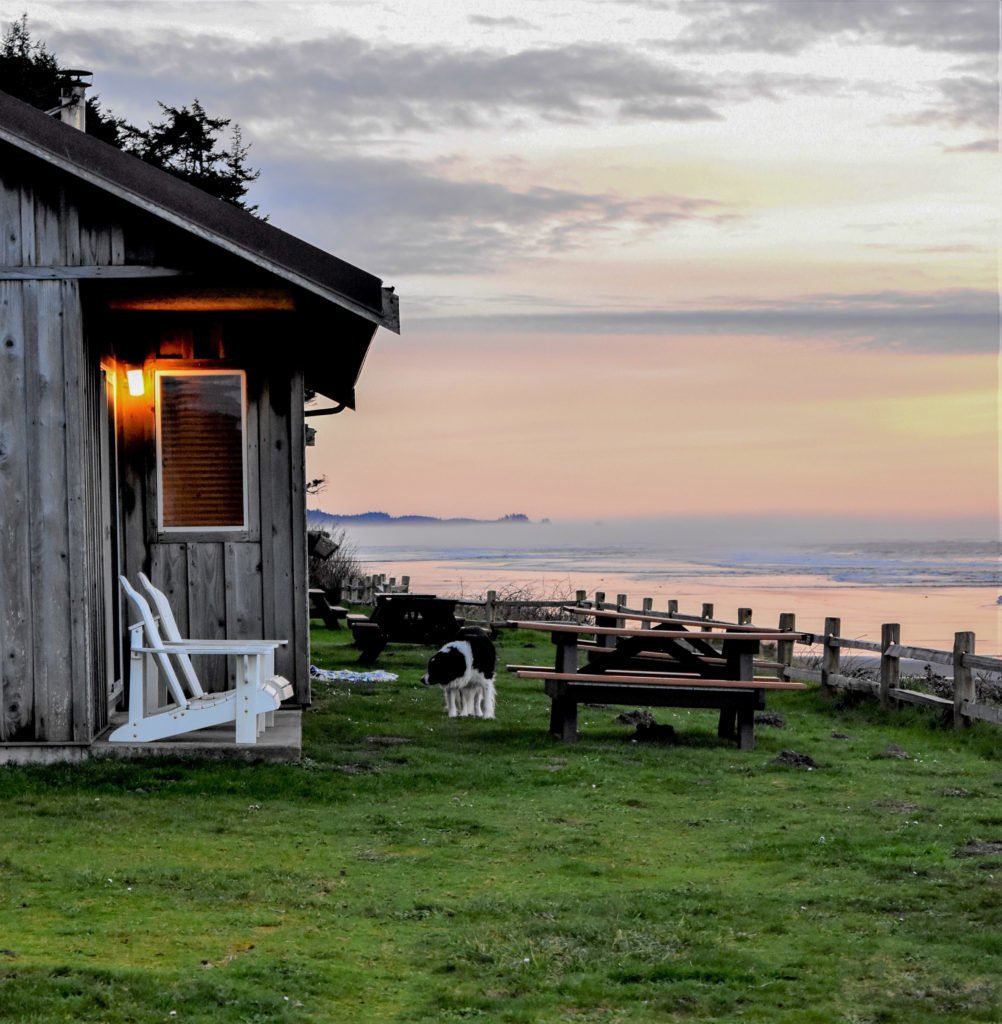
There are several campgrounds scattered around Lake Quinault. However, these are closed during the winter months. You can also choose to stay at the Lake Quinault Lodge on the South Shore or Locharie Resort on the North Shore. There are also some RV park options on the South Shore Rd, one of them, the Rain Forest Resort Village RV Campground is next to the World’s Largest Sitka Spruce.
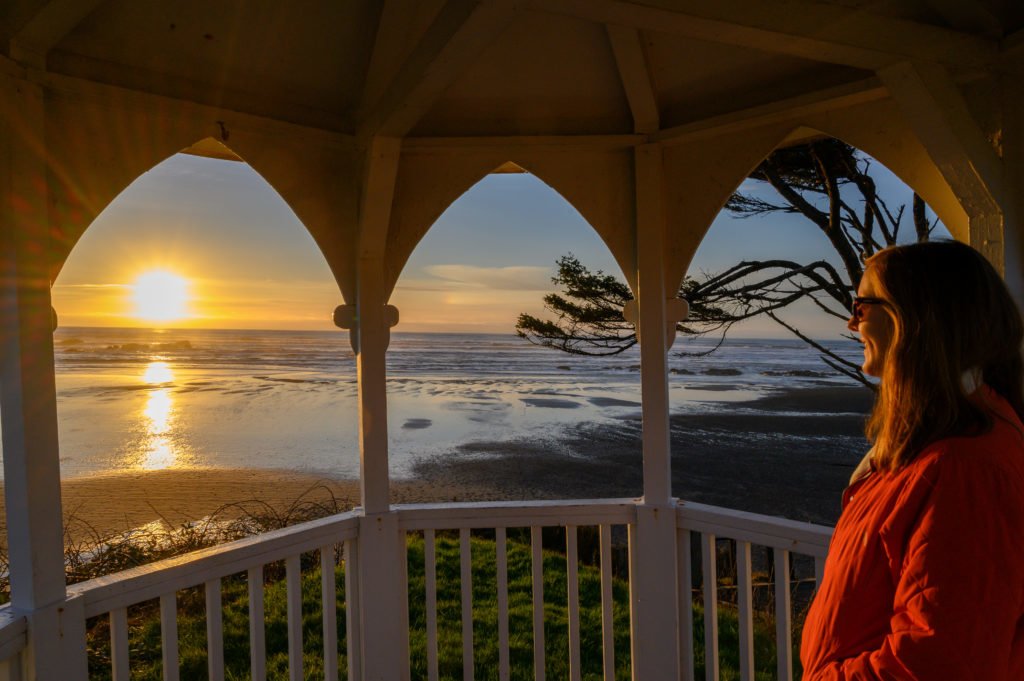
Additionally, you can drive about 30 minutes north on US-101 to Kalaloch and either camp at the Kalaloch campground or stay at Kalaloch Lodge. Both are excellent choices for ocean views.
What to Pack
Make sure to pack rain gear (rain jacket, layers for warmth). The Quinault rainforest reportedly gets between 10-15 feet of rain each year! Also make sure to pack sturdy hiking shoes, preferably waterproof or water-resistant, although not required, your feet will appreciate this.
It’s always a good idea to pack extra water and snacks. Even though these are shorter hikes, if you combine a few of these or even a drive around the lake, you’ll appreciate having a little extra food for the journey. I like to pack peanut butter and jam sandwich fixings to make in the car.
Also, don’t forget to bring your camera gear and tripod if you wish to photograph some of the waterfalls, capture the sunset, or take group shots. A tripod is a handy thing to have! Plus, none of these trails are that long, so the extra weight shouldn’t be too much of a hassle.
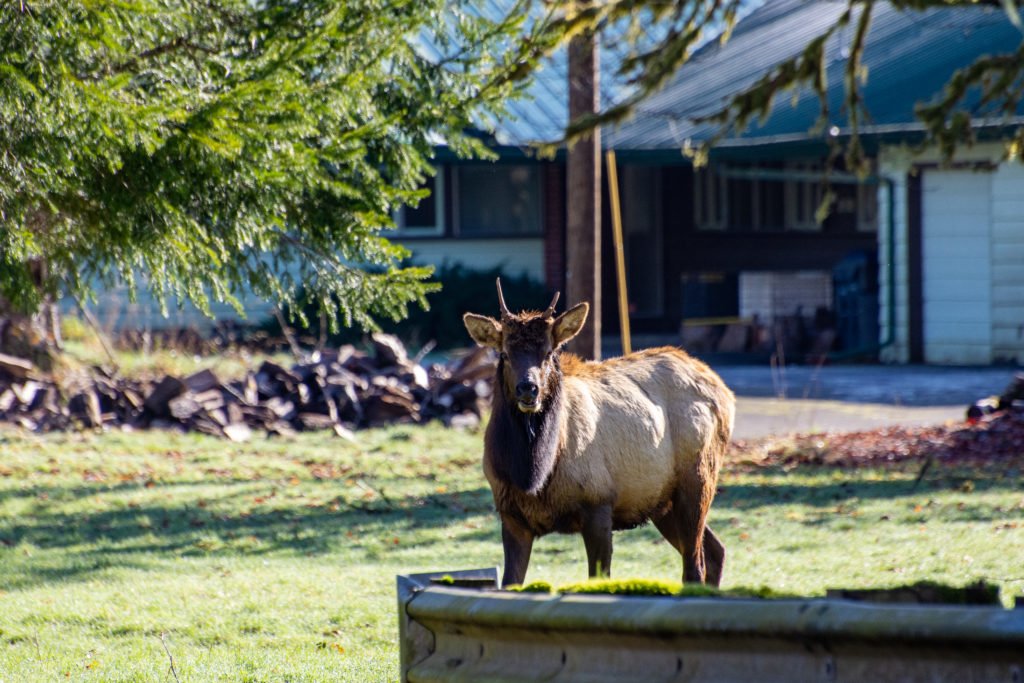
Wildlife
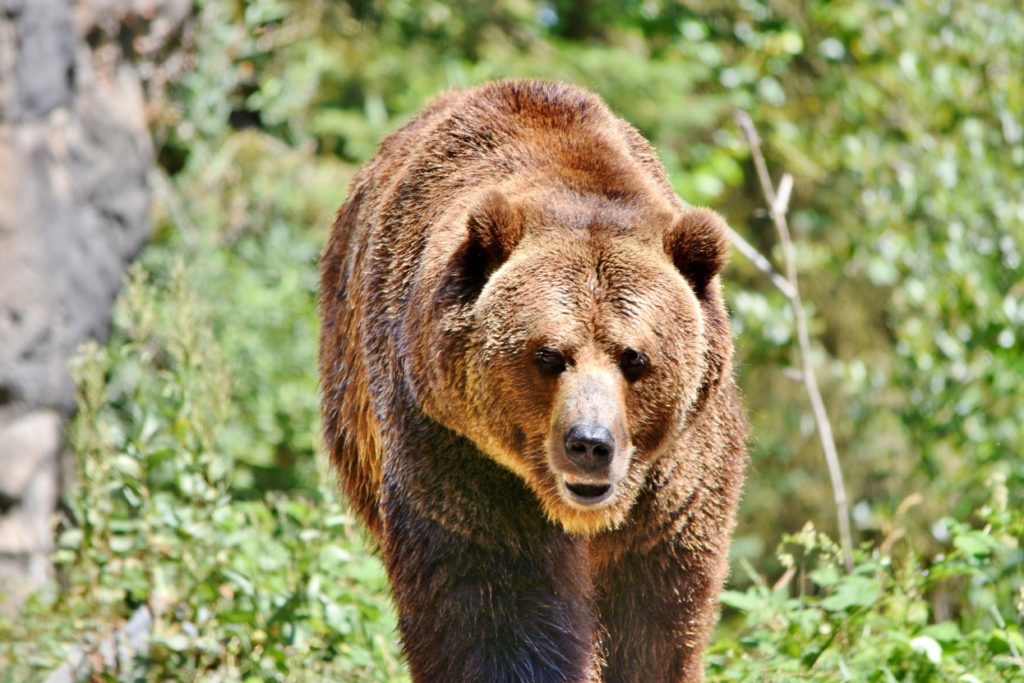
Be prepared to see Roosevelt elk during your drive and hikes in the Quinault rainforest. This area is a popular feeding area for the elk, so your chances of seeing one are pretty good. I saw the one below while driving on South Shore Road.
You’ll also have excellent opportunities to see eagles, bears, coyote, salmon, and other wildlife that calls the area home. As always, remember these are wild animals, give them a safe distance and do your best not to disturb them.
Technology Needs
In addition to packing your camera and any extra batteries and chargers you’ll need, it’s also important to know how to prepare your cell phone. There is no cell service around Lake Quinault, so plan for this by downloading your Google Maps ahead of time, and if you use a hiking app (such as BackCountry Navigator), download the topography maps ahead of time too.


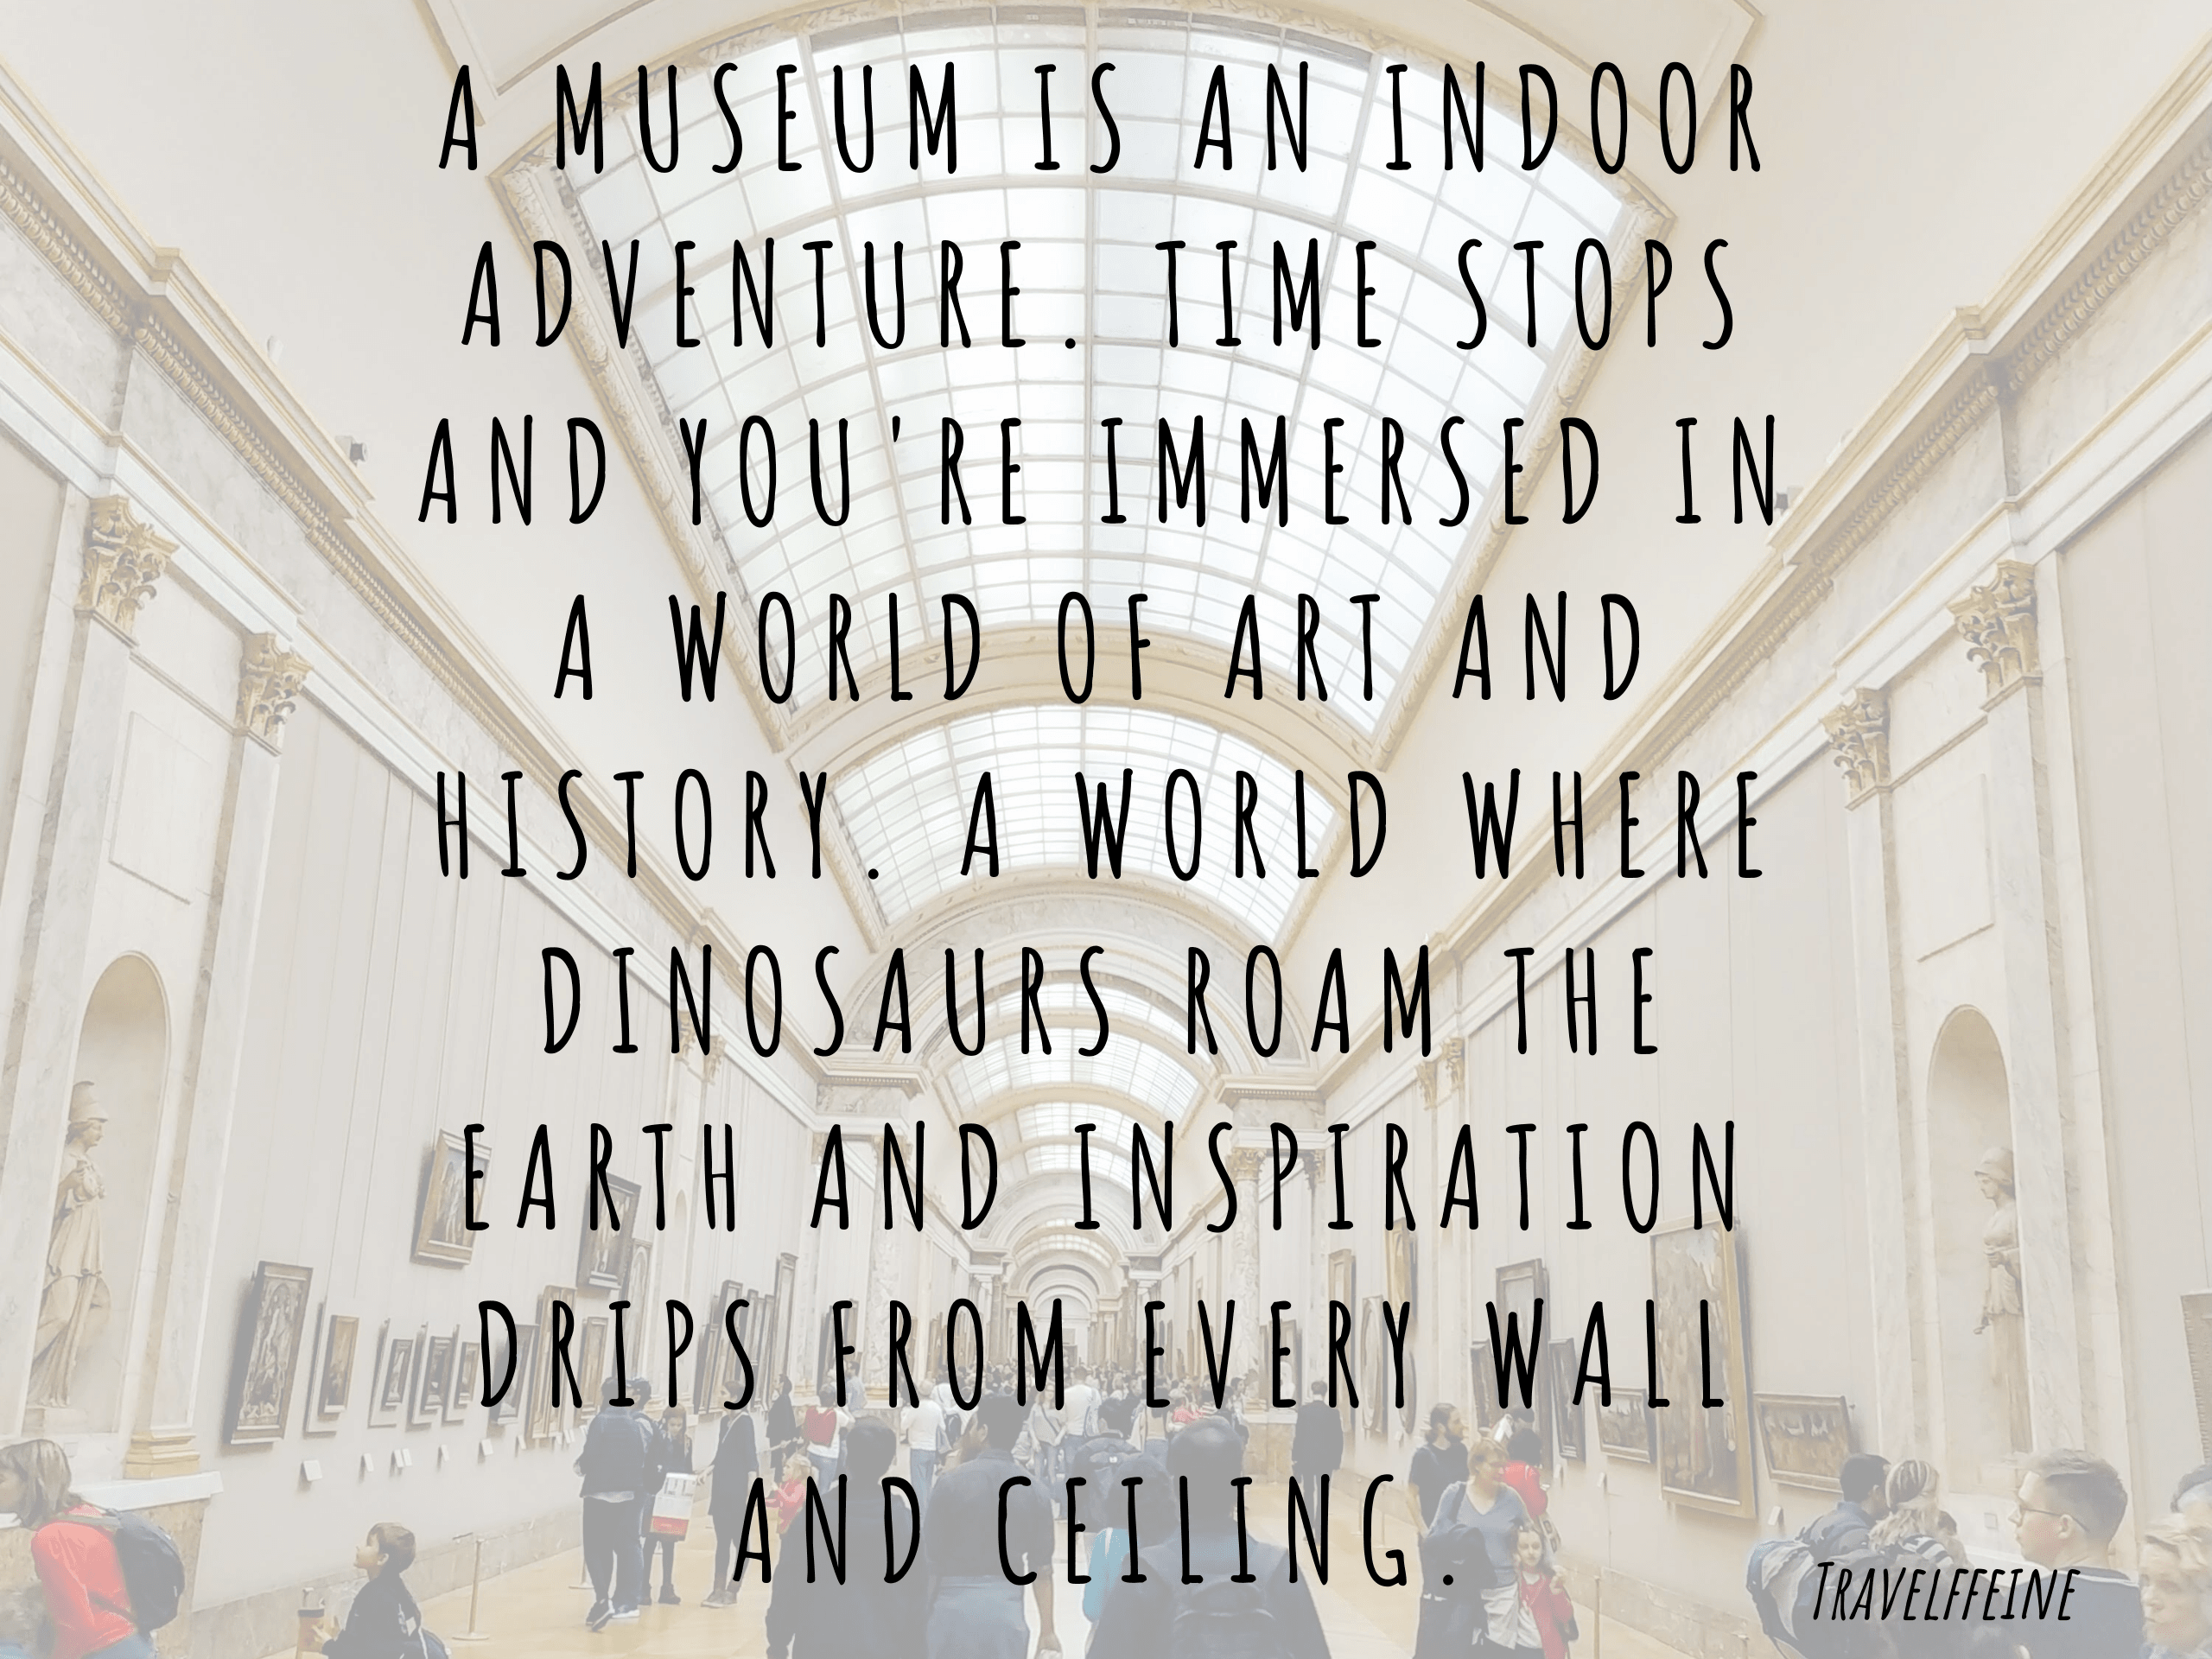
 King County Library System offers free museum passes to the following museums: