Welcome to WordPress. This is your first post. Edit or delete it, then start writing!
Author: jake@henak.com
-
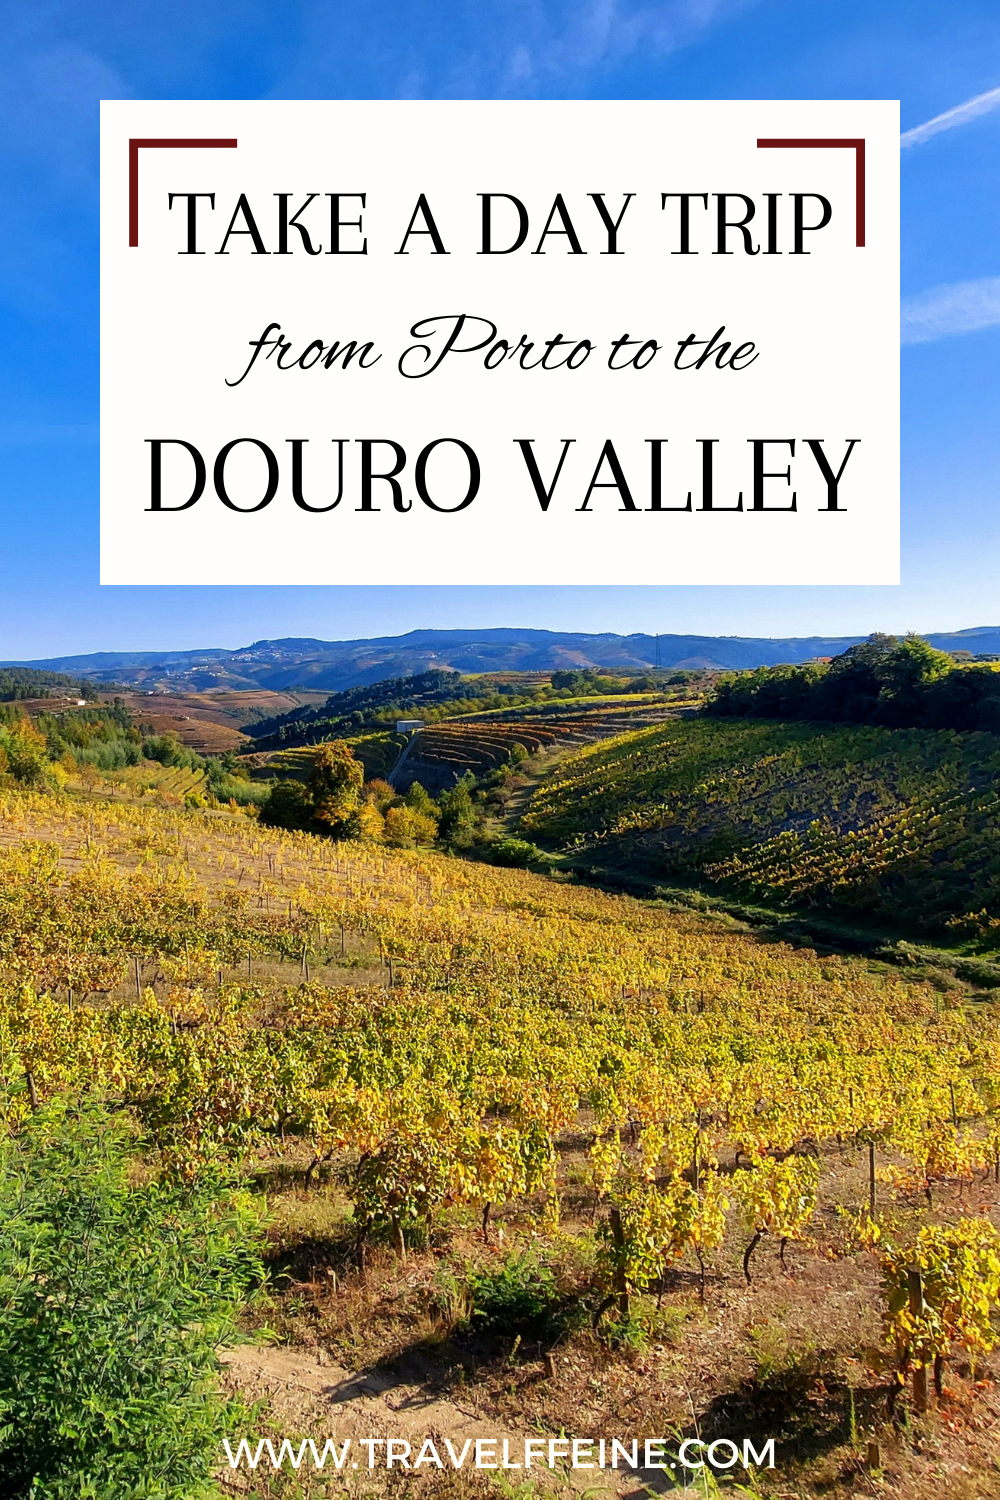
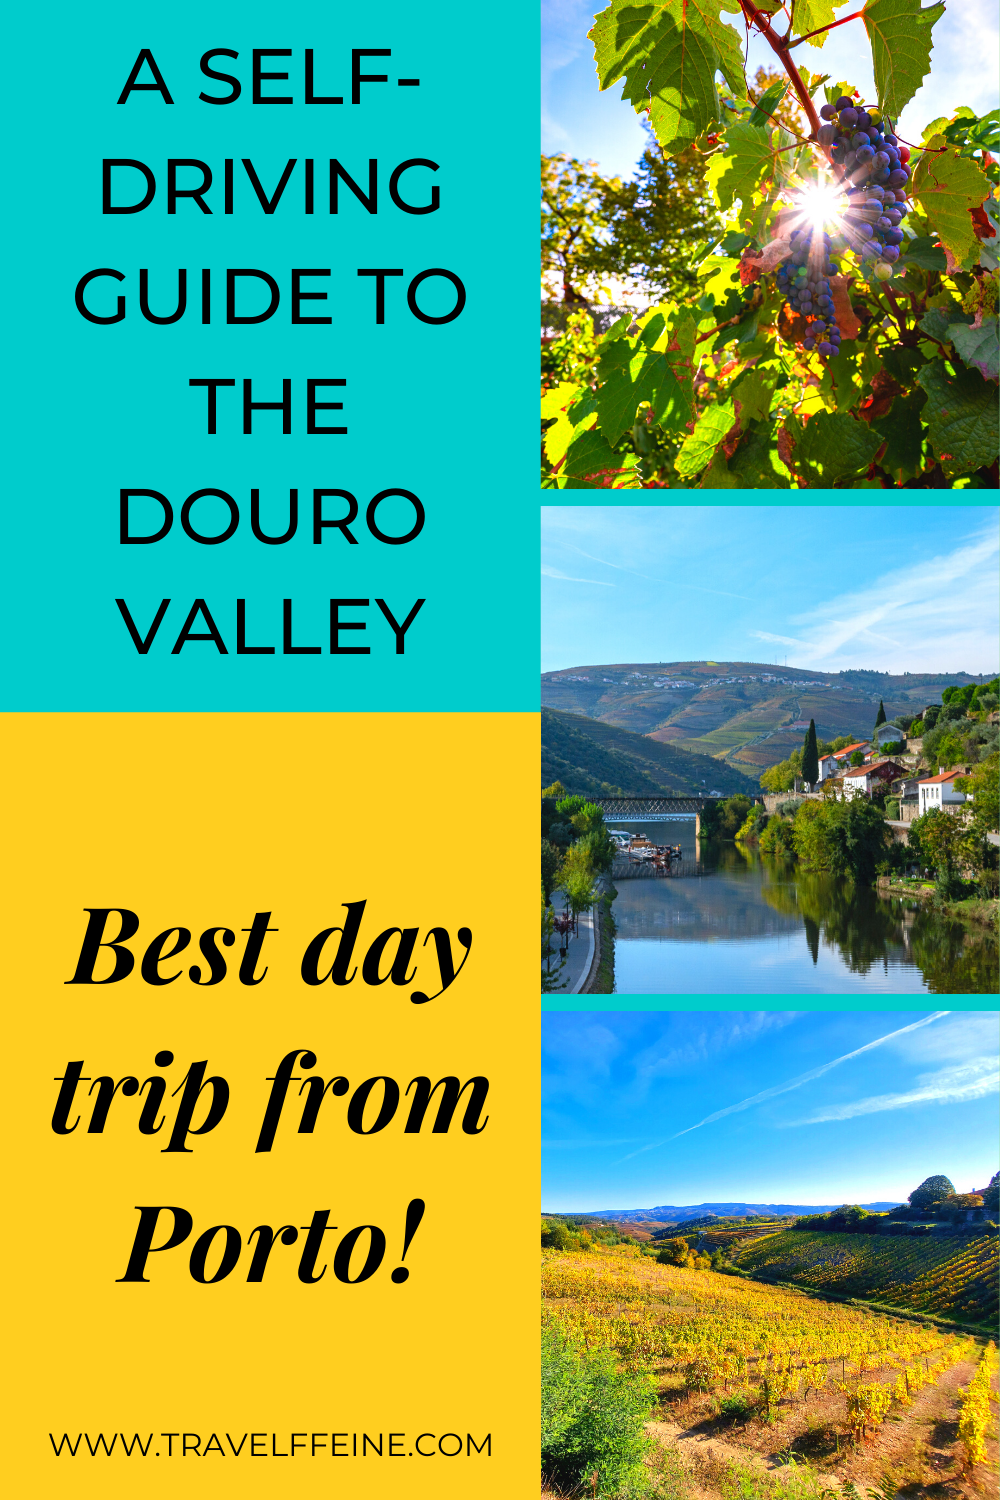
Douro Valley Day Trip: A Self-Driving Tour Porto to Pinhão
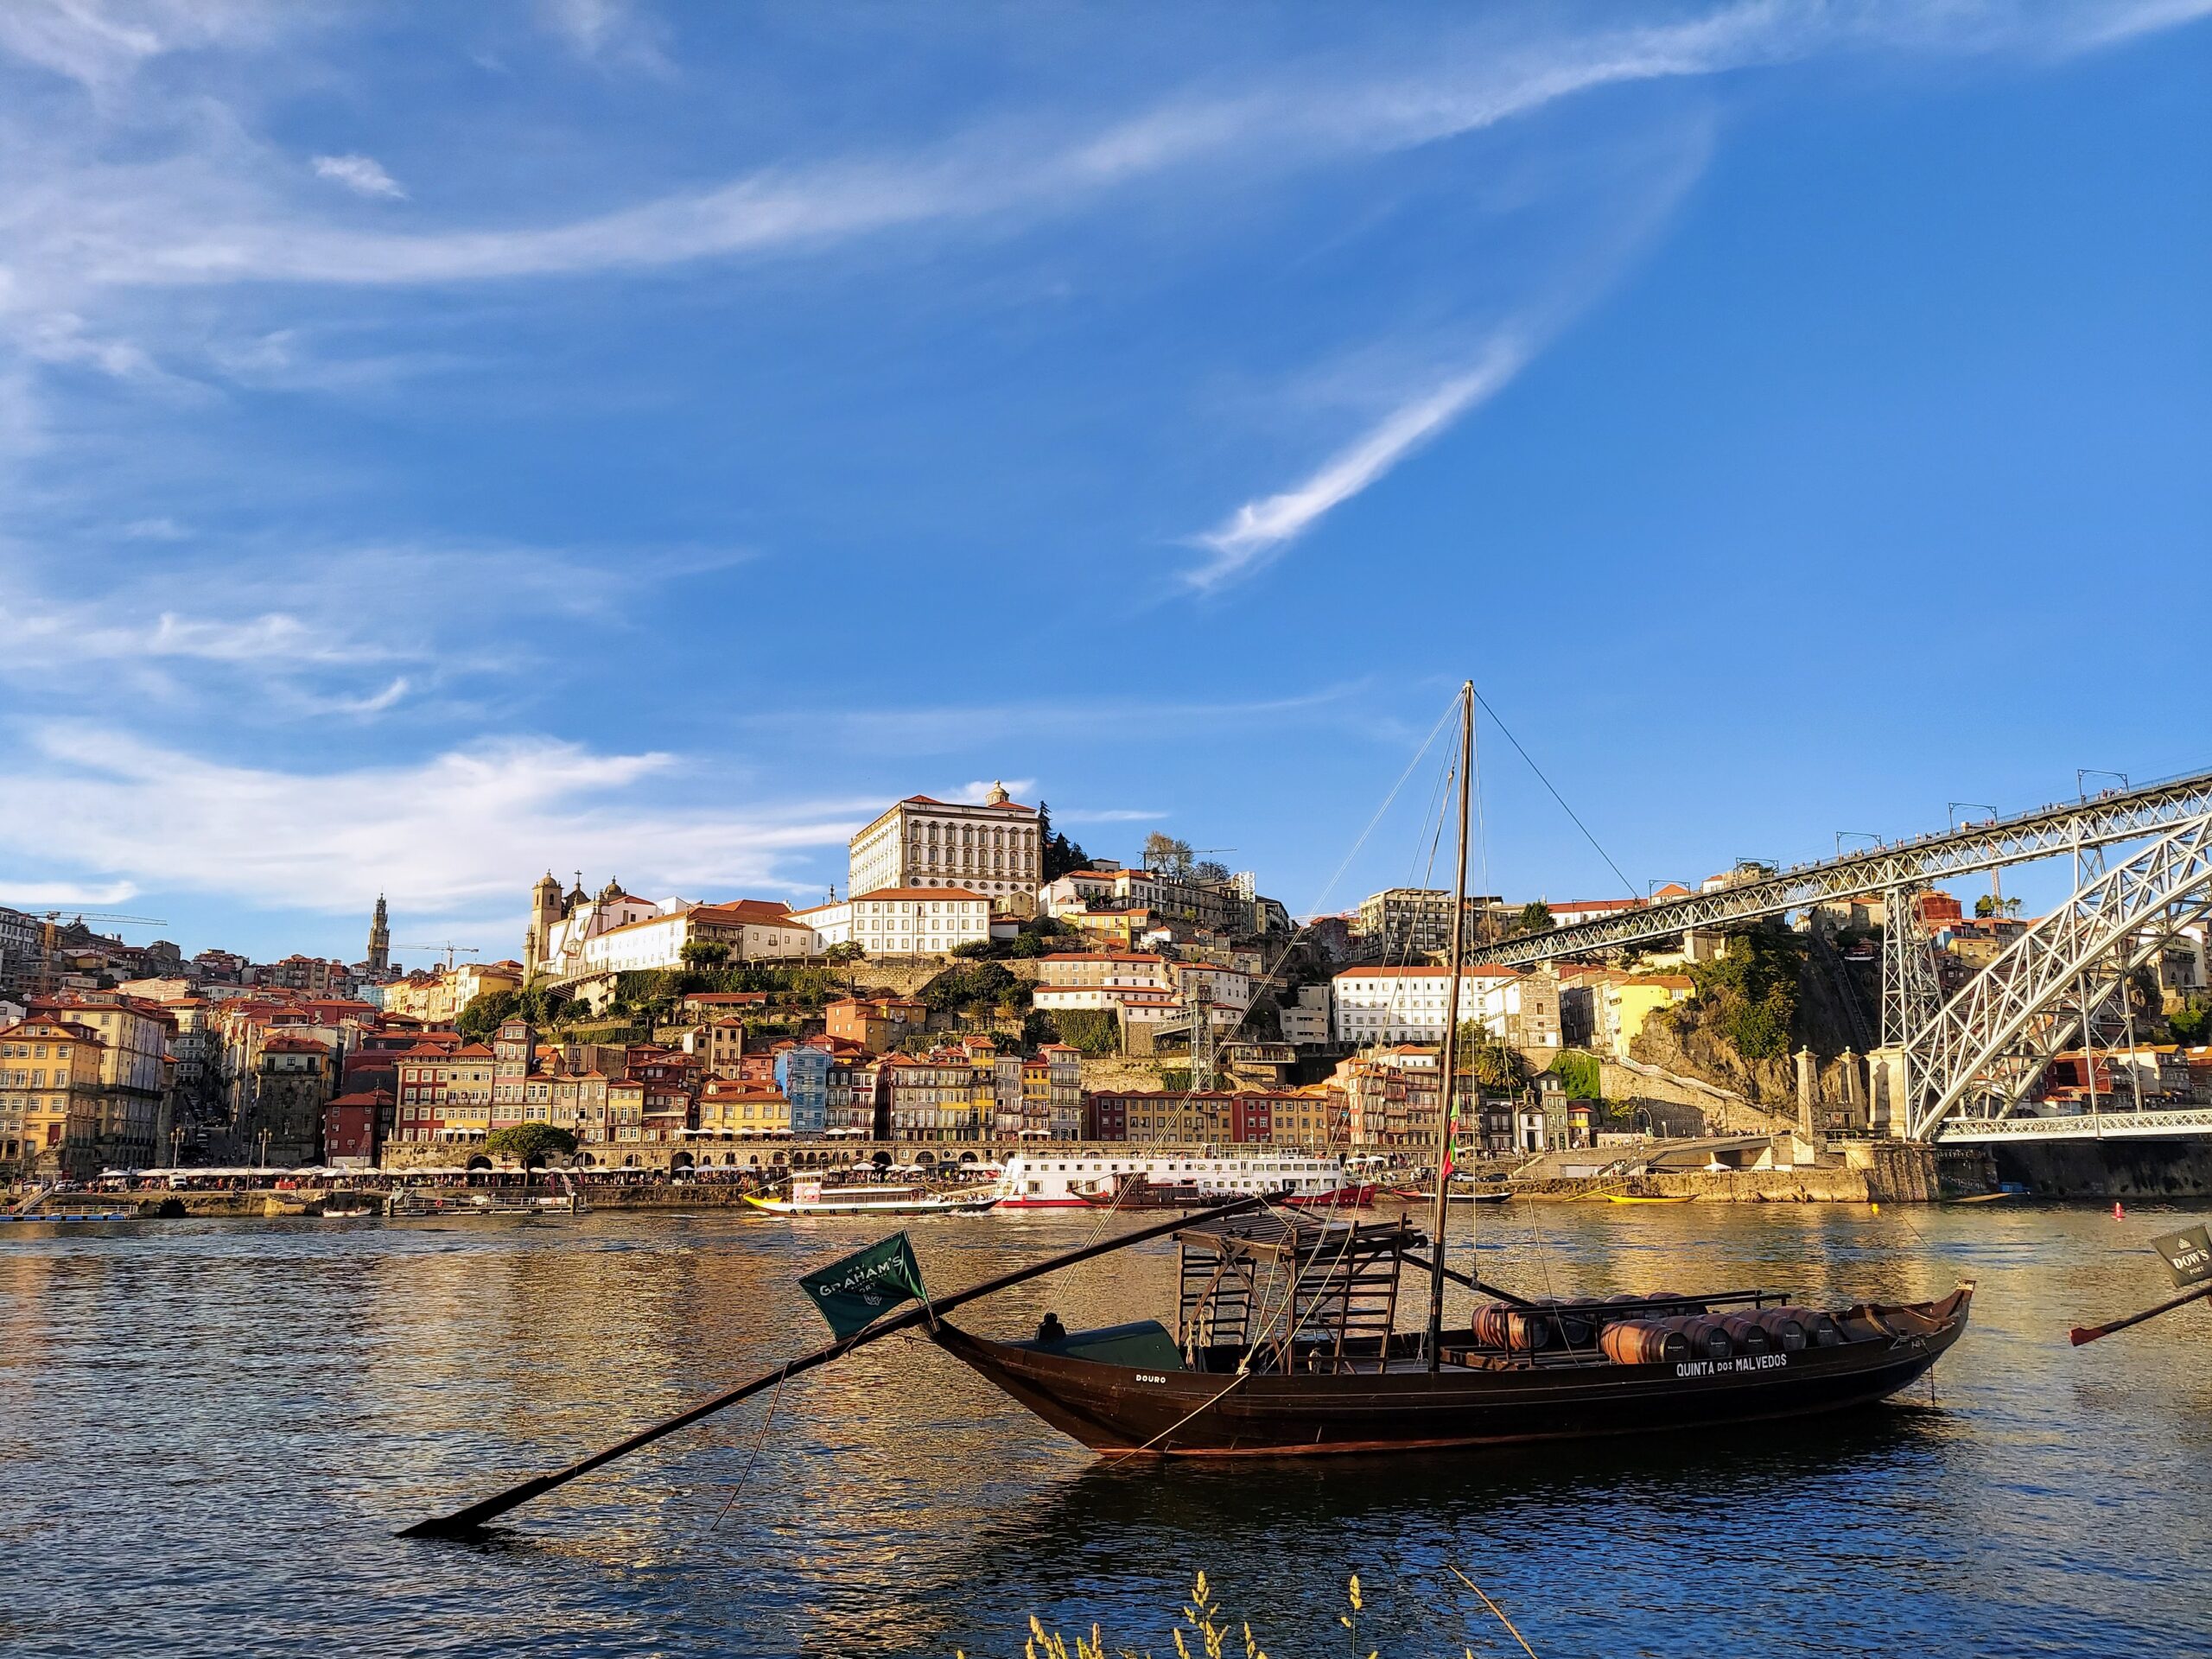
This Douro Valley self-driving tour is best for people who want to experience the region’s beauty and history but aren’t necessarily into sampling a bunch of wine. Meaning if you want a tour that hops from one Douro Valley winery to the next to sample ports and wines, then one of the guided tours might be a better option.
My husband and I are not wine drinkers, and I had never tried port until I visited Portugal. So our day trip to Pinhão was more about exploring the region and learning about its history. We drove through the scenic vineyards and along the Douro River, toured a family winery, walked through its vineyards, and ate an incredible meal that was locally sourced. It was a perfect day spent in the Douro Valley.
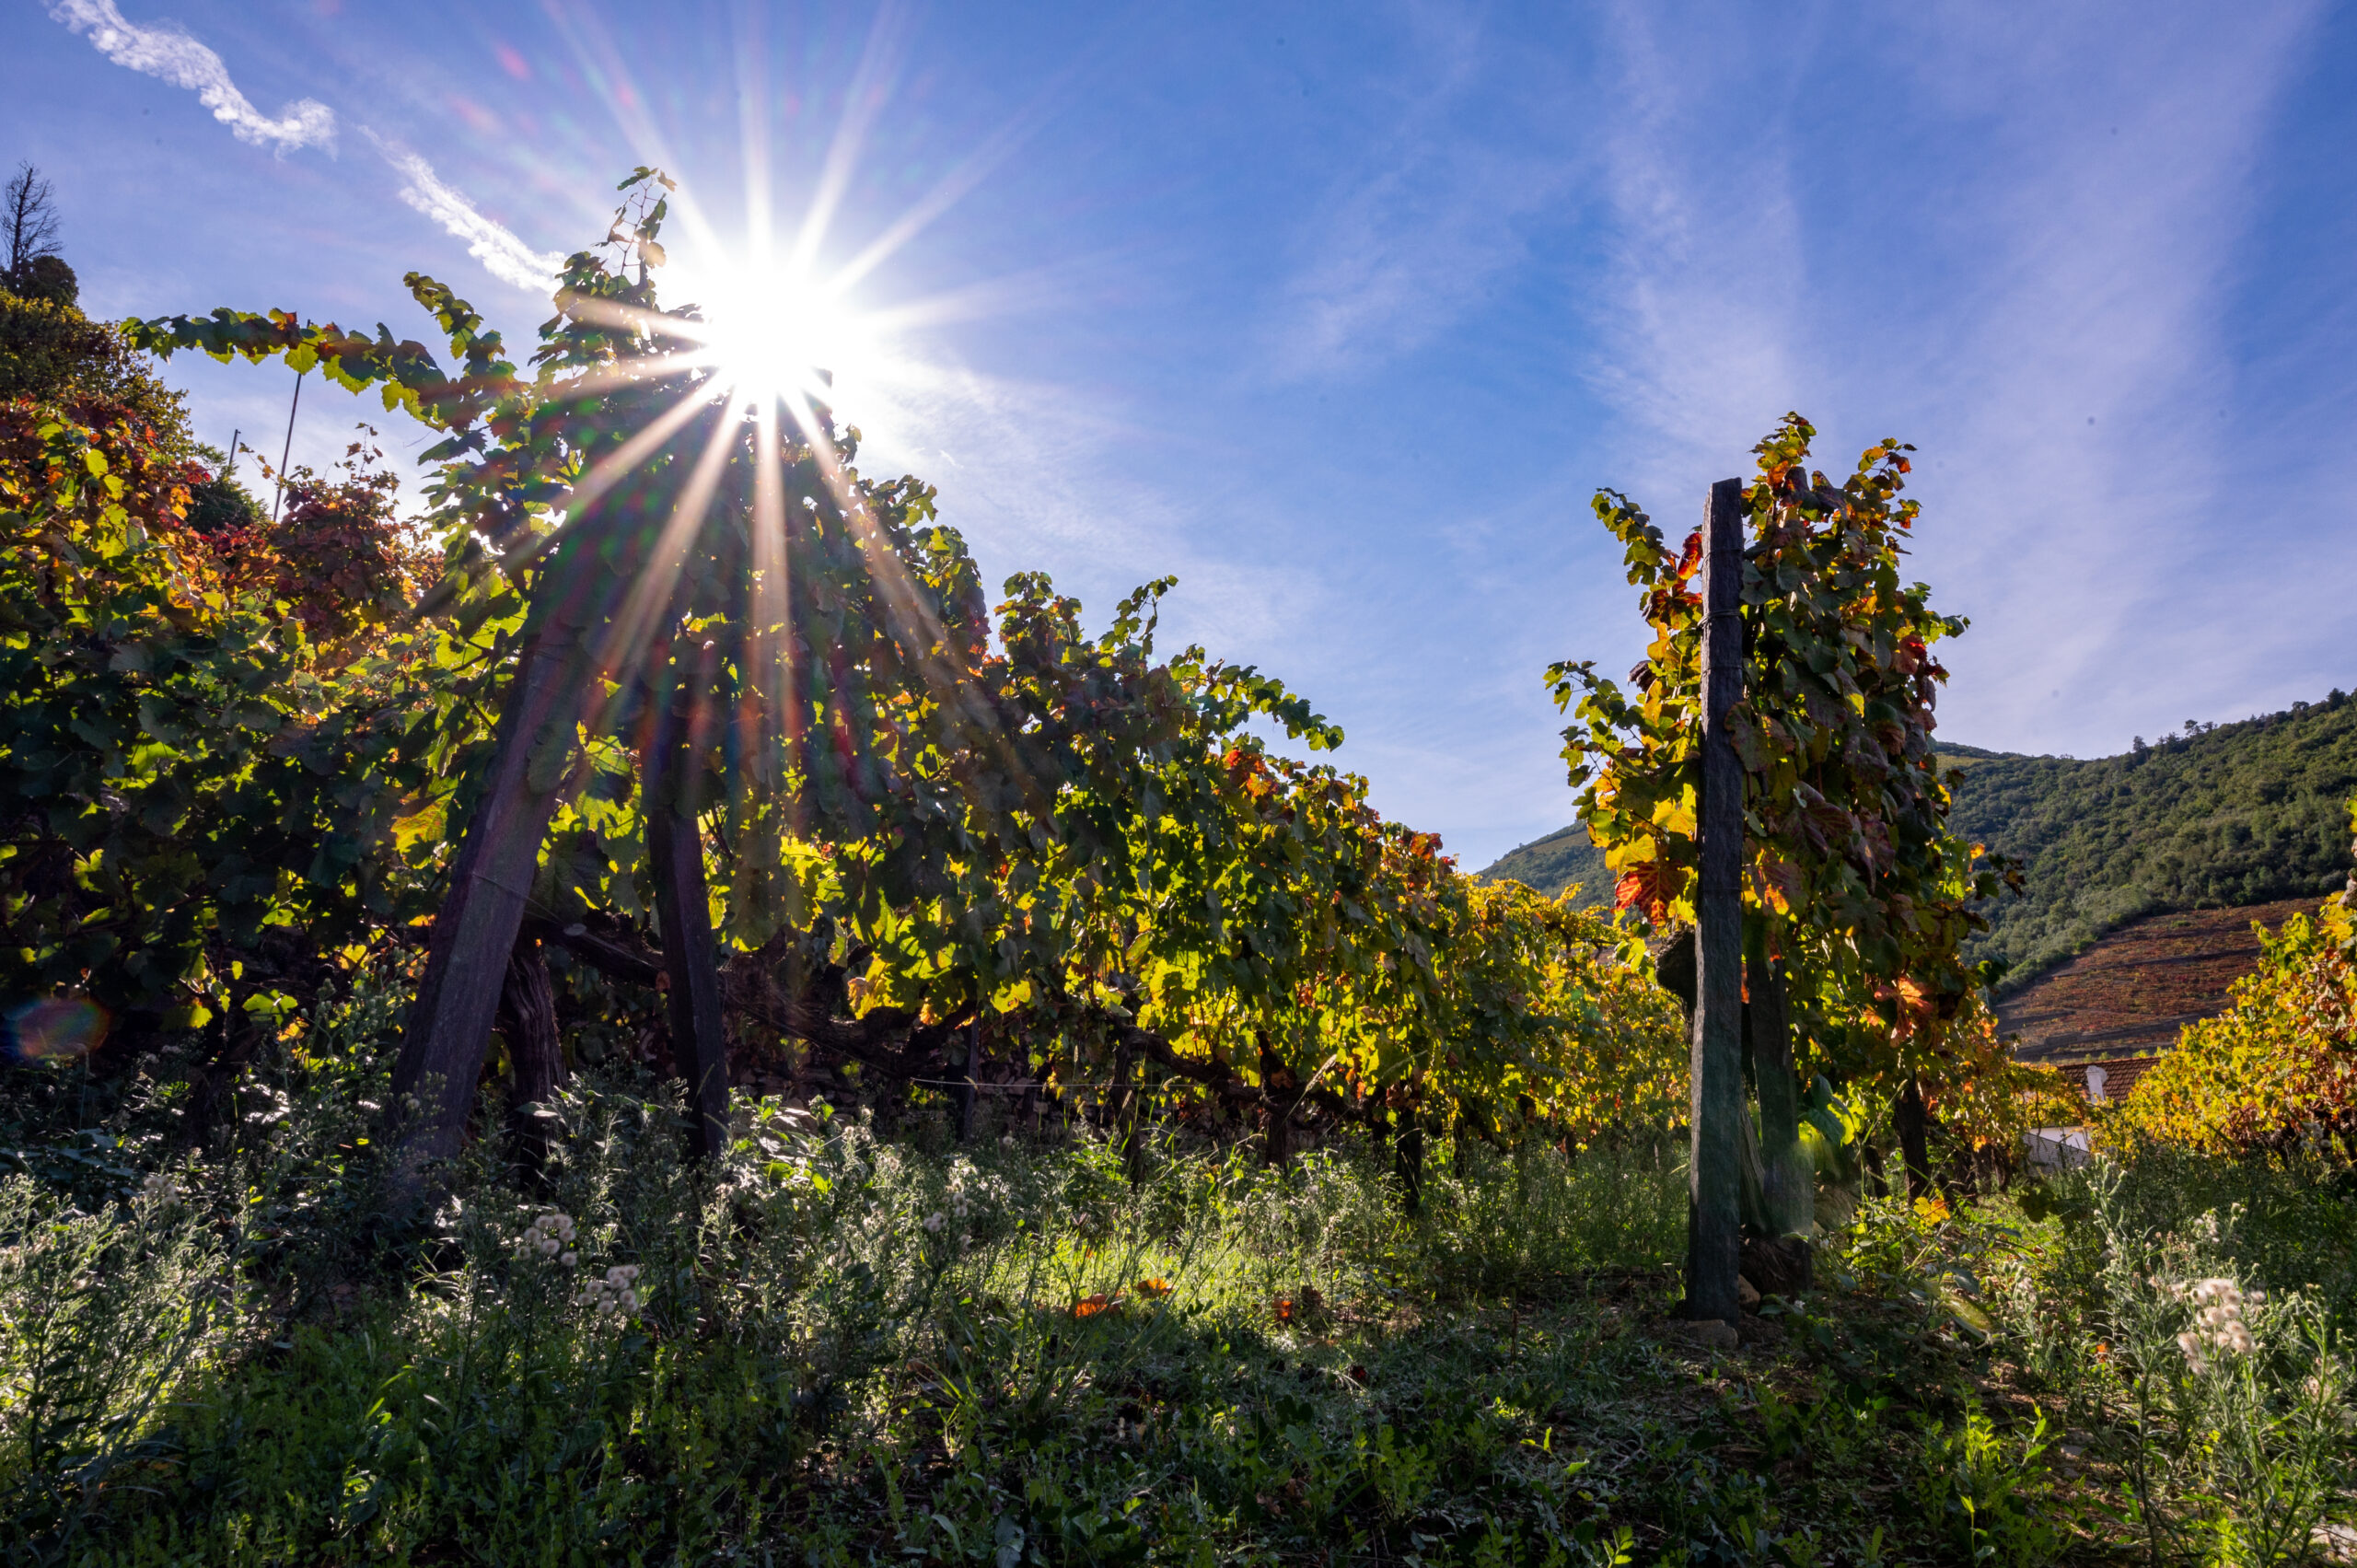
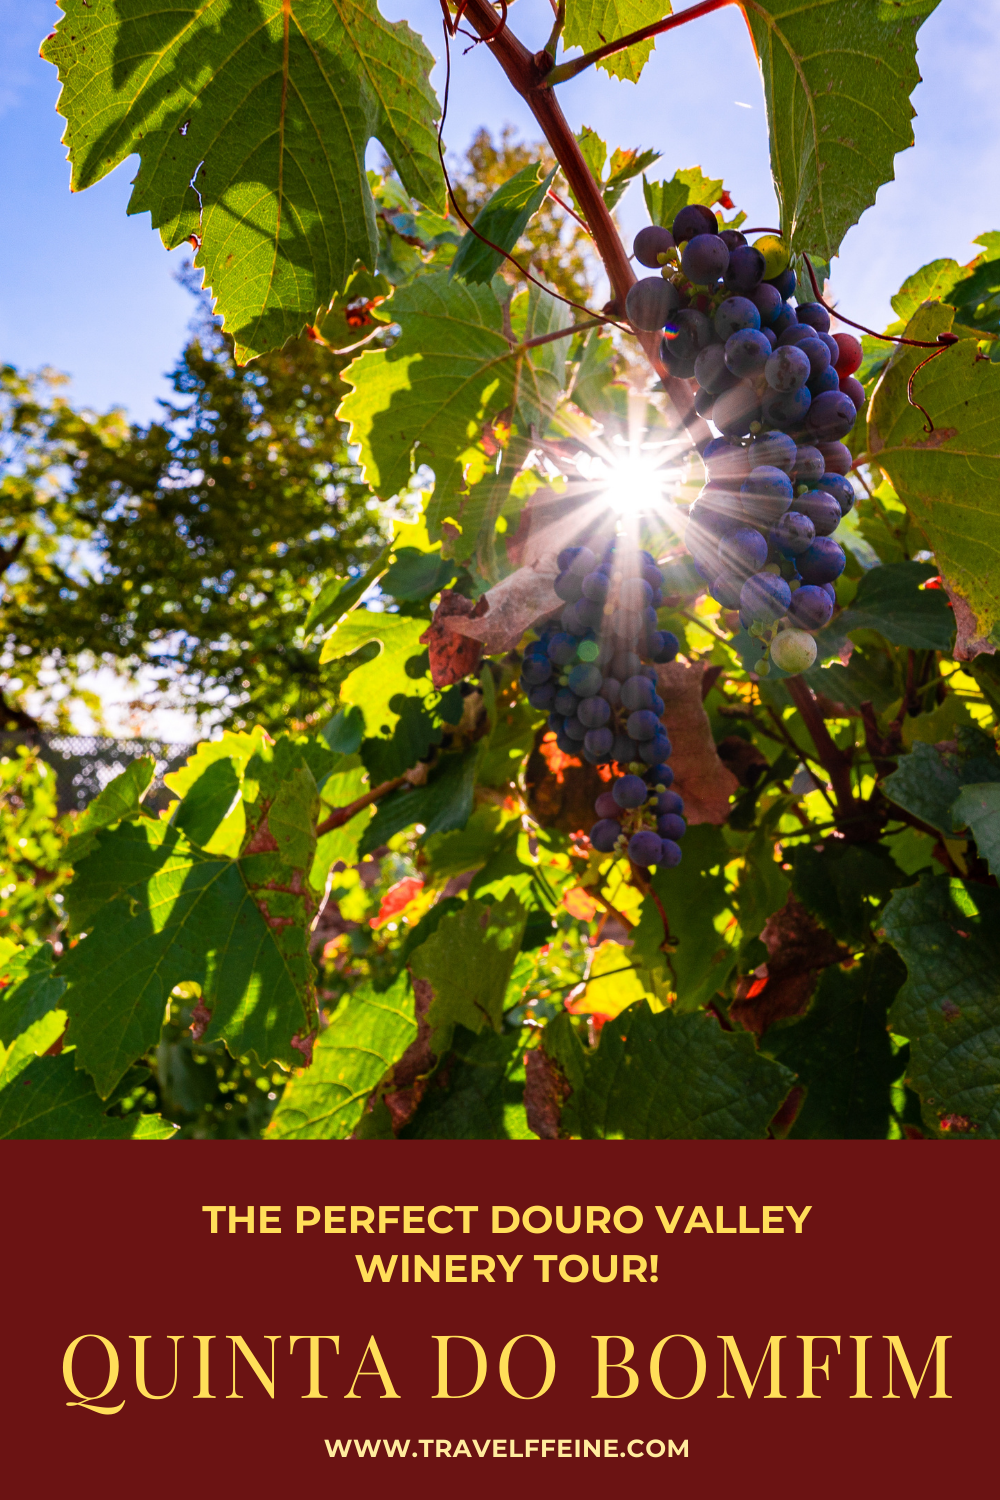
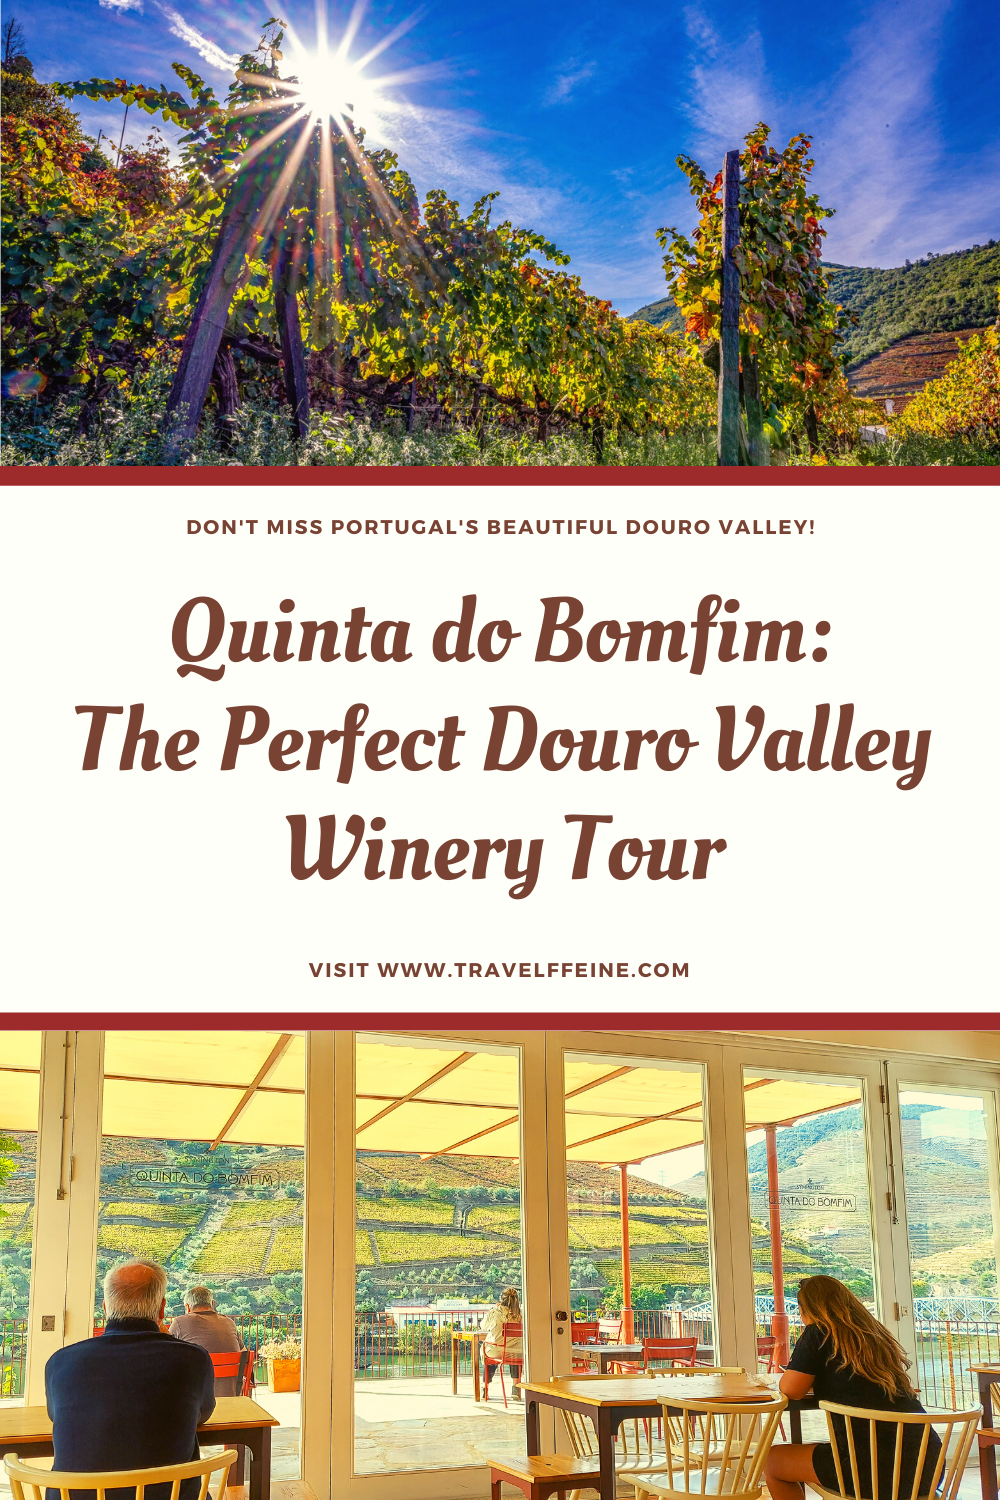
Walking through the vineyards at Quinta do Bomfim. Non-Alcoholic Drinkers
If you do not drink wine at all, a trip to the Douro Valley is still worth your time. In addition to winery tours and tastings, Quinta do Bomfim offers self-guided vineyard walks. They provide you with a map, hat, and bottle of water. There is signage throughout the vineyard to guide your walk and inform you of the history. I highly recommend this, as it was beautiful to walk around the vineyard and learn about the history of the rugged landscape that is now so famous for its wines and ports.
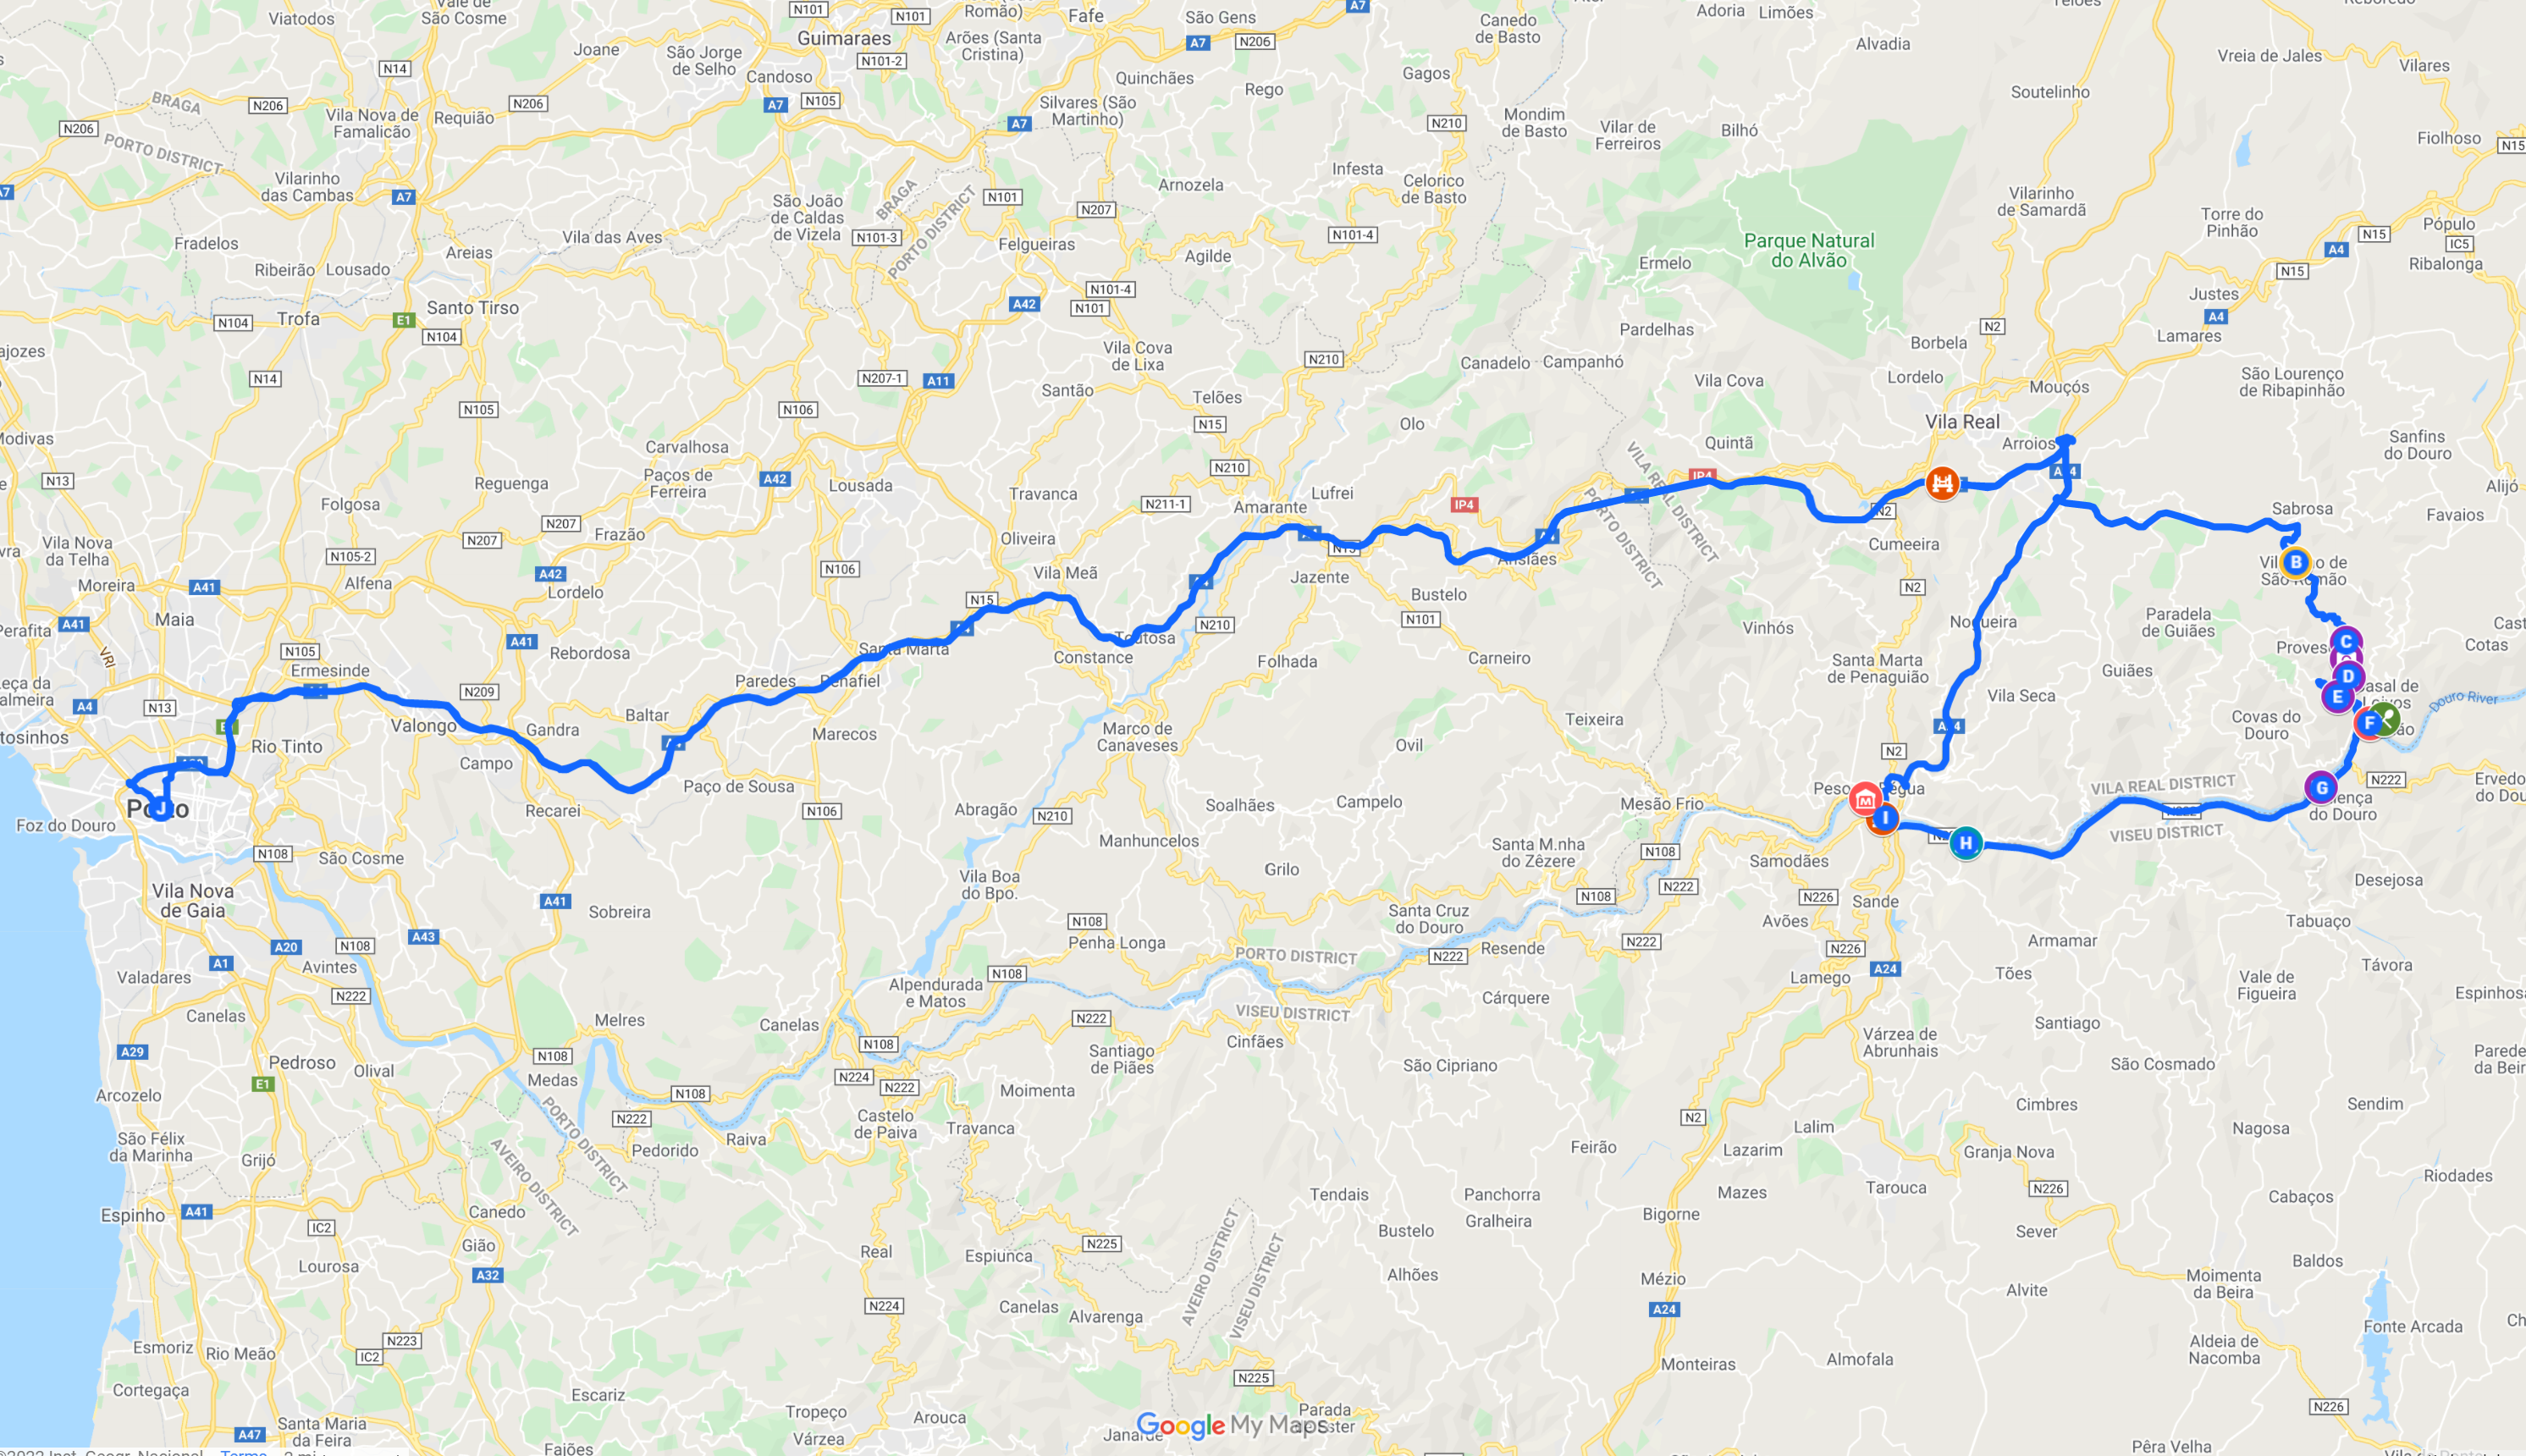
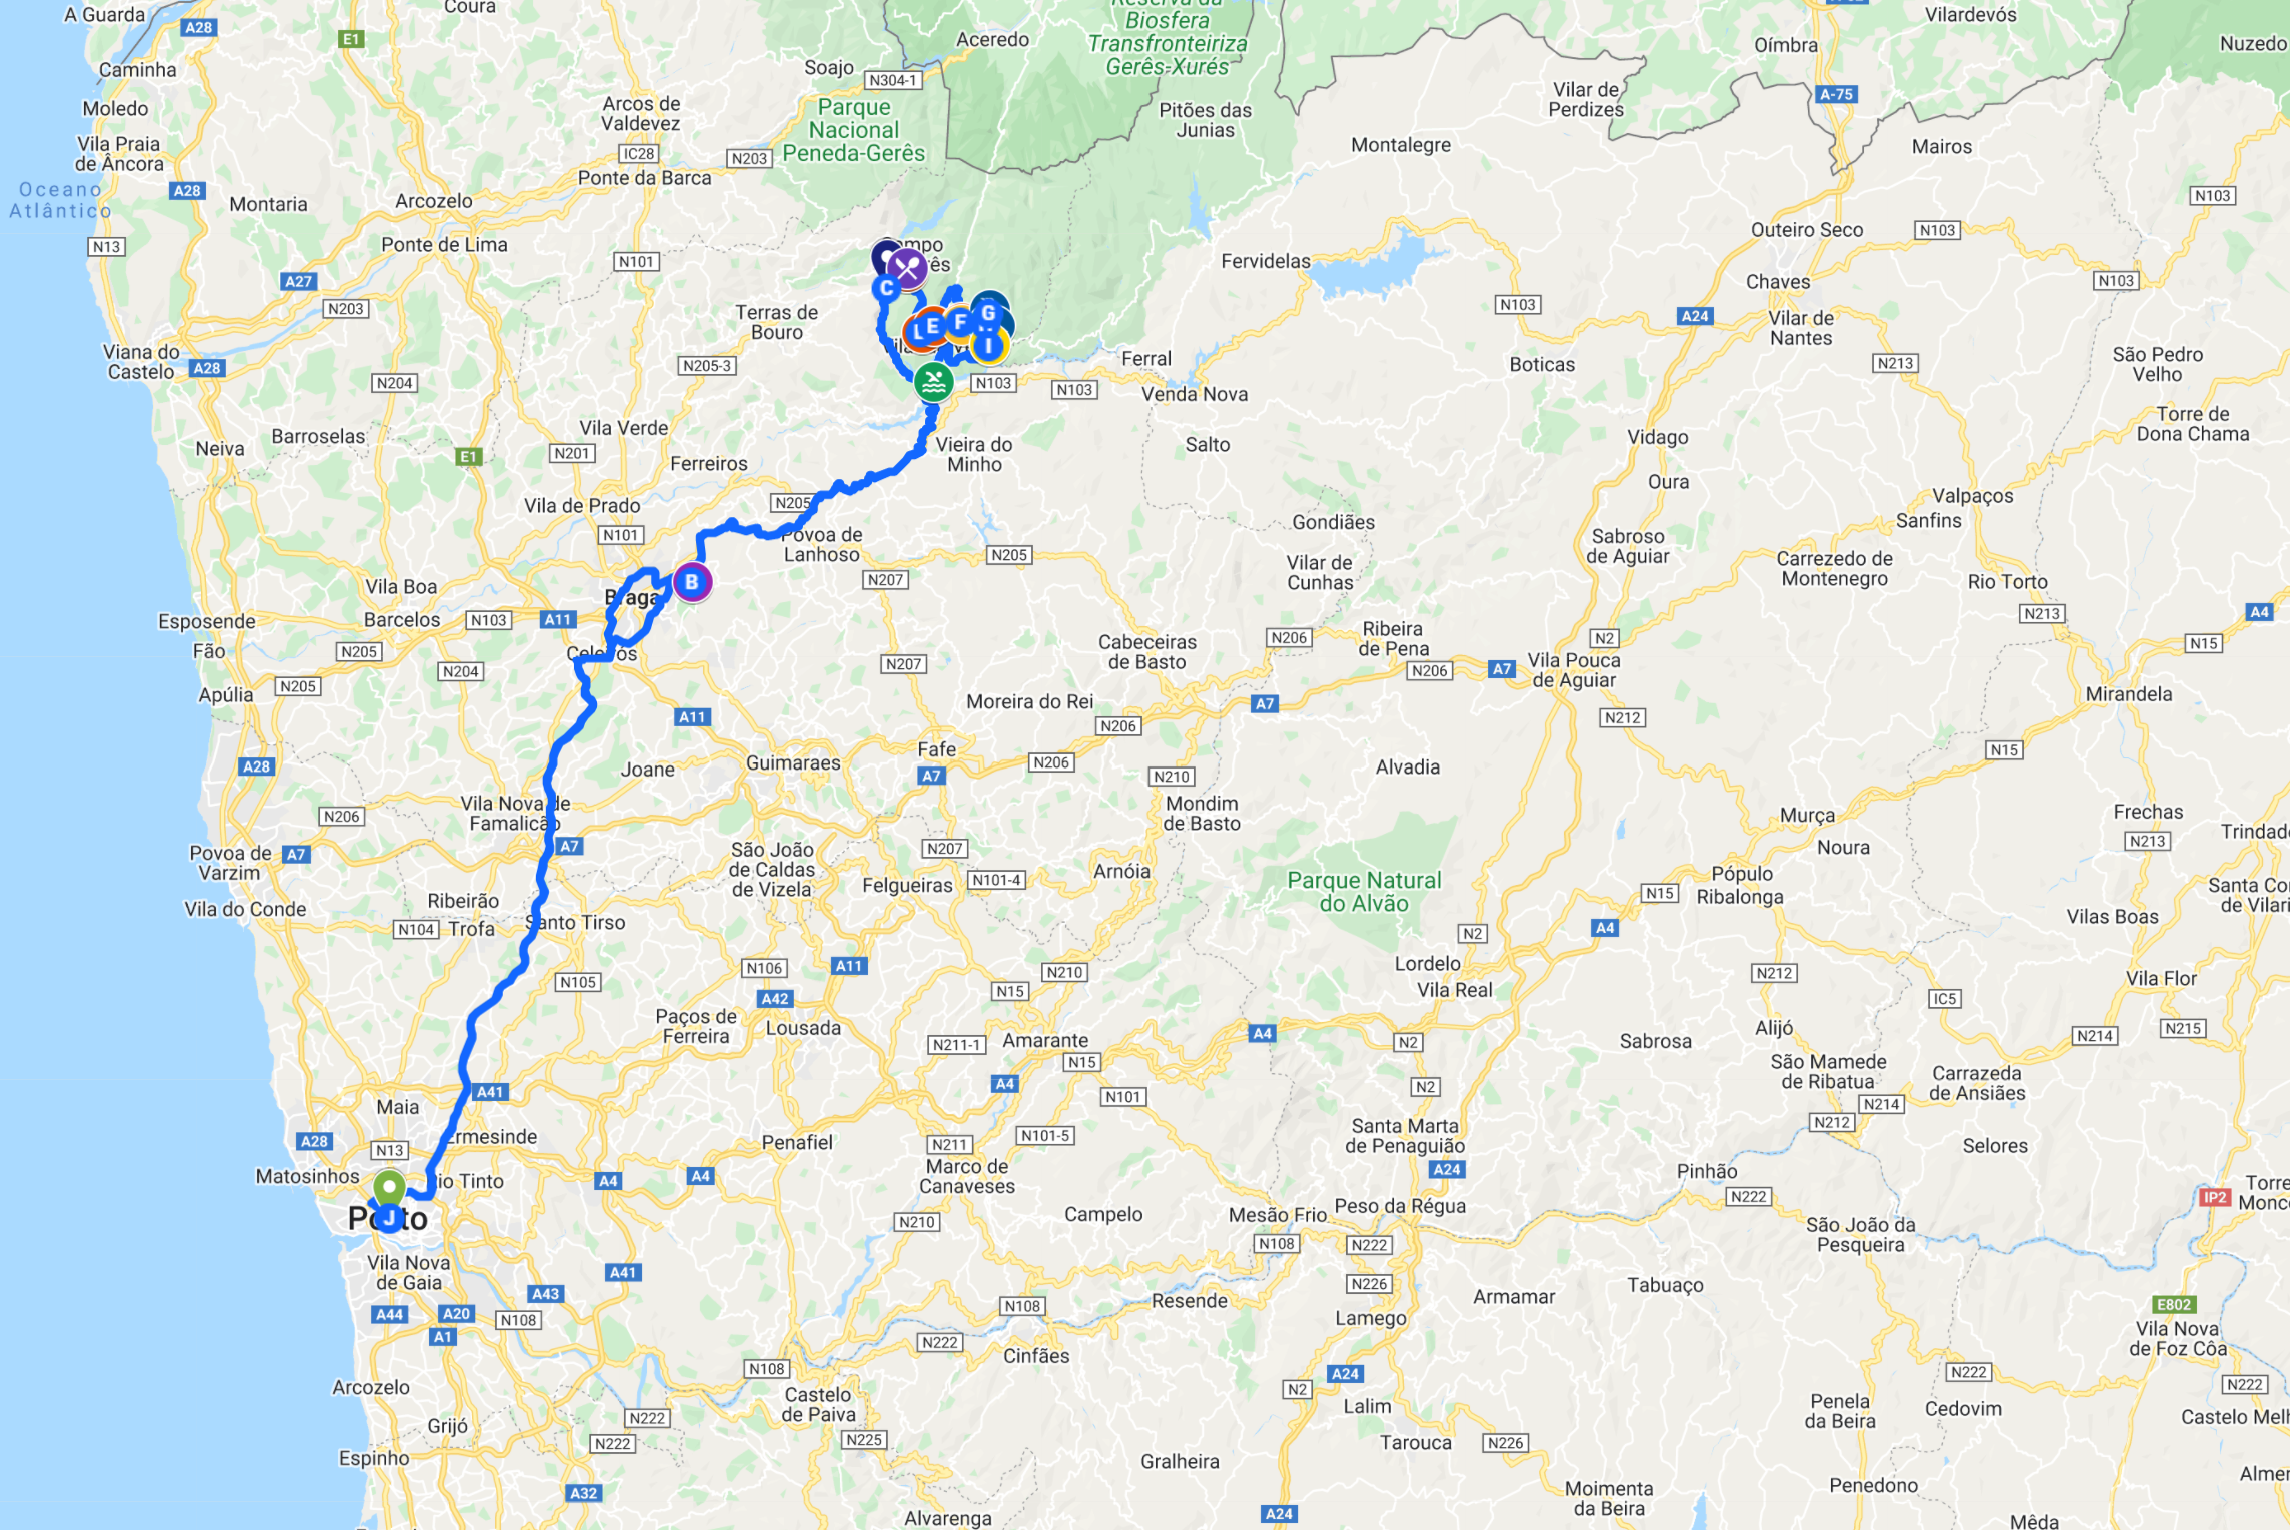
I loved the route we took! After jumping off the A4 by Vila Real, we hopped on the N322. After passing through the town of Sabrosa, the natural beauty of the Douro Valley and the scenic drive began. The fall colors were out during our visit in October, and it was so beautiful!
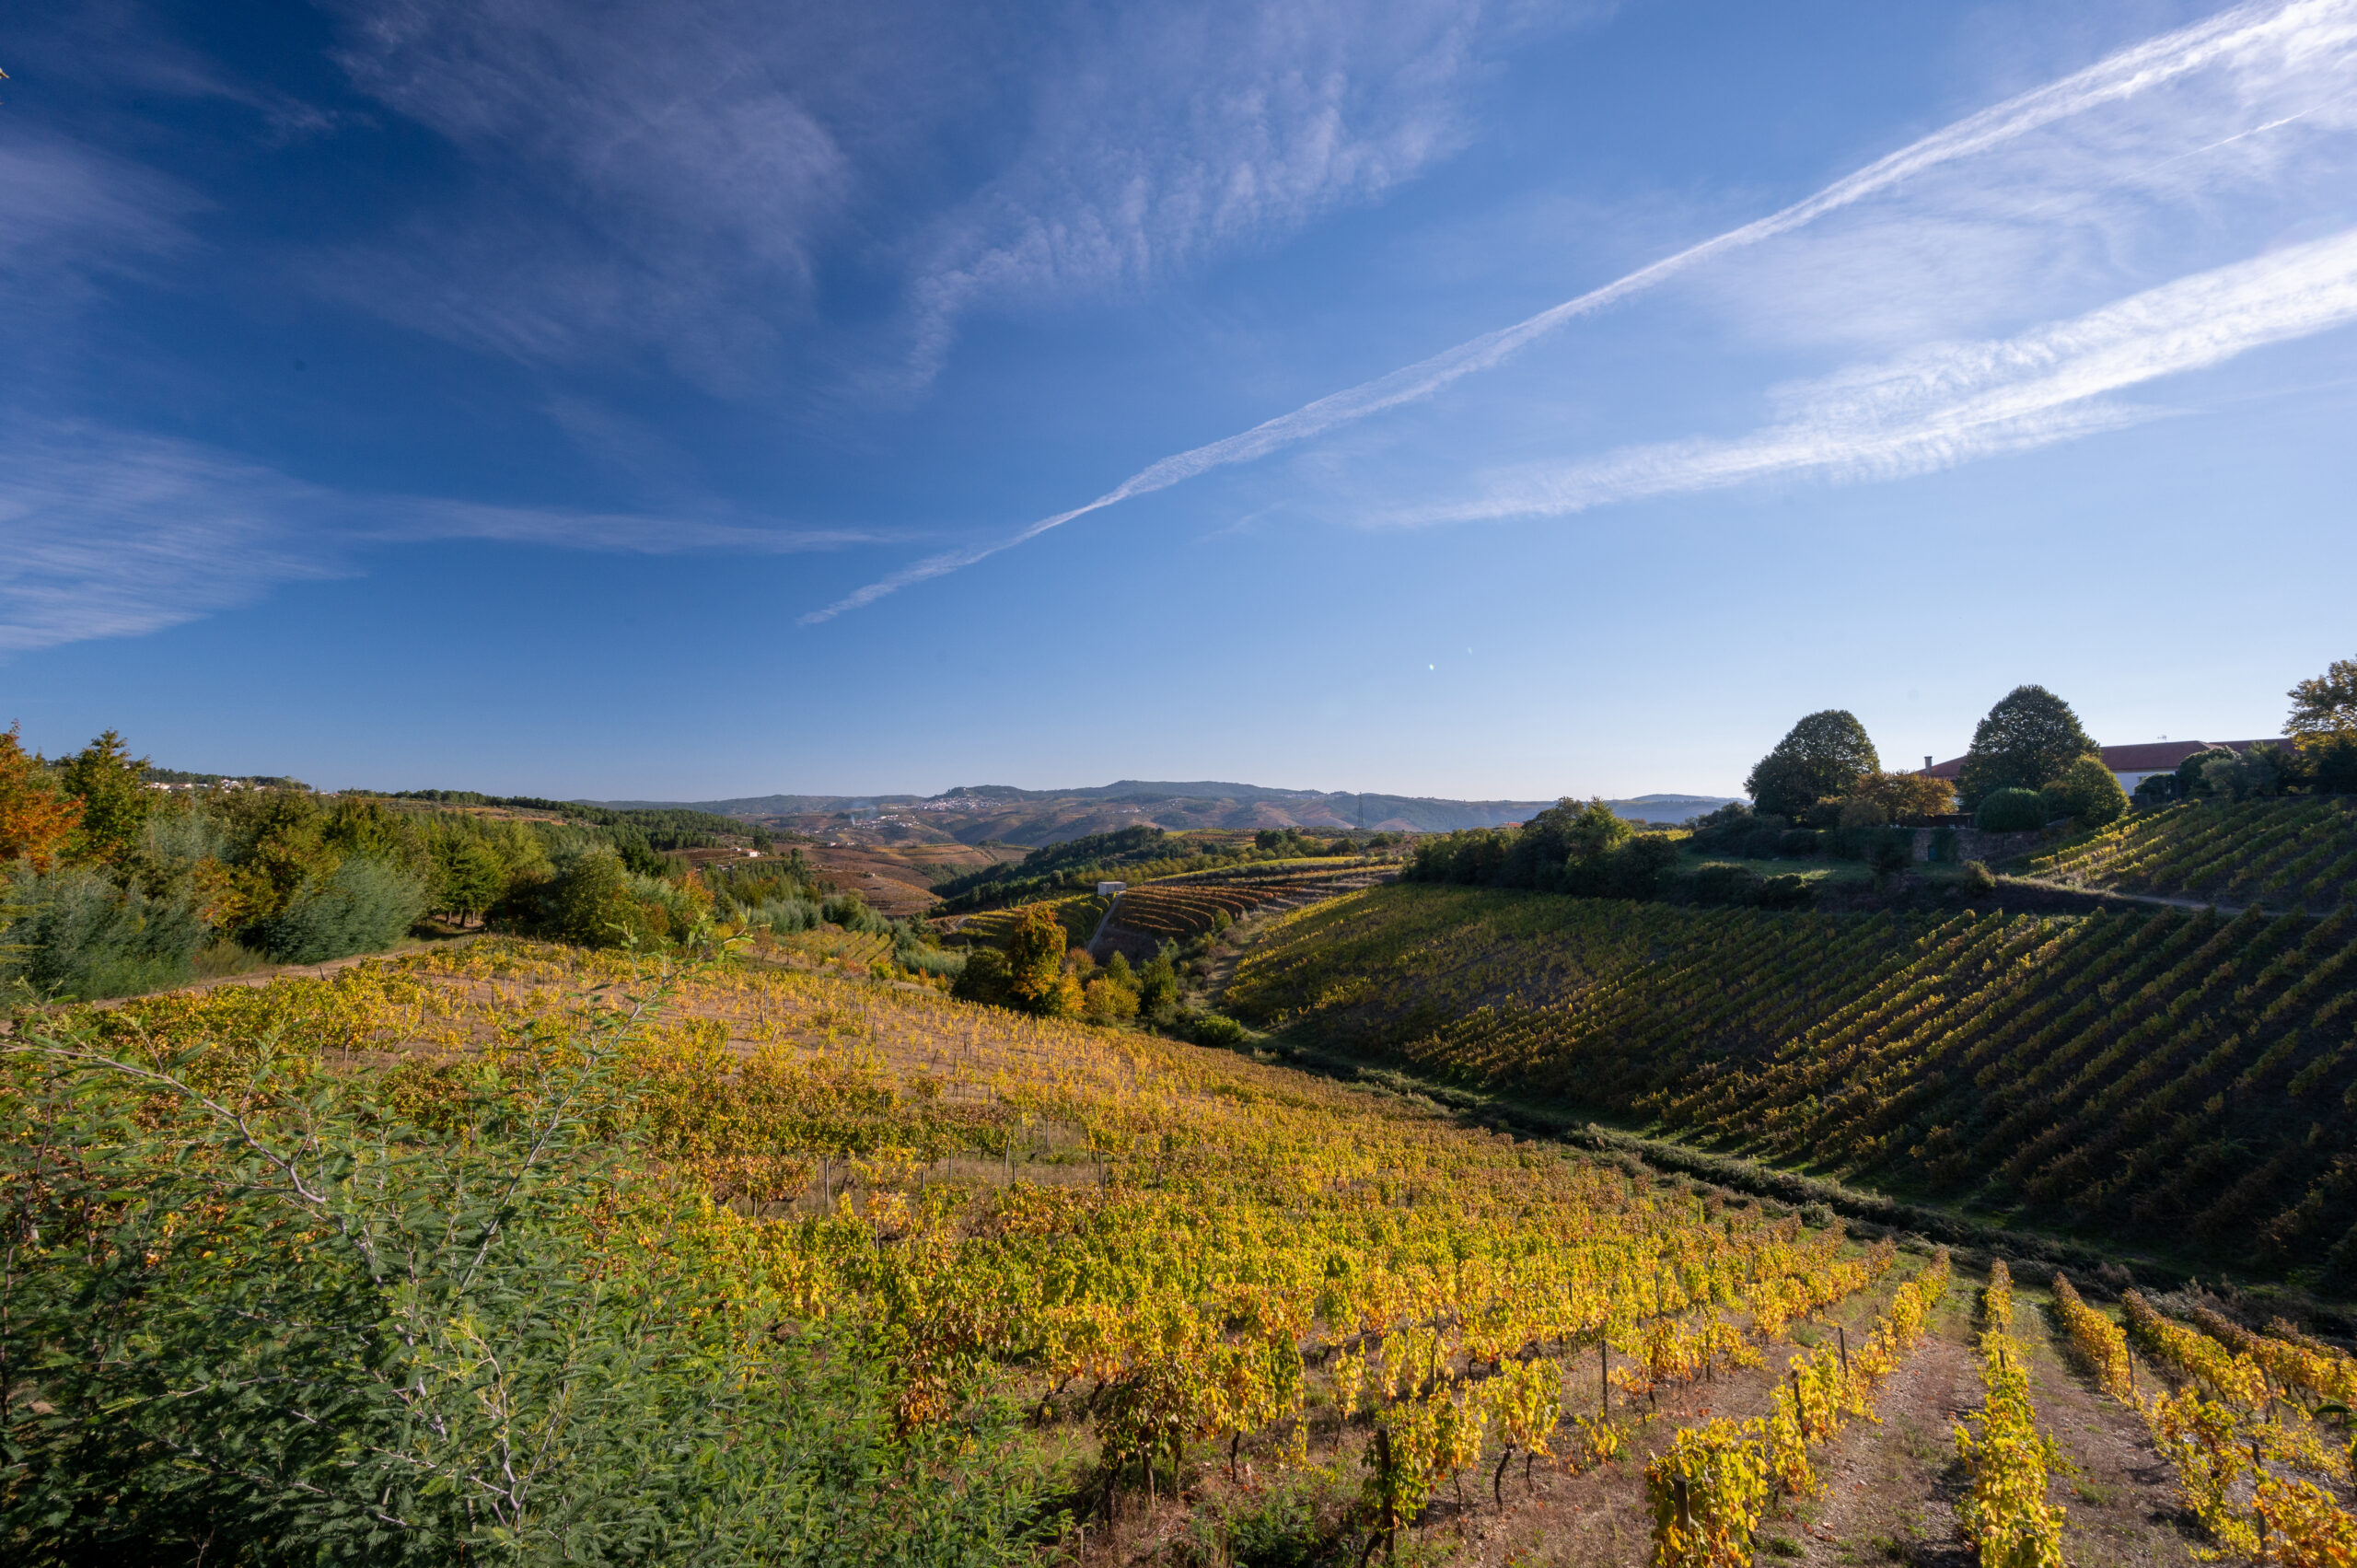
This photo was taken across from the picnic area off N323 near Sabrosa, Portugal. Small Picnic and Parking Area
There is a little picnic area with parking about 10-minutes outside the town of Sabrosa, where we stopped to take the above photo. It was the first of many stops along this scenic driving route. N322 becomes N323 along this stretch, and the road sort of goes back and forth between the two, but it’s all the same route.
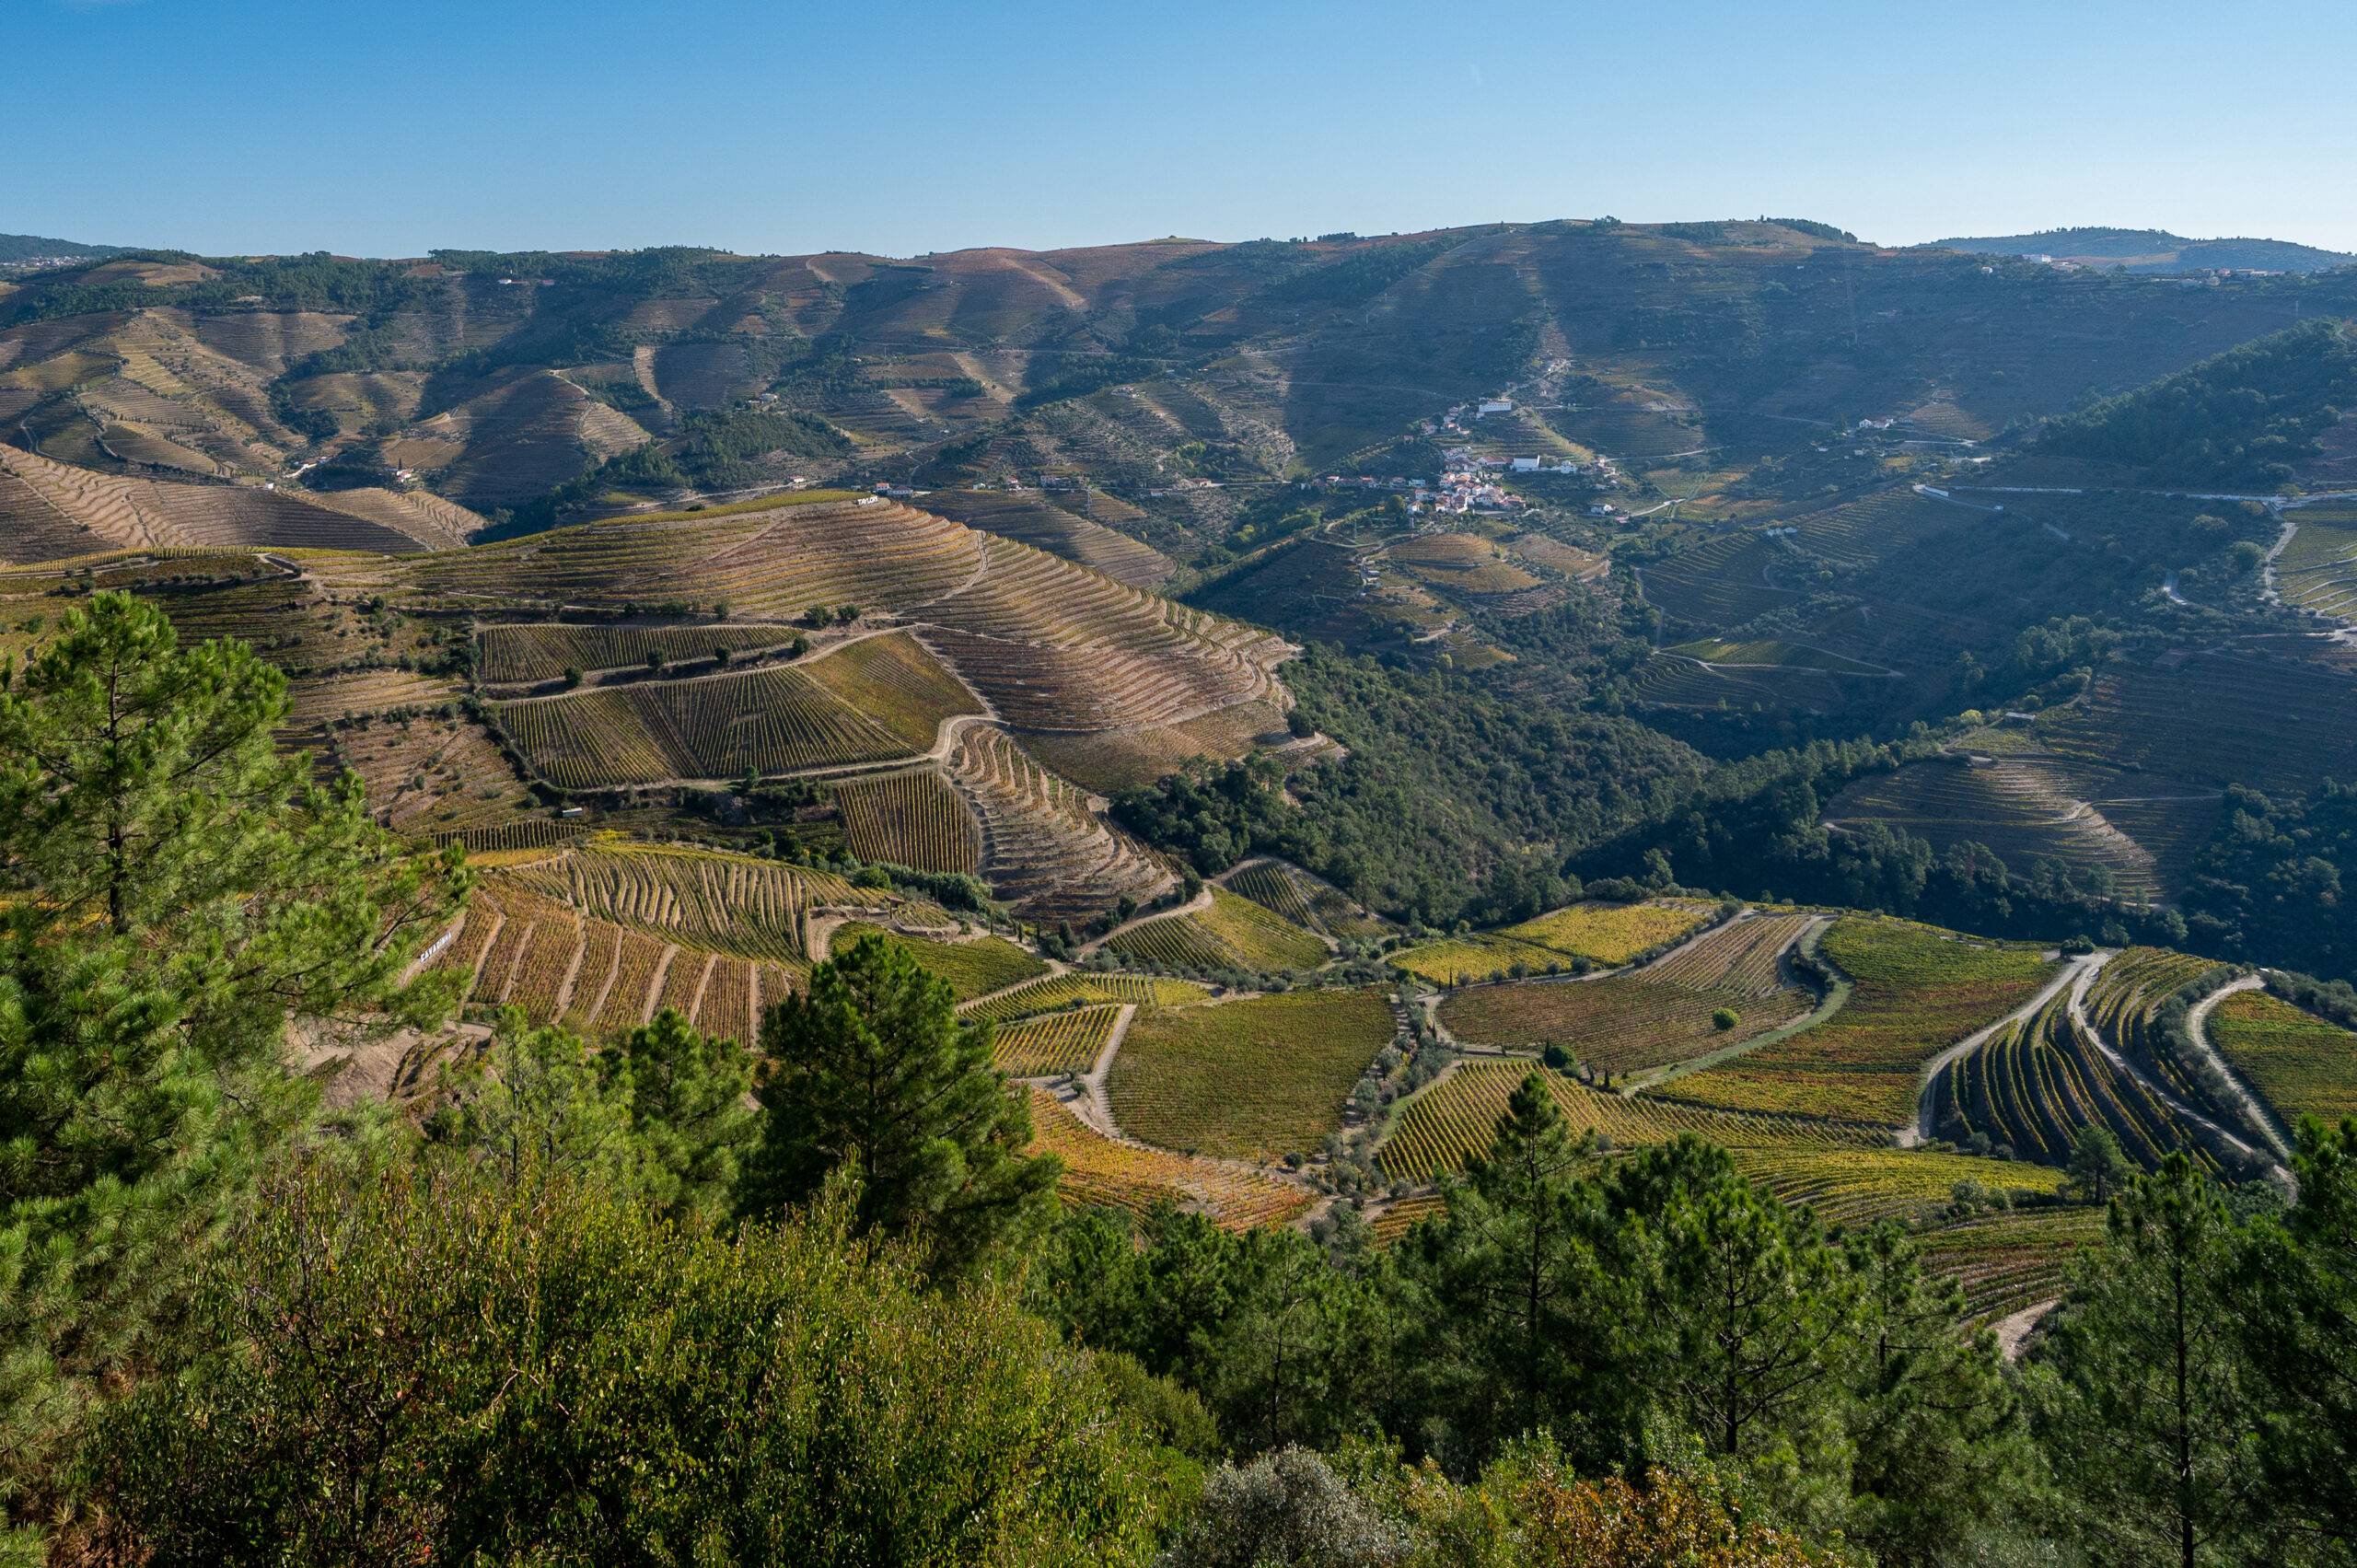
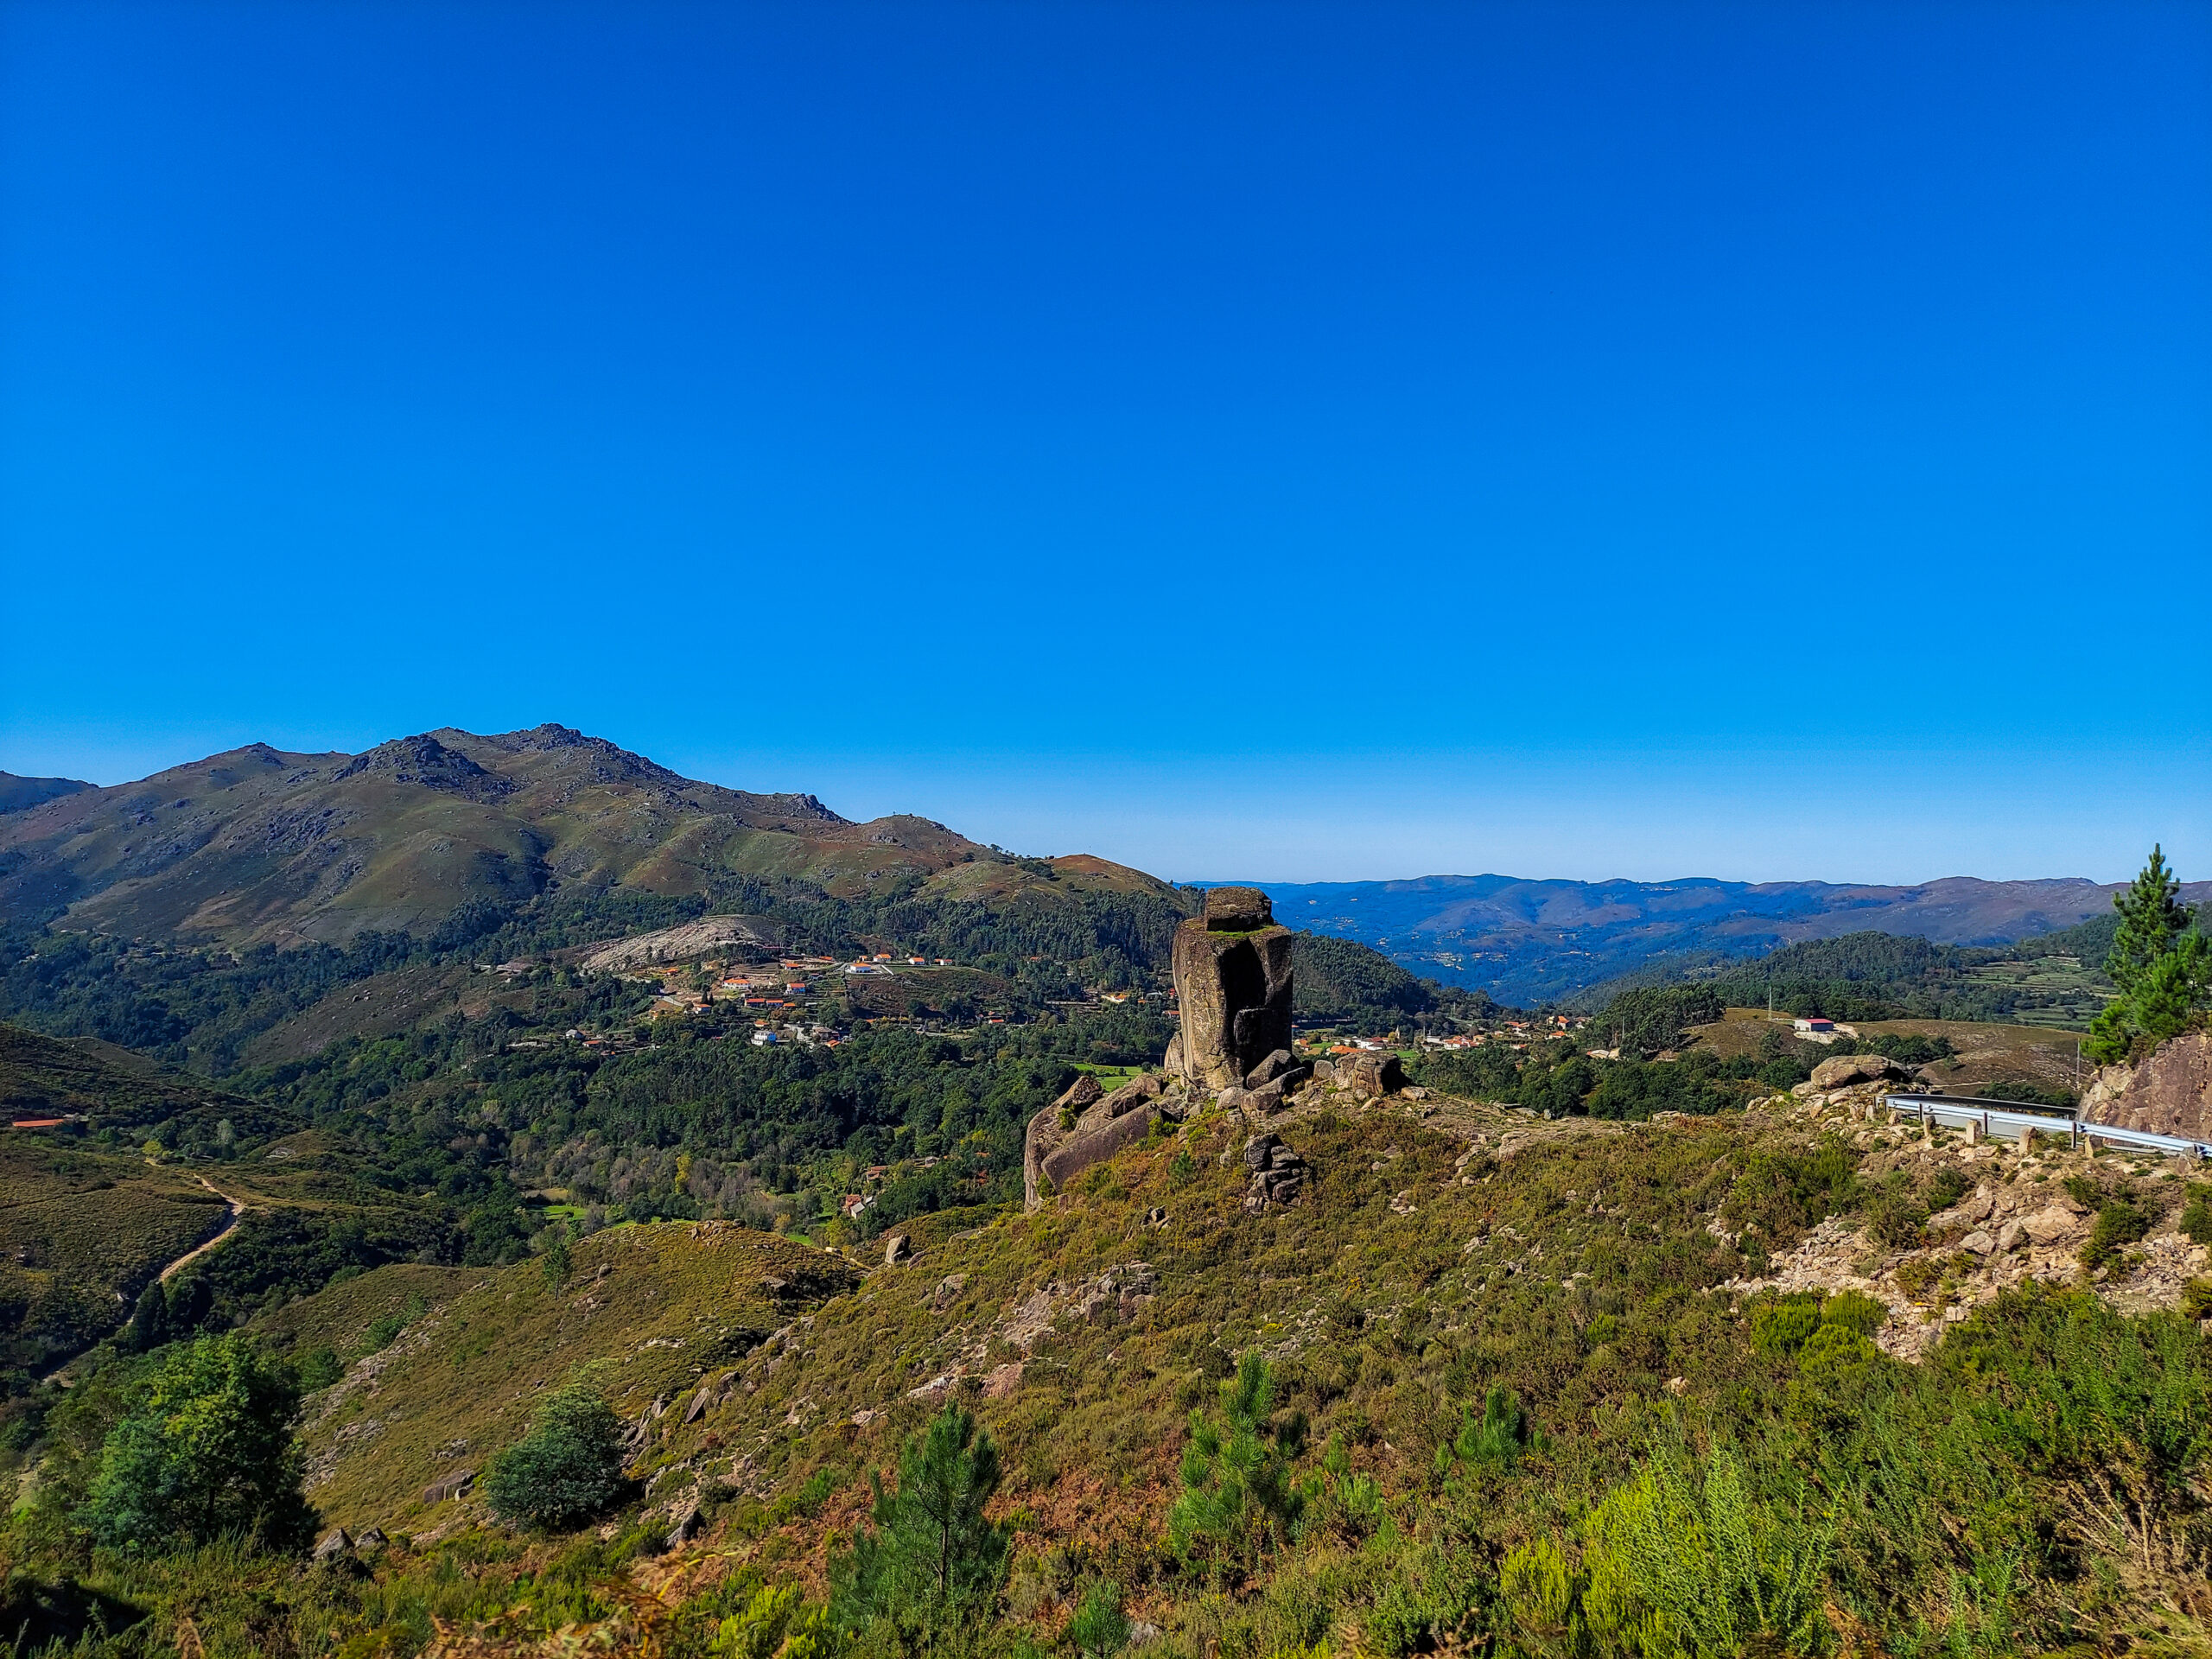
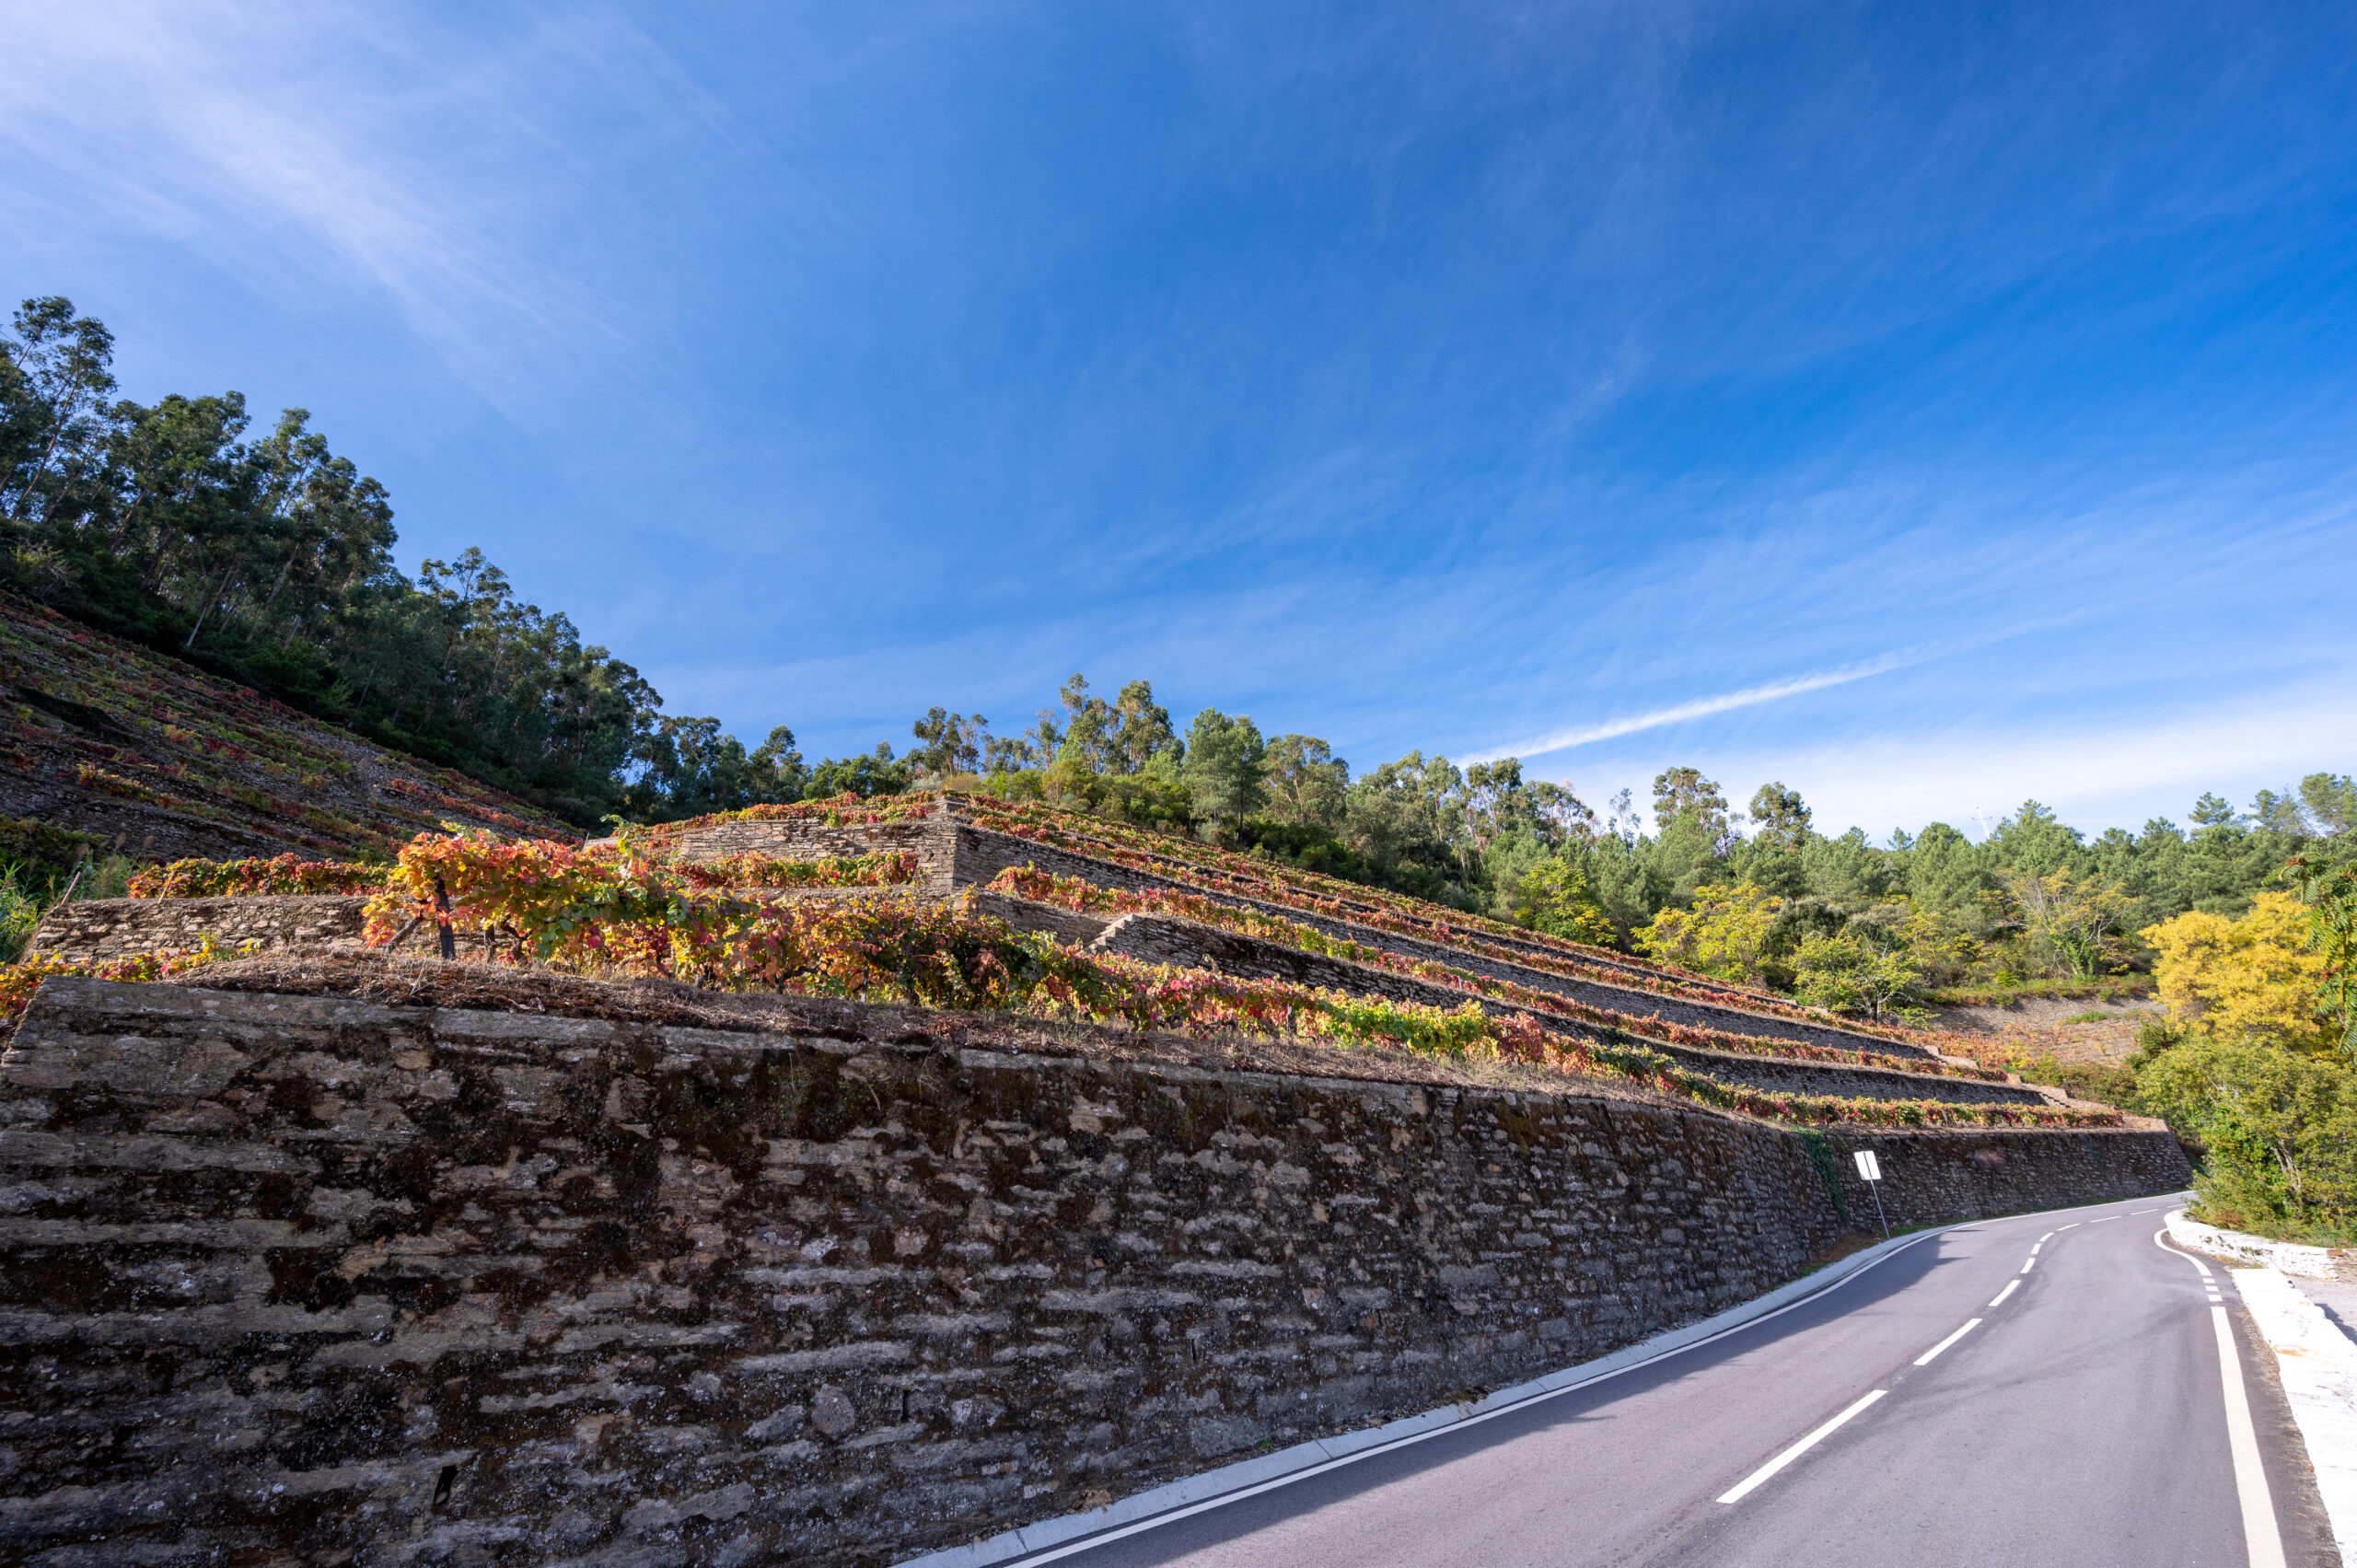
One of the many viewpoints along this scenic route. Miradouros (viewpoints)
Make sure to pay attention to the brown signs along the road, as these are sightseeing stops. Most of the signs along this road are for the miradouros (viewpoints). We stopped at quite a few of them, and each one had an informational sign telling us about the area’s history and the family-owned vineyards in the Douro Valley.
I recommend at least stopping at the following four viewpoints on the way to Pinhão.
- Aldeia Vinhateira de Provesende
- São Cristovão
- Vale do Pinhão
- Terra de Fernão de Magalhães
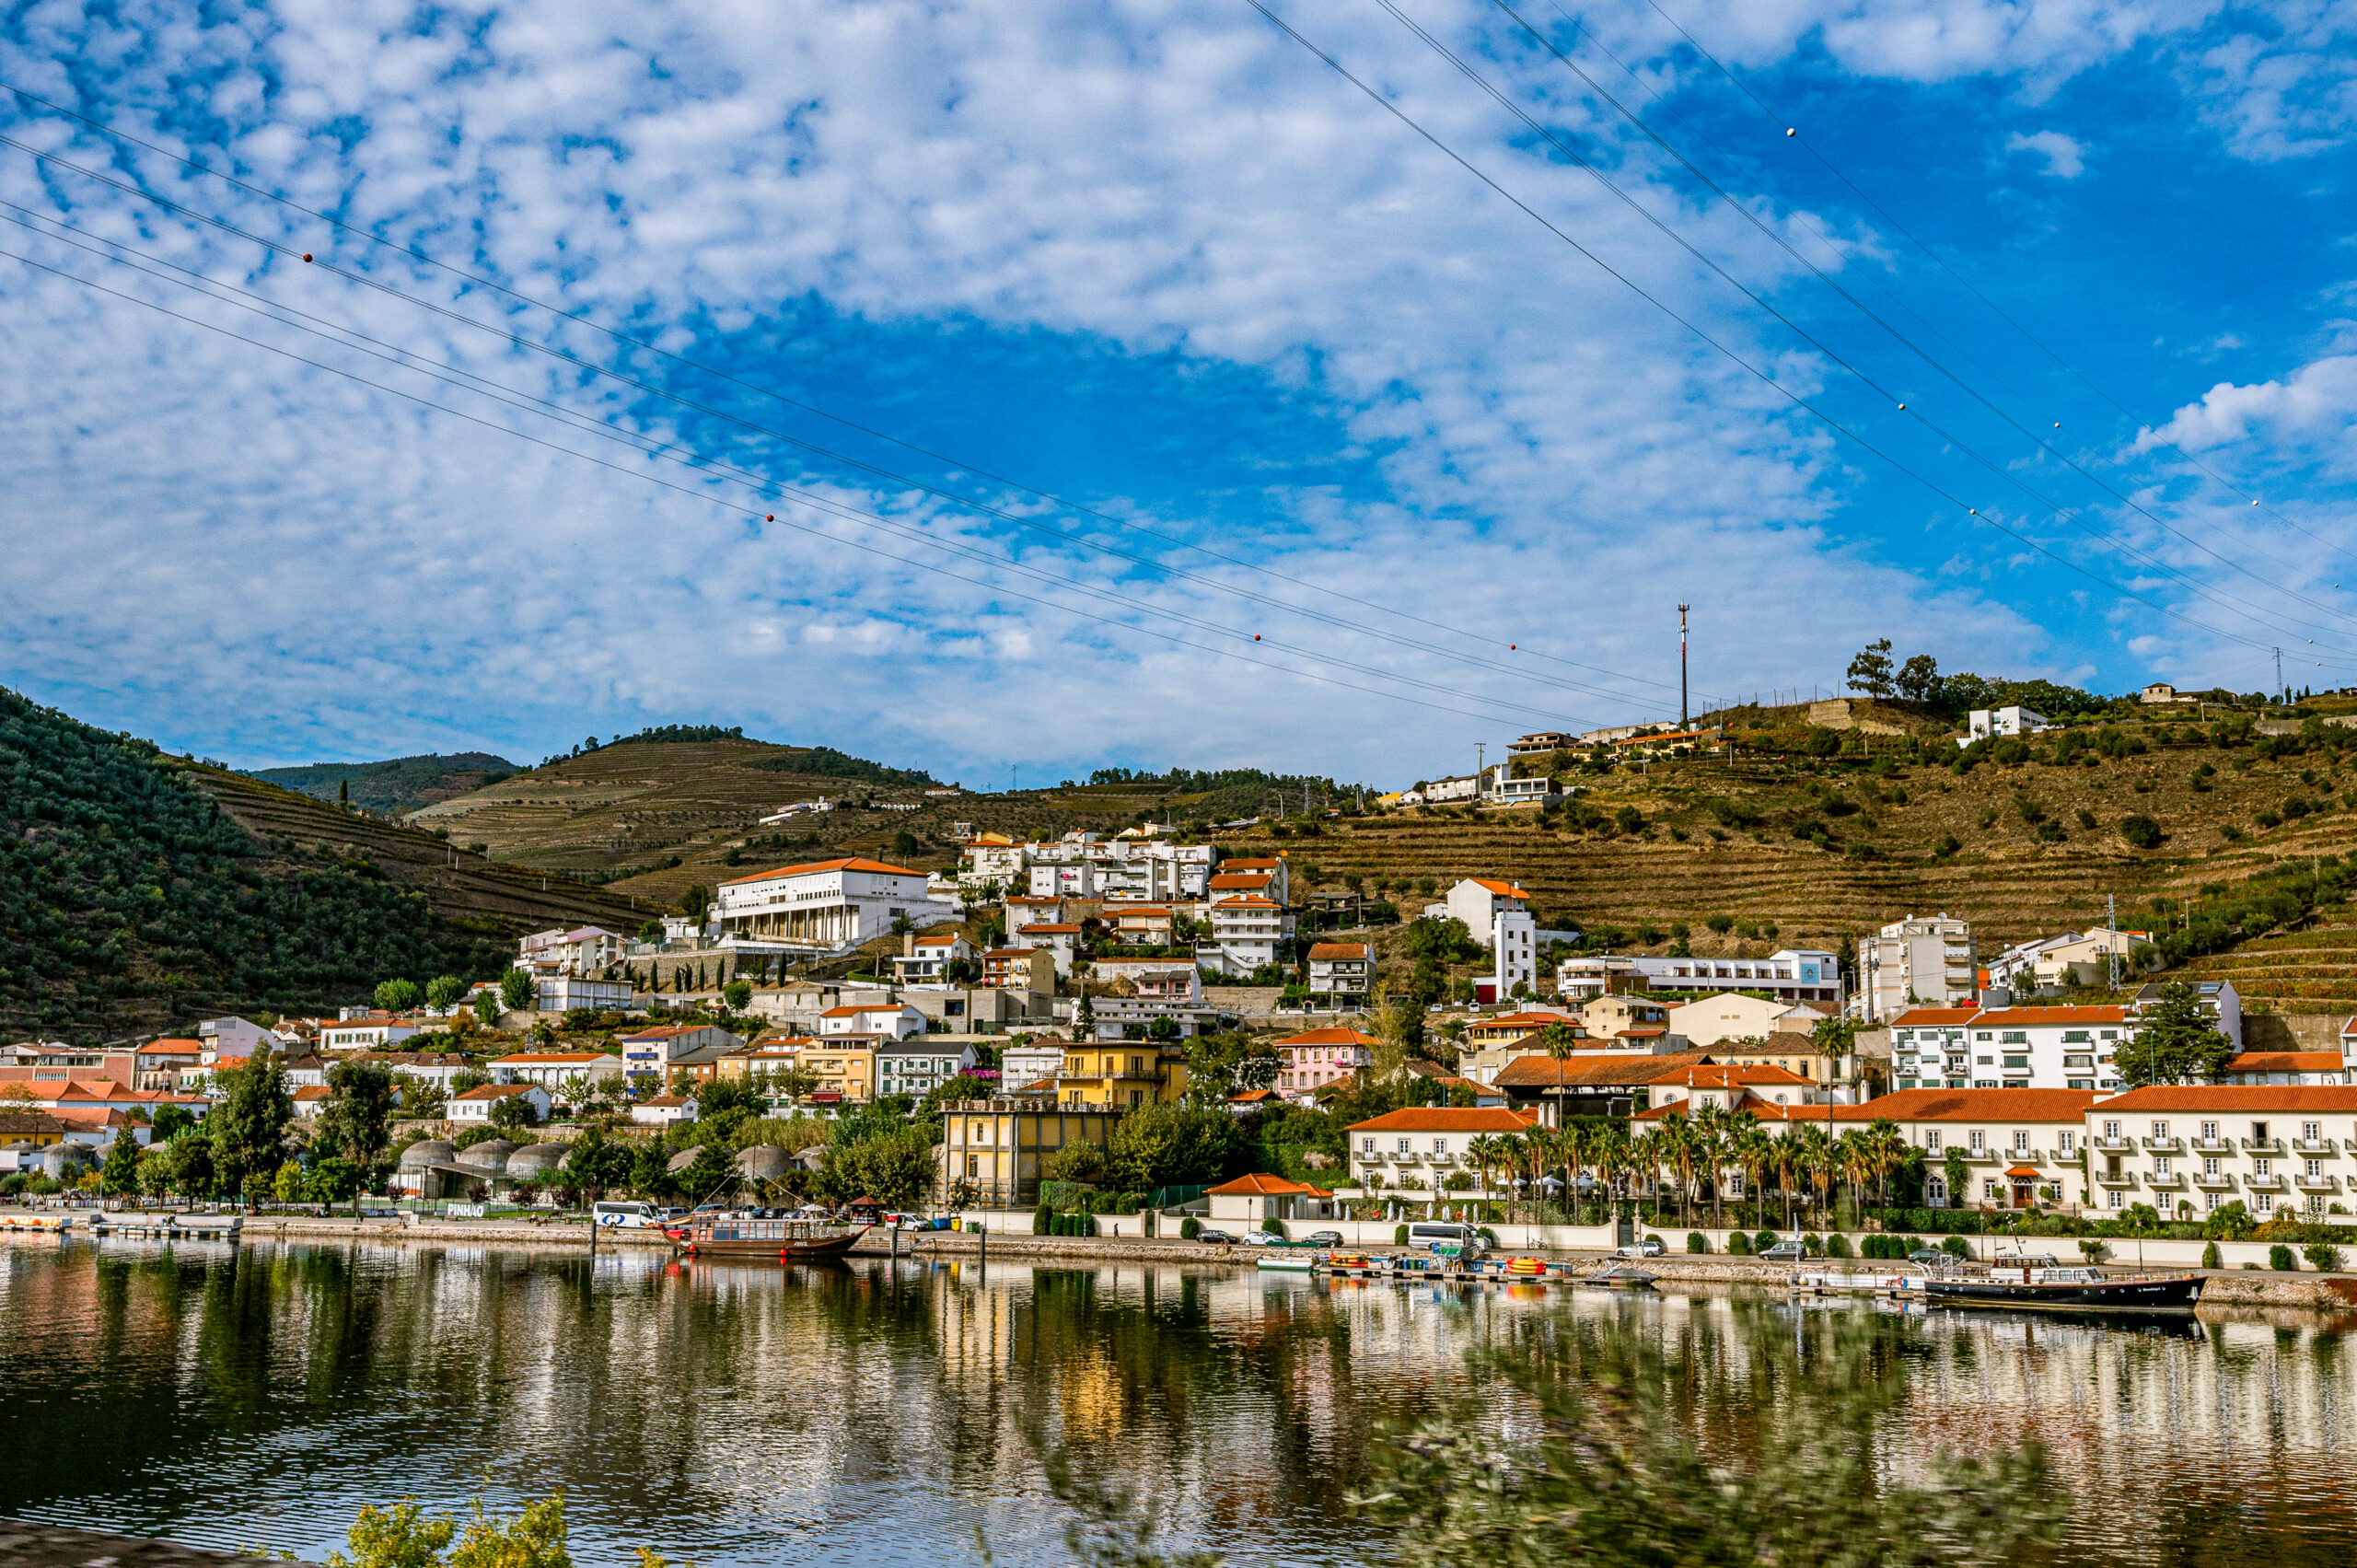
Pinhão
If possible, give yourself extra time to spend in the town of Pinhão. There is a walking/biking path that goes along the Douro River that is perfect for a scenic stroll. There are also some hiking trails through the vineyards as well as shopping, and great dining options with views of the Douro River.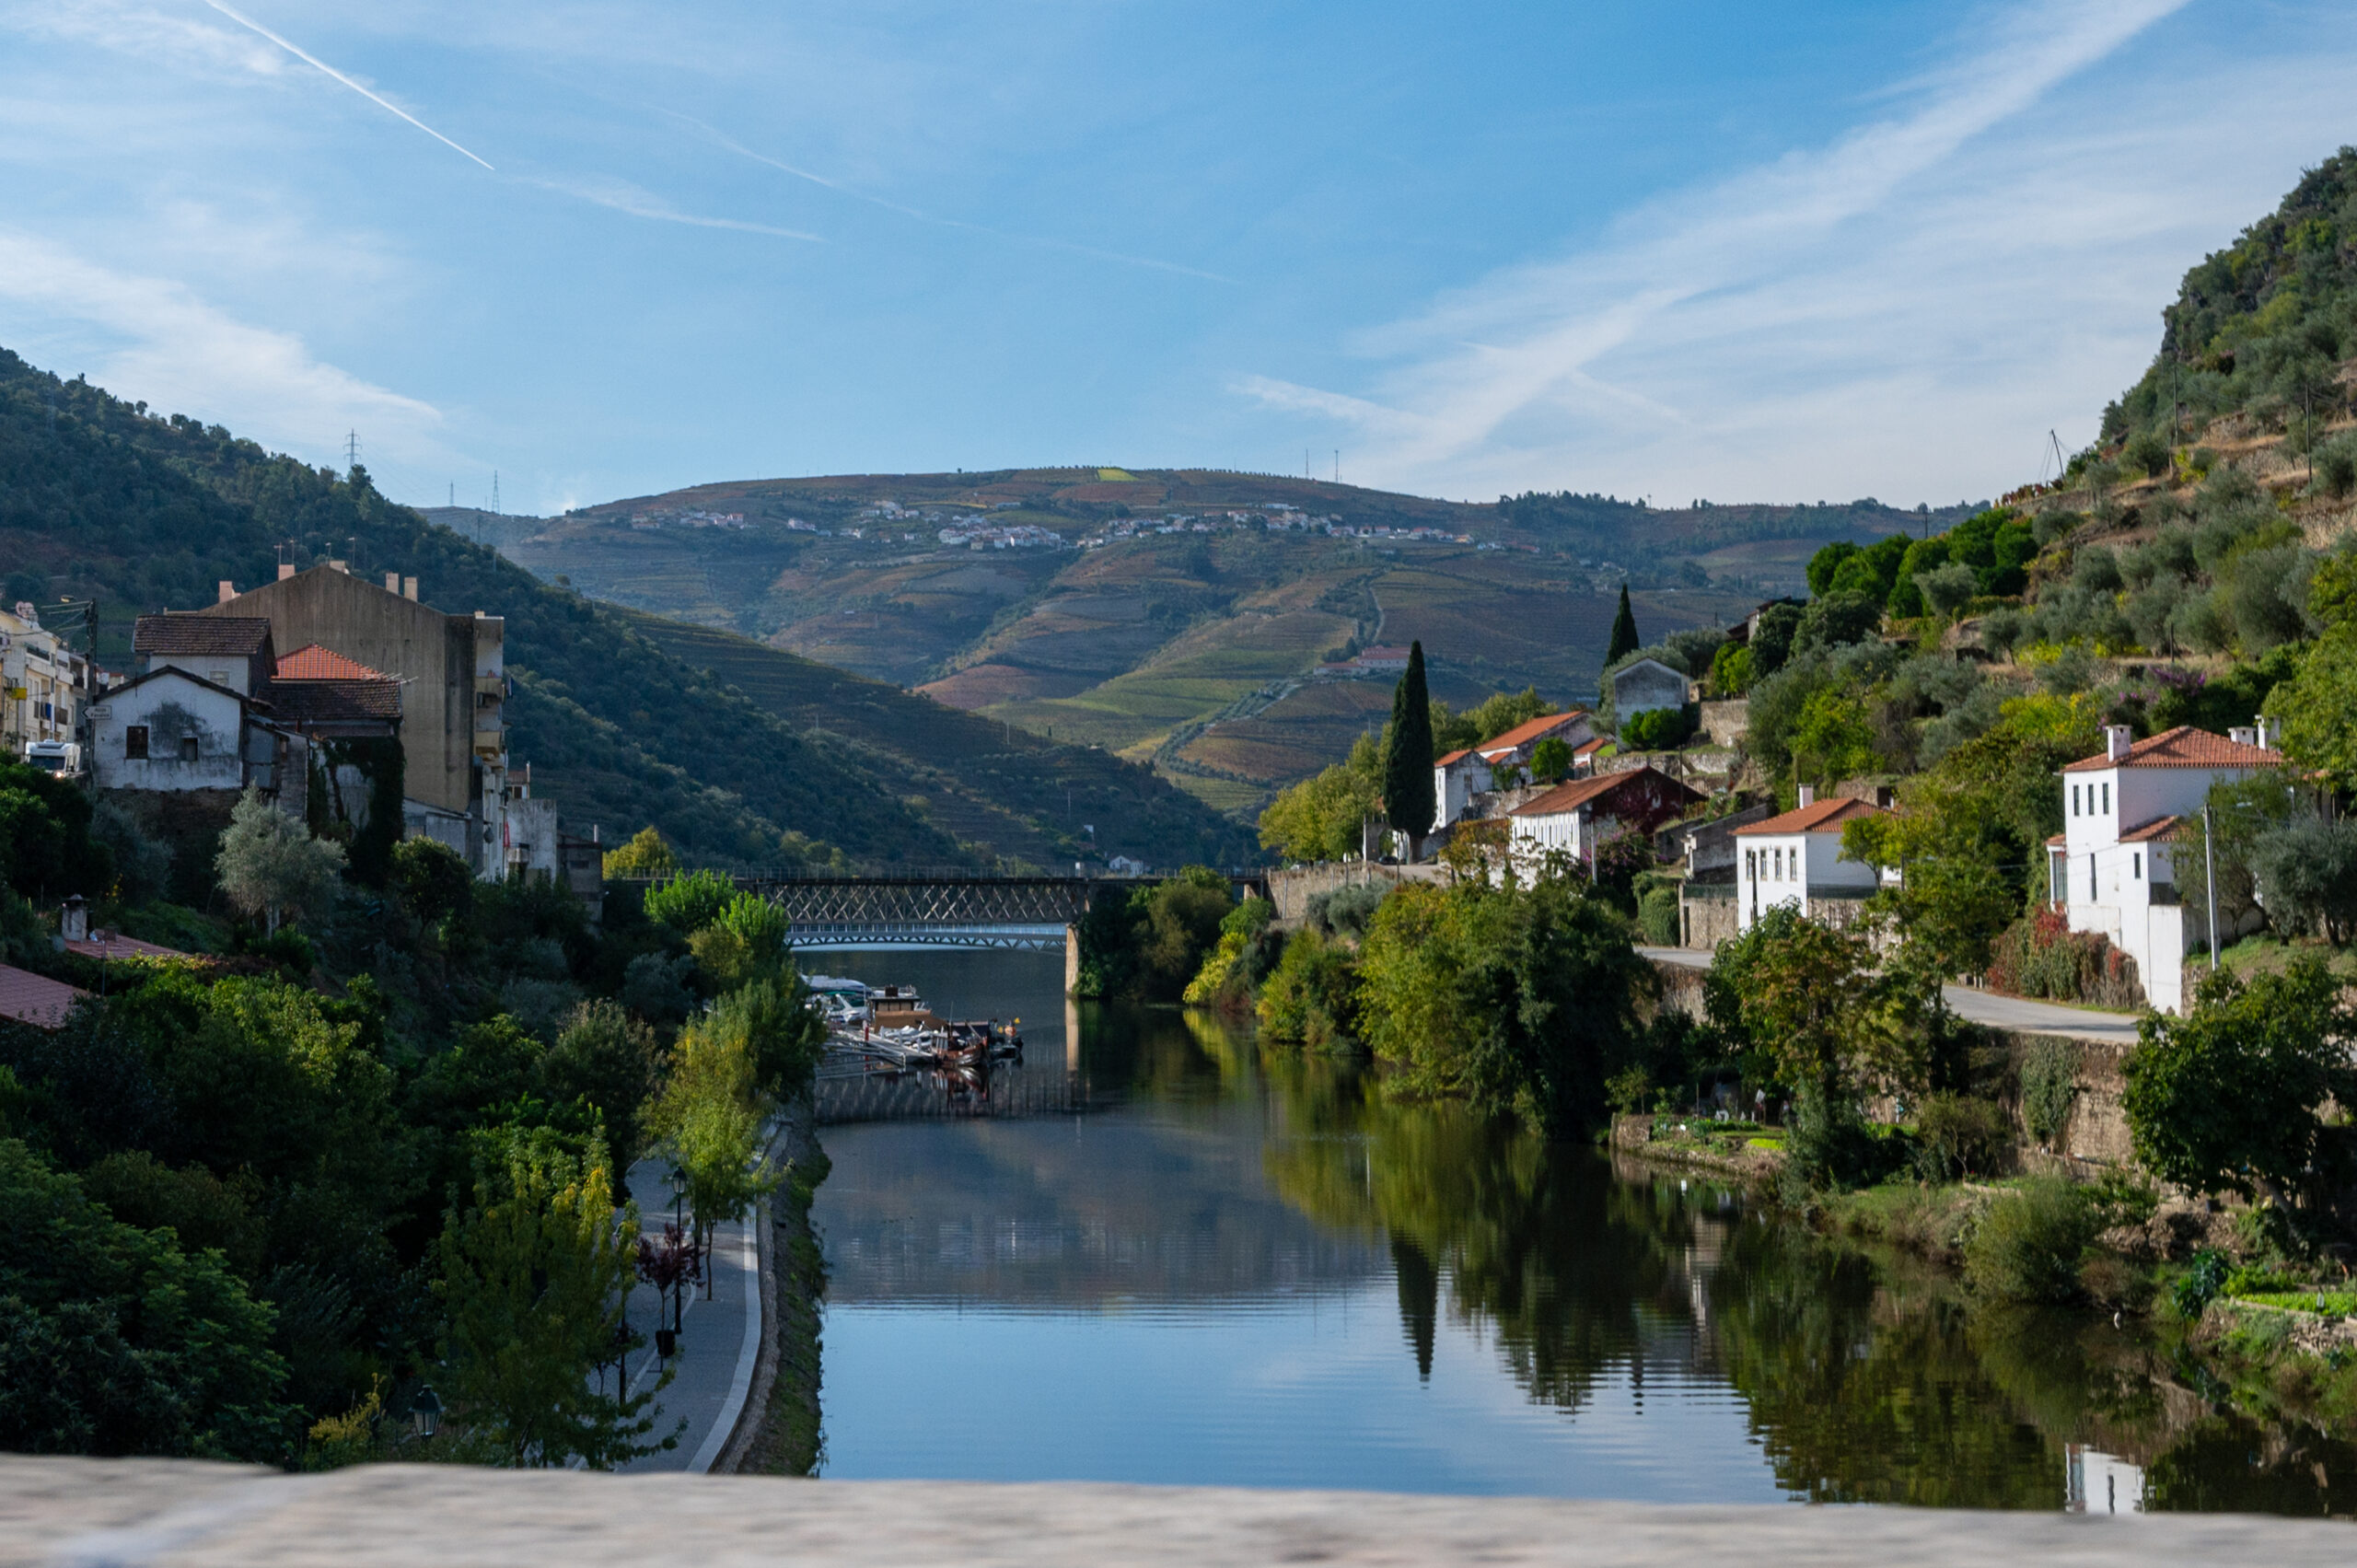
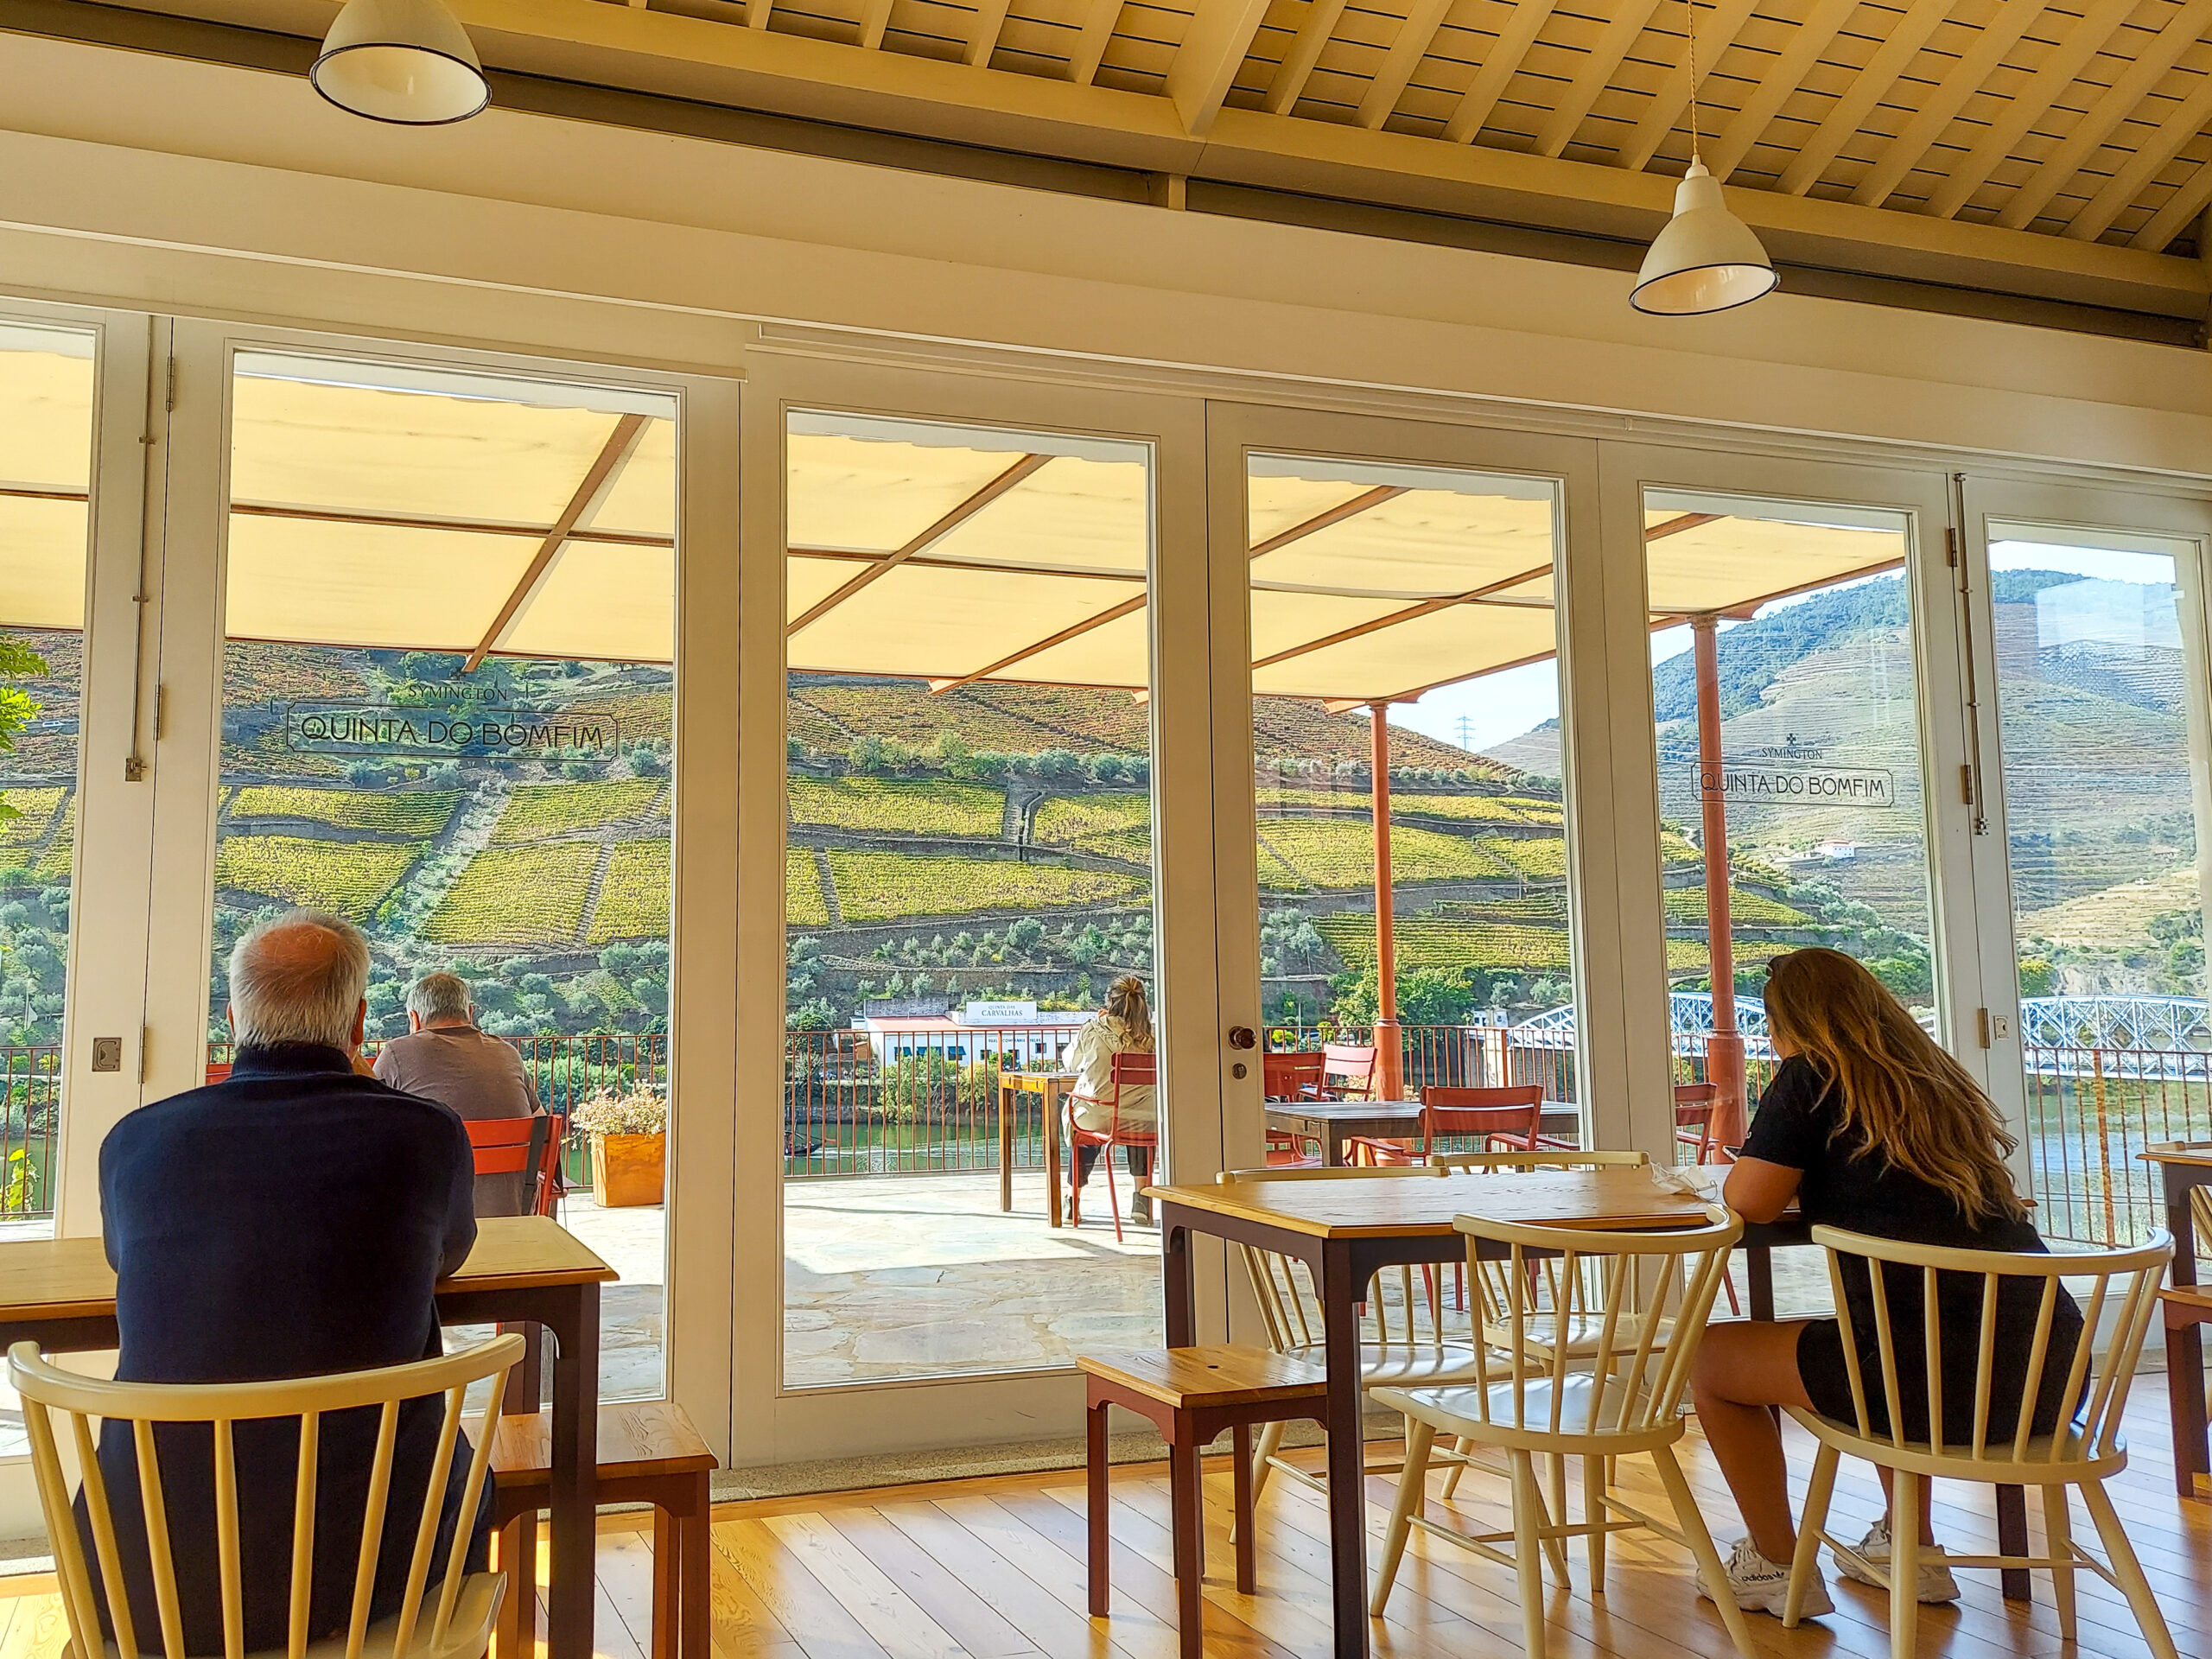
Driving into the town of Pinhao. Quinta Do Bomfim & Casa dos Ecos by Pedro Lemos
I highly recommend you reserve a tour at the Quinta do Bomfim winery or at a minimum take the self-guided walking tour through their vineyard. I also can’t recommend enough reserving lunch or dinner at Casa dos Ecos by Pedro Lemos. The food is superb and the view over the vineyards and the Douro River is incredible! Read more about my visit to the Quinta do Bomfim winery and my dining experience at Casa dos Ecos.
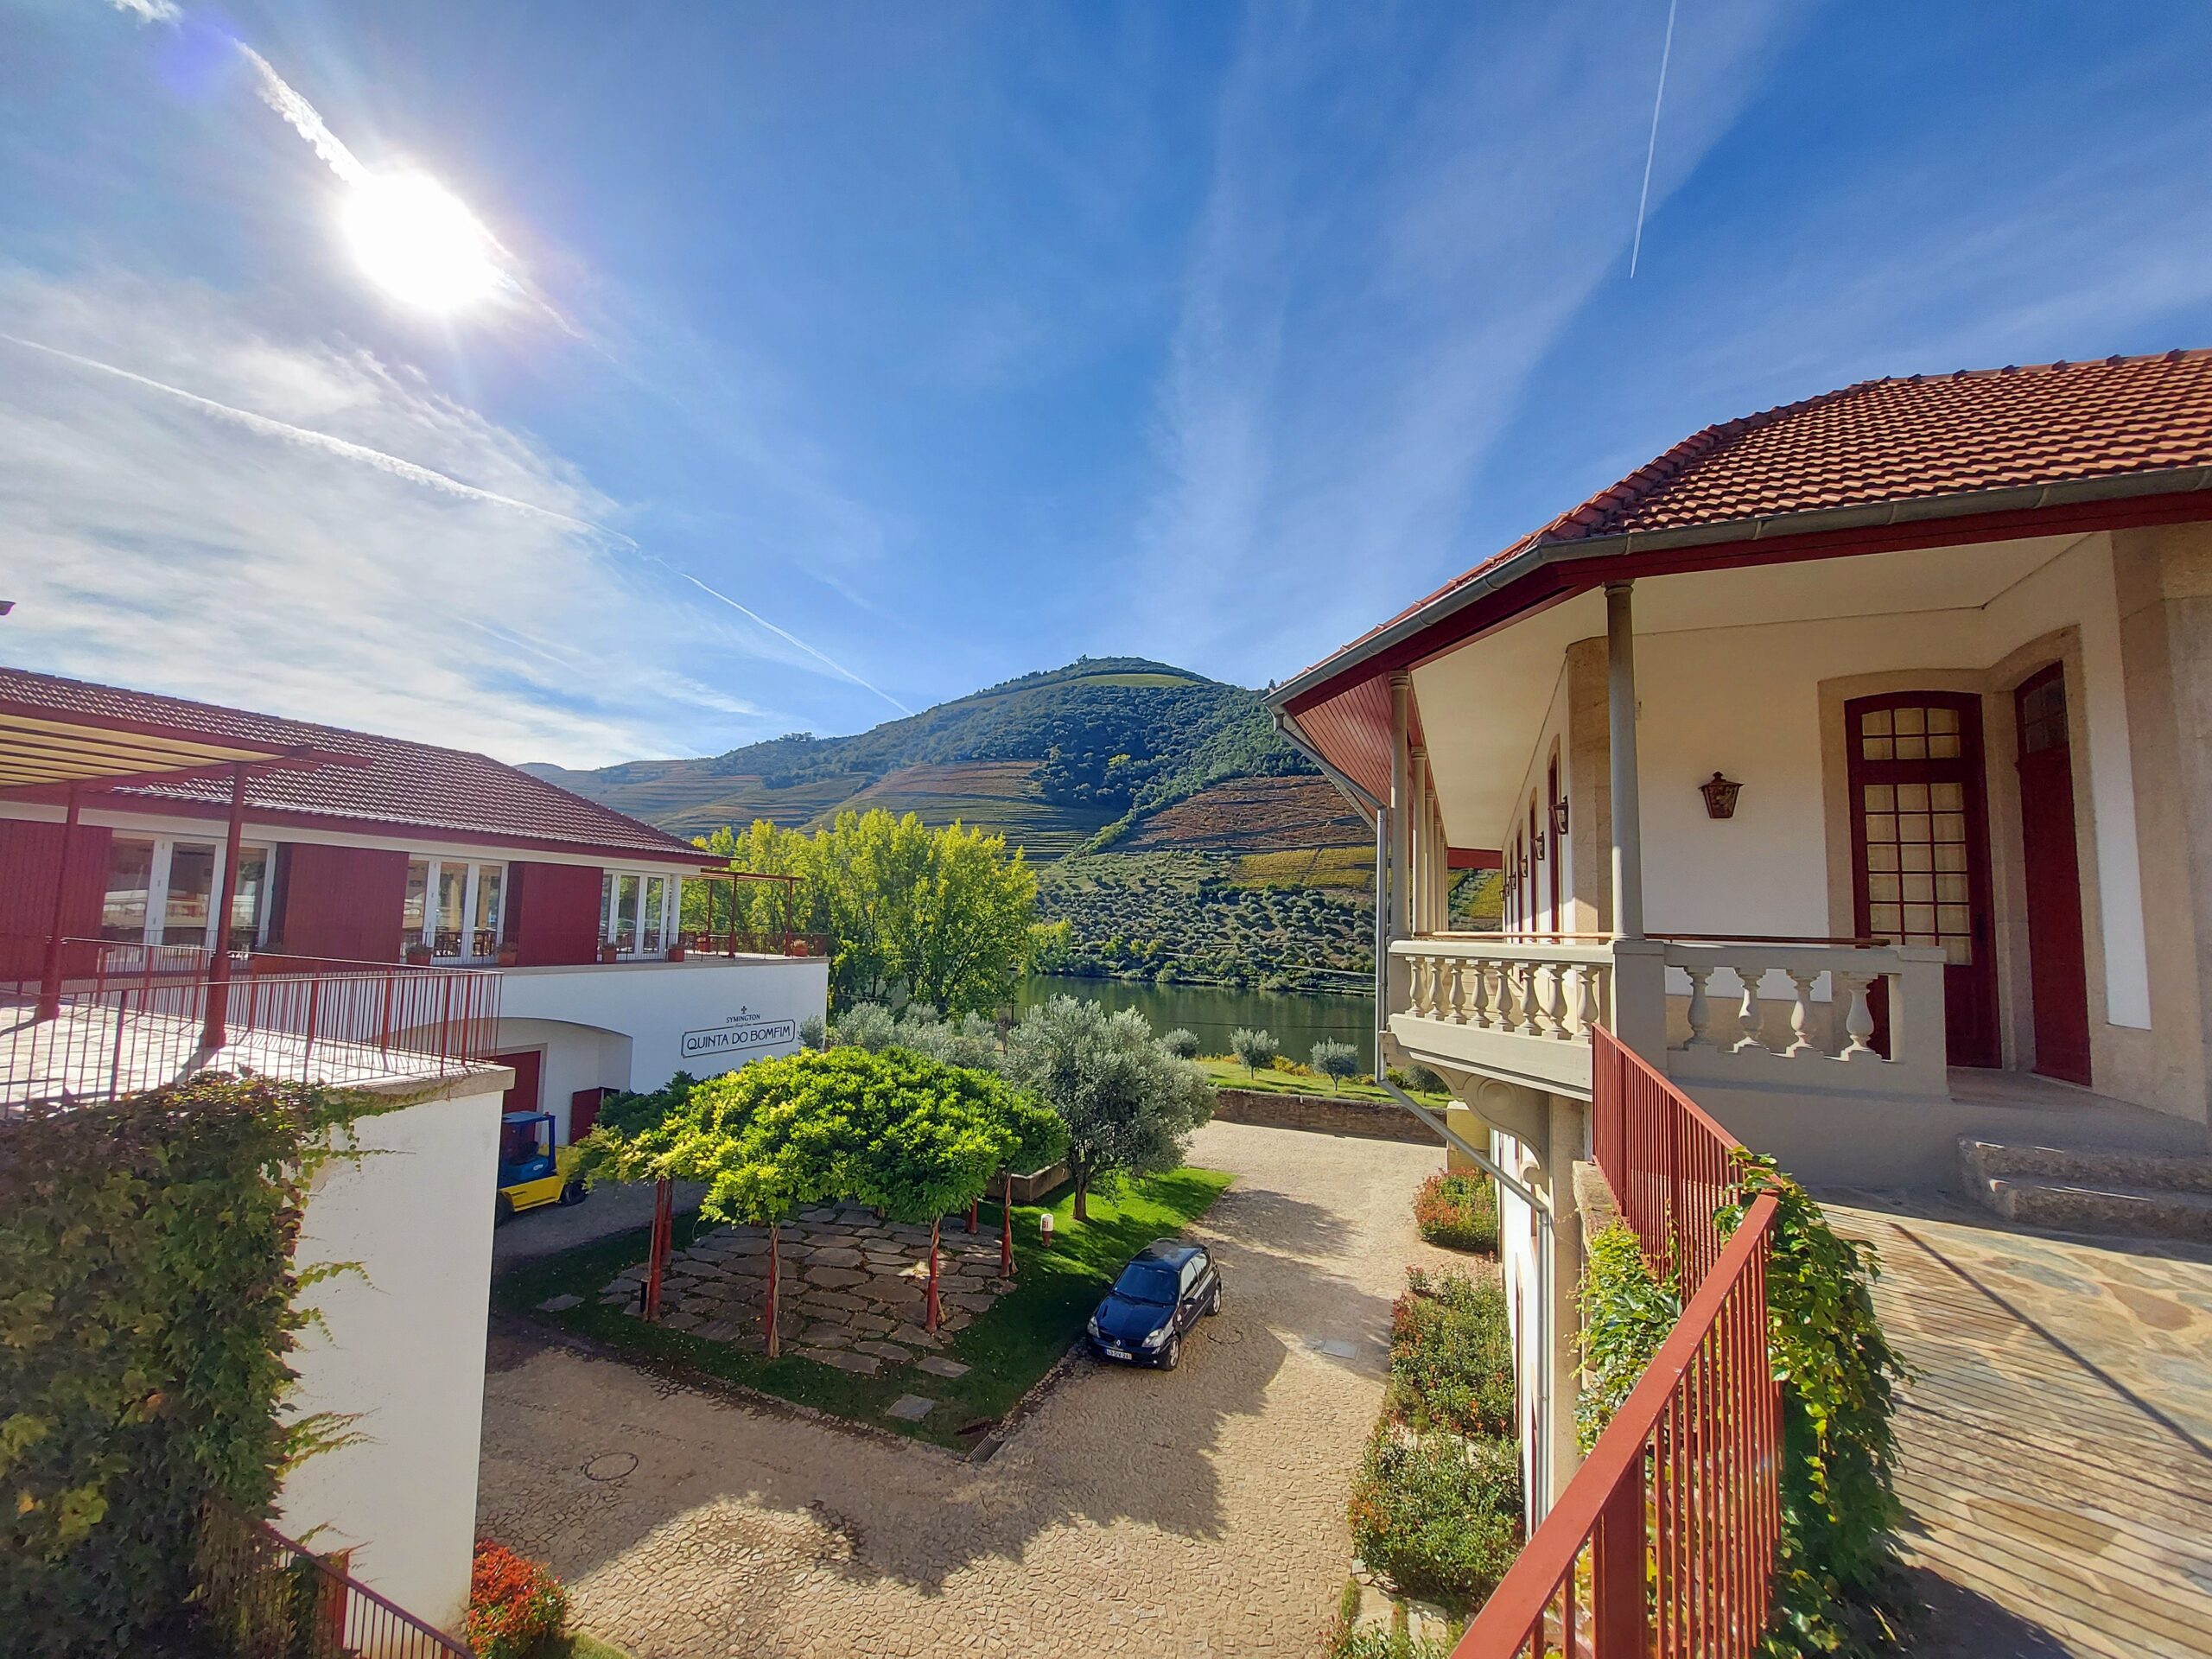
Quinta do Bomfim winery in Pinhao, Portugal. N222
This is the scenic drive on the opposite side of the Douro River from Pinhão. Make sure to stop at the few viewpoints along this river route to soak it all in.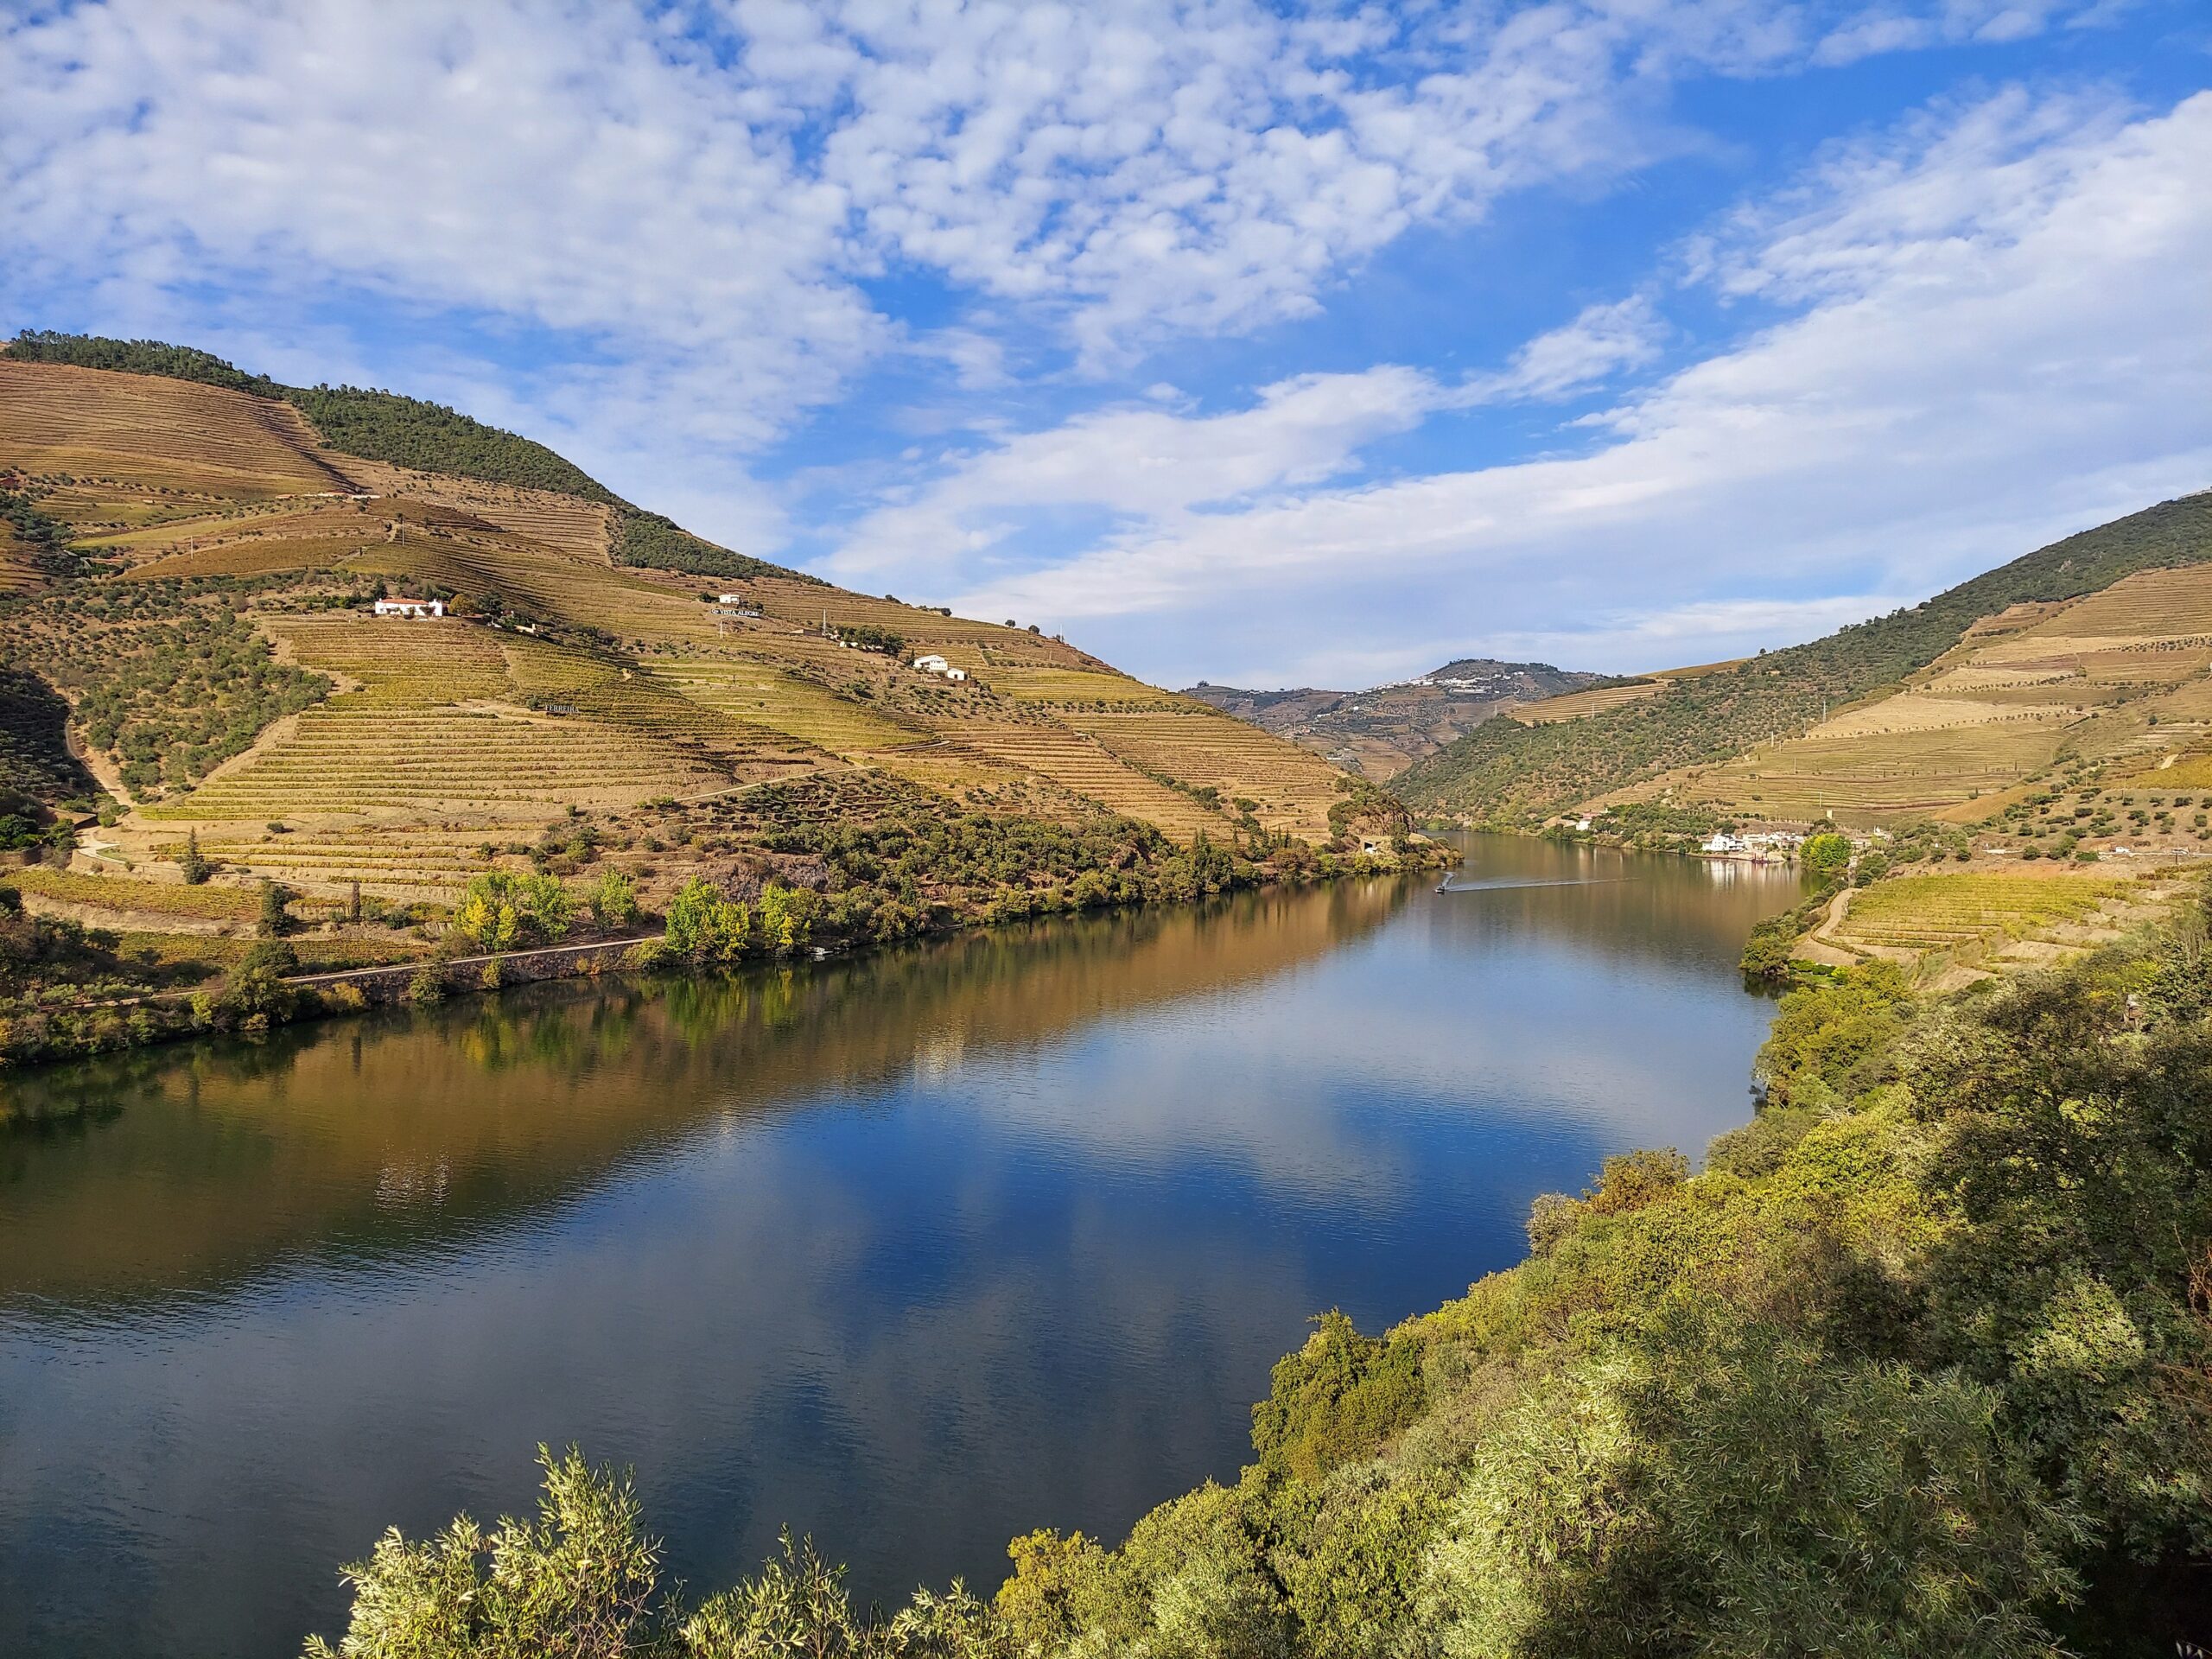
The Douro River along N222. Régua Dam Lock
The Régua Dam is a gravity dam and makes for a quick stop along this route. You can watch the tour boats as they enter and exit through this lock on their way up the Douro River.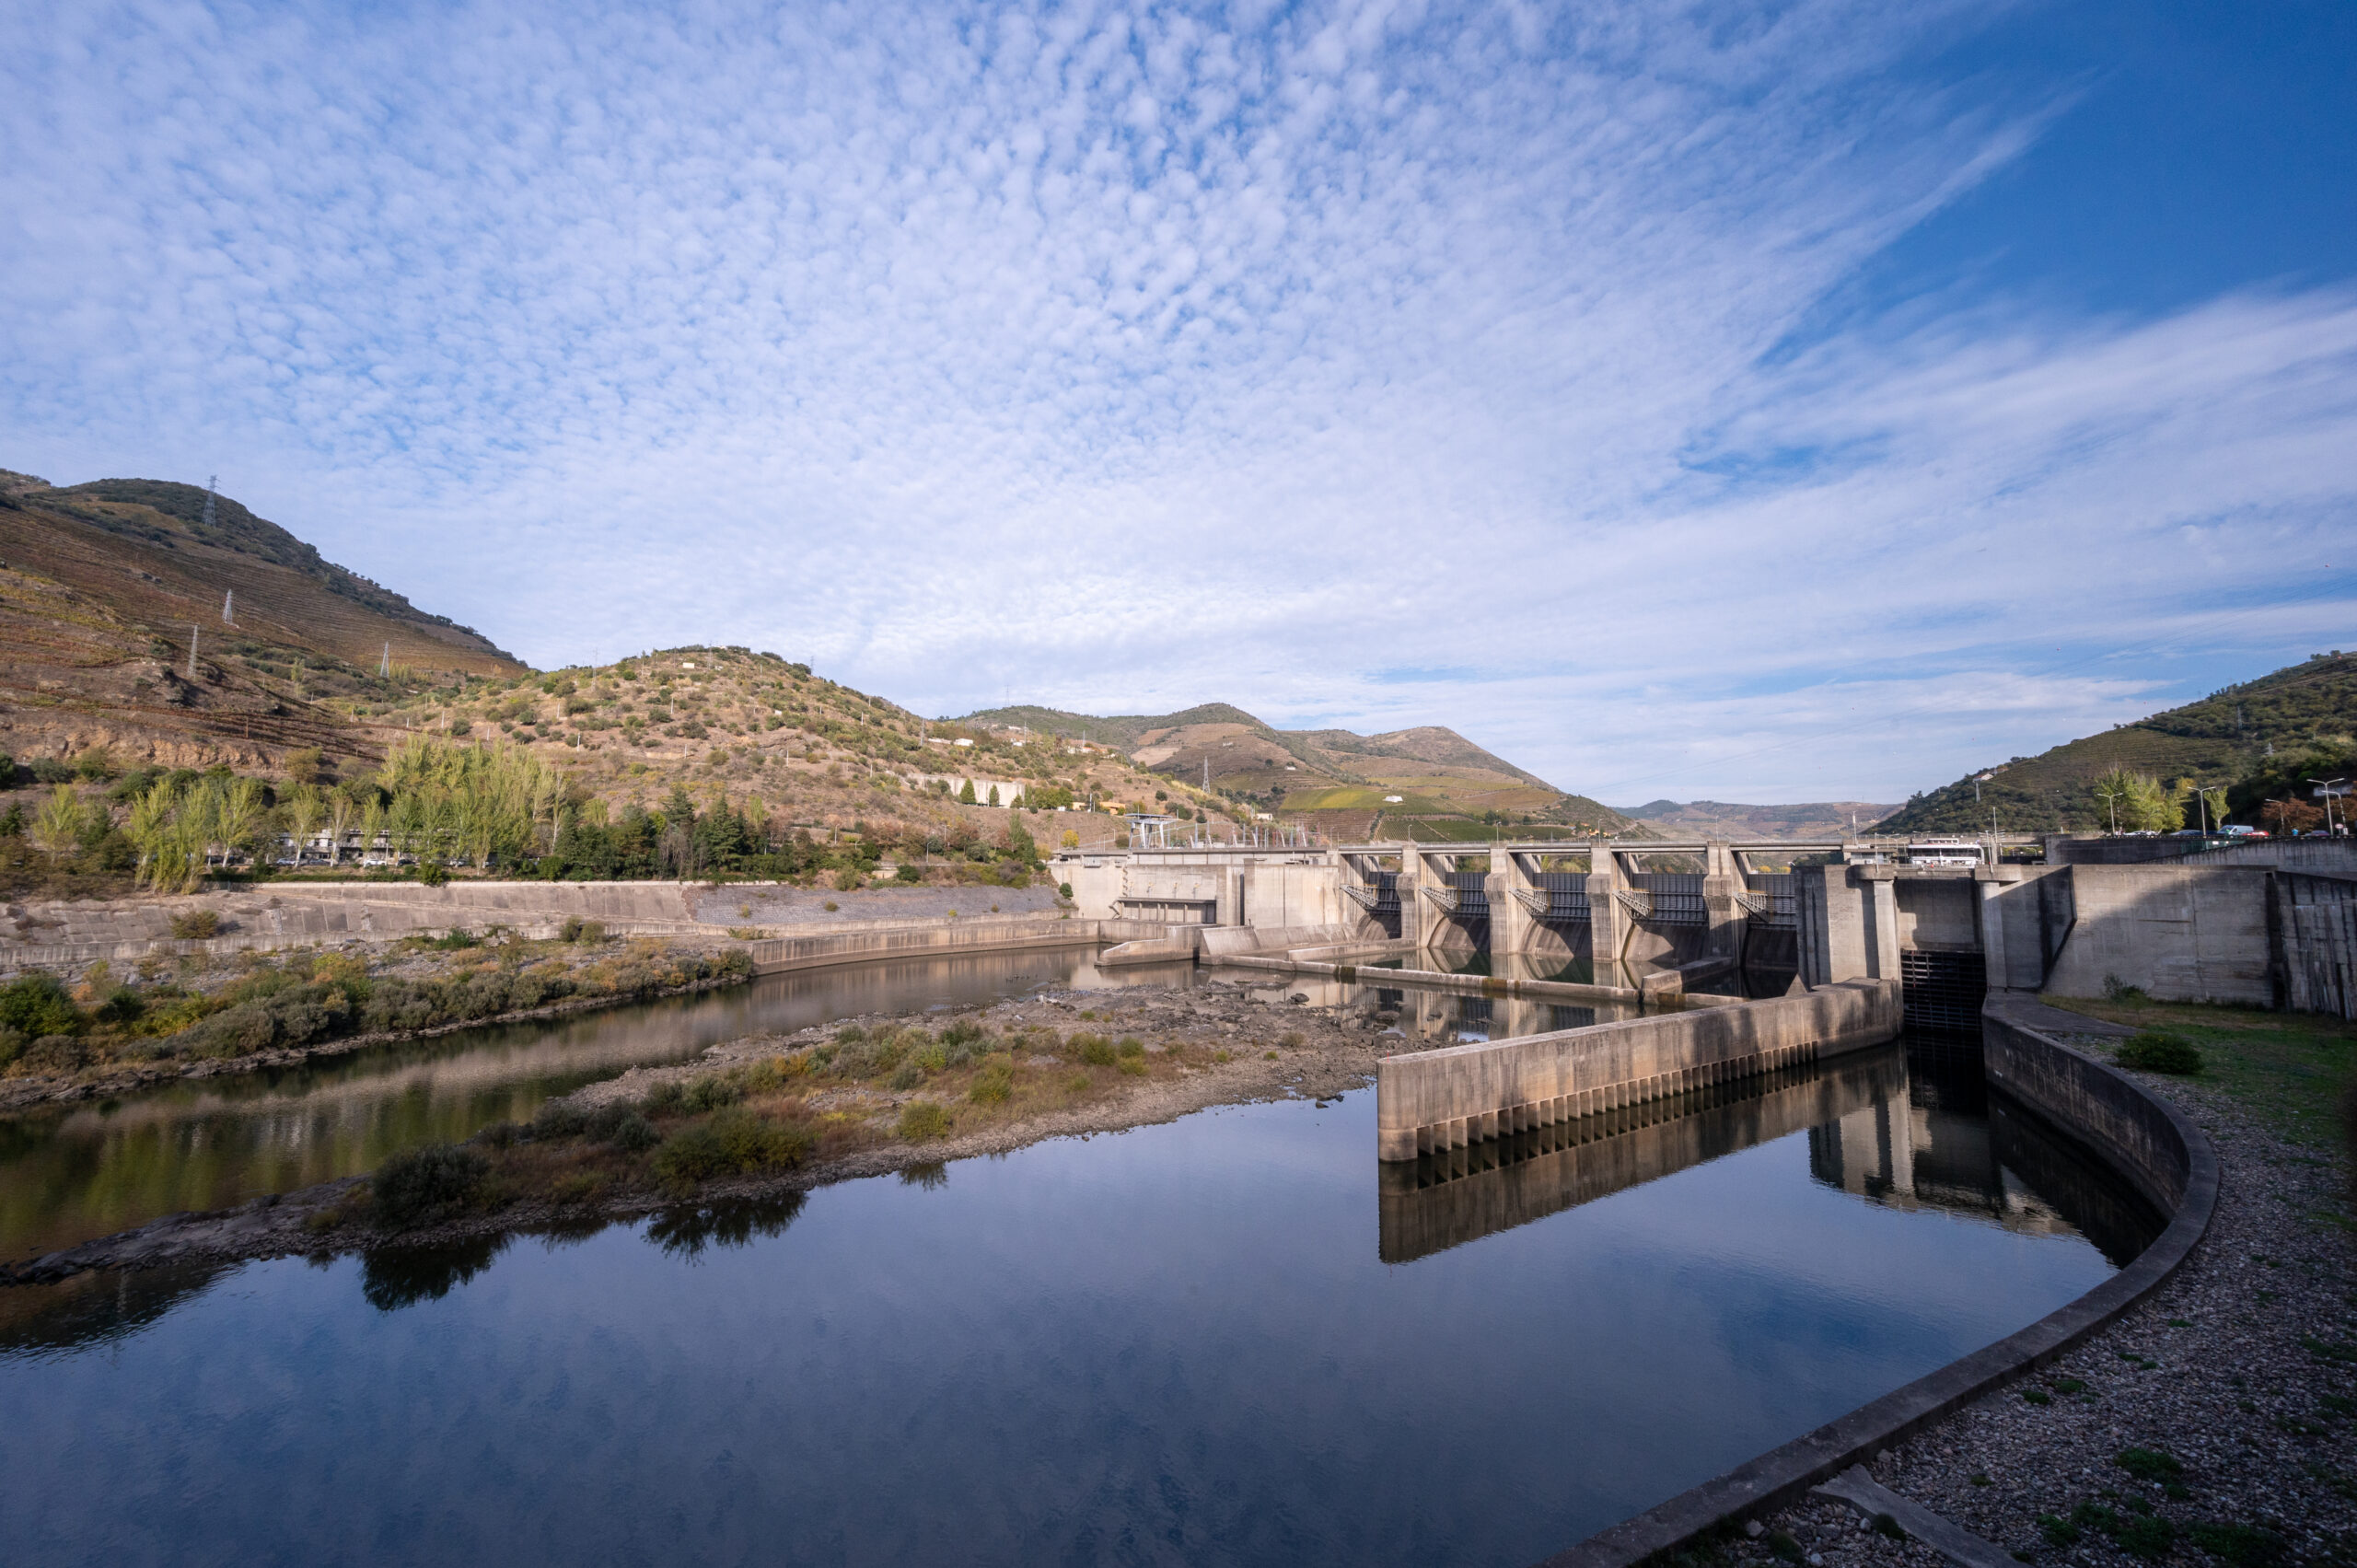
The Regua Dam Locks Régua Bridges
The three bridges outside the town of Peso da Régua are beautifully designed. One of them is a pedestrian bridge, and if you have time, I recommend taking a walk across it for stunning views of the river and bridges. It was especially beautiful when we visited in the fall.
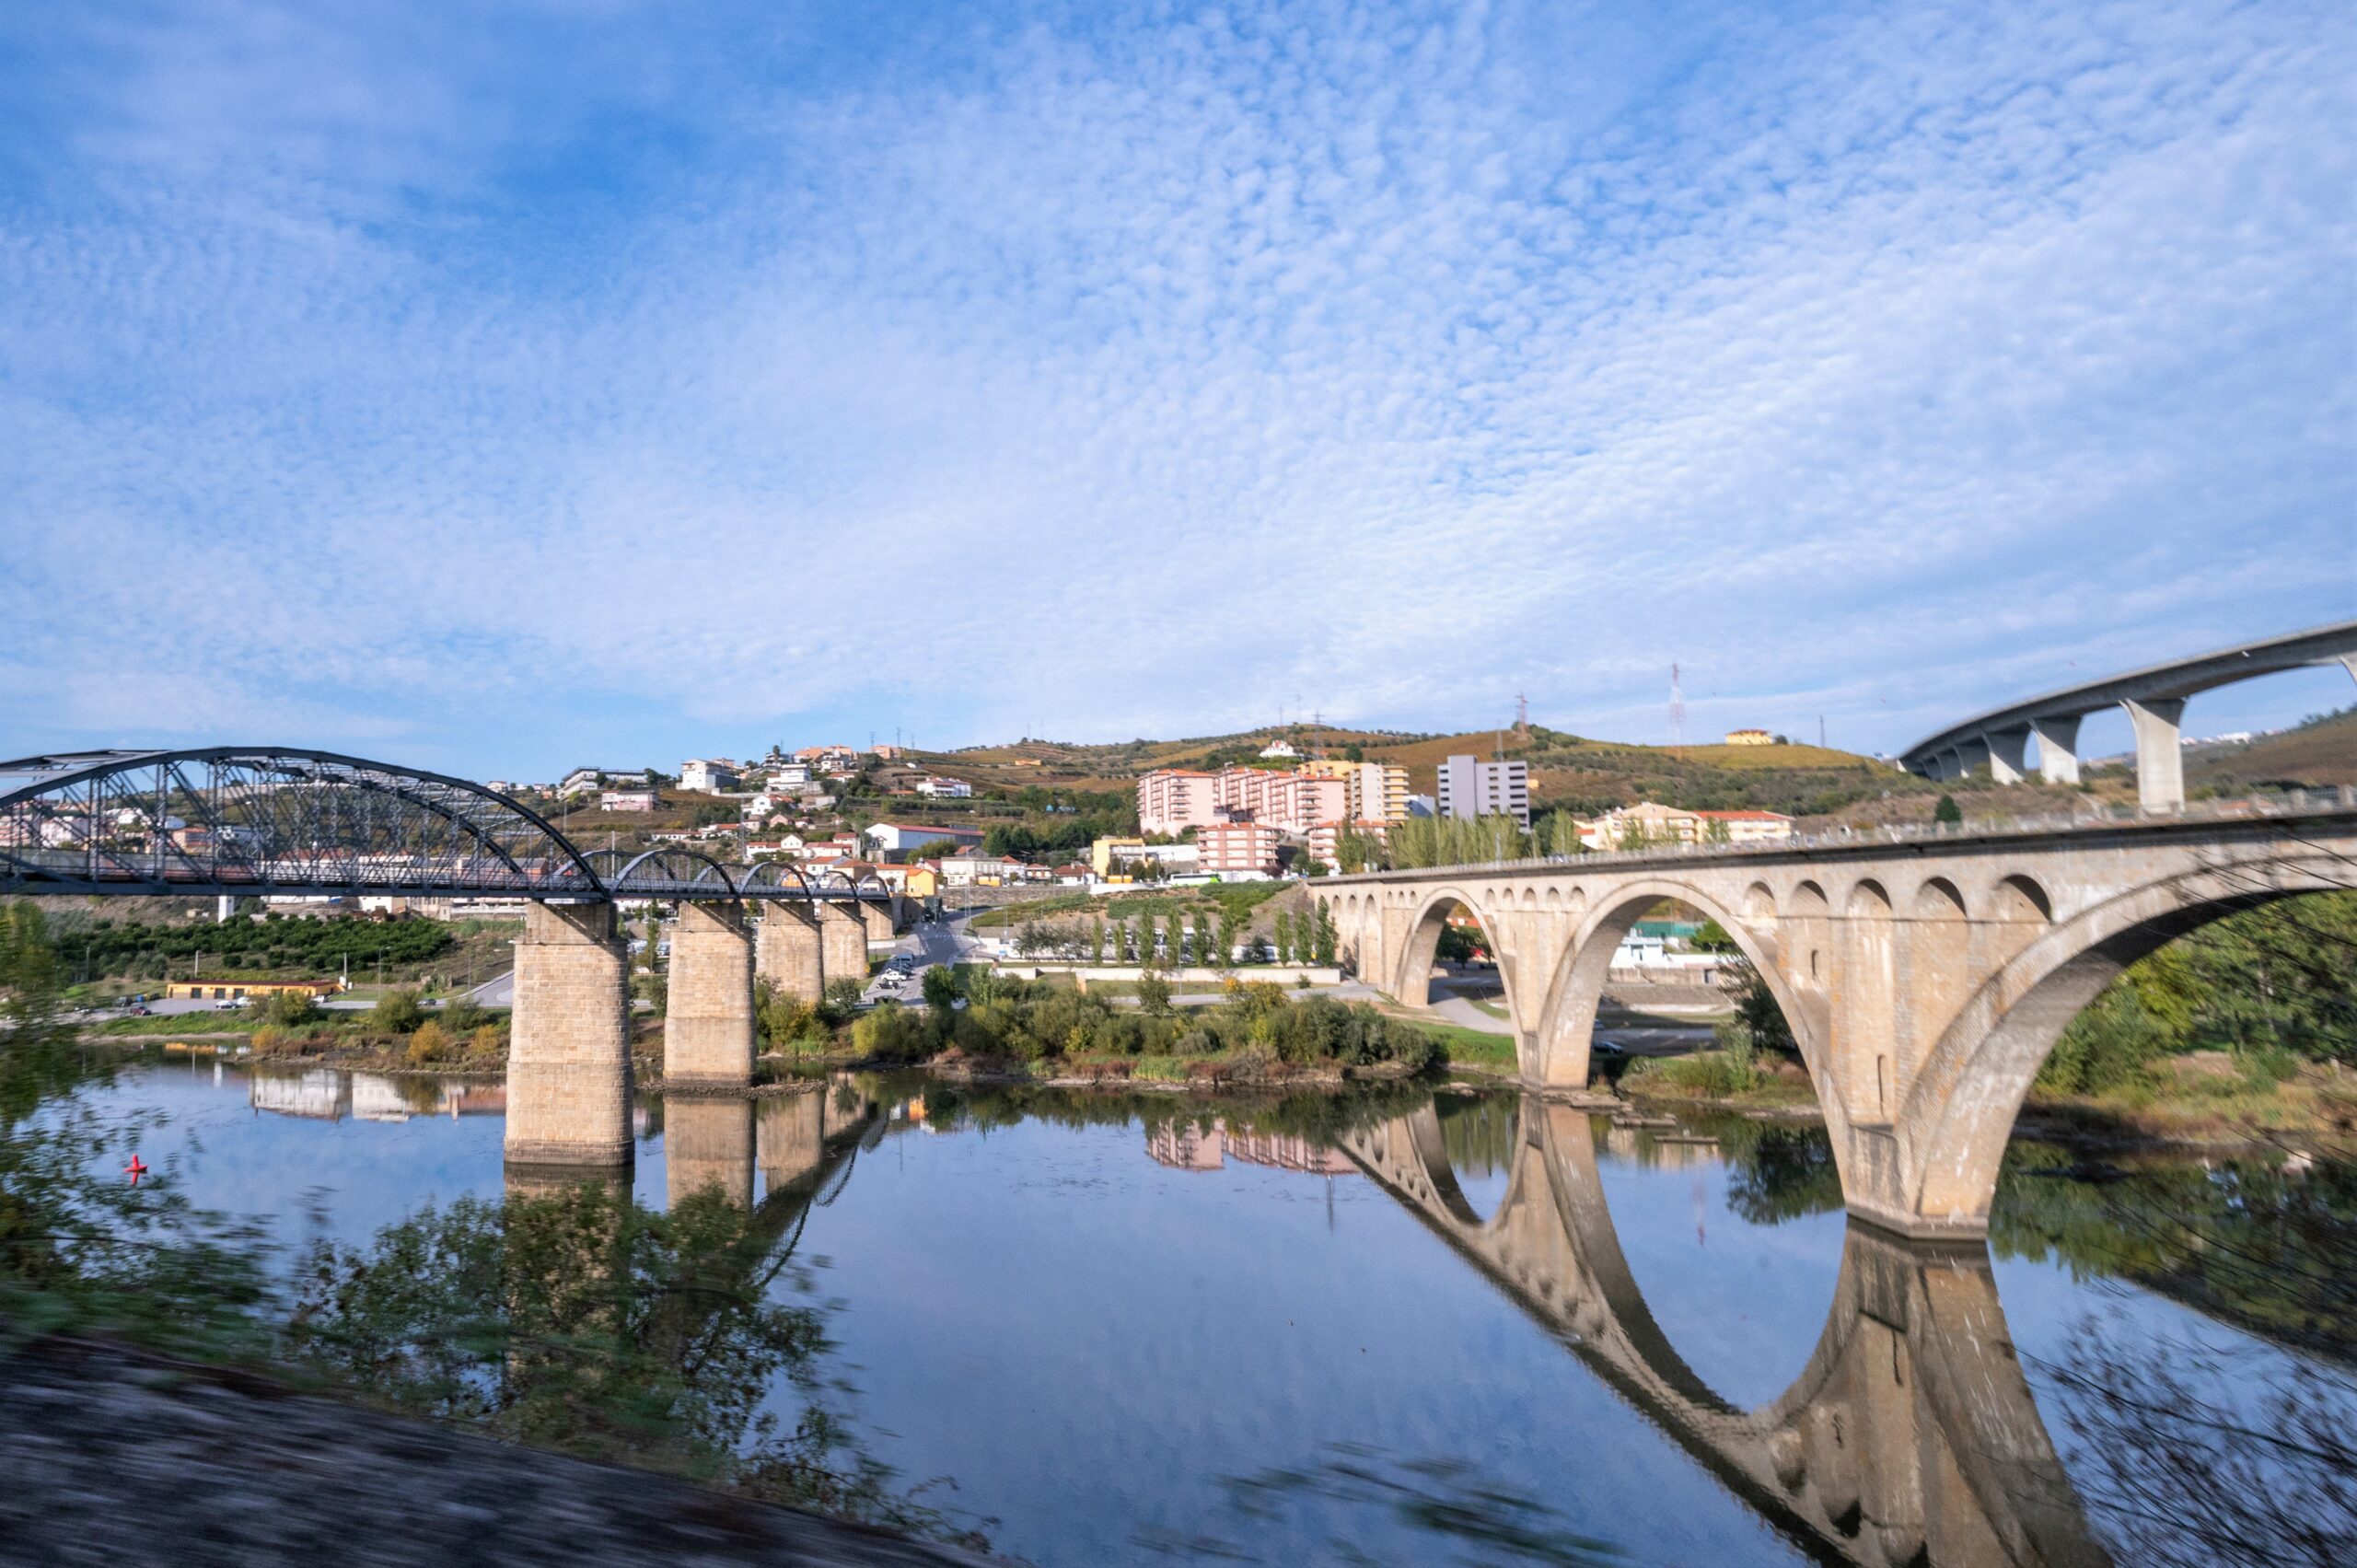
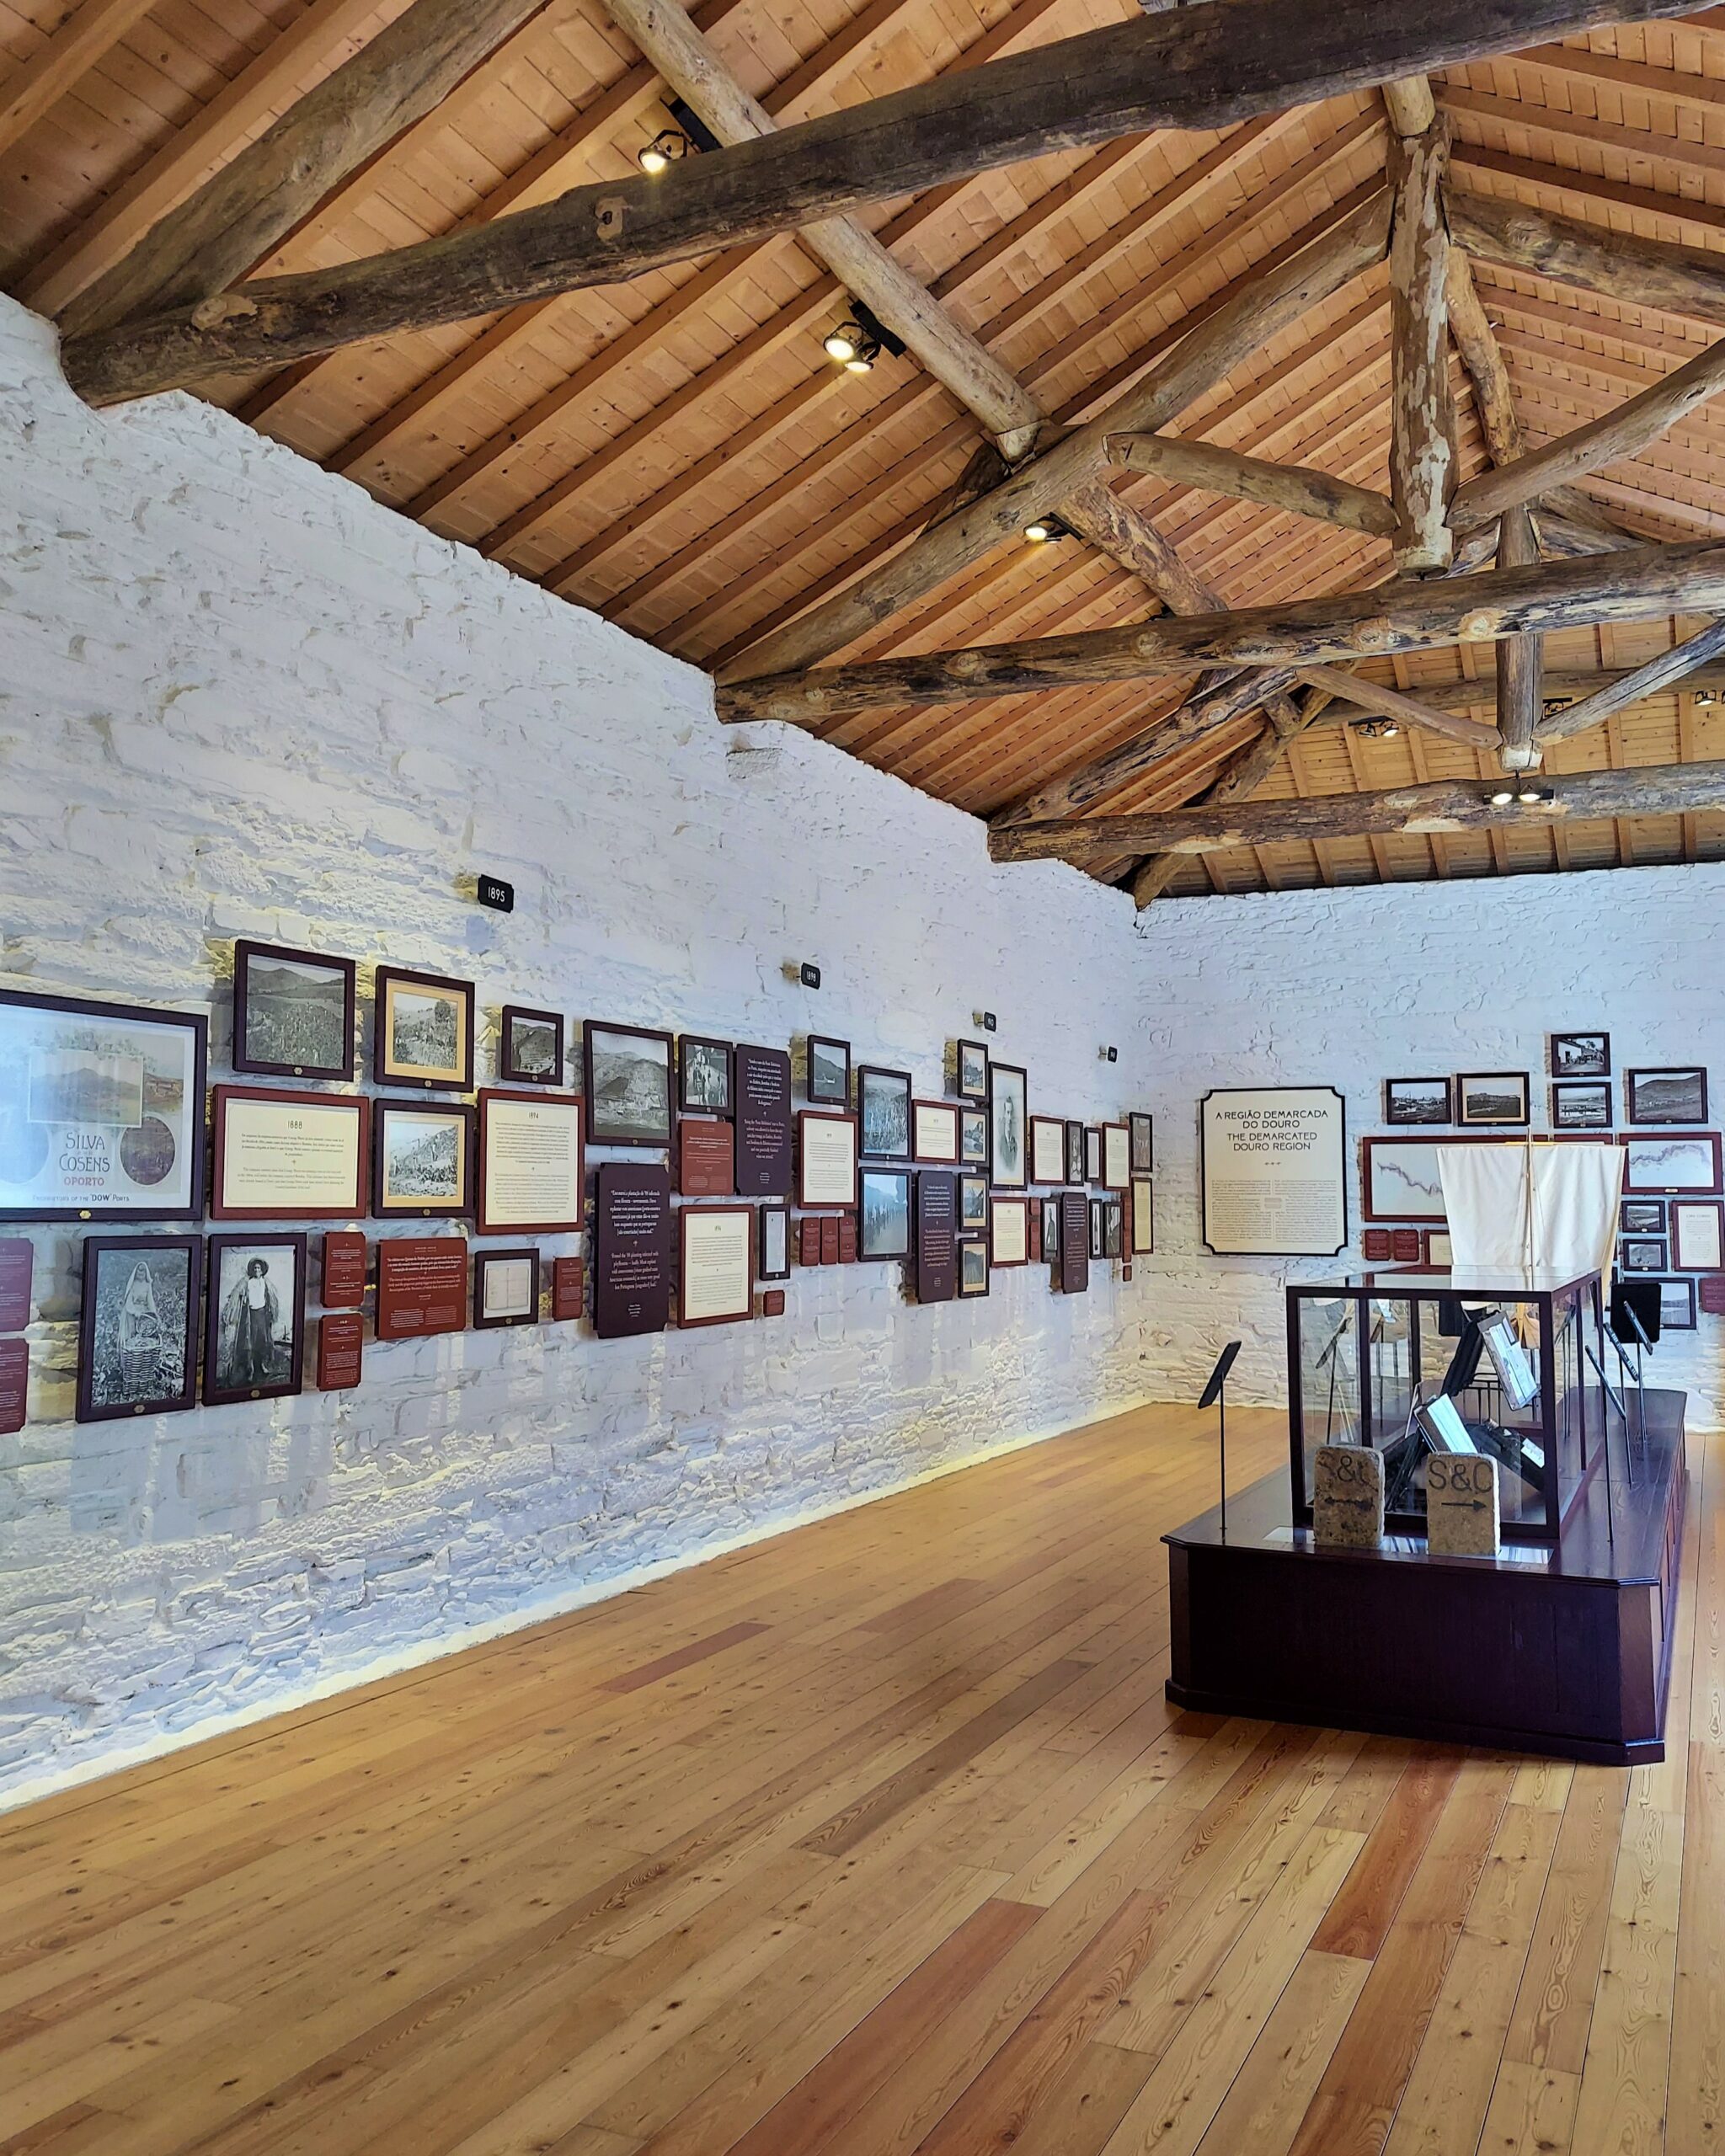
The three Regua Bridges. Douro Museum
If you want to learn more about the Douro Valley and its wine-making history then give yourself about an hour to tour this small museum. The cost of admission also includes a small port tasting.